Photo illustrations for
the route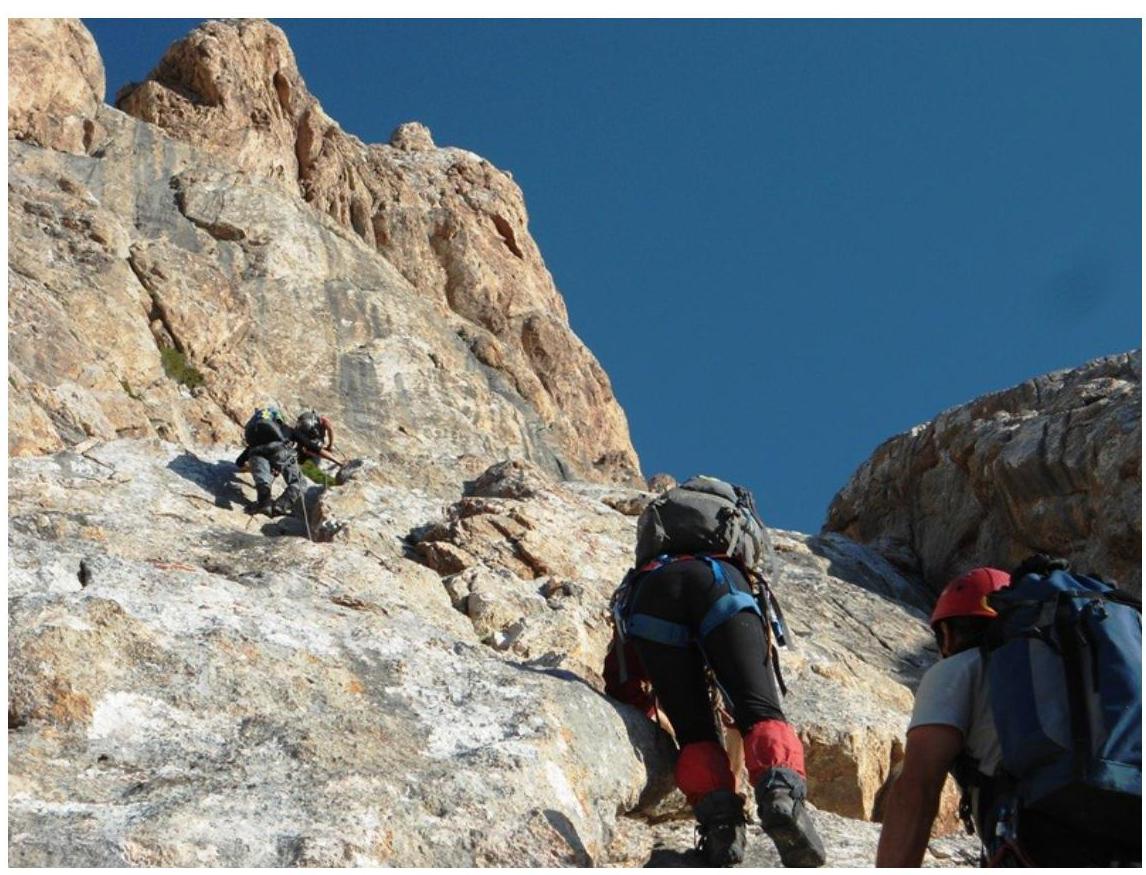
Photo 5. On the section
R0–R1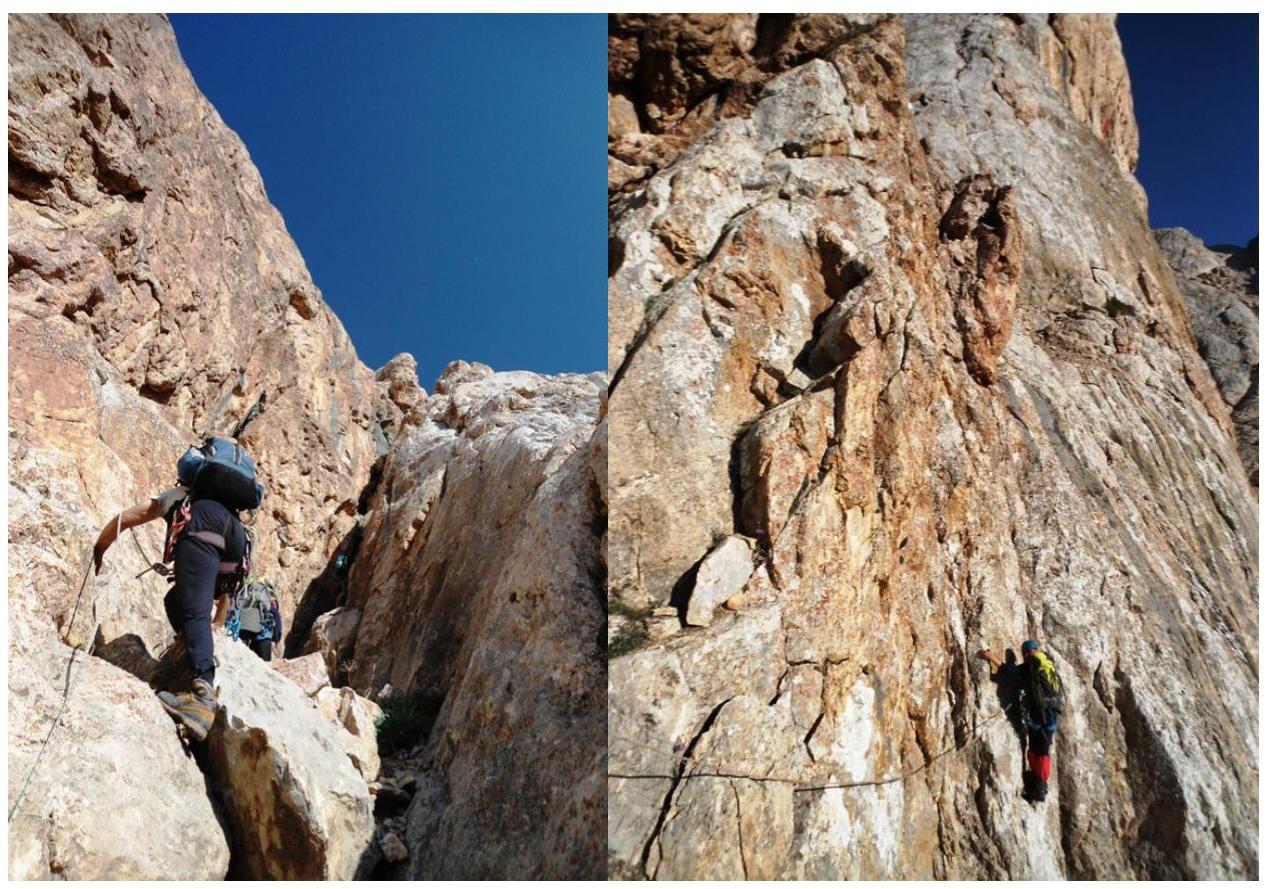 Photo
6, 7. Work on the section
R1–R2
Photo
6, 7. Work on the section
R1–R2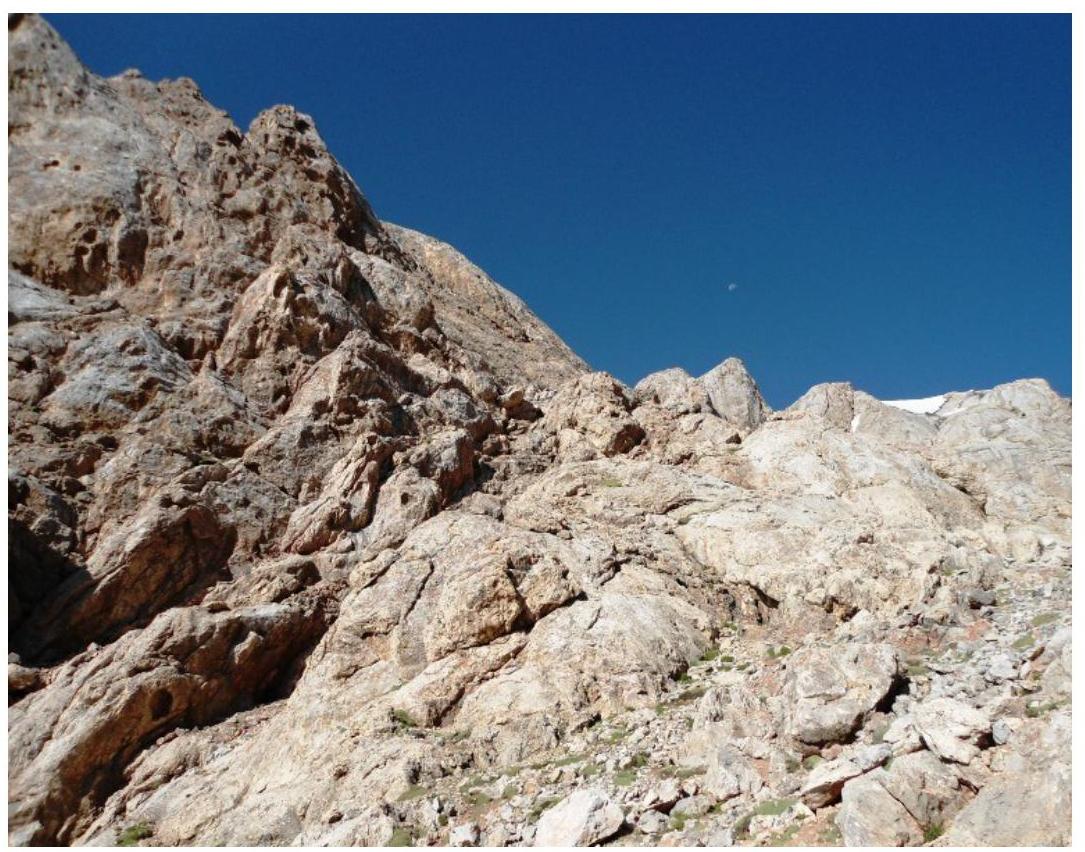
Photo 8. Exit from the SE wall to the eastern ridge. View of the section
R3–R4
Photo 9. At the 2nd control pitch. Writing a
note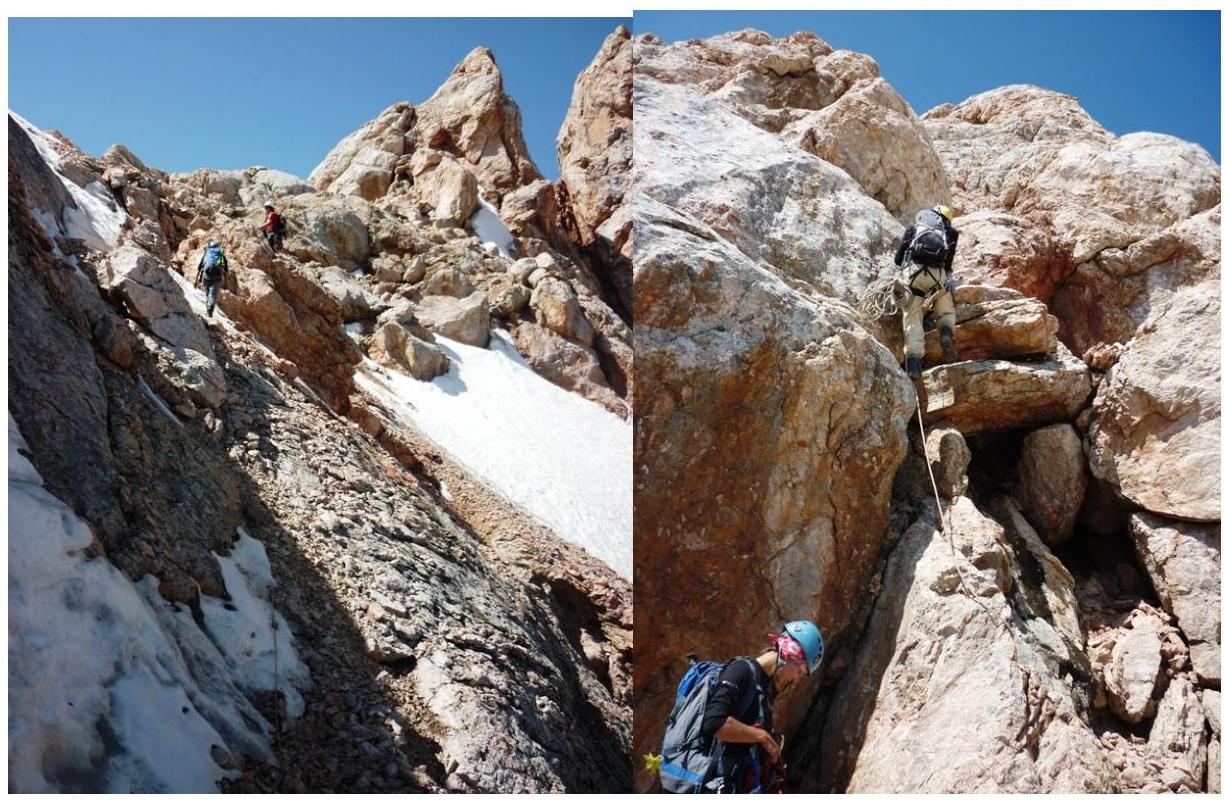
Photo 10, 11. On the section
R4–R5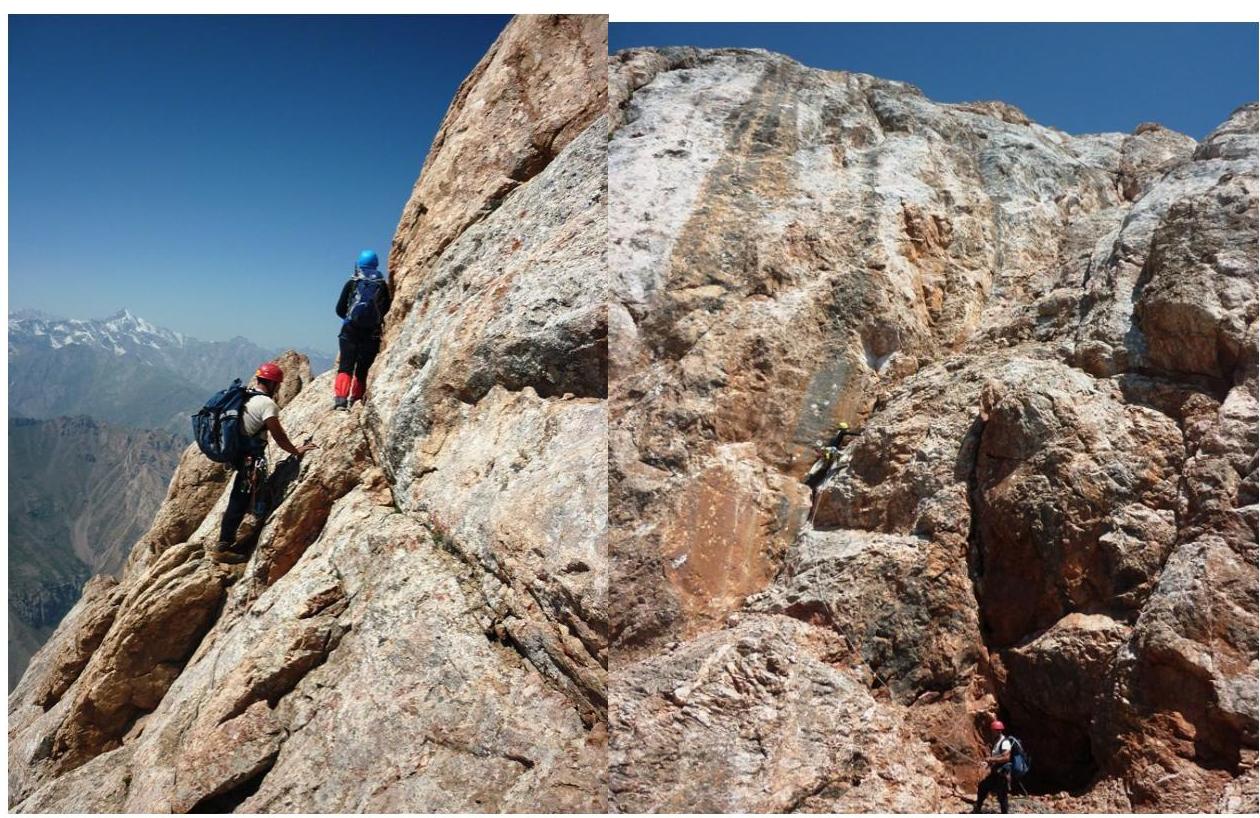
Photo 12, 13. On the section
R5–R6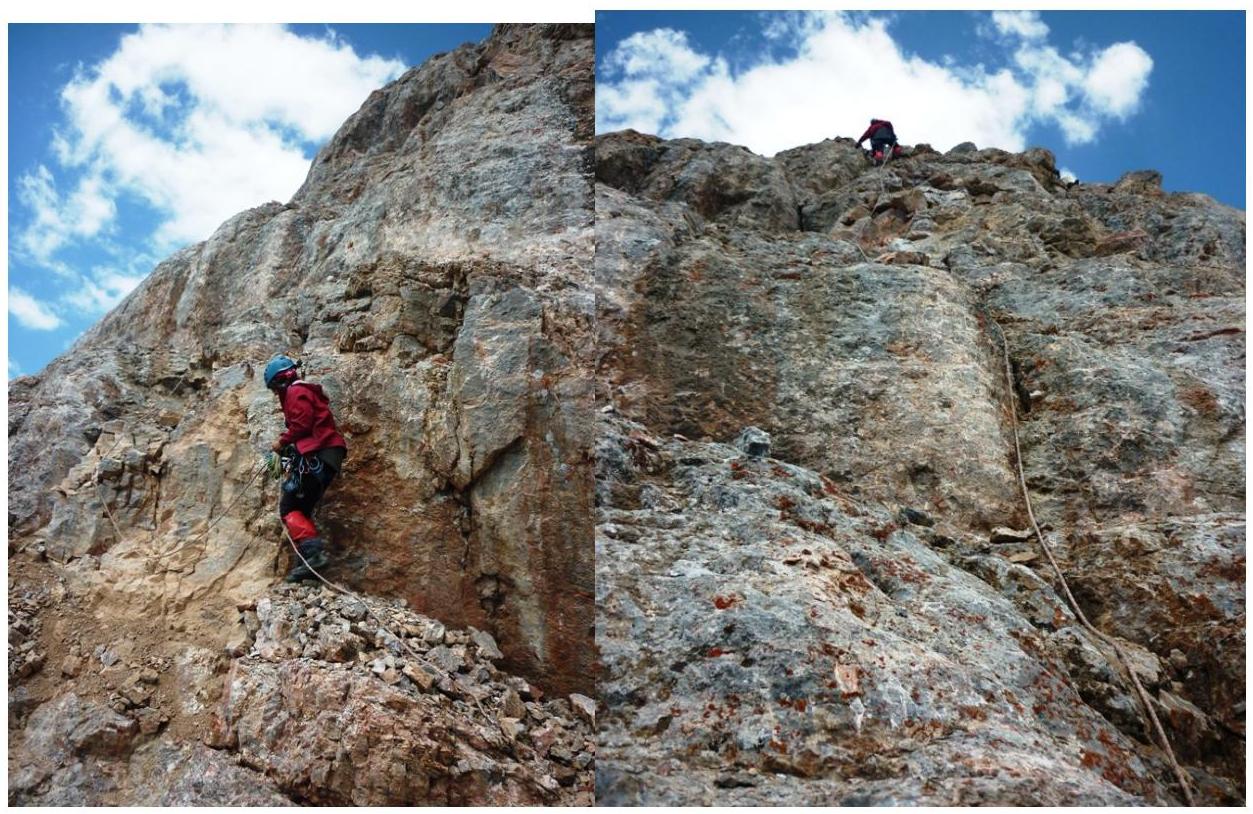
Photo 14, 15. On the summit tower. Section R7–R8