Description of the AKSAY Horseshoe Traverse

Alma-Ata, 1963
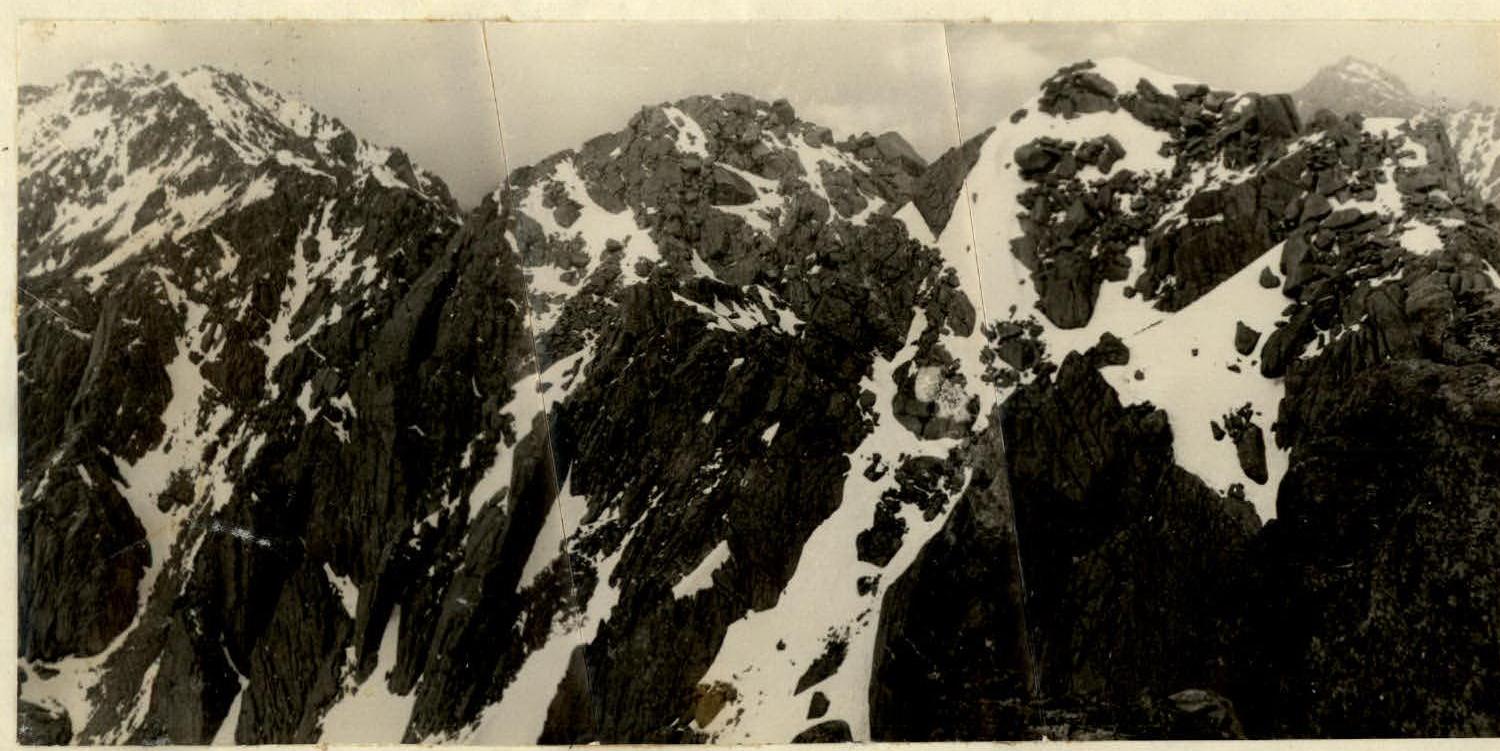
The ridge of the Aksay horseshoe between peaks II and III.
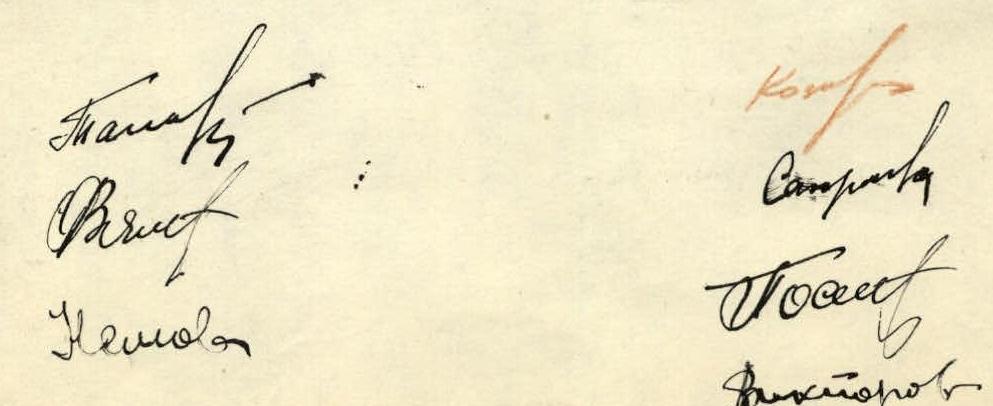
Team I Leader
Master of Sports Mar'yashev A.
Team Members
- Toporkov A. - 2nd sports category
- Vyalykh O. - 2nd sports category
- Nemov B. - 2nd sports category
Team II Leader
Viktorov L. - 2nd sports category
- Kozionov I. - 2nd sports category
- Sapronova S. - 2nd sports category
- Postnikova T. - 2nd sports category
The Aksay horseshoe is located in the Kaskelen spur of the Trans-Ili Alatau. The approach goes past the AKSAY rest house to the south towards the forest cordon. The bivouac is set up at the foot of peak No. 1 (see diagram).
From the bivouac, we ascend via the lateral moraine to the ridge. Here is the first control cairn. The first and second gendarmes are bypassed on the left, and we ascend via a snowy couloir to the ridge. Movement is simultaneous, with occasional belays through outcrops.
Further movement includes:
- ascending a snowy slope (2-3 ropes);
- reaching a sharp ridge (2 ropes), dropping off steeply to the left for 200-300 m;
- overcoming three rock walls, 10-15 m high, with thorough belays through outcrops.
Next, we traverse 5-6 ropes along the ridge, reaching a snowy ascent leading to the pre-summit rocks of moderate difficulty. Two pre-summit gendarmes are bypassed on the left.
At peak No. 1 (altitude 3900 m) is the second control cairn.
Descent:
- via rocks of moderate difficulty,
- then a steep snowy ascent,
- and again via rocks of moderate difficulty with alternating belays, we descend to the ridge between peaks one and two.
From the ridge, we ascend via a steep snowy section to protruding rocks and then climb via simple, smooth rocks to the second peak. The upper part features a gentle ridge with shallow drops; the peak hosts the third control cairn. The descent to the south initially follows a gentle ridge with ruined and easy rocks, followed by a section of steep rocks.
From the ridge between peaks one and two, the ascent goes to the right via easy and moderate rocks; occasionally, there are gentle snowy ascents.
Before reaching the peak, several rock blocks are overcome. Belays are set through outcrops. At peak No. 3 is the fourth control cairn. The descent to the ridge is uncomplicated.
Upon ascending, an inclined slab, 10-15 m high, is overcome. At peak No. 4 (altitude 4100 m) is the fifth control cairn. The descent follows a long, uncomplicated ridge. The rocky ridge before the ridge becomes narrow and steep. A pile of large blocks is overcome with alternating belays through outcrops, followed by a rappel descent, 20-25 m, to the ridge between peaks 4 and 5.
The ascent to peak No. 5 ("4100 m peak") goes via complex rocks with belays through outcrops. Further, a steep snowy ascent leads to peak No. 5, hosting the sixth control cairn. The descent from "4100 m peak" is one of the challenging sections of the Aksay horseshoe traverse. A 120-meter wall must be descended.
- Initially, with alternating belays, we bypass the interrupted ridge on the left.
- From a convenient ledge where all participants can gather, we traverse to the right and downwards, setting pitons (2 pitons).
- Then directly downwards, we rappel (30 m).
From the ridge between peaks 5 and 6, the ascent goes via complex and moderate rocks with alternating belays. At peak No. 6 (4150 m) is the seventh control point.
Further:
- we proceed along the ridge via uncomplicated but steep rocks,
- then via smooth, rounded rocks with few holds, so-called "sheep's foreheads" (thorough belay!);
- a small gendarme is bypassed on the right;
- on the descent, there is another challenging section. The descent involves a rappel via smooth, inclined slabs with a pile of loose rocks.
On the ridge between peaks 6 and 7, a platform is prepared for tents.
We processed the northern wall of peak No. 7 ("Geologov peak", altitude 4300 m), fixed two ropes. The night is spent on the ridge. The ascent is directly upwards via the wall, 25-30 m, followed by a traverse to the left along a ledge (10 m). The lower part of the wall features sheer and overhanging rocks with inconvenient inclined holds and few cracks for pitons. Five pitons are set. Backpacks are pulled up on a rope. All participants can gather on the ledge.
Having traversed the ledge to a steep rocky couloir with ruined rocks, we begin the ascent to the right upwards to the next ledge. Thorough piton belay! The couloir is rockfall-prone (1 rope).
On the next ledge, 2-3 people can gather. For the second rope team, a handrail is set through an outcrop. Further along the ledge to the right with a slight gain in height (30 m) to a rocky tooth. The rocks are ruined and complex. Belays are set through outcrops and pitons (3 pitons).
The next ascent section is a 30-meter wall; the rocks are steep; 3 pitons are set. At the top, on a snowy ledge, 4 people can gather. Further, we proceed to the right via a snowy, occasionally icy ledge (10-15 m) to a "rocky tooth". From the "rocky tooth" directly upwards via an icy wall. This is one of the most challenging sections of the route. There are few cracks for pitons. The total length of the section is 40 m.
The section is traversed as follows:
- The first 5-7 m involve ascending the icy wall (2 pitons);
- Then via rime ice to the next rocky outcrop to the right upwards, exiting via an icy groove upwards to a ledge.
- On this segment, 2 rock pitons and 1 ice piton are set.
Further from the ledge via steep rocks with good holds (25-30 m). Belays are set through outcrops.
Along the pre-summit ridge, we proceed to peak No. 7, hosting the eighth control cairn. The total length of the wall is 6 ropes. The descent is into a hollow (80 m). Initially along a steep ridge, then via a sheer wall, rappelling.
From the ridge between peaks 7 and 8, the ascent goes directly via a steep ridge along rocks of moderate difficulty, occasionally with sheer walls, with alternating belays through outcrops.
Individual rock blocks are bypassed on the left or right. To the right along the ridge, the first gendarme is bypassed. The most challenging part is the traverse to the right along a narrow ledge of a large gendarme. Having bypassed the large gendarme on the right, we reach "Motokami peak". Peak No. 8 is a good resting spot - horizontal slabs. Here is the ninth control cairn.
The descent goes to the right via a snowy slope to the ridge between peaks 8 and 9. The ascent to peak No. 9 "Mir peak" is via ruined rocks. The pre-summit tower is bypassed on the right under the rocks along the edge of the ice (2 ropes). The following are set:
- 3 ice pitons;
- 1 rock piton. To the right is a steep snowy slope with rockfall, occasionally a glacier.
We exit under the summit tower. The rocky wall facing north is bypassed via a weakly expressed couloir with rime ice. The most challenging part of the ascent to the tower is the first 30 m:
- cutting steps;
- belays through pitons (3 pcs.), set in the rocky wall.
The further ascent goes to the left upwards, with belays through pitons (2 pcs.), 20 m via ruined and steep rocks. The final section of the wall involves moving via uncomplicated ruined rocks directly upwards with belays through outcrops. At peak No. 9 "Mir peak" is the tenth control cairn. The descent follows a snowy ridge to the east to the ridge "Gorbunov peak". Along a gentle snowy slope, we exit to peak No. 10, hosting the eleventh control cairn.
The ascent is not complicated. The descent goes to the east, then the ridge turns north. We proceed to the next peak No. 11 along a heavily ruined ridge. To the left are steep 200-meter walls. We overcome a small wall (8-10 m) with good holds, easily passable. Further, we ascend a ridge via rocks of moderate difficulty.
At peak No. 12 stands a geodetic sign, at the base of which a note is left (control cairn No. 12).
The descent from the peak goes along a heavily ruined ridge. Then a wall with many holds is overcome. Gendarmes on the ridge are bypassed on the left.
We exit to a ridge; from it, the ascent goes via fine scree, turning into a heavily ruined and gentle ridge. Along this ridge, we exit to heavily ruined rocks - the pre-summit tower, from which via a narrow snowy ridge (20 m) we proceed to peak No. 13. Here is the thirteenth control cairn.
Descent from the peak:
- via the tower along gentle, ruined rocks;
- we overcome a chimney, 10 m;
- ridge gendarmes are bypassed on the left;
- the ascent to the final peak goes via scree, turning into gentle slabs just before the peak.
Further, we exit to a slight depression between the peak and a grey gendarme. From it, moving to the right, we ascend via easy rocks to peak No. 14, hosting the fourteenth control cairn.
The descent follows the ascent path to the ridge between peaks 14 and 13 and then via fine scree with snowy sections to the valley of the Leviy Aksay river.
The traverse was completed between June 28 and July 3. On the route, 25 rock pitons and 3 ice pitons were set. The most challenging sections of the traverse are:
- The descent into a hollow from peak No. 6;
- The ascent via the wall (6 ropes) to peak No. 7;
- The ascent to "Mir peak" from the north;
- The descent from "Mir peak".
The team considers the route to be category 4B.
Due to the route spanning 3 days, there are technically complex sections:
- Individual peaks, such as No. 7, are themselves category 4A routes.
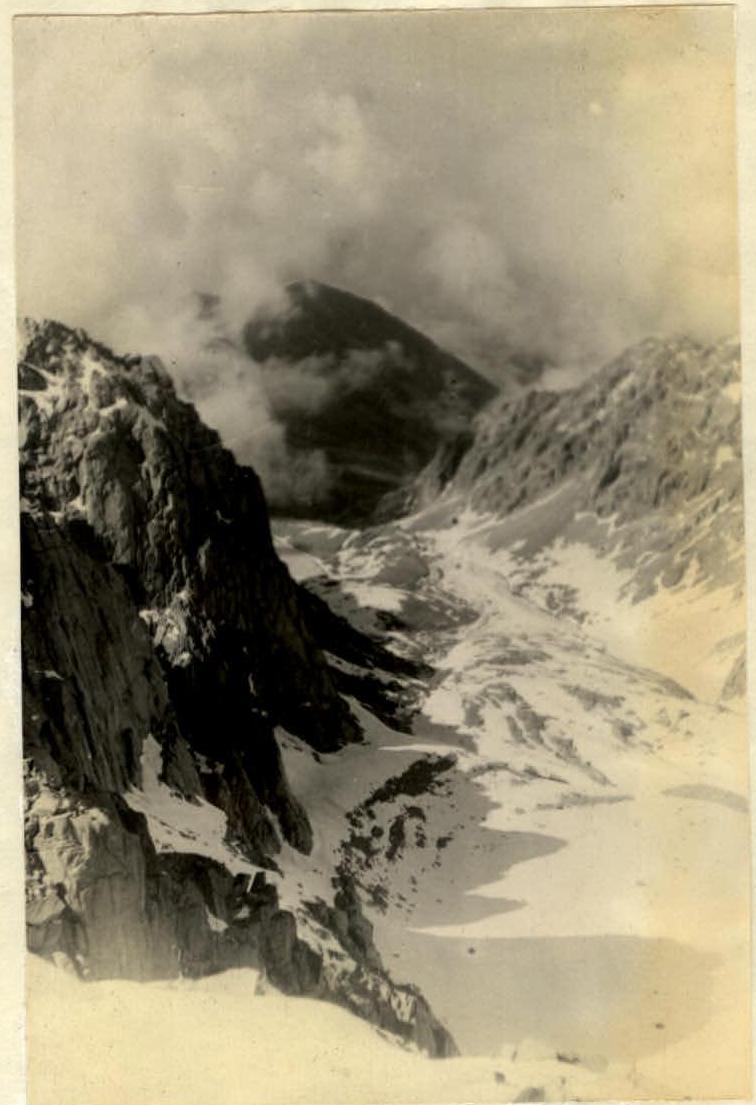
View from Mir peak to the valley of the Leviy Aksay river.