53.3.
Passport
- Class: Technical
- Pamir-Alay, Matcha mountain junction, Darapioz valley
- v. Akhun, 5224 m via Southeast wall
- 6B cat. diff., second ascent
- Elevation gain: 1470 m, length — 1750 m, length of sections with 5–6 diff. — 1010 m. Average steepness of main sections — 78° (3800–4830 m), including: 6 diff. — 540 m, 83° (4350–4830 m)
- Pitons used:
| Rock | Bolt | Nuts | Ice |
|---|---|---|---|
| 155 | 0 | 88 | 6 |
| 10 | 27 | 0 |
- Team's working hours: 38 and days — 4
- Overnights: 3, all on platforms in a tent for 5 people
- Team leader: Ivashchenko A.S. — CMS
- Shukin V.I. — MS
- Efremov A.P. — CMS
- Shevchuk A.D. — CMS
- Meshkov Yu.B. — CMS
- Trainer: Retyunsky Yu.D. — MS
- Approach to the route: July 9, 1983
Summit — July 12, 1983. Descent — July 13, 1983.
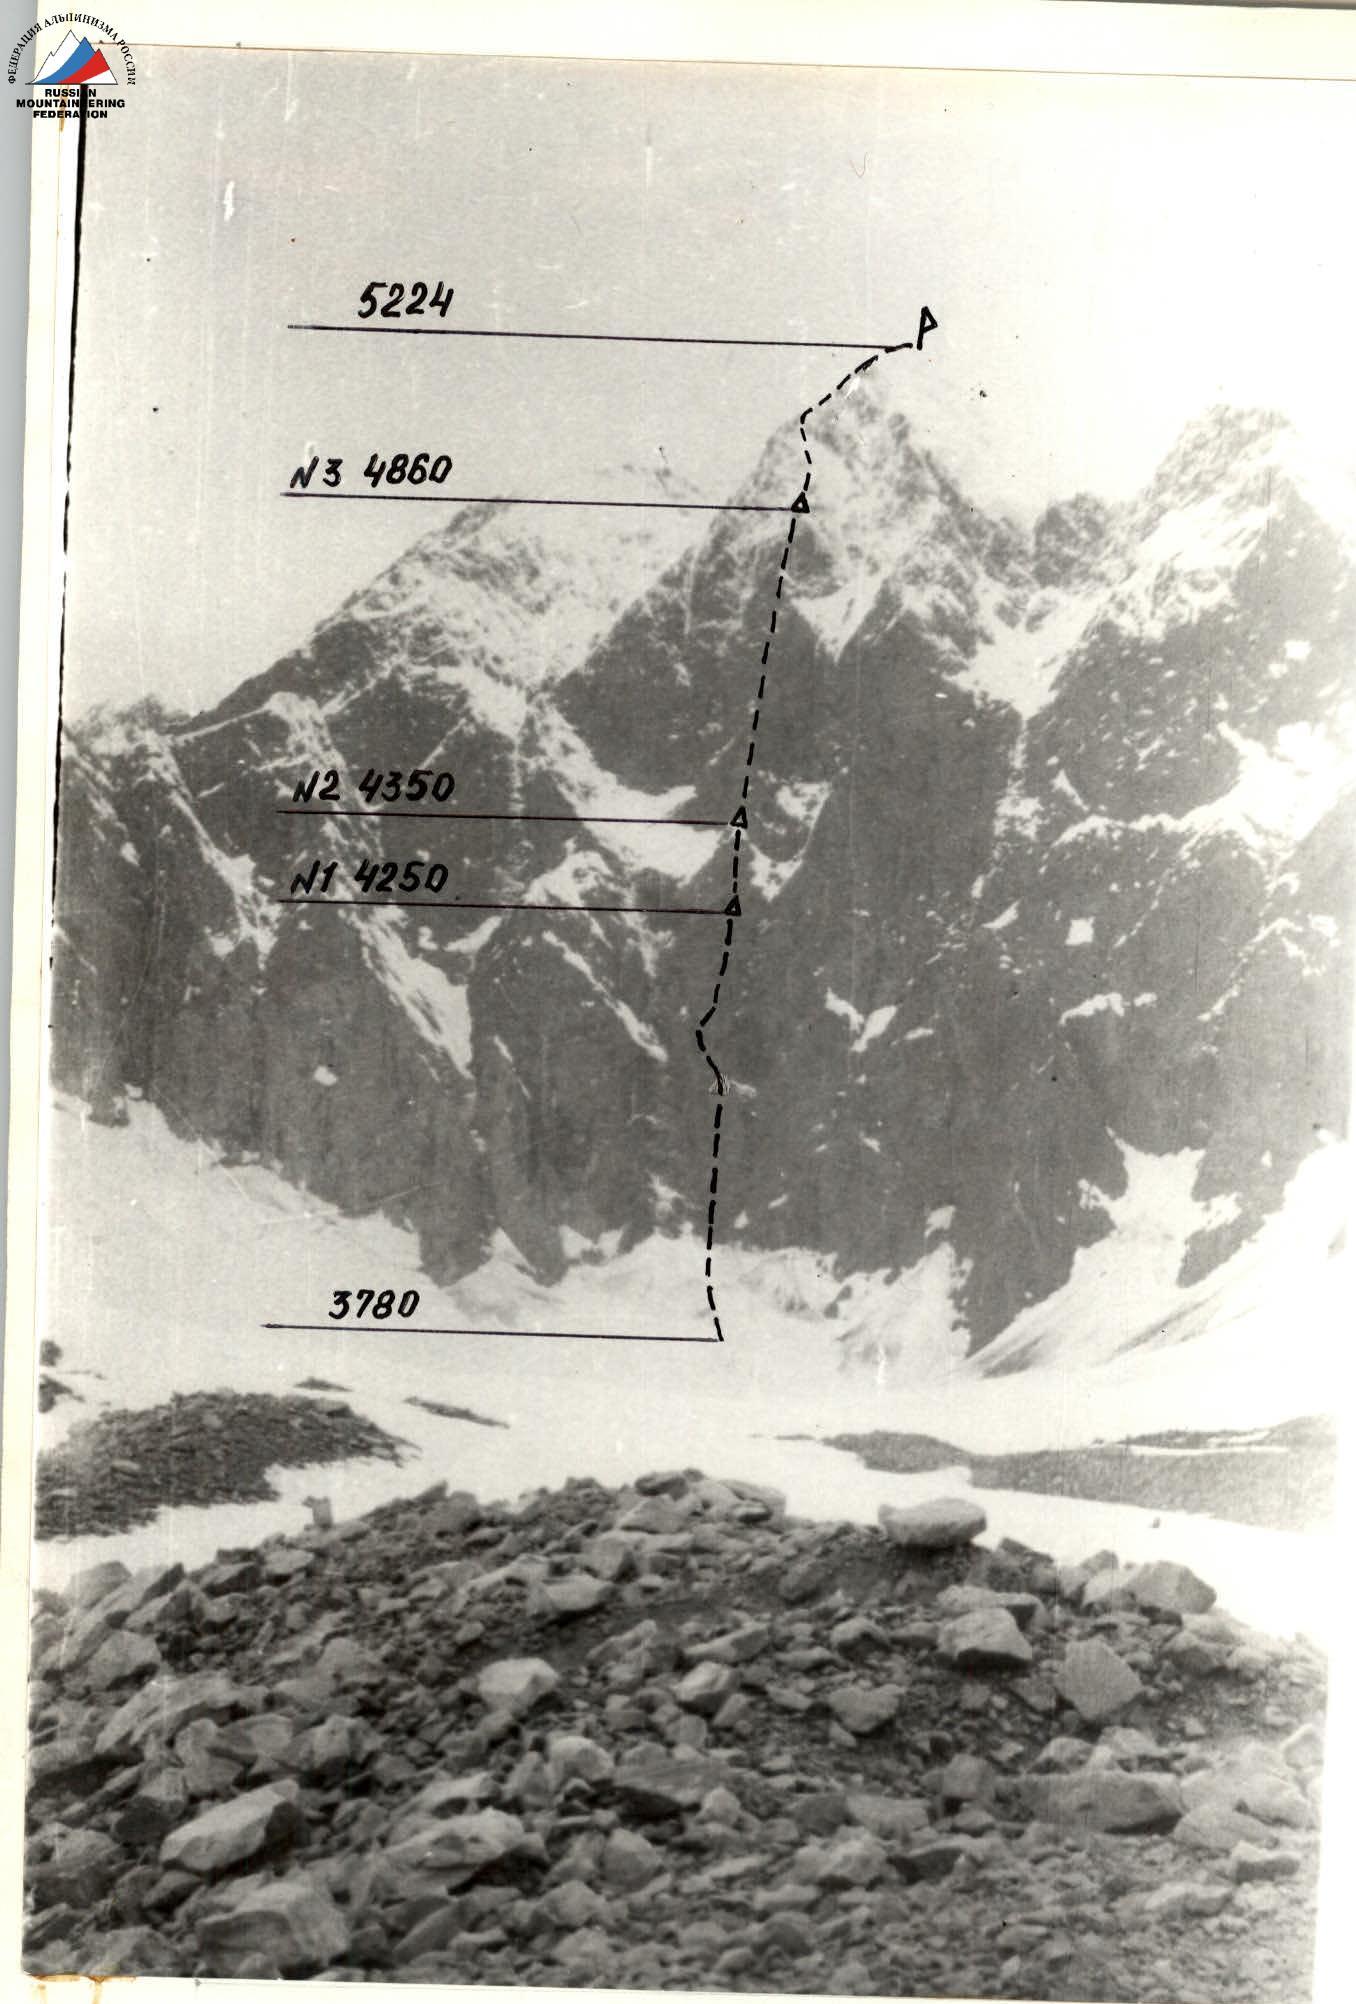
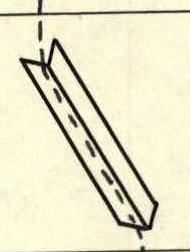
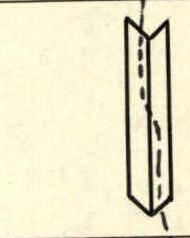
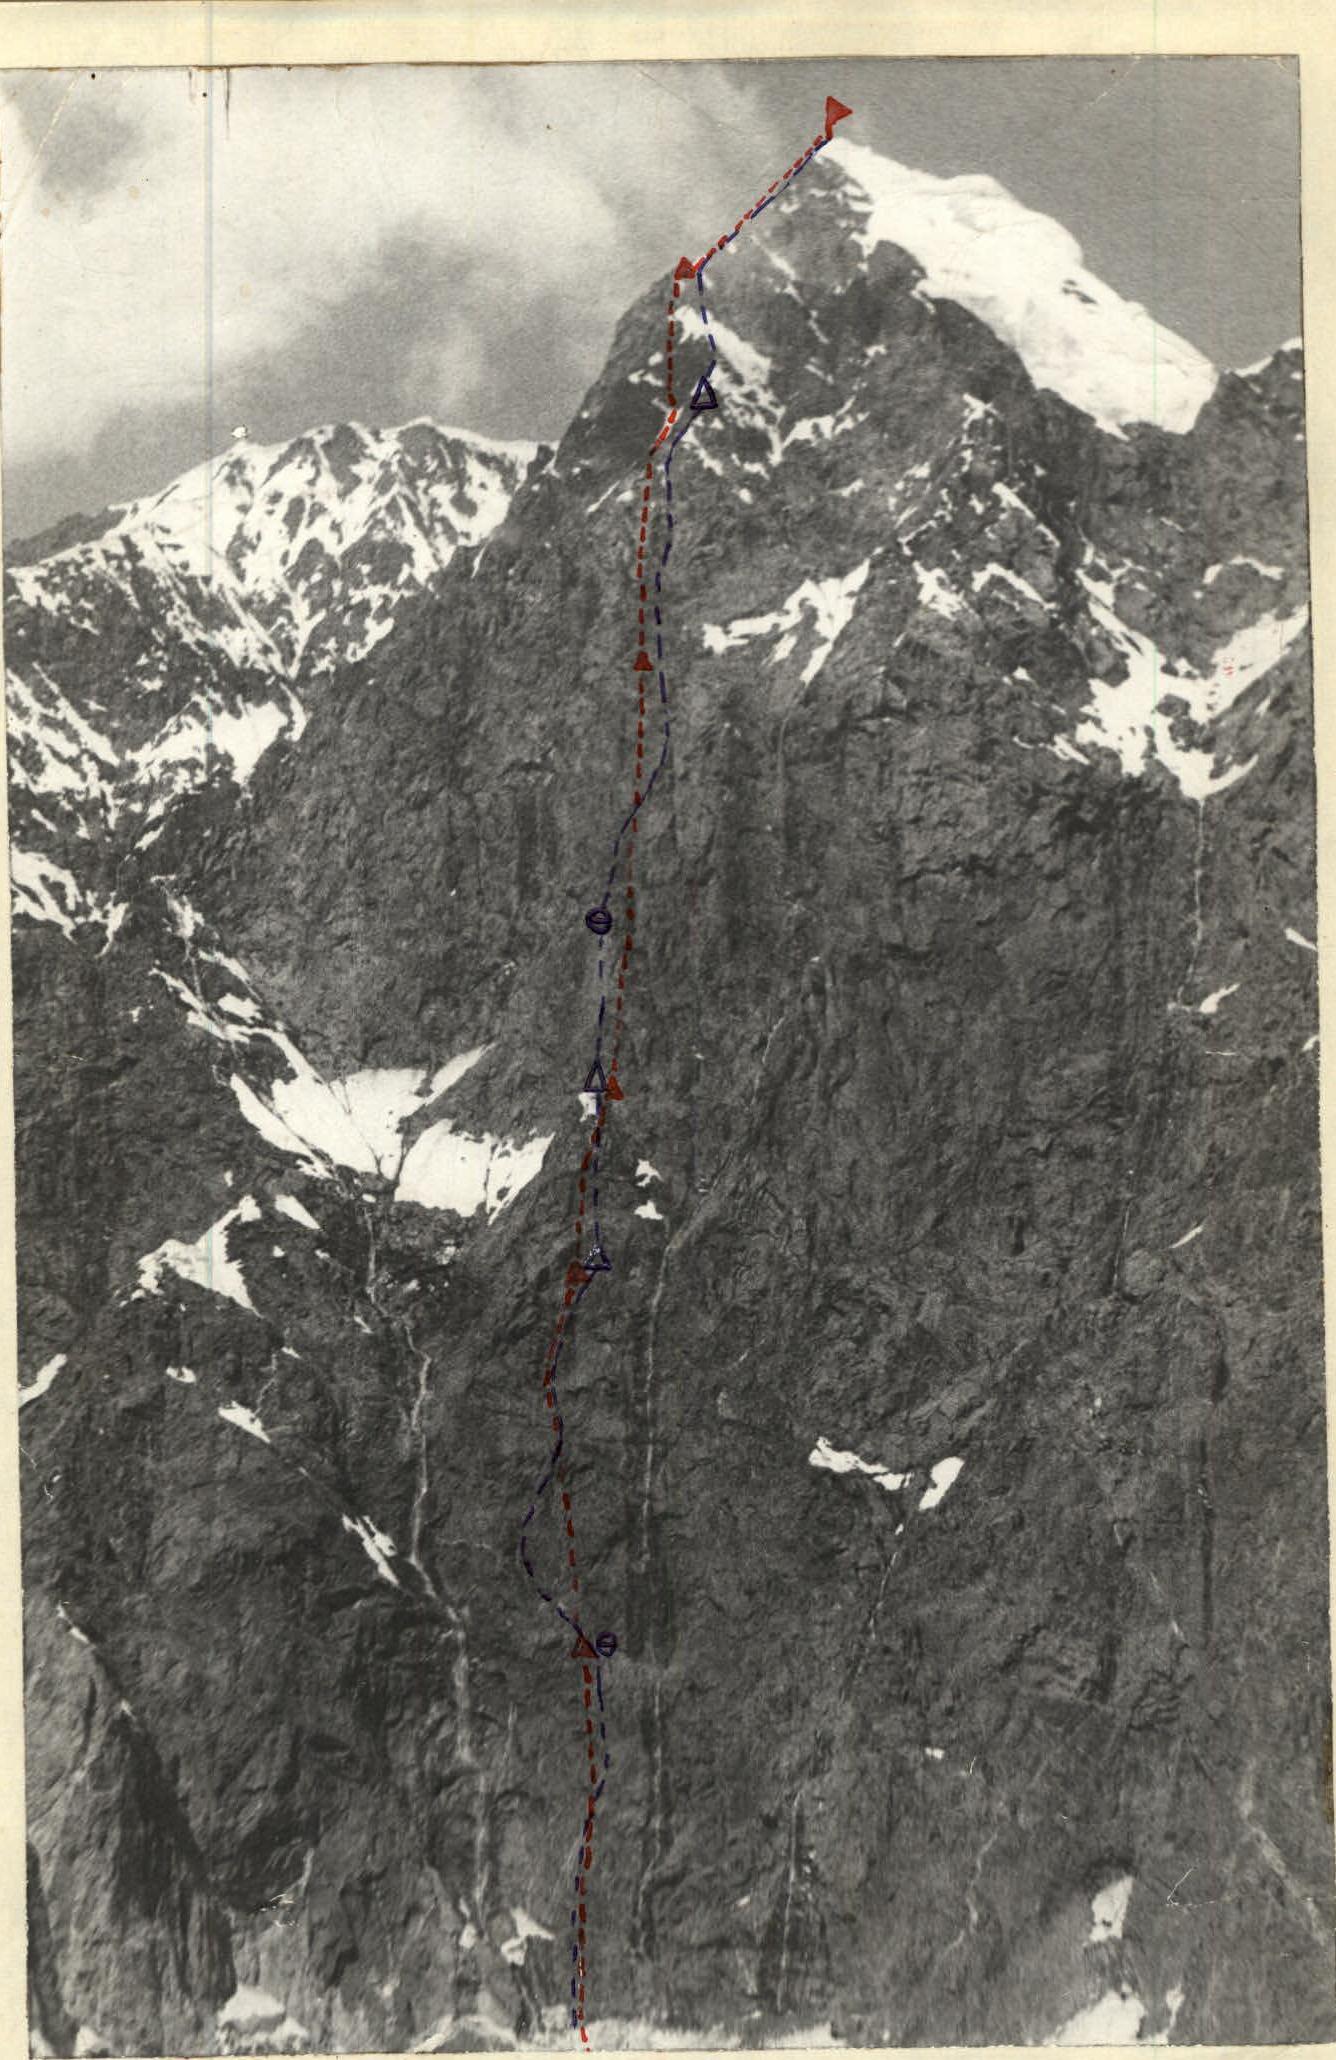
General photo of the summit. July 8, 1983, 16:00. "Industar-50", 1.5–2 km, shooting point #1, 3500 m.
Team's Tactical Actions
The team's tactics for wall climbing routes was developed over 1976–1982.
The team takes n+1 ropes on the route, where n is the number of participants. This allows:
- Maintaining a high pace on the route, provided that each participant moves on a double rope.
- All team members can work as leaders.
- Changing leaders in the middle of the day also helped maintain a high pace.
A deviation from the tactical plan was climbing the first bastion in one day (planned for two). This was due to the high rockfall danger of the lower part of the route, which is "swept" by rocks from 780 m and until 13:00–14:00. It was decided to continue moving after 14:00 on the first day to exit the danger zone. Before this ascent, the team had experience climbing routes with rockfall danger:
- "Maria" via the center of the NE wall
- "Chadara" via the 3rd wall
Therefore, this state of the route did not cause confusion among the team.
Given that there is practically no place for a good bivouac throughout the second bastion, the lower part of the second bastion was processed, allowing the team to climb the main part of the second bastion on the third day.
The team has a condition that the belay anchor point must be protected from rockfall, which is constantly observed.
The team uses any opportunity to organize overnight stays in a tent, even if it means preparing a new platform. All three overnight stays on this ascent were in a tent on newly prepared platforms.
Communication with observers was carried out using the "Vitalka" radio station. Communication was constant — three times a day. In addition to emergency communication, additional communication was provided 30 minutes after the main session in case the team did not check in on time. Radio communication was supplemented with flare communication.
| Section # | RP | Pitons | Nuts | Ice | Description / Category |
|---|---|---|---|---|---|
| R0–R1 | - | - | - | - | III 30 m 40° |
| R1–R2 | 3 | - | - | - | IV- 25 m 55° |
| R2–R3 | 6 | 2 | - | - | A1 VI+ 40 m 85° |
| R3–R4 | 9 | 5 | - | - | V+ 60 m 80° |
| R4–R5 | 9 | 3 | - | - | V- 60 m 75° |
| R5–R6 | 9 | 9 | - | - | V+ 60 m 80° |
| R6–R7 | 5/2 | 4/3 | - | - | A1 VI+ 40 m 87° |
| R7–R8 | 4 | 1 | - | - | V- 30 m 70° |
| R8–R9 | 4 | 2 | - | - | A2 VI+ 15 m 80° |
| R9–R10 | 3 | 1 | - | - | VI+ 20 m 85° |
| R10–R11 | 7 | 2 | - | - | IV+ 60 m 70° |
| R11–R12 | 2 | 2 | - | - | V- 20 m 70° |
| R12–R13 | 3 | 2 | - | - | V+ 30 m 80° |
| R13–R14 | 3 | - | - | - | IV- 40 m 55° |
| R14–R15 | 6 | 2 | - | - | II 30 m 35° |
| R15–R16 | - | - | - | - | A1 VI+ 75 m 85° |
| R16–R17 | 8 | 1 | - | - | A1 VI+ 40 m 85° |
| R17–R18 | 5 | 1 | - | - | IV+ 30 m 70° |
| R18–R19 | 3 | - | - | - | IV- 30 m 70° |
| R19–R20 | 4 | 5 | 1 | - | A1 VI+ 40 m 85° |
| R20–R21 | 4 | 7 | 3 | - | A2 VI+ 40 m 90° |
| R21–R22 | 4 | 6 | 3 | - | V- 20 m 75° |
| R22–R23 | 3 | 3 | - | - | A3 VI+ 25 m 95° |
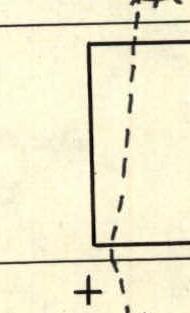
| R23–R24 | 7 | 3 | 4 | - | A1 VI+ 40 m 85° |
| R24–R25 | 5 | 4 | 3 | - | A1 VI+ 40 m 87° |
| R25–R26 | 6 | 5 | 3 | - | |
| R26–R27 | 5 | 4 | - | - | V+ 40 m 80° |
| R27–R28 | 8 | 2 | 2 | - | A2 VI+ 40 m 85° |
| R28–R29 | 5 | 3 | - | - | V+ 10 m 60°, V+ 30 m 80° |
| R29–R30 | 2 | - | - | 2 | III 40 m 35° |
| R30–R31 | - | - | - | - | IV+ 60 m 50° |
| R31–R32 | 2 | - | - | 2 | III 150 m 45° |
| R32–R33 | 4 | - | - | 2 | V+ 100 m 75° |
| R33–R34 | - | - | - | - | IV+ 150 m 50° |
| R34–R35 | 9 | - | - | - | III 80 m 40° |
| R35–R36 | - | - | - | - |


Route Description by Sections
Section R0–R1. Snow slope with increasing steepness. The upper part is dissected by a bergschrund, which is crossed via a snow bridge on the left side of the Southeast wall's base. A steep snow slope leads to the wall. The belay station is located under a cornice 10 m high.
Section R1–R2. A sheer wall with small cornices. Climbed vertically, with cornices bypassed on the left. The ledges have many small rocks and signs of rockfall. Nuts and "boxes" fit well. The entire wall is "shot through" with rocks, so belay stations must be chosen under cornices.
Section R2–R3. Rock formations resembling "ram's foreheads" are highly polished, with few cracks, and require thin pitons. Climbed on friction.
Section R3–R4. A sheer monolithic wall with few holds. Climbed from left to right, towards an internal angle. Climbing is very challenging. Cracks are narrow and deep.
Section R4–R5. Internal angle. The rocks are broken, with many holds and cracks. "Boxes" and nuts fit well. The internal angle leads to a small overhanging wall that crosses the entire wall. Under the overhang is the first control cairn of the first ascenders; a sitting bivouac can be organized here. There's an approach to the right waterfall. Very dangerous!
Section R5–R6. Internal angle inclined to the left. Rocks are broken, with many loose stones. Ends on a nearly horizontal platform, but not suitable for a bivouac due to rockfall. From this point, the path of the left watercourse is visible.
Section R6–R7. Internal angle inclined to the right. Rocks are broken, with many holds.
Section R7–R8. Internal angle, nearly sheer. Few holds; climbed using artificial aids (AIDs). Medium-sized pitons fit well.
Section R8–R9. Inclined slab bounded on the right by a sheer wall. Climbed along the junction. Friction holds well.
Sections R0–R9 are particularly prone to rockfall!
Section R9–R10. Internal angle overlapped by a small cornice. The cornice is climbed on the left side using AIDs.
Section R10–R11. Wall with a gap. Challenging climbing; uses "boxes" and nuts.
Section R11–R12. Simple rocks divided by inclined ledges. A bivouac platform is available under an overhanging wall. On the left side of the platform is a large boulder.
Section R12–R13. Internal angle. Rocks are highly broken, with a tiled structure.
Section R13–R14. Wall with many holds; pleasant climbing; many cracks; uses a full set of pitons.
Section R14–R15. Section with many ledges leading to a snow ridge.
Section R15–R16. Snow ridge approaching the base of the second rock bastion. Third bivouac of the first ascenders. Control cairn. Everything is covered in snow; the control cairn was not found. Bivouac on a platform carved in the snow.
Section R16–R17. Internal angle, nearly vertical; no convenient belay stations. Climbed using AIDs. Good cracks for nuts are available.
Section R17–R18. Highly broken, nearly sheer wall; requires maximum attention during climbing.
Section R18–R19. Inclined slab covered with small rocks. Until section R19–R20, the route is exposed to rockfall. Special attention and care are required in choosing belay stations and bivouac sites. At the end of section R18–R19, a control cairn was made (Lessar's control).
Section R19–R20. Internal angle with many holds; the "red" overhanging wall is bypassed on the right via the angle.
Section R20–R21. Sheer wall. Monolithic, with few holds. Nuts fit very well.
Section R21–R22. Internal angle overlapped in the middle by a cornice, which is climbed directly using AIDs.
Section R22–R23. Internal angle filled with snow and accrued ice. Leads to a sheer wall. The belay station is very inconvenient. Climbed along the right wall of the internal angle.
Section R23–R24. Overhanging wall intersected by a cornice belt. In the upper part of the cornice, the rocks are highly broken. The wall and cornice are climbed using AIDs.
Section R24–R25. Sheer internal angle; few holds and cracks. Rocks are monolithic. AIDs.
Section R25–R26. Sheer, partly overhanging wall with few holds. Cracks are only narrow; thin nuts and pitons fit well.
Section R26–R27. Wall with indistinct angles. Varied relief. Many cracks. Any type of piton fits.
Section R27–R28. Smooth, sheer wall crossed from left to right by a gap with a cornice. The cornice is climbed via the gap using AIDs. At the top is a good platform for a belay station.
Section R28–R29. Ice chute; climbed in crampons.
Section R29–R30. Broken wall; many loose stones. "Boxes" and wedges fit well.
Section R30–R31. Snow ridge leading to the base of an ice-snow couloir. An excellent bivouac platform can be made on the ridge.
Section R31–R32. Ice-snow couloir climbed on the right side, exiting onto a rock "island."
Section R32–R33. Snow slope; leads left upwards towards a rock ridge.
Section R33–R34. Internal angle filled with snow and accrued ice; leads to a snow ridge. The exit to the ridge is via a snow cornice.
Section R34–R35. Rock ridge heavily snow-covered. Movement in the middle of the day is dangerous due to avalanche risk. Climbed along rocky outcrops.
Section R35–R36. Snow "cushion" leading to the summit. The control cairn was not found; everything is covered in snow. A new control cairn was built on rocky outcrops southwest of the summit. Descent from the summit is to the southwest, via Nazar-Aylak pass, and back to the base camp.
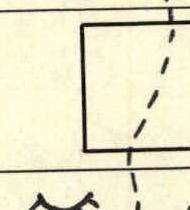
Technical photo. July 25, 1980. "Helios-44-2" lens (56 mm), ~1 km, 3600 m.
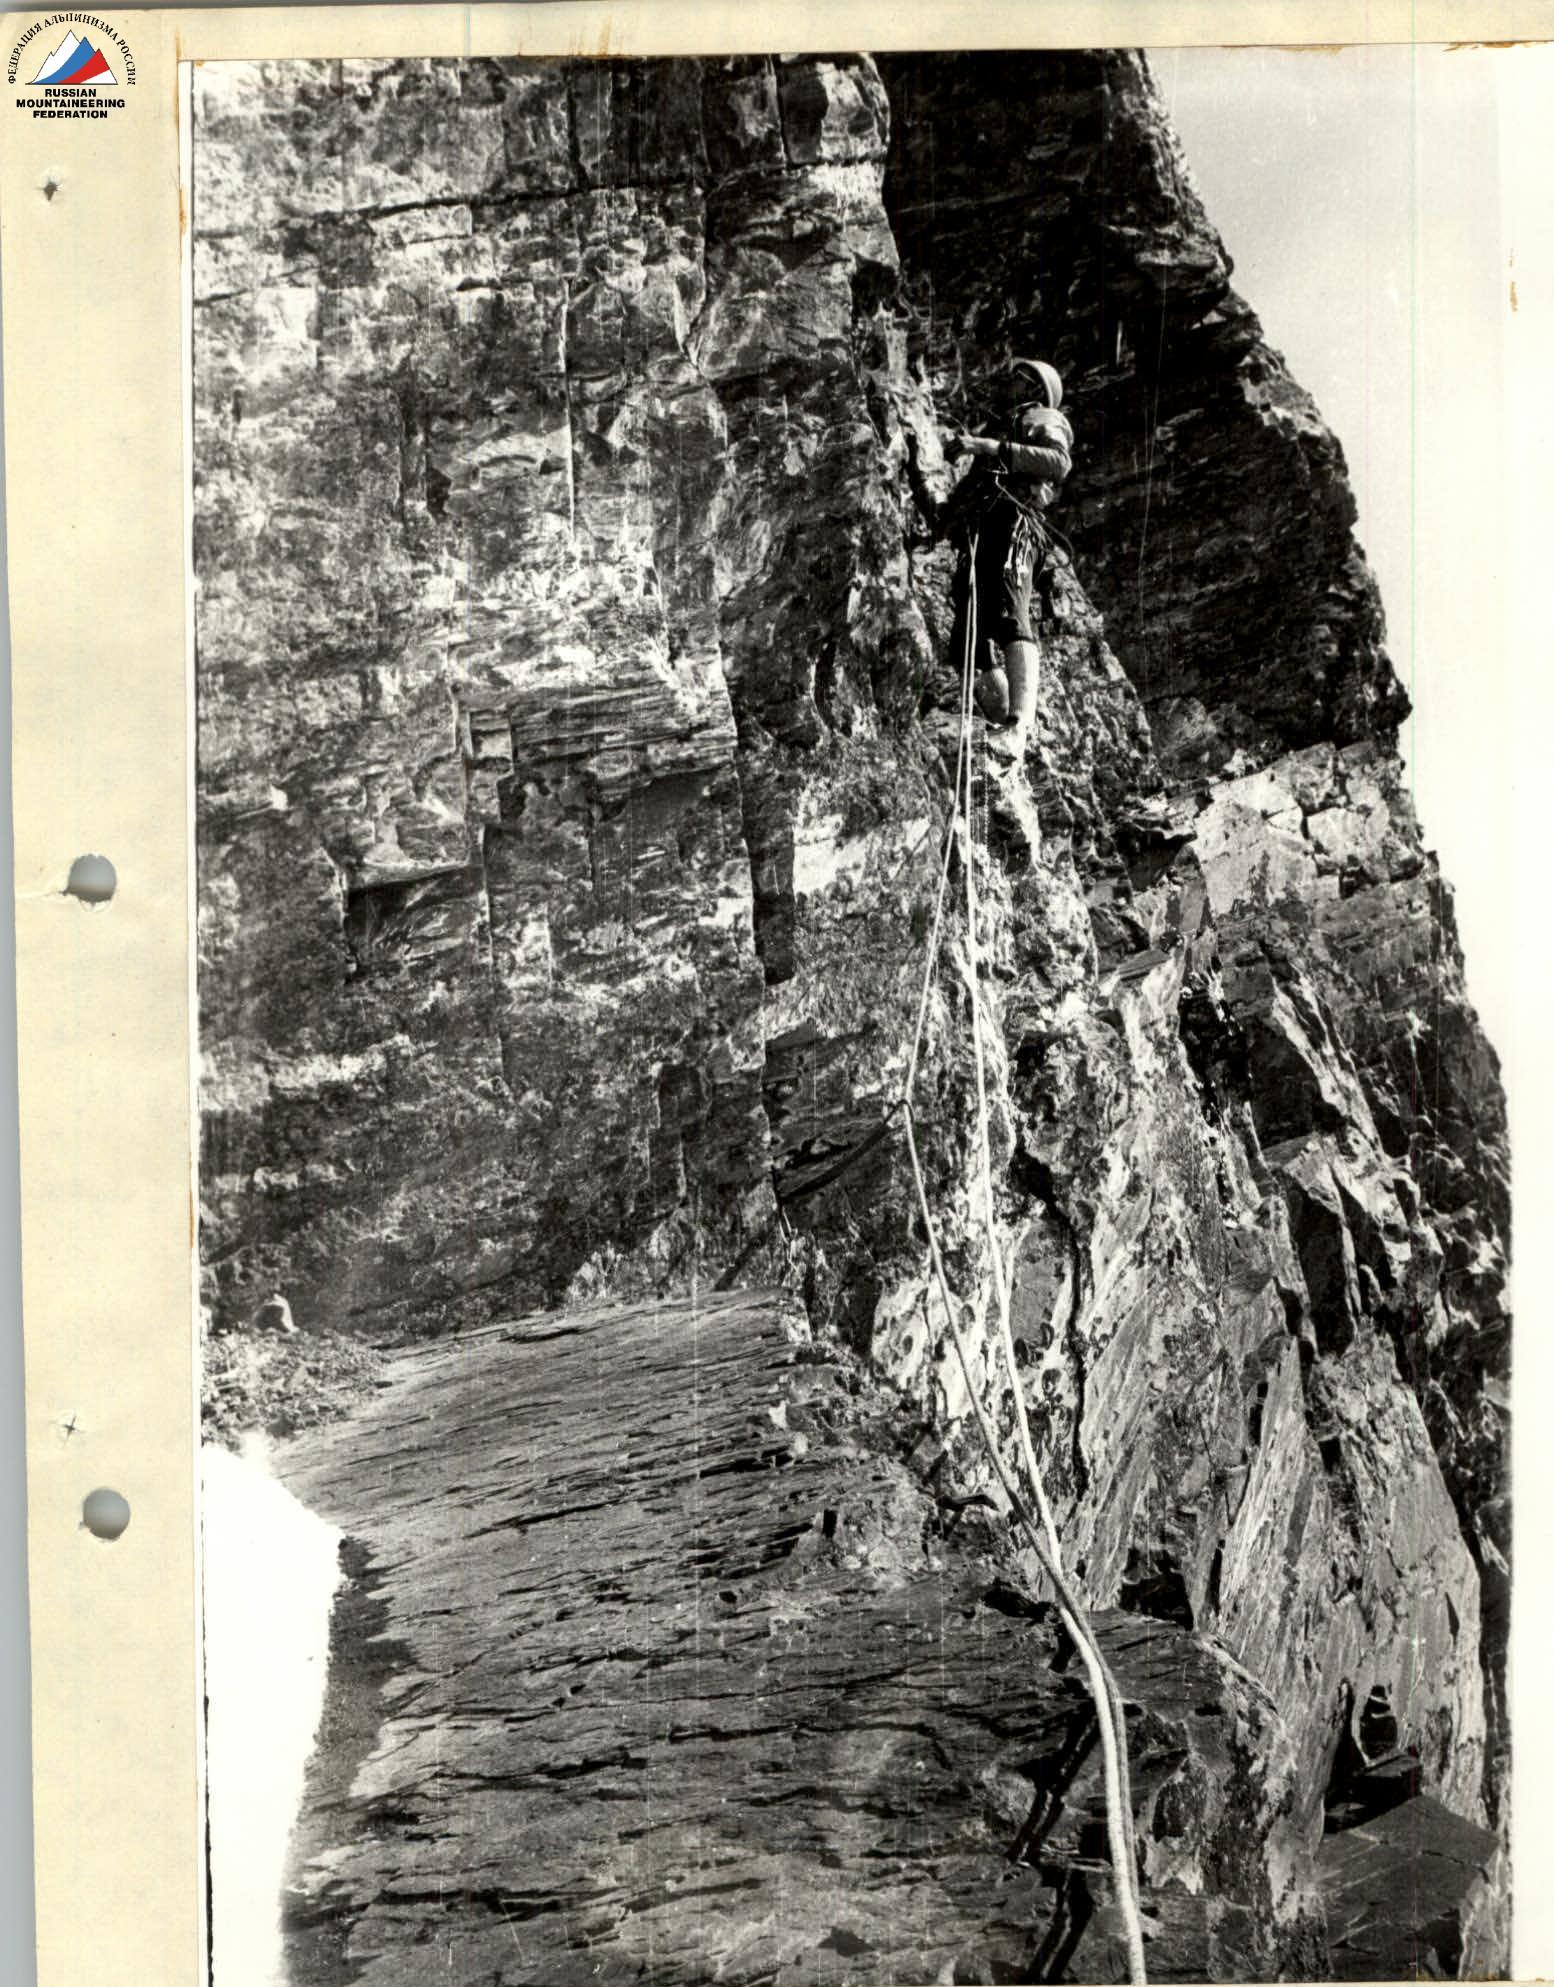
Photo #4. Climbing section R23–R24.