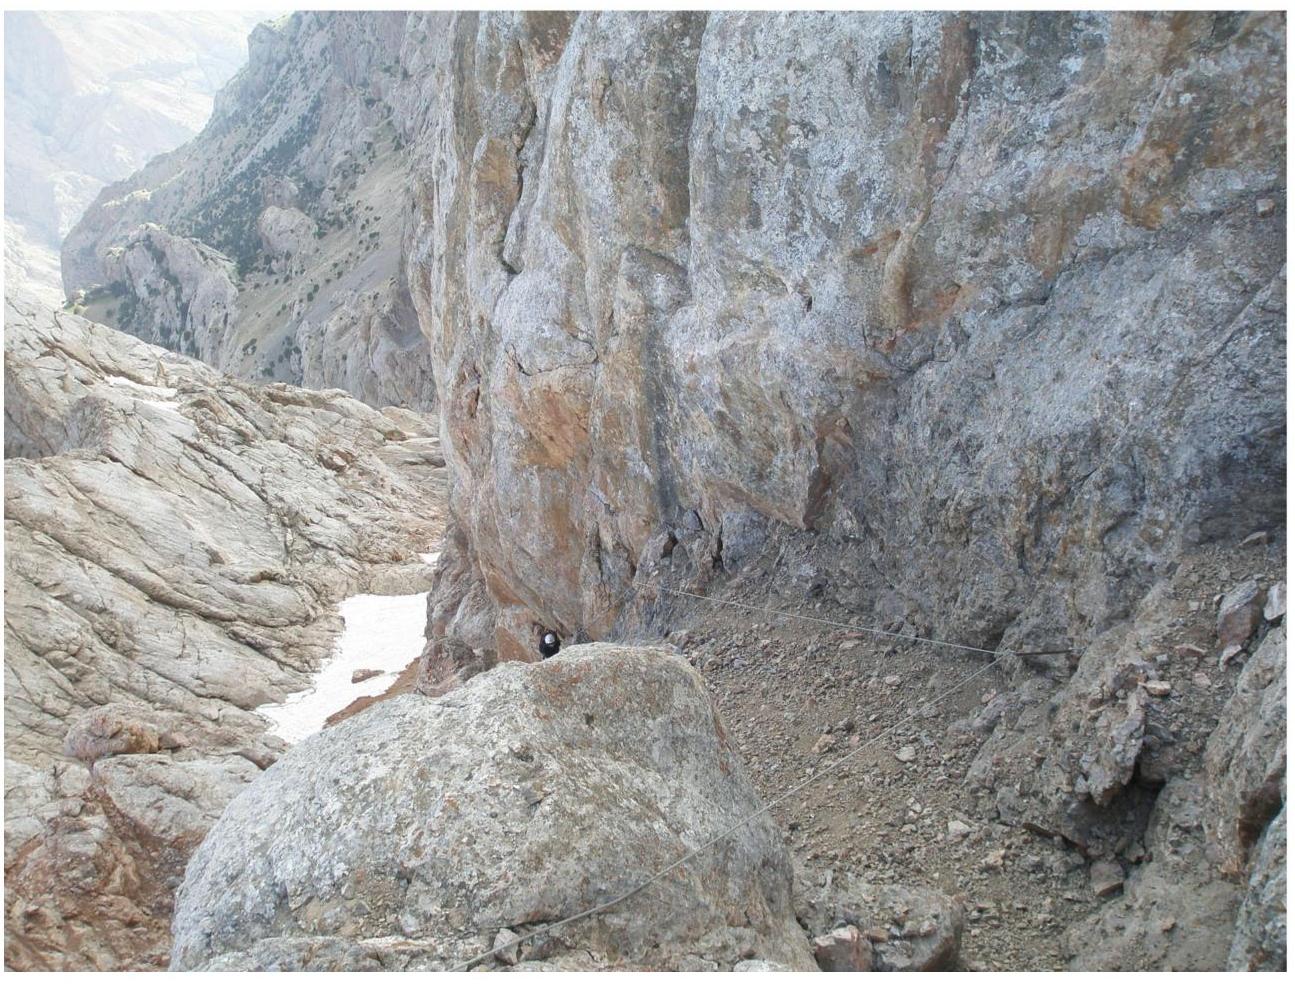
Photo 15. View of the second tier bastion from R16.
Recommended ascent route:
- Photo 15. View of the second tier bastion from R16
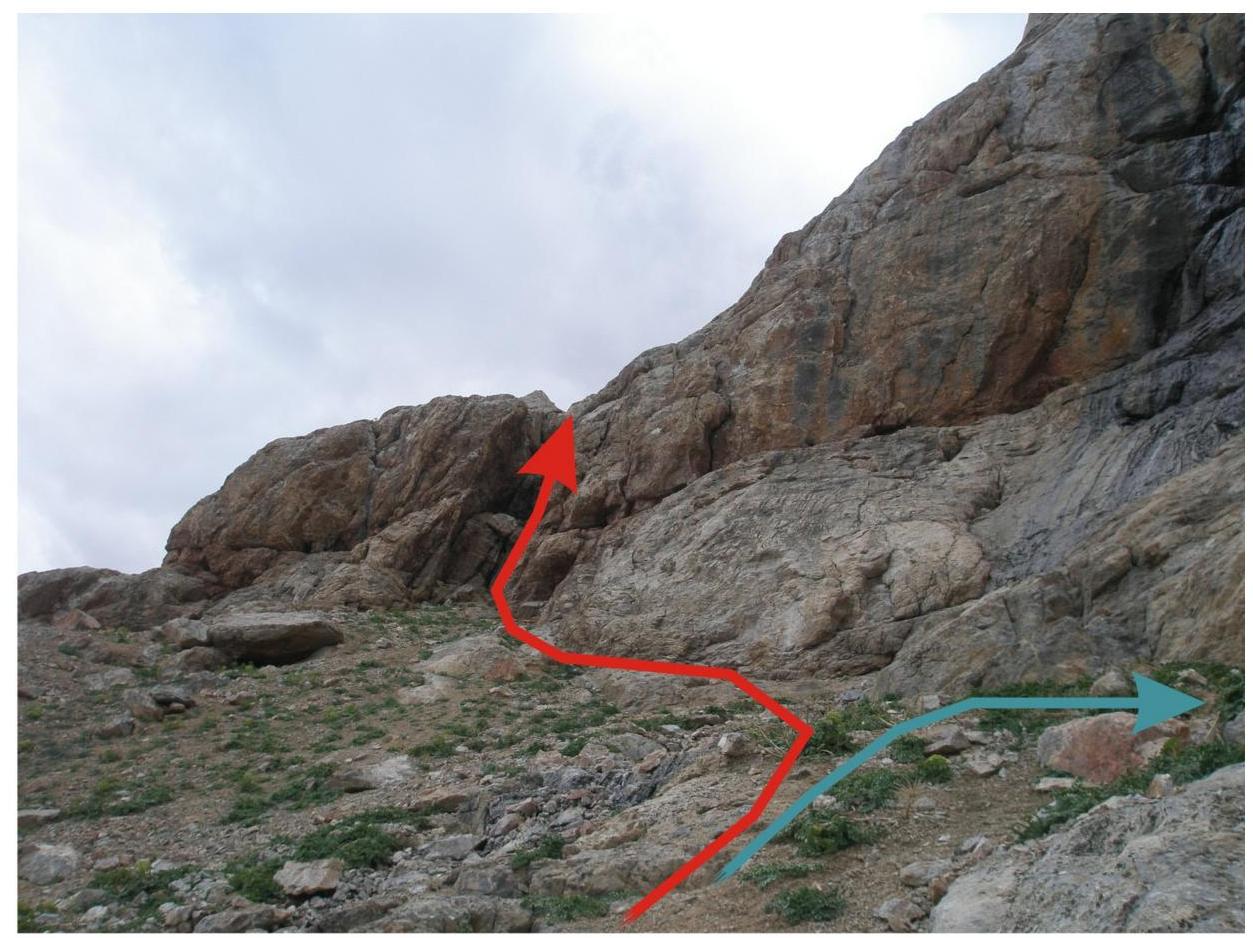
- Photo 16. Section R17–R18. Rope descent.
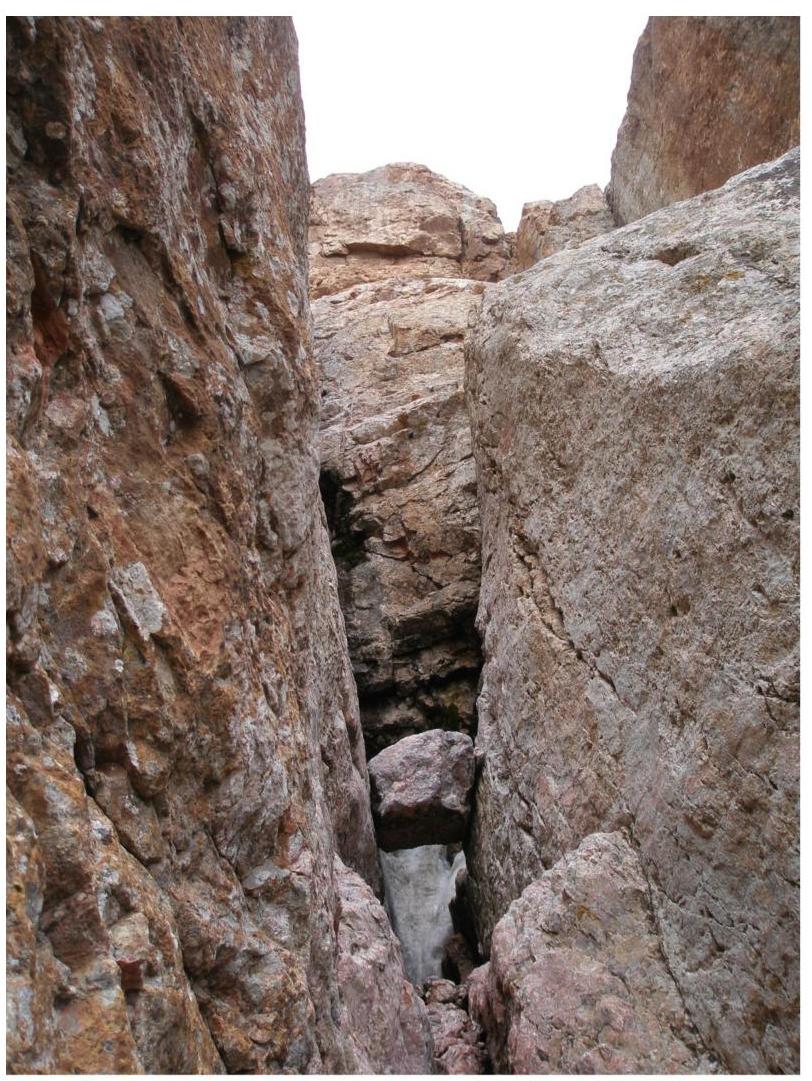
Photo 17. Entering the chimney R18–R19.
Photo 18. Passing the chimney R19–R22.
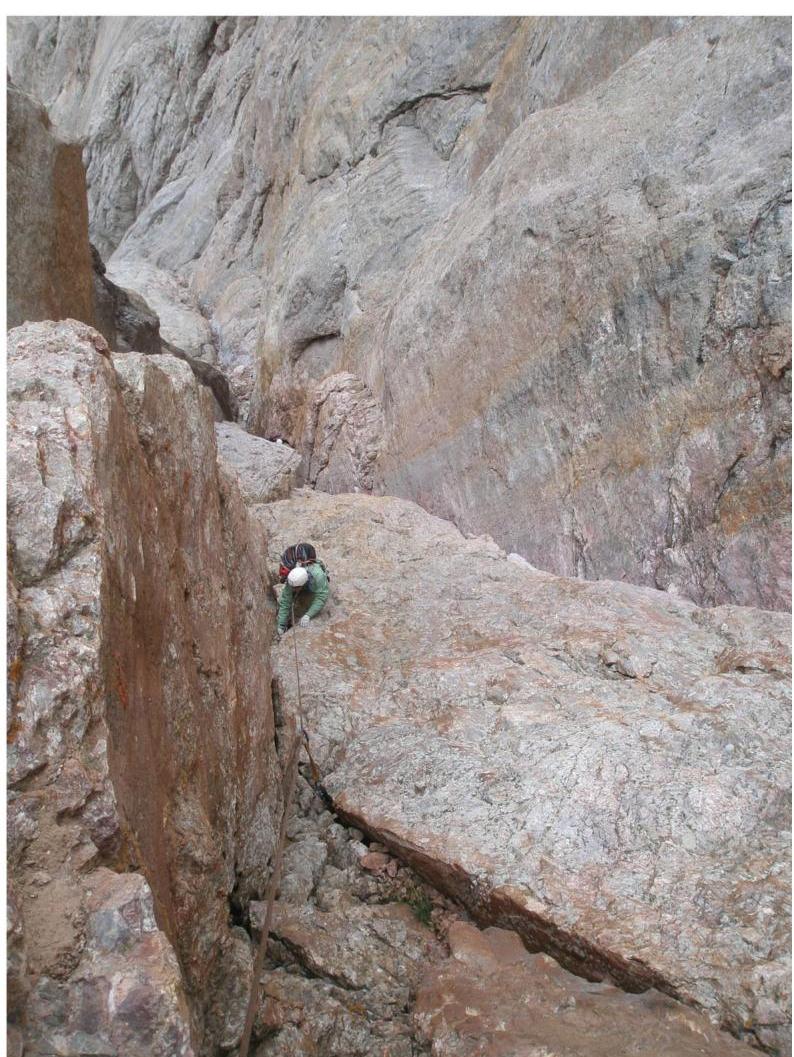
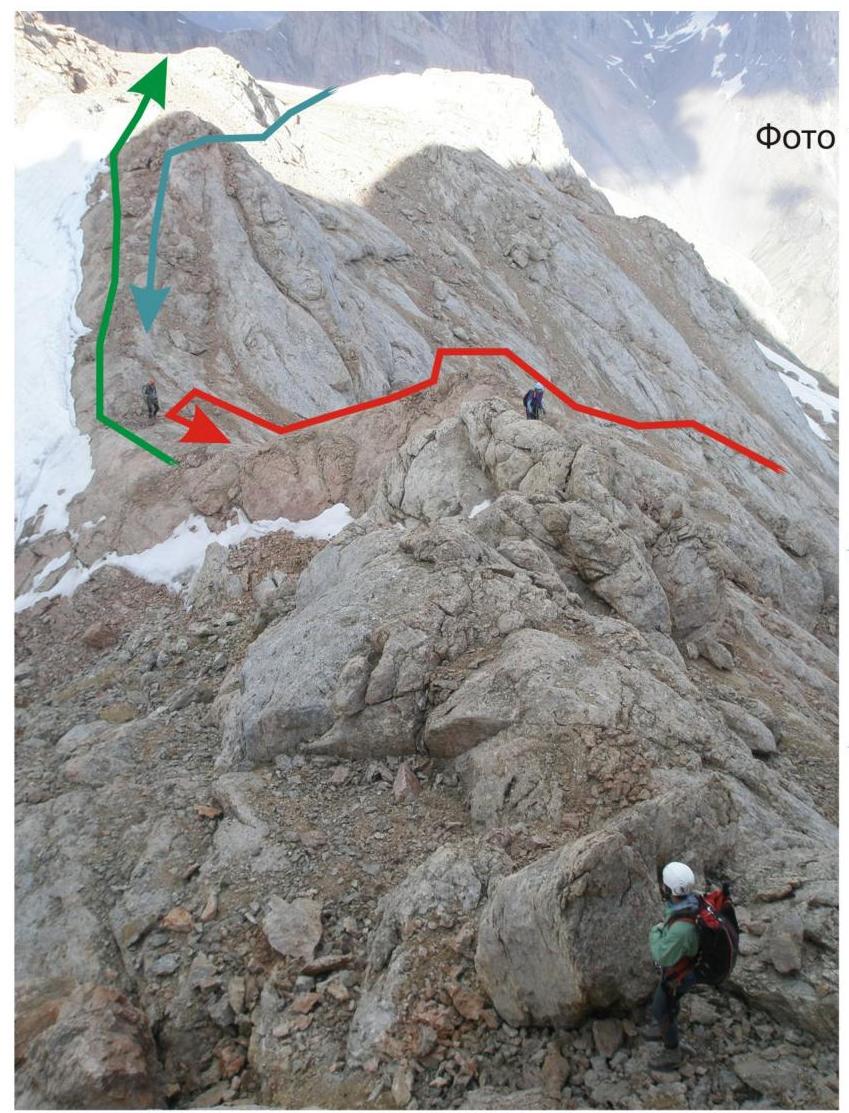
Photo 19. On the pre-summit ridge R23–R24. View from above
Team's ascent route
Recommended ascent route after R16.
Recommended descent route to the base camp.
Photo 20. Reaching the summit, final section
R24–R25.