Ascent Log
of the Tyumen Region combined alpine team (Tyumen Regional Alpine Federation) to Peak Korona 5th Tower via the Sadovsky Route, category 5B, as part of the Russian Alpine Championship, correspondence class for high-altitude technical ascents.
Tian Shan, Kyrgyz Range, Ak-Sai valley. Peak name: Korona 5th Tower, 4860 m Route: V. Sadovsky's Route (1968) - southwest wall, category 5B Route type: combined Route elevation gain: 860 m Route length: 900 m
Section lengths:
- category 2: 200 m
- category 3: 60 m
- category 4: 370 m
- category 5: 270 m
Average slope:
- main part of the route: 72°
- entire route: 60°
Pitons left on the route: total 1; including 0 bolts Used:
- pitons on the route: 15
- chocks: 35
- stationary bolts: 1, including 0 for artificial aids (AIDs) Total artificial aids (AIDs) used: 30
Team leader: Gaynullin Timur Talgatovich, 1st sports category
Team members:
- Agafonov Alexander Alexandrovich, Master of Sports
- Tretyakov Boris Vladimirovich, 1st sports category
- Karpenko Alexey Alexandrovich, 1st sports category Coach: Gaynullin Timur Talgatovich
Total climbing hours: 15 hours from Korona bivouac (4000 m) to the start of the route via Ak-Sai glacier - (6:00-7:20) up the couloir to the wall - (7:20-7:50) ascent via the route to the summit - (8:00-20:10) descent to Korona bivouac via the Third and Fourth Towers - (20:10-21:00)
Start of ascent: 6:00, September 28, 2009 Summit reached: 20:10, September 28, 2009 Return to base camp: 21:15, September 28, 2009
Ascent organized by the Tyumen Regional Alpine Federation, with support from Manaraga and A-Prime.
POR16 R15 60m 45 111 R14 30M 70° IV Θ R13 50m 75°V e R12 30m 80°Vet OR1F 20M 75 IV R10 20m. 60° IV
R9 120m 70° IV
OR8 30M 70° V
R7 40m 75° Ve
R6 40m 50°IV
R5 30M 80°V
R4 20м 60° IV
R3 20m 60° IV
R2 40M 80°v
R1 100m 45°IV
• Ro 200m 40° 11
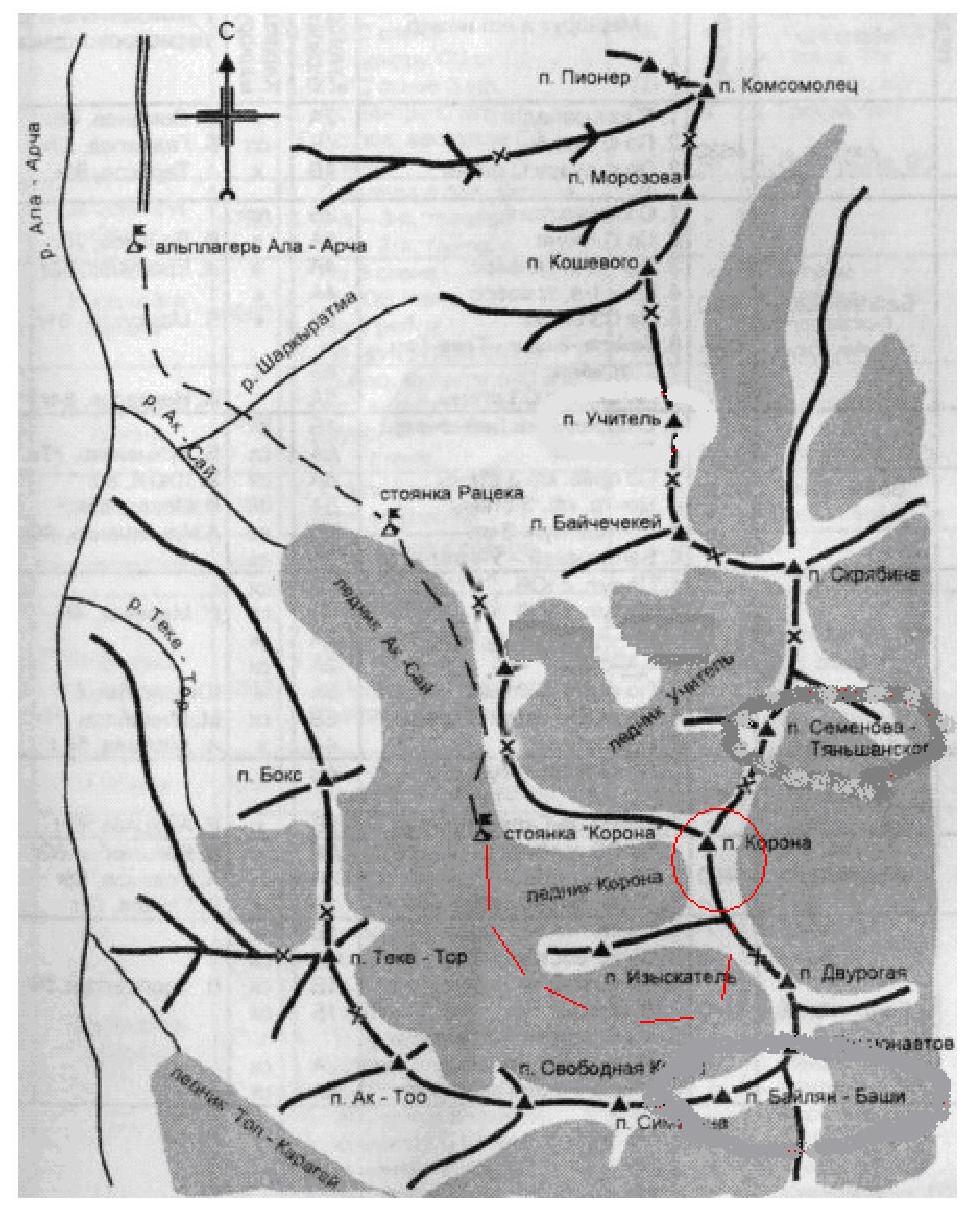
Area map
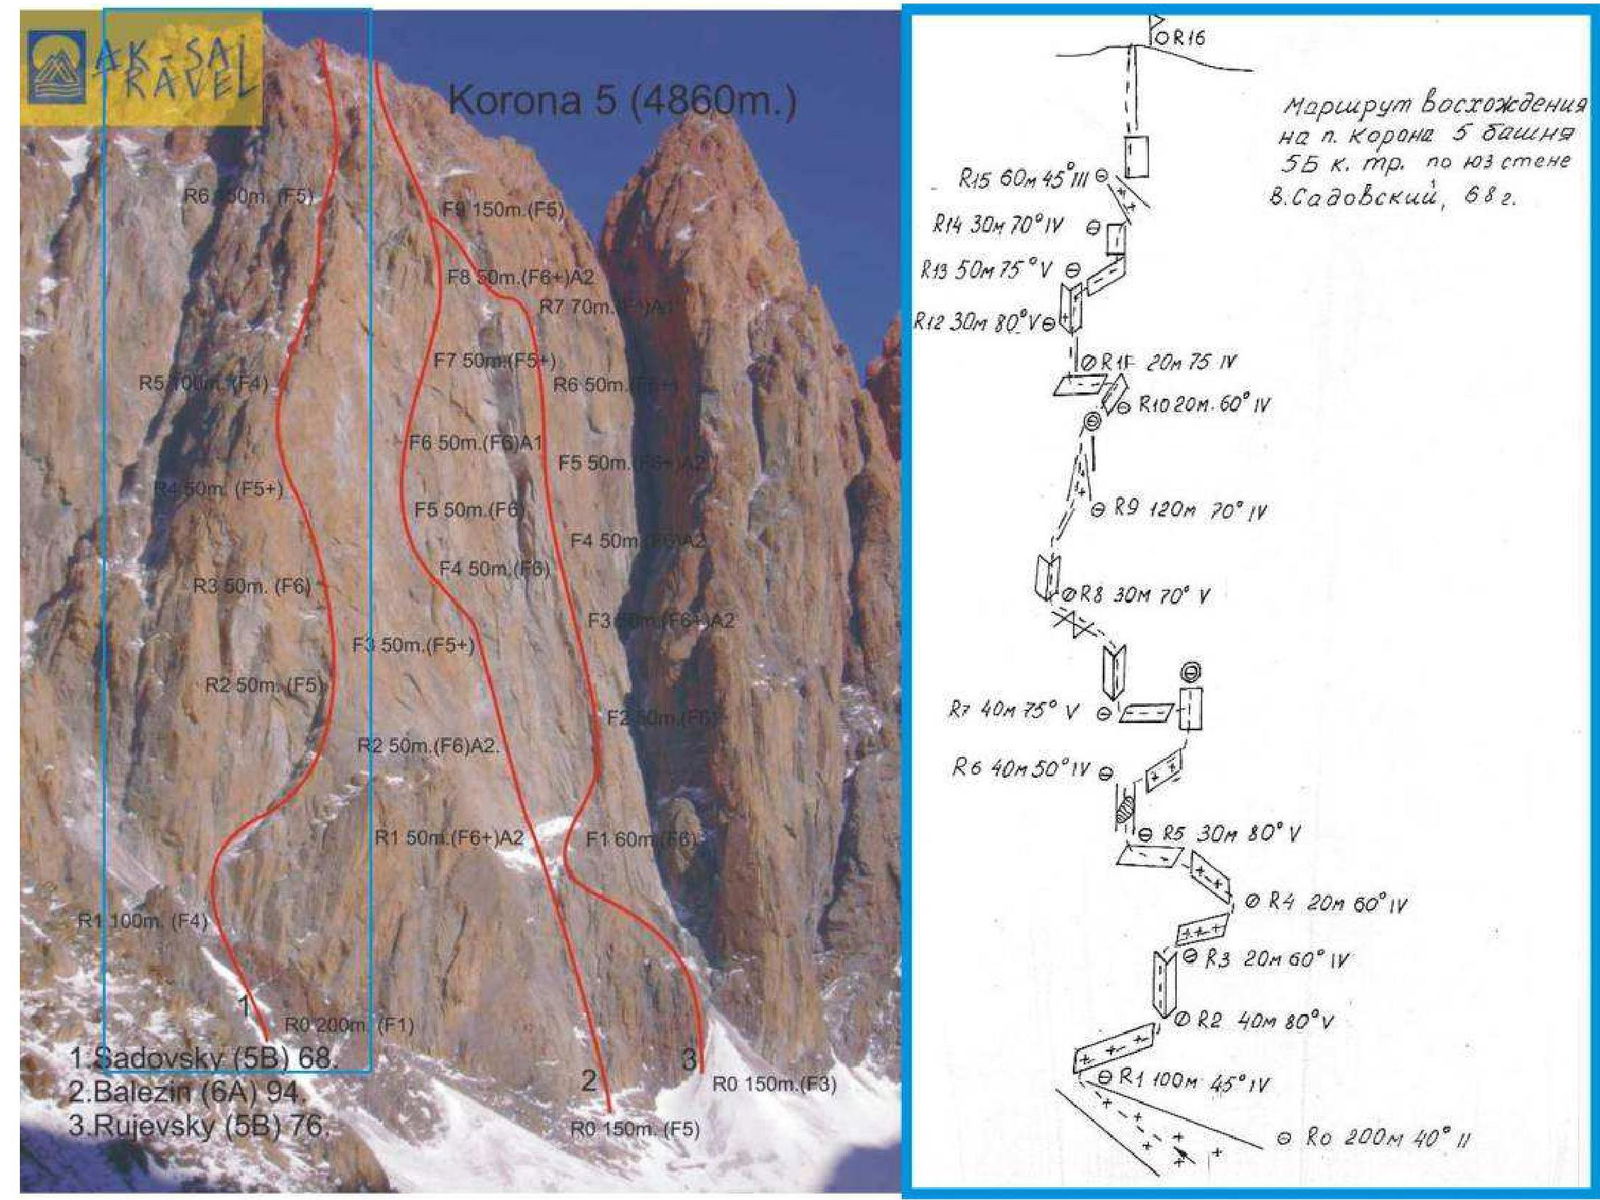
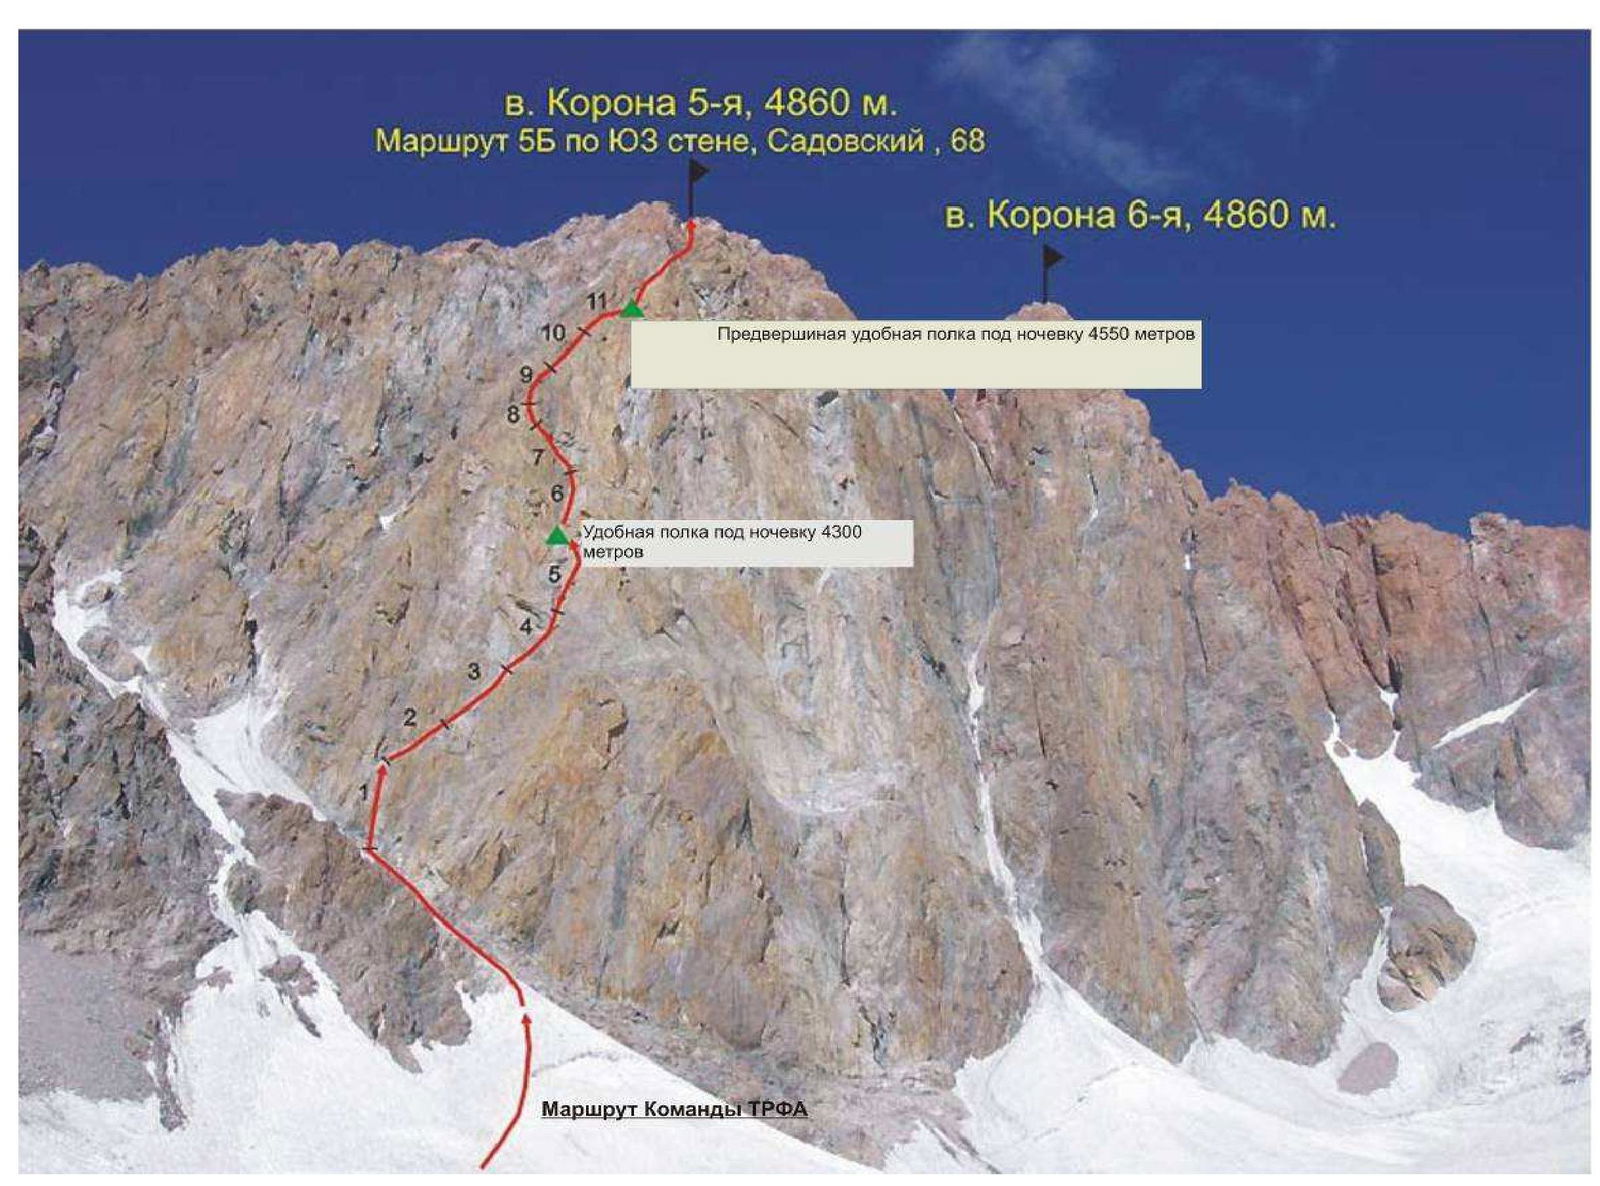
General view of the Sadovsky Route, category 5B

Profile view of the Sadovsky Route.
Route description by sections
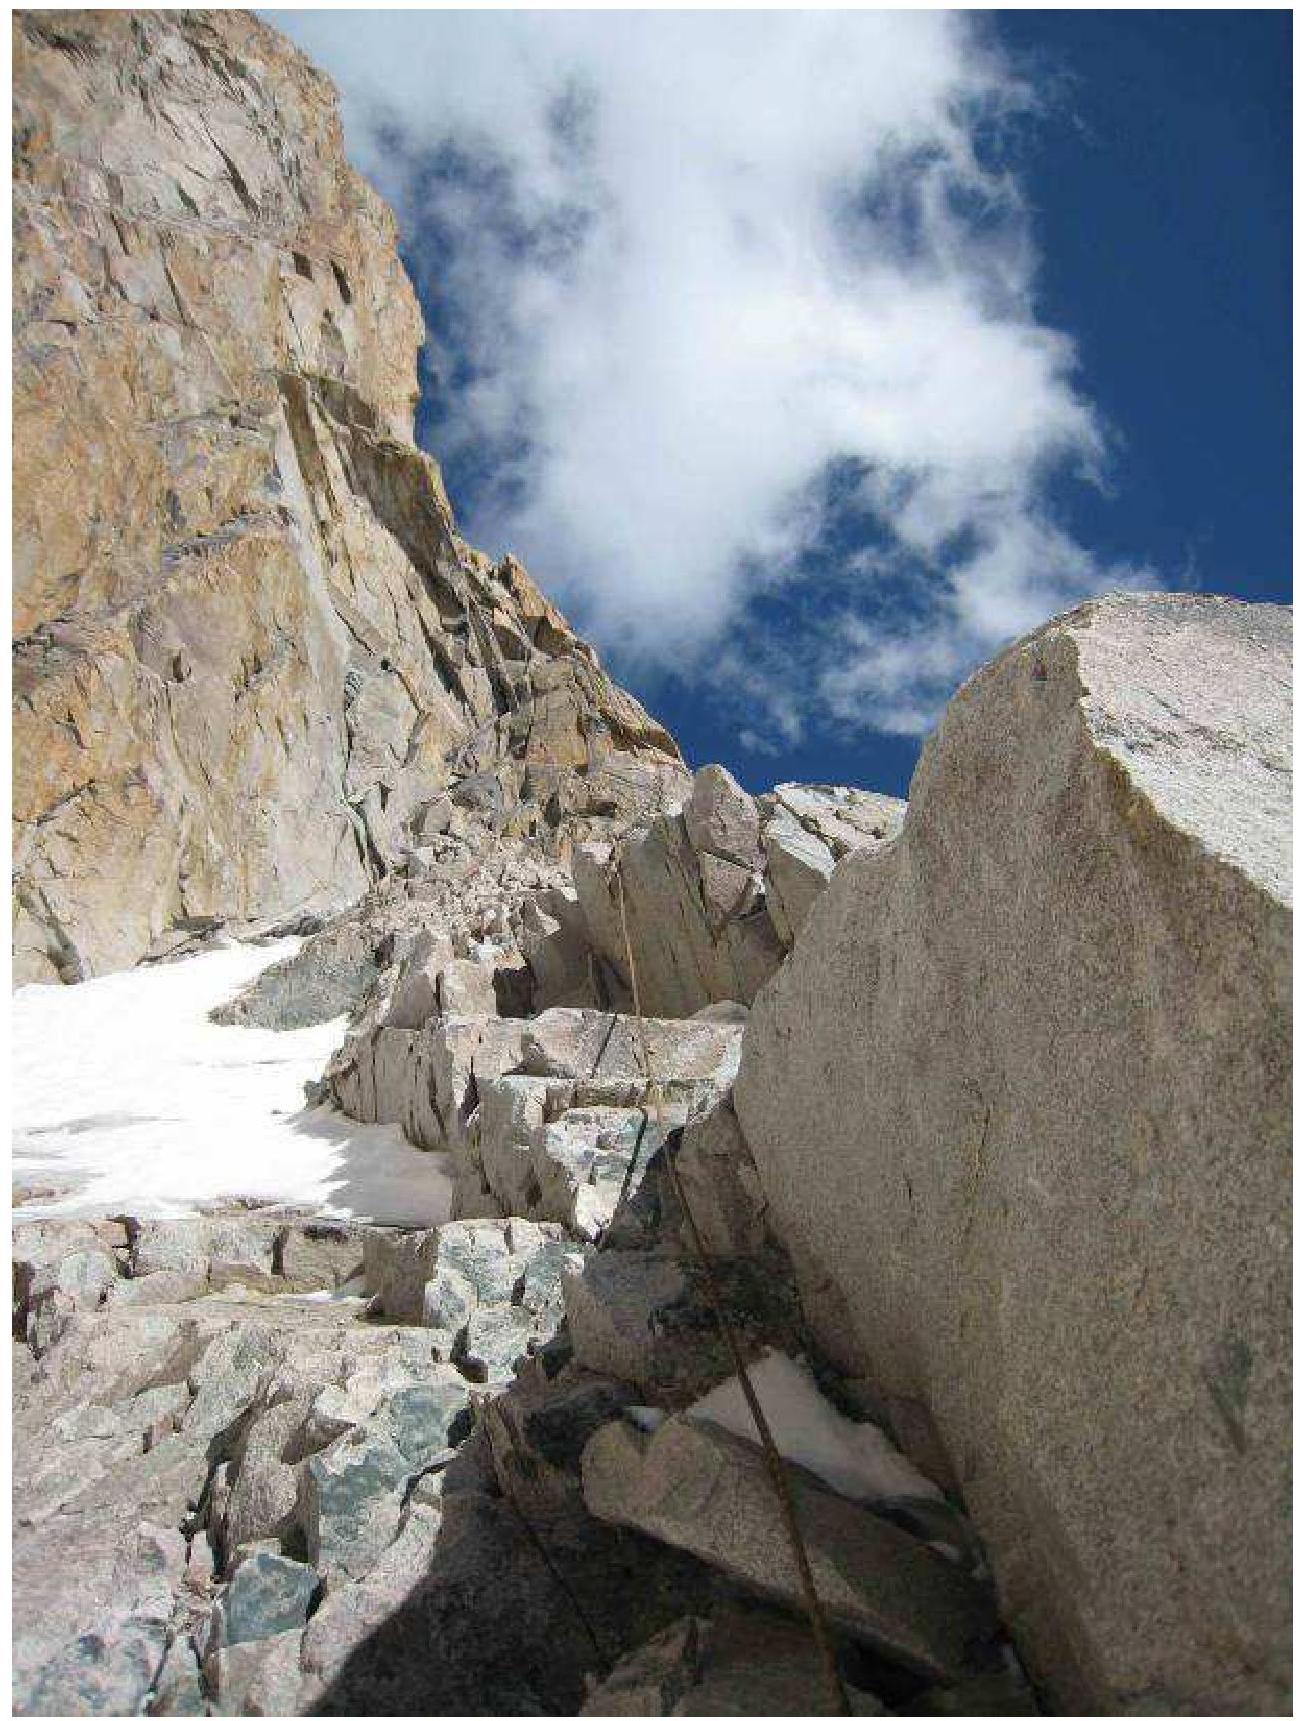
The team's ascent to the 5th Korona Tower begins from the Korona hut (4000 m), taking about 1.5 hours at a leisurely pace. We pass through the frame from the hut in the "Bear's Corner" (cautiously, due to crevices) and move towards the couloir to the left of the wall (strong wind, ice and sometimes rocks fall from above, so we need to move quickly and early in the morning).
Section R0-R1. Snow and ice couloir; crampons are necessary for a safe approach to the wall. Simultaneous movement. Slope angle: 45°. Length: 200 m. Category: 2.
Section R1. It's hard to pass by due to the monolithic walls around; it's like a gap in the fence. The main thing is not to go further onto the Egorov Route. The belay station is inconvenient, with many loose rocks. Care is needed when setting up the station. Climbing is not too strenuous but requires attention due to loose rocks. The chimney is filled with ice (depending on the weather conditions), but with effort, it can be passed in rock shoes with free climbing. Slope angle: approximately 45°, with some steeper sections. Interesting climbing for 50 m, followed by easier 50 m on broken rocks. Category: 4.
Section R2. Climbing on ice-filled rocks, which protects against falling rocks on the partner. Occasionally, it was necessary to use ice axes and switch to artificial aids (AIDs), but not extensively. Everything is passable. At the end, there's a belay loop on a rock (to be checked and adjusted before use). Slope angle: 80°, variable with 50°. Length: 40 m. Category: 5.
Section R3. More or less interesting climbing. Old pitons are found in cracks, some broken. Unpleasant ropes due to continuous ice and snow falling from above. This keeps one tense, so we deviated slightly from the route, taking a slightly rightward crack. Climbing directly up the angle is really only feasible in winter. At the station, there's a hook with a loop. The station is not very convenient, semi-pendant, standing on a small ledge. Slope angle: 65°. Length: 35 m. Category: 4-5.
Section R4. From this section, the ascent starts onto the wall. Climbing becomes more interesting. Due to poor weather at the time, all rocks were covered with snow and ice, so crampons were necessary; rock shoes were forgotten. Length: 20 m. Slope angle: 60-65°. Category: 4-5.
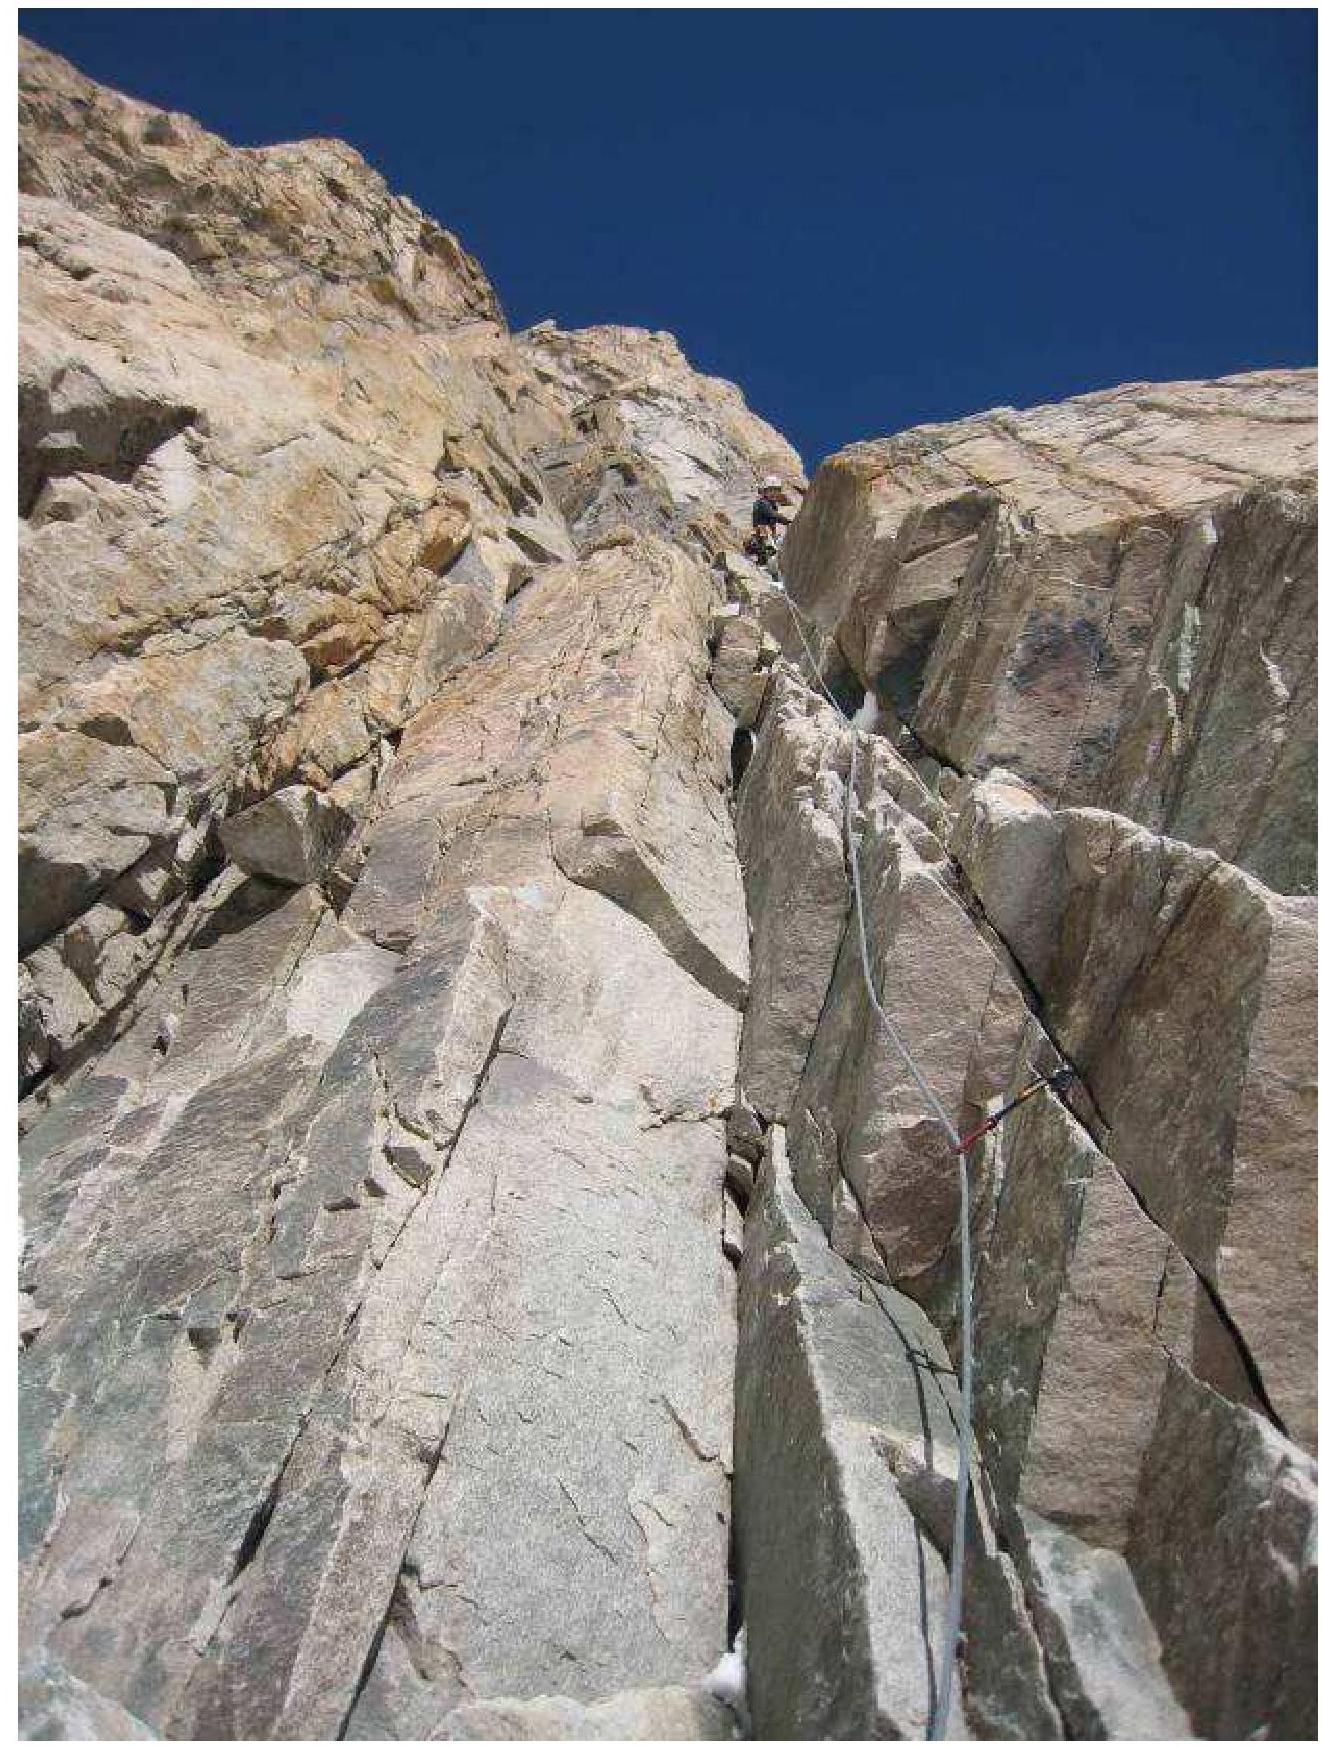
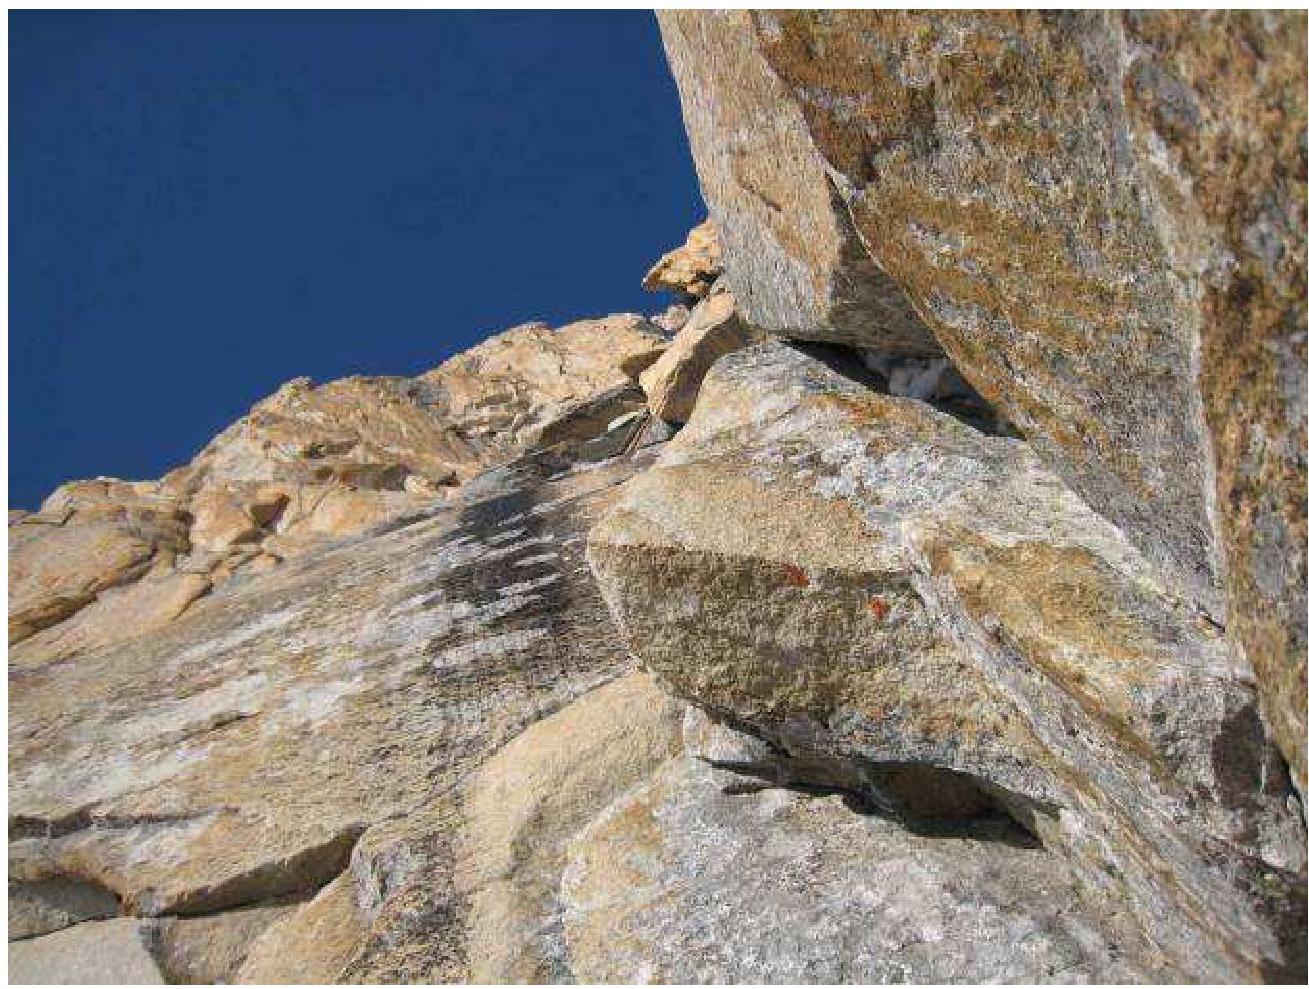
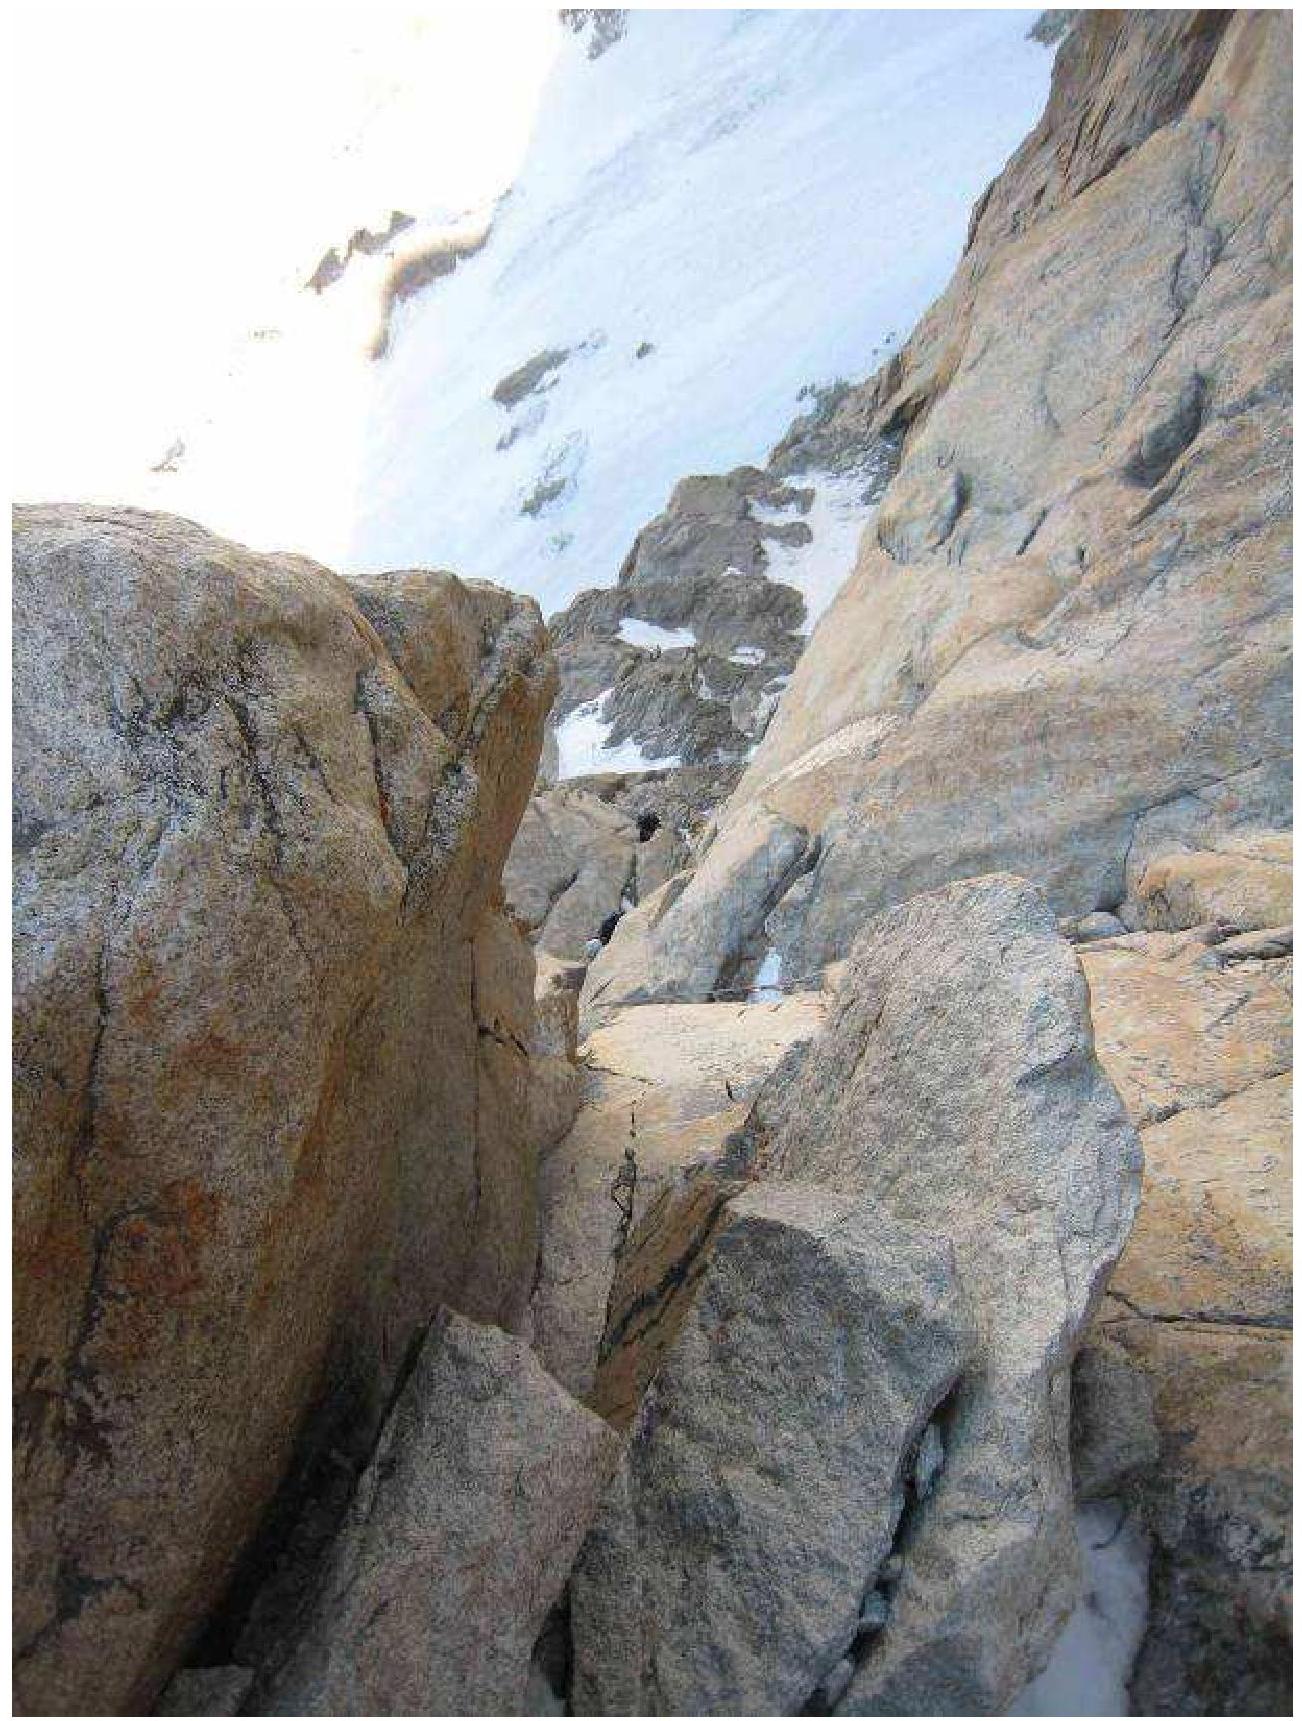
Section R5. The first key point on the route: a chimney with a cork. Be very cautious on exit due to loose rocks. Care is needed to avoid knocking rocks down during belaying. We knocked down some rocks. Slope angle: 60°. Length: 30 m. Category: 5.
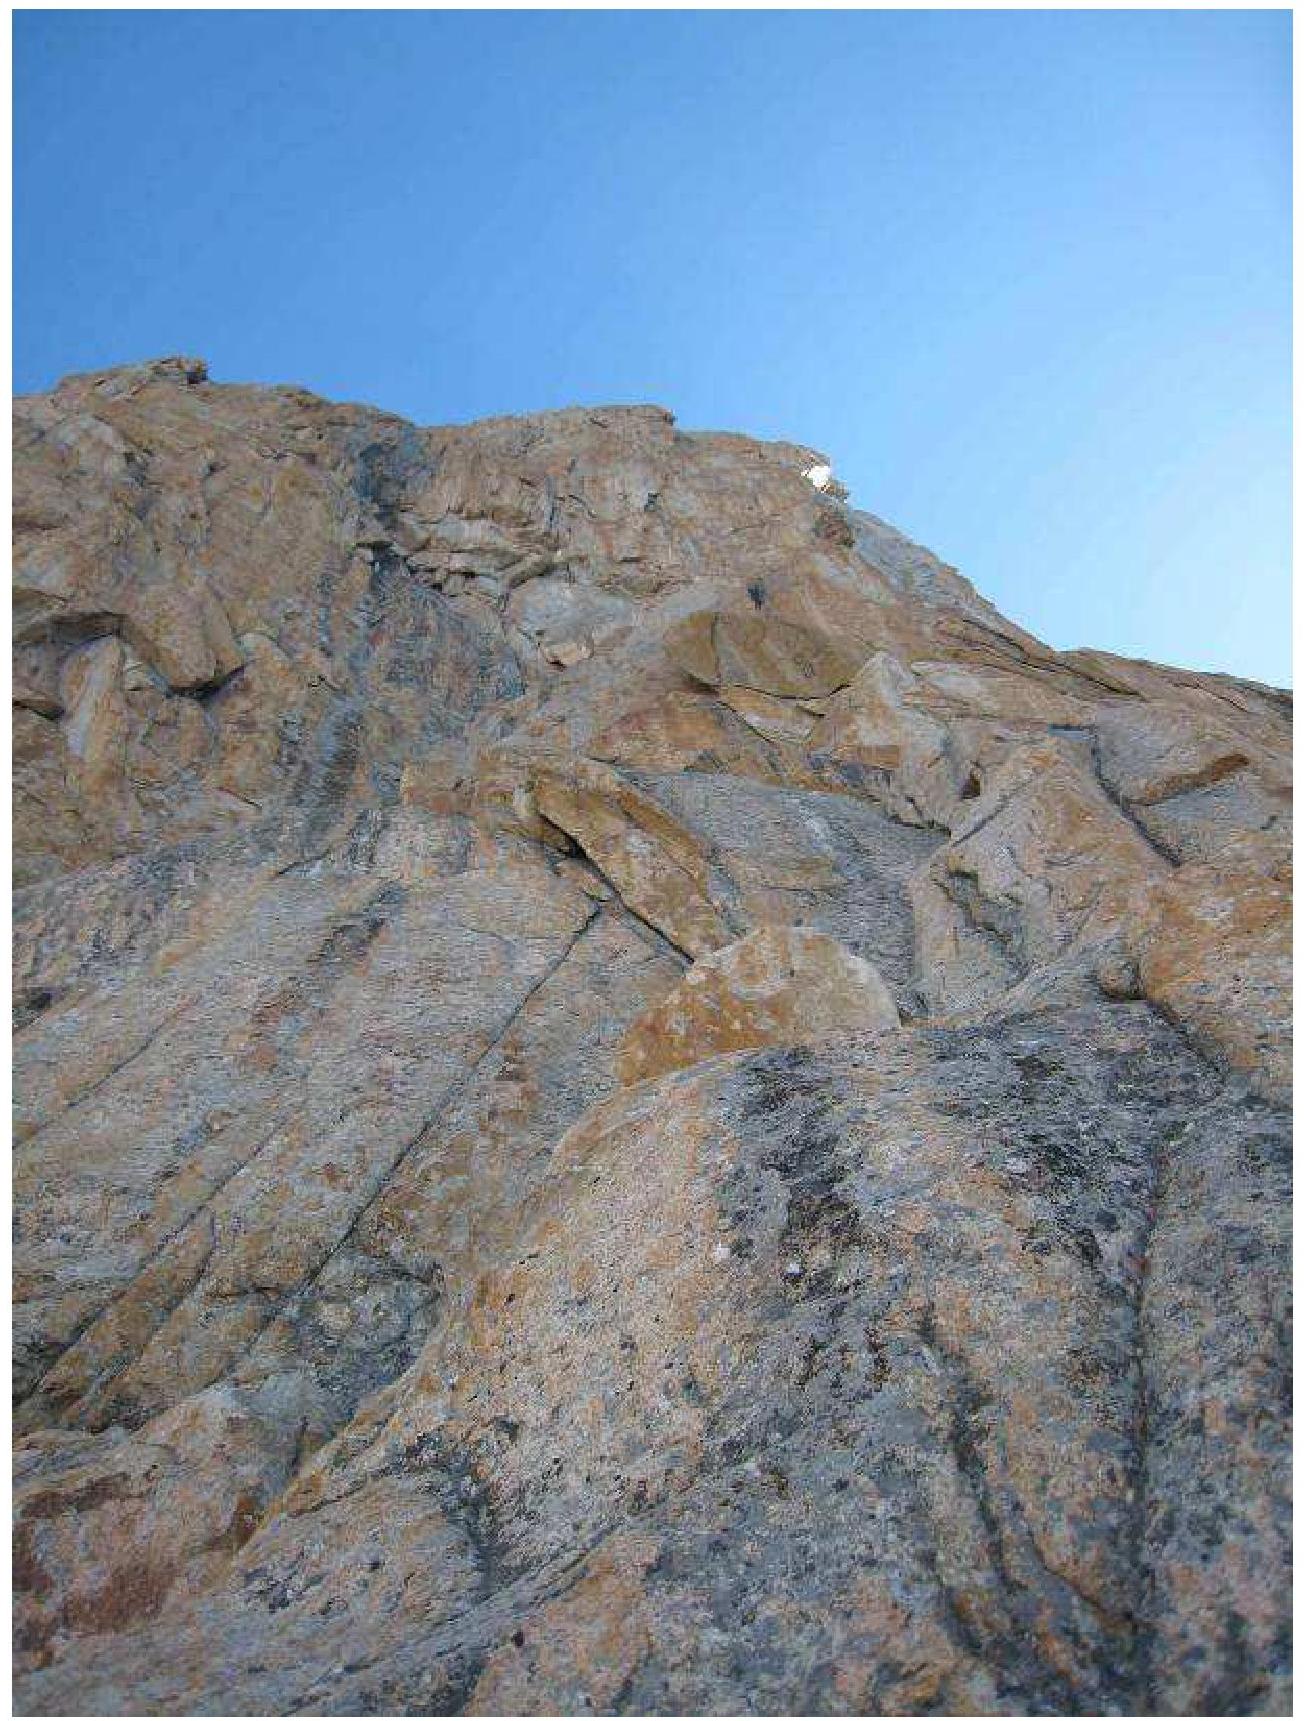
Section R6. The sixth rope continues the key section. Looking down, one can see the start of the route, i.e., the entire depth of the fall is visible. In good weather, most of it can be climbed using free climbing; we had to use rock pitons a couple of times. Slope angle: 50°. Length: 40 m. Category: 4-5.
Section R7. The key rope of the route! It starts with hanging icicles and one original hook filled with ice, already on the wall. After overcoming this mini icefall (which, as it turned out, falls on climbers at the start of the route), a traverse to the left along a crack begins. The traverse is equipped with original pitons in good condition; it's climbable and warmed by the sun. It ends with a station. There's a bolt and an original hook! I.e., when straightening the rope, one can make pendulum moves without fear of touching the wall and pulling out the station - everything is extremely reliable. Slope angle: 80-85°. Length: 40 m. Category: 5+.
Section R8. The start of the rope is along an internal angle. The angle is 4 m, then it leads to a ridge wall, 35 m high. Climbing is around category 5, but after the "key," it's passable since the depth of the fall isn't visible. Slope angle: 70°.
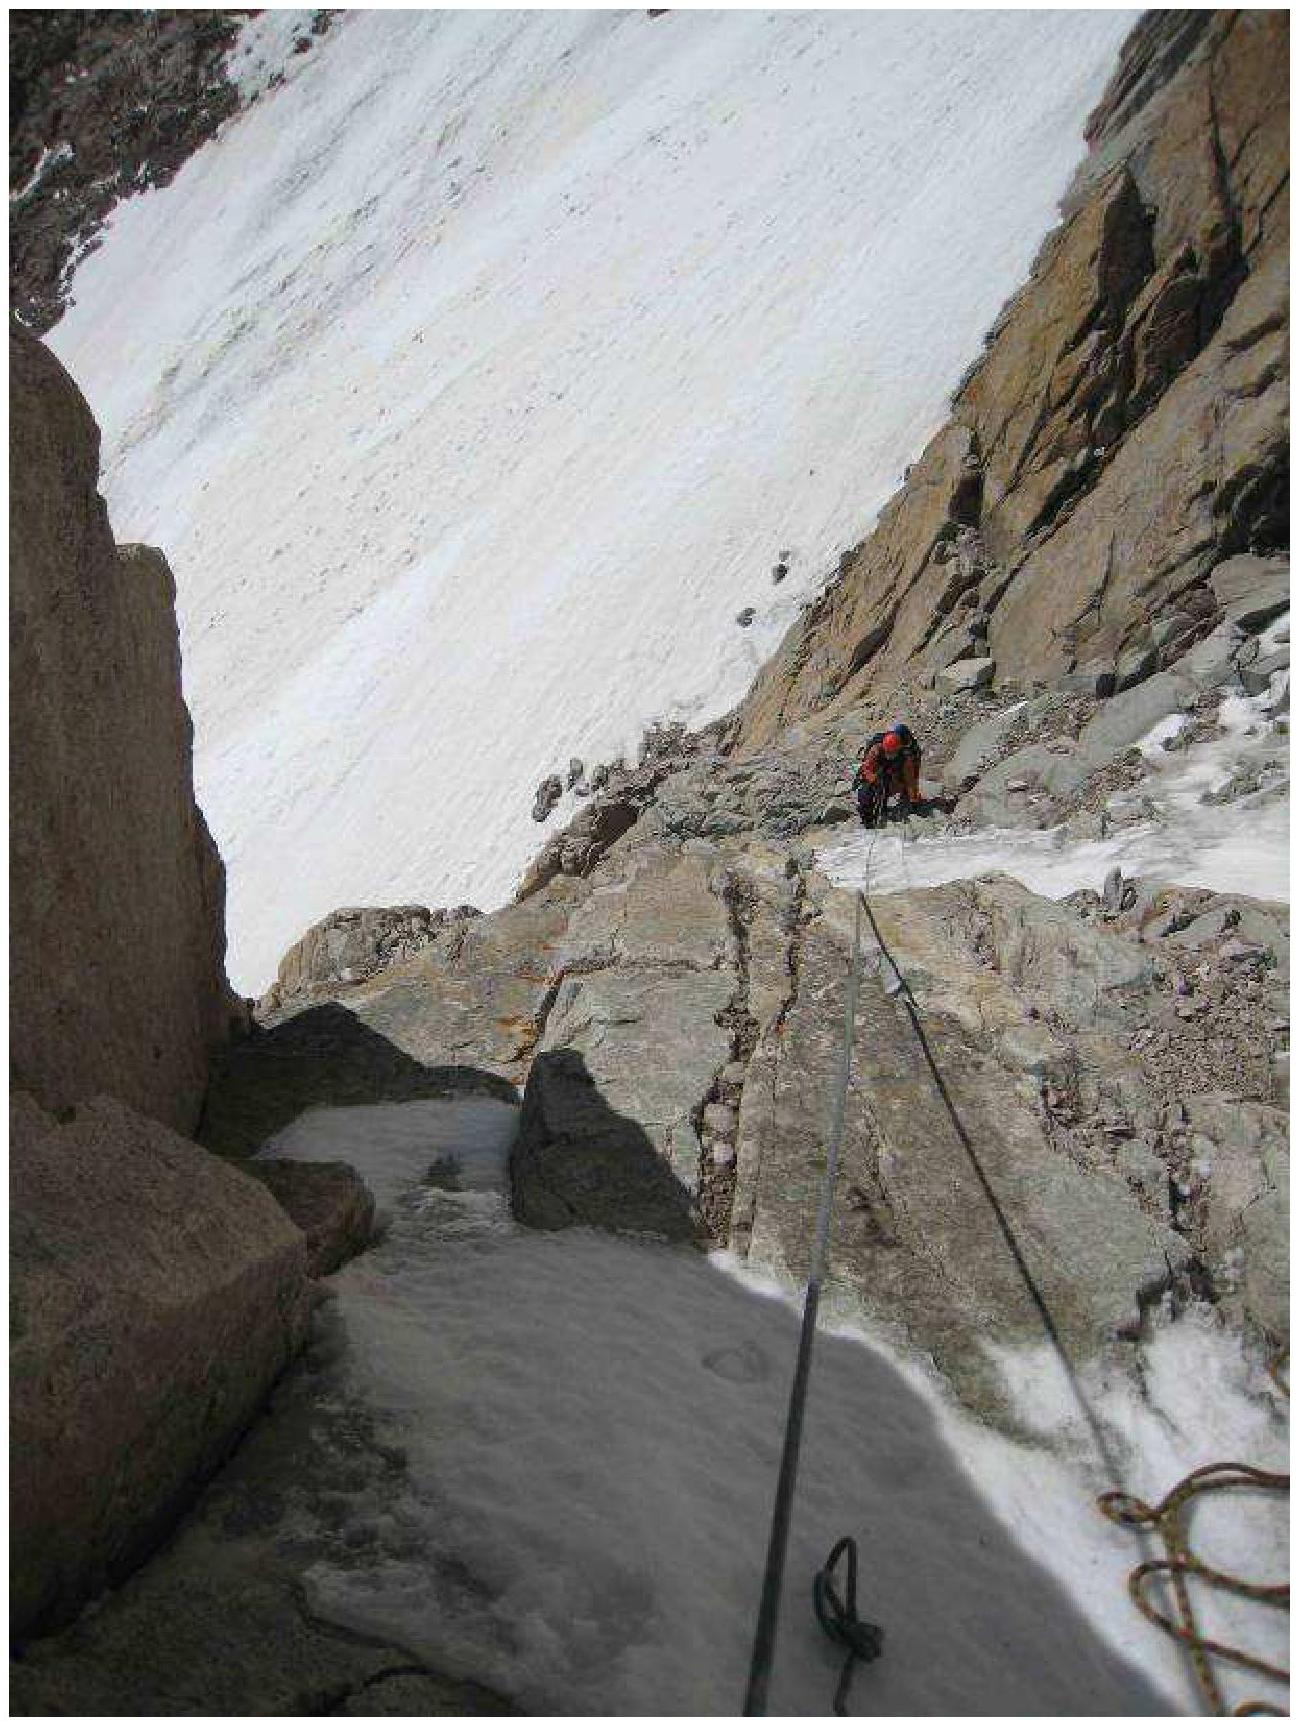
Section R9. This rope passes through a series of walls and couloirs. There are many options, but they're all essentially the same; the main thing is not to climb onto overhangs. There's a good ledge for a tent. Slope angle: approximately 75°. Length: 120 m. Category: 4+.
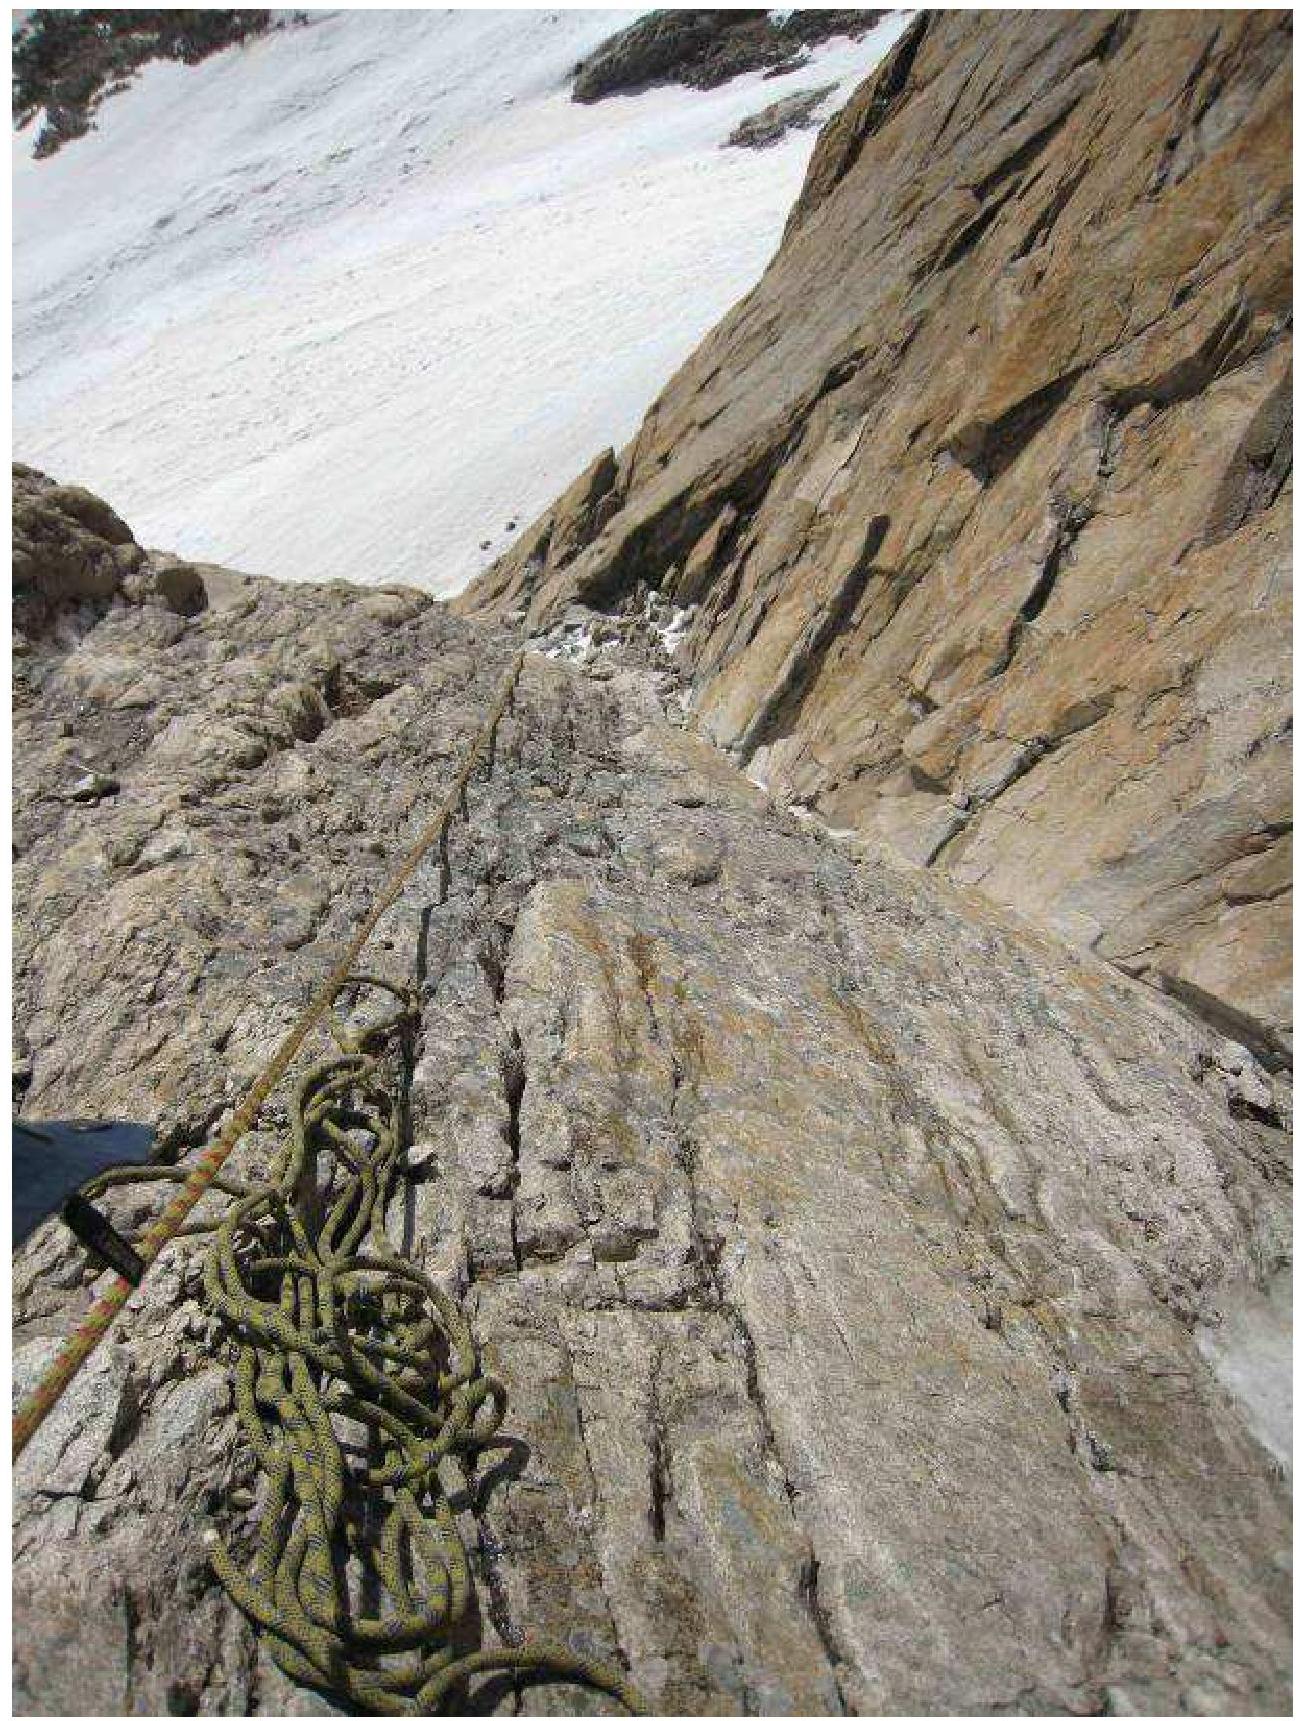
Sections R10-R11. Approximately 30 m each. Wall, ledge, wall, ledge. The difficulty is for the second and subsequent team members when straightening the rope, as it was sometimes necessary to make pendulum moves directly along the snowy couloir. Crampons are necessary due to dense ice. Steepness: 65-75°. Category: 4+.
Section R12. Internal angle with loose rocks. Due to ice, we climbed without strain. Slope angle: 75°. Length: 25 m. Category: 5.
Section R13. The rope implies crossing an icy couloir for 15 m and transitioning to a series of walls. Slope angle: 75°. Length: 50 m. Category: 5.
Section R14. An ice and snow couloir leading to a wall, or as described by Sadovsky in 1968, continuing along the couloir to the pre-summit ridge. We climbed "straight on," not deviating right, as it seemed more logical, although more challenging. Wall: 45 m. Steepness: 70°. Category: 5.
Sections R15-R16. Continuing along the wall, which leads to a good ledge on the gendarme's summit. To the right, one can see the couloir where the route goes. Care is needed due to loose rocks until the very top. Length: 60 m. Steepness: 60°. Category: 4.
The team reached the summit at 20:00, in complete darkness. We didn't find any notes on the summit, so we built a cairn and left our own note. We descended via the Fourth and Third Towers. The glacier was heavily snowed over, so there were no issues with self-arrest on the descent. We were back at the Korona hut by 21:00. Notable weather conditions: this was the last day of relatively good weather before two weeks of snow. The wind was very strong. We climbed in jackets and fleeces initially, then put on down jackets and gloves - it was quite cold for a summer ascent.
The route can be climbed faster, depending on the weather conditions before the ascent!
Photos of the route by sections
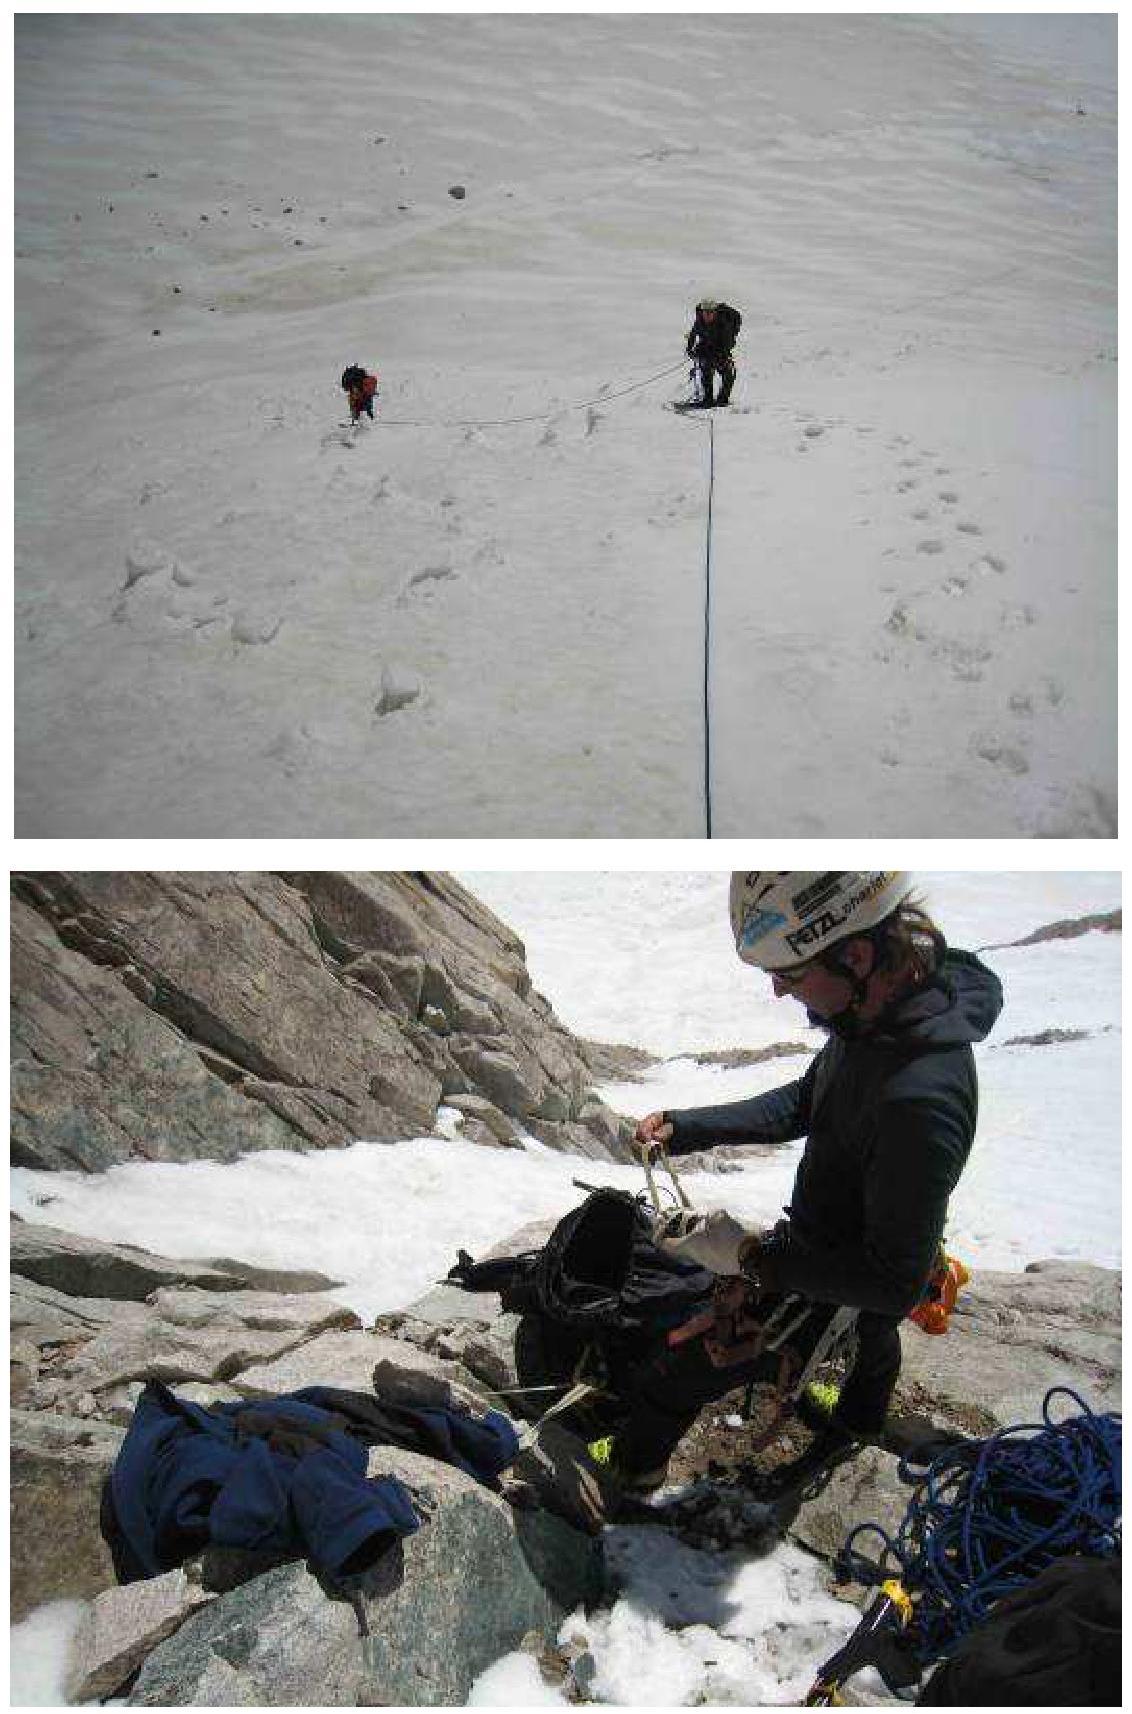
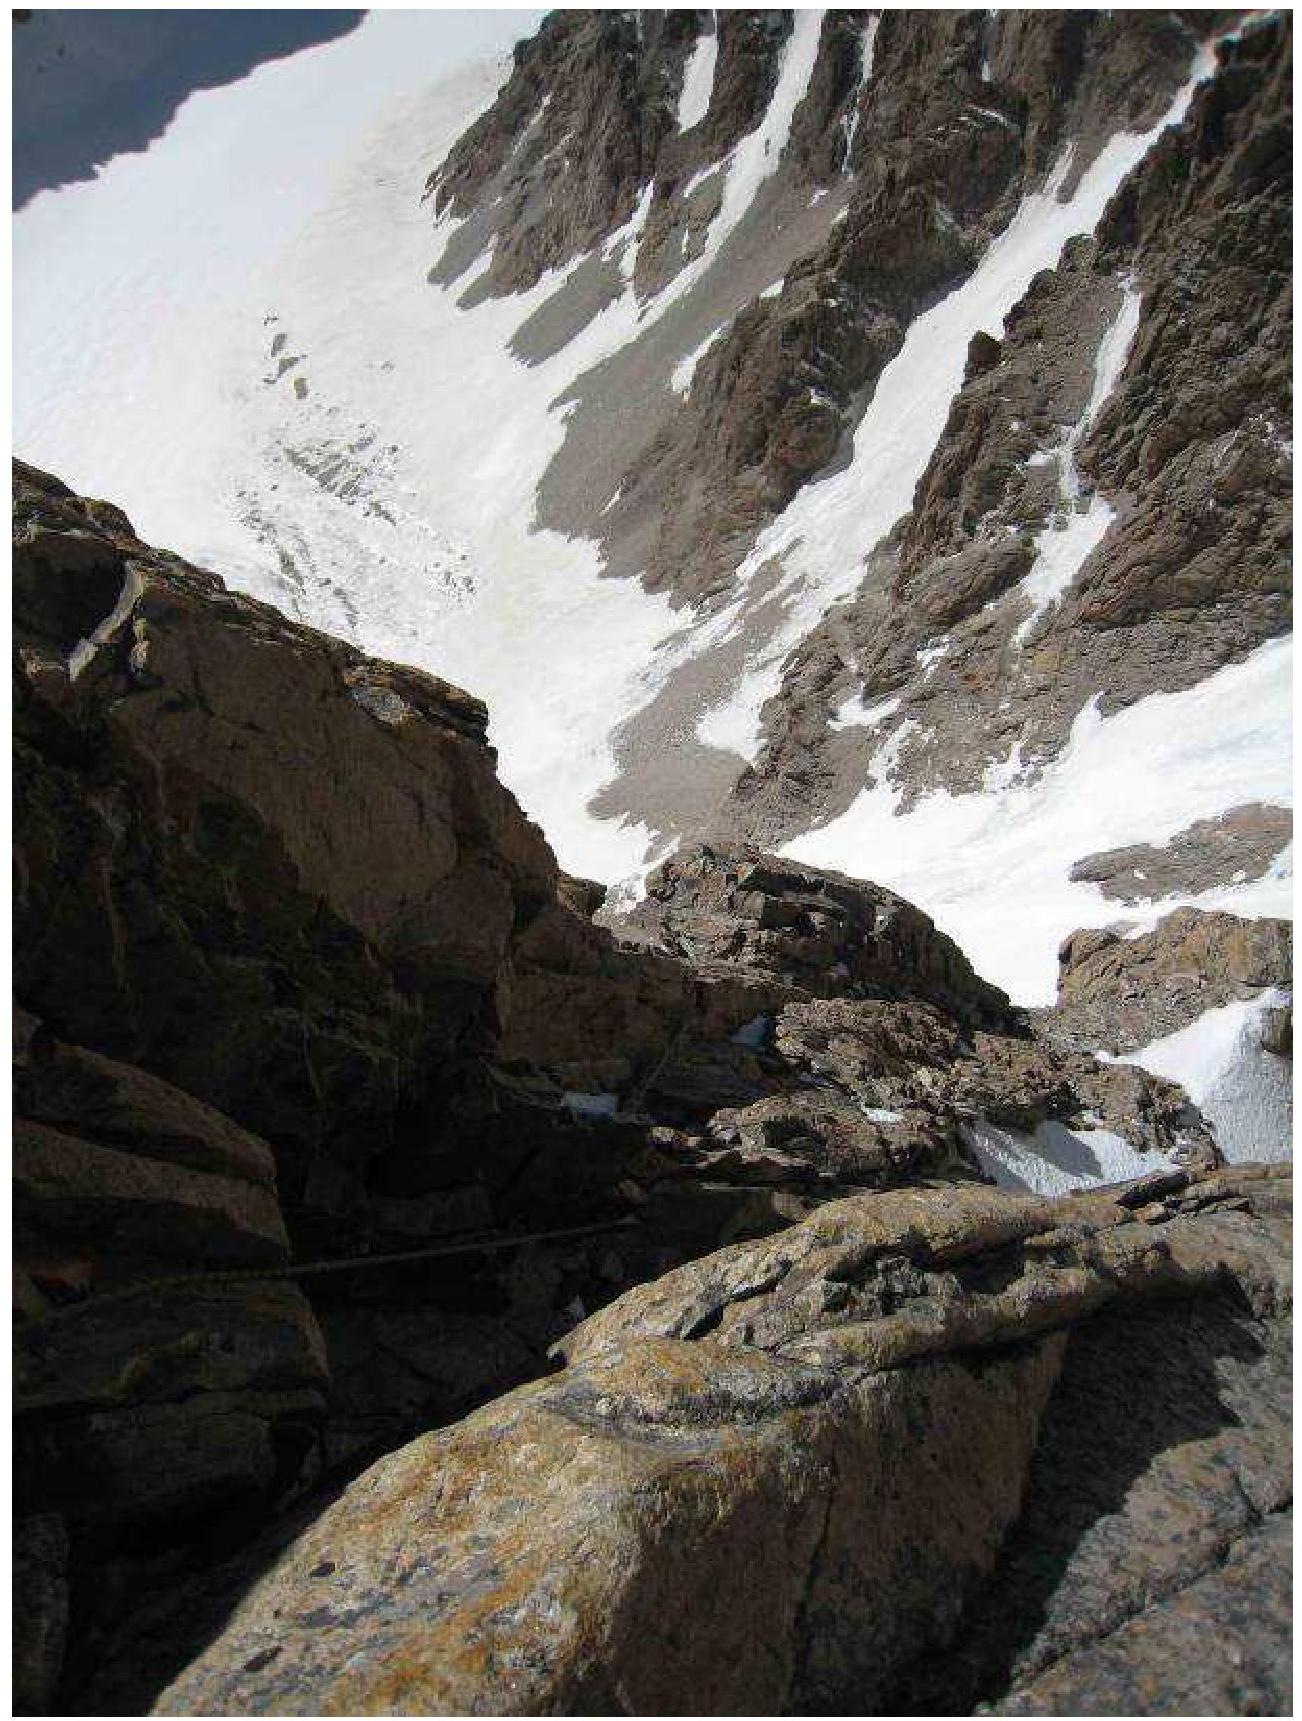
Section R0. Scree couloir before the wall
Section R1. First climber at work.
Section R1. Second climber overcoming the section.
Section R2. Second climber overcoming the rope.
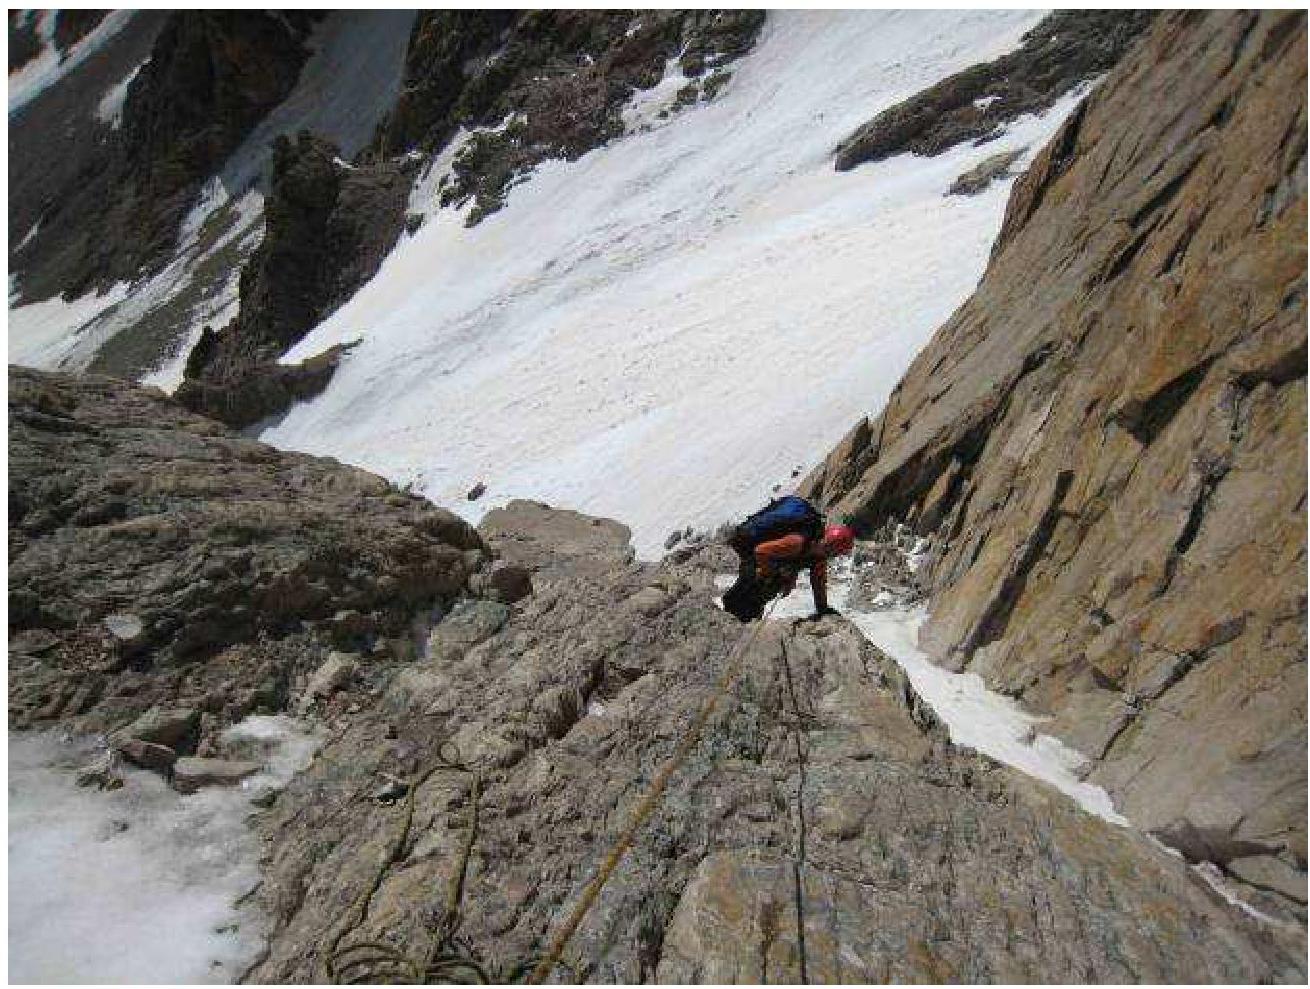
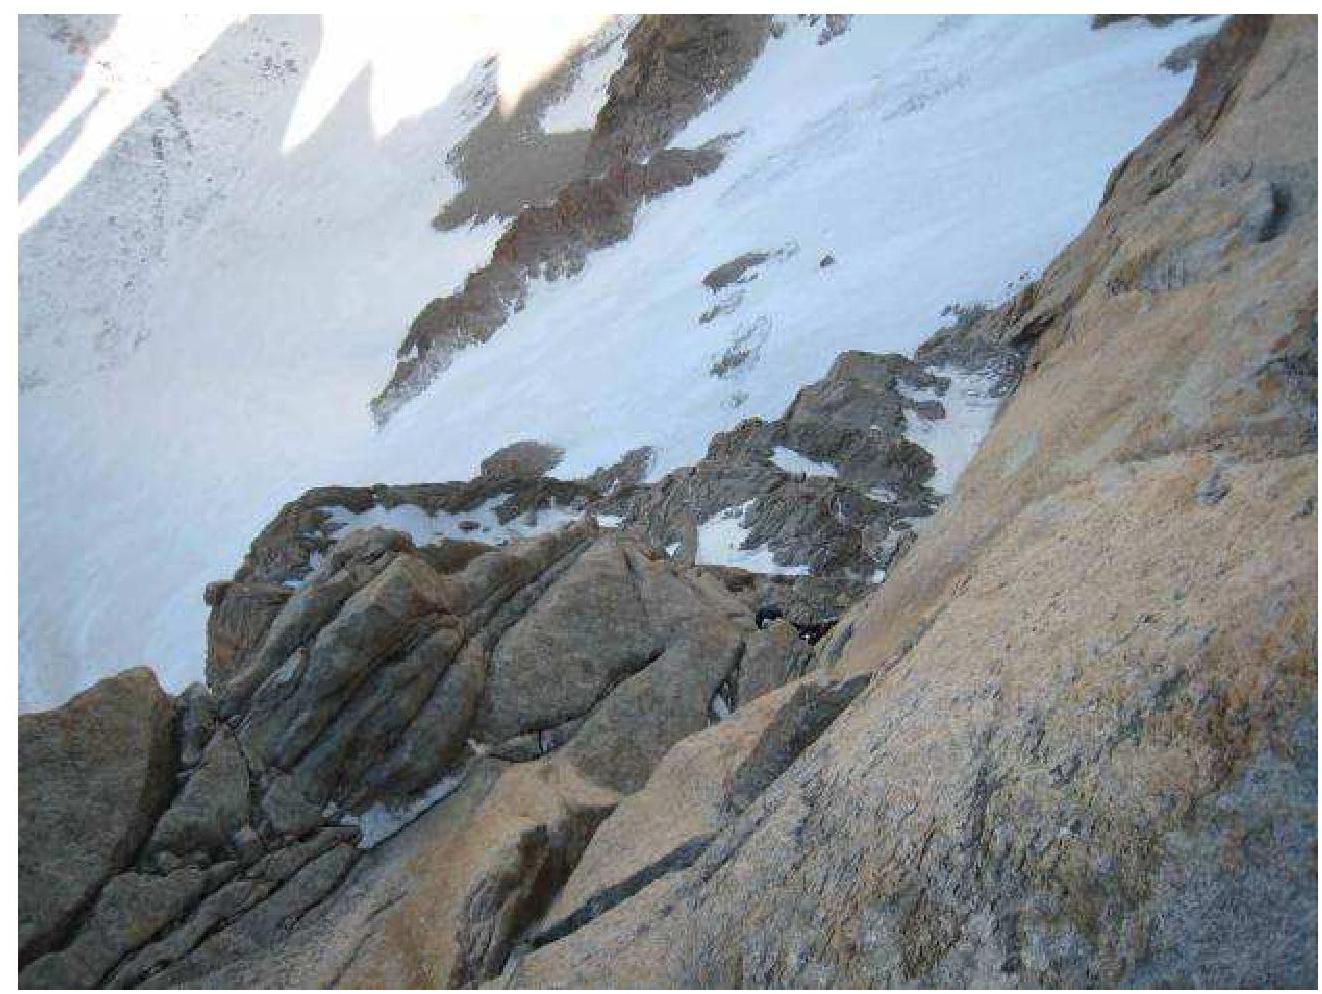
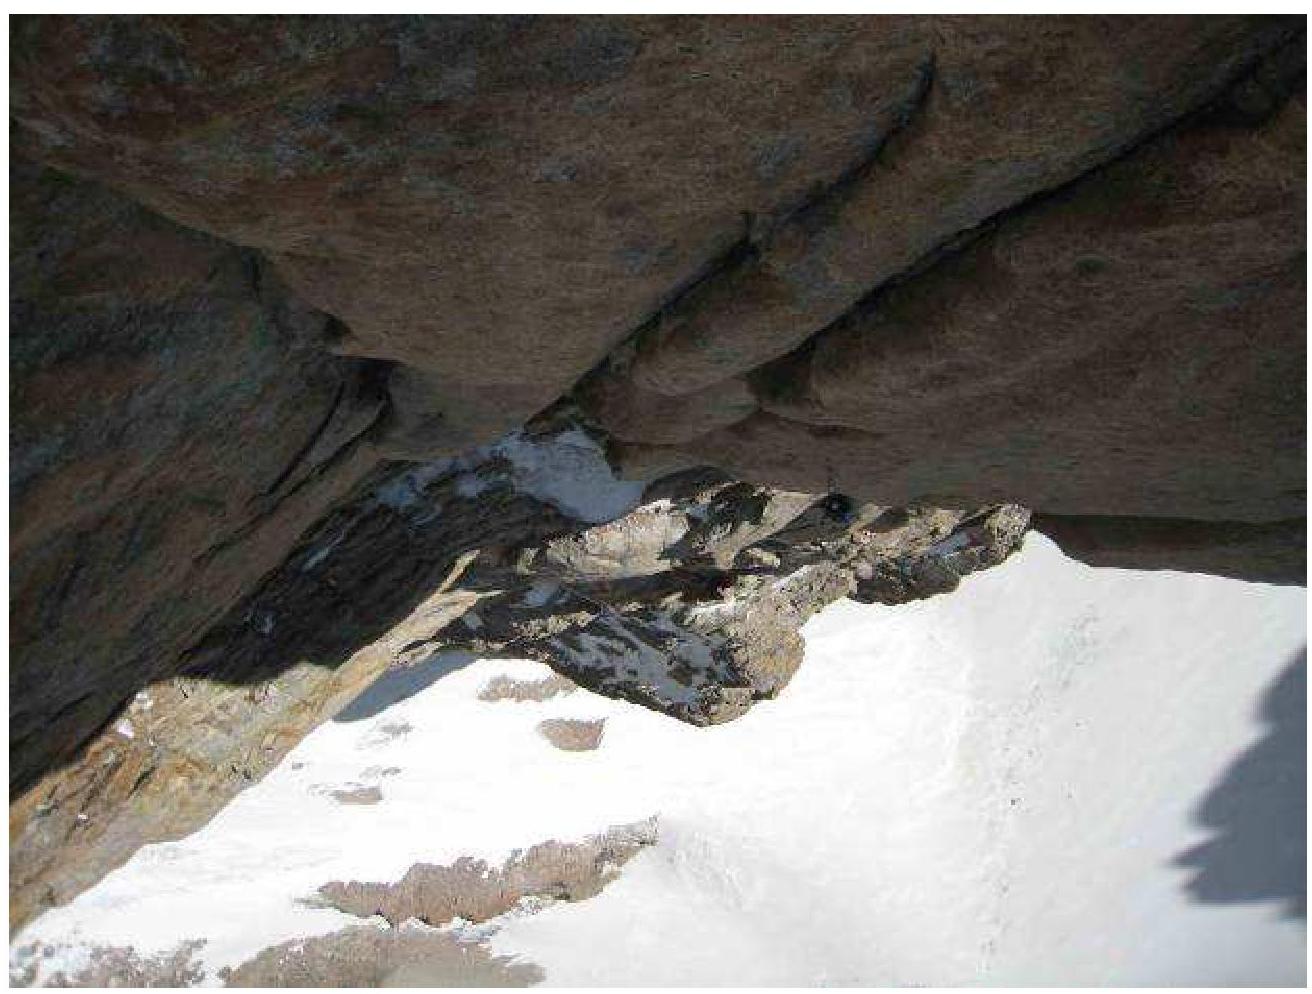
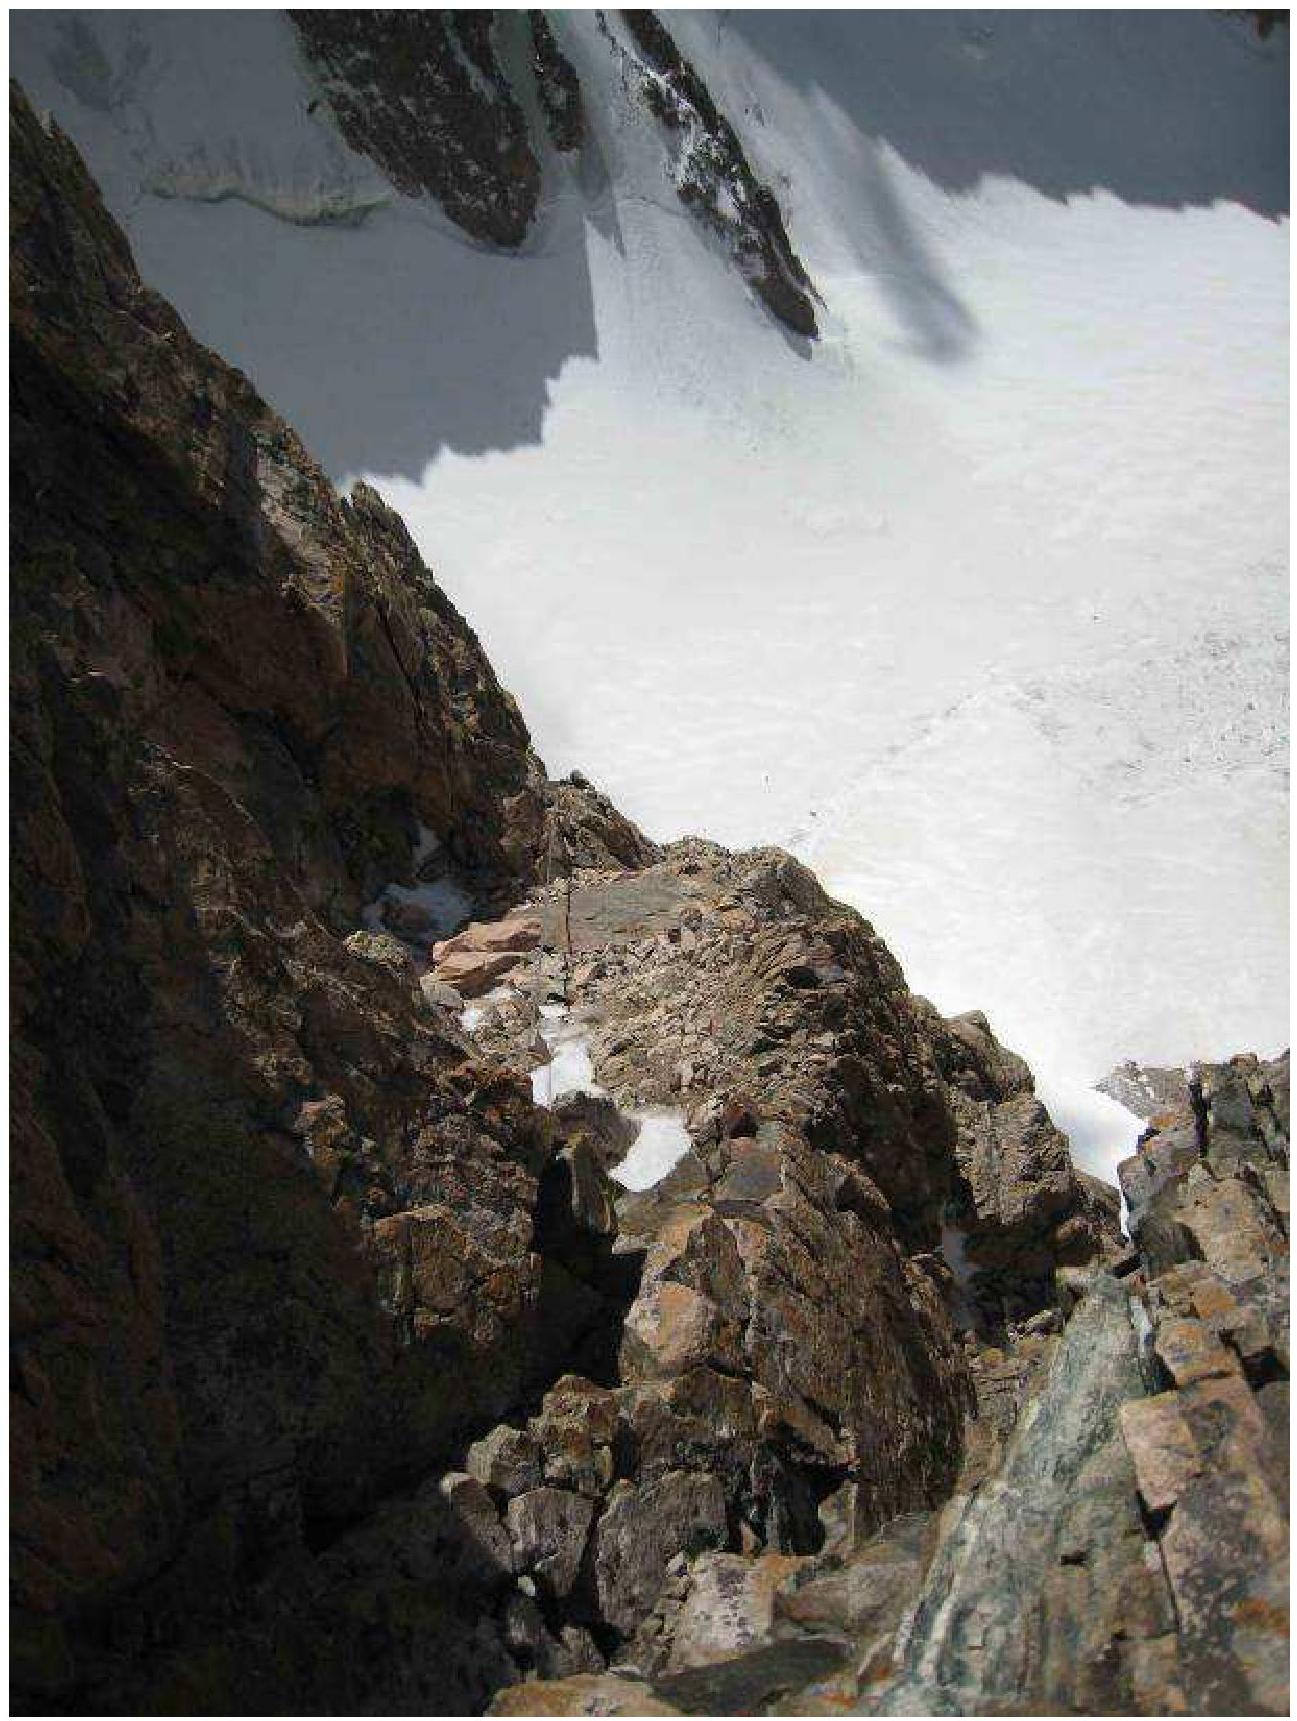
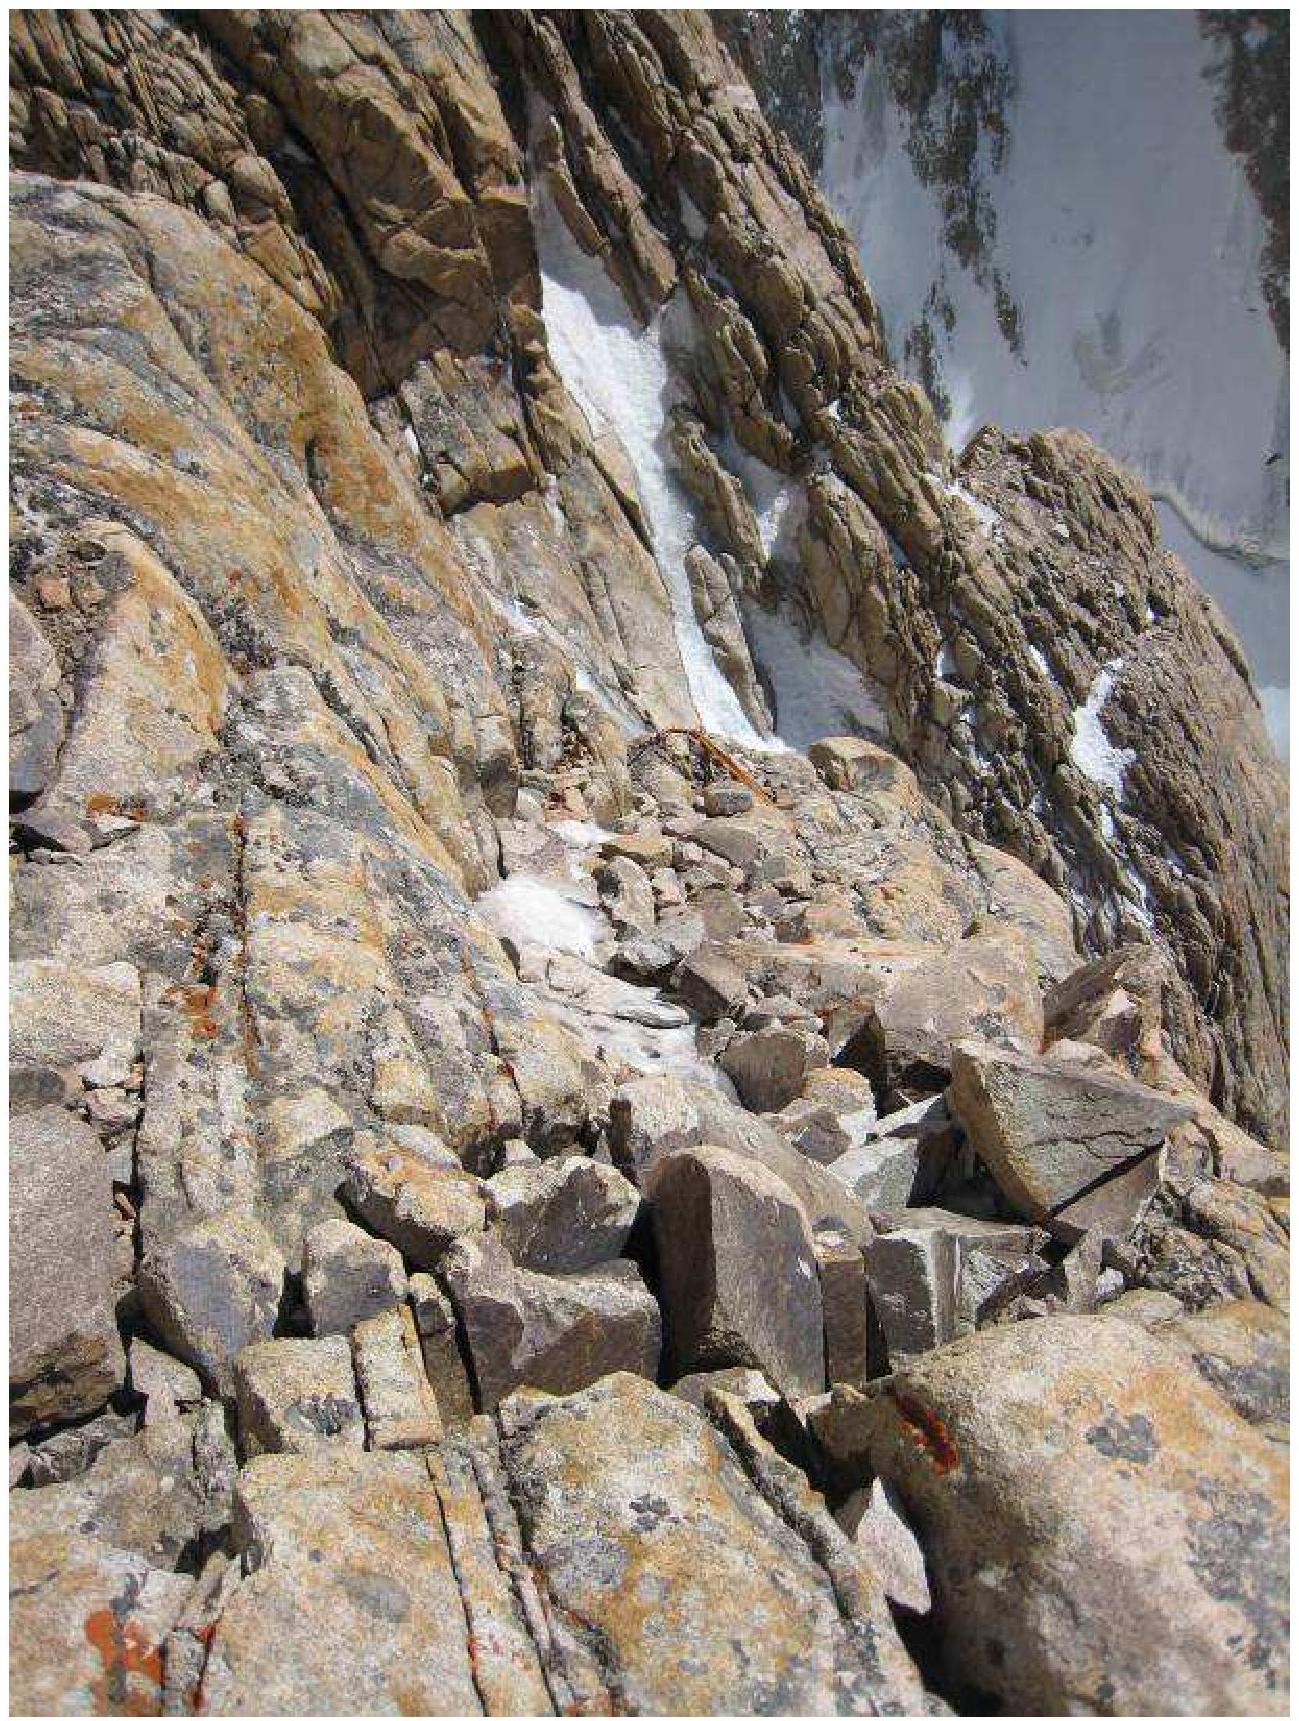
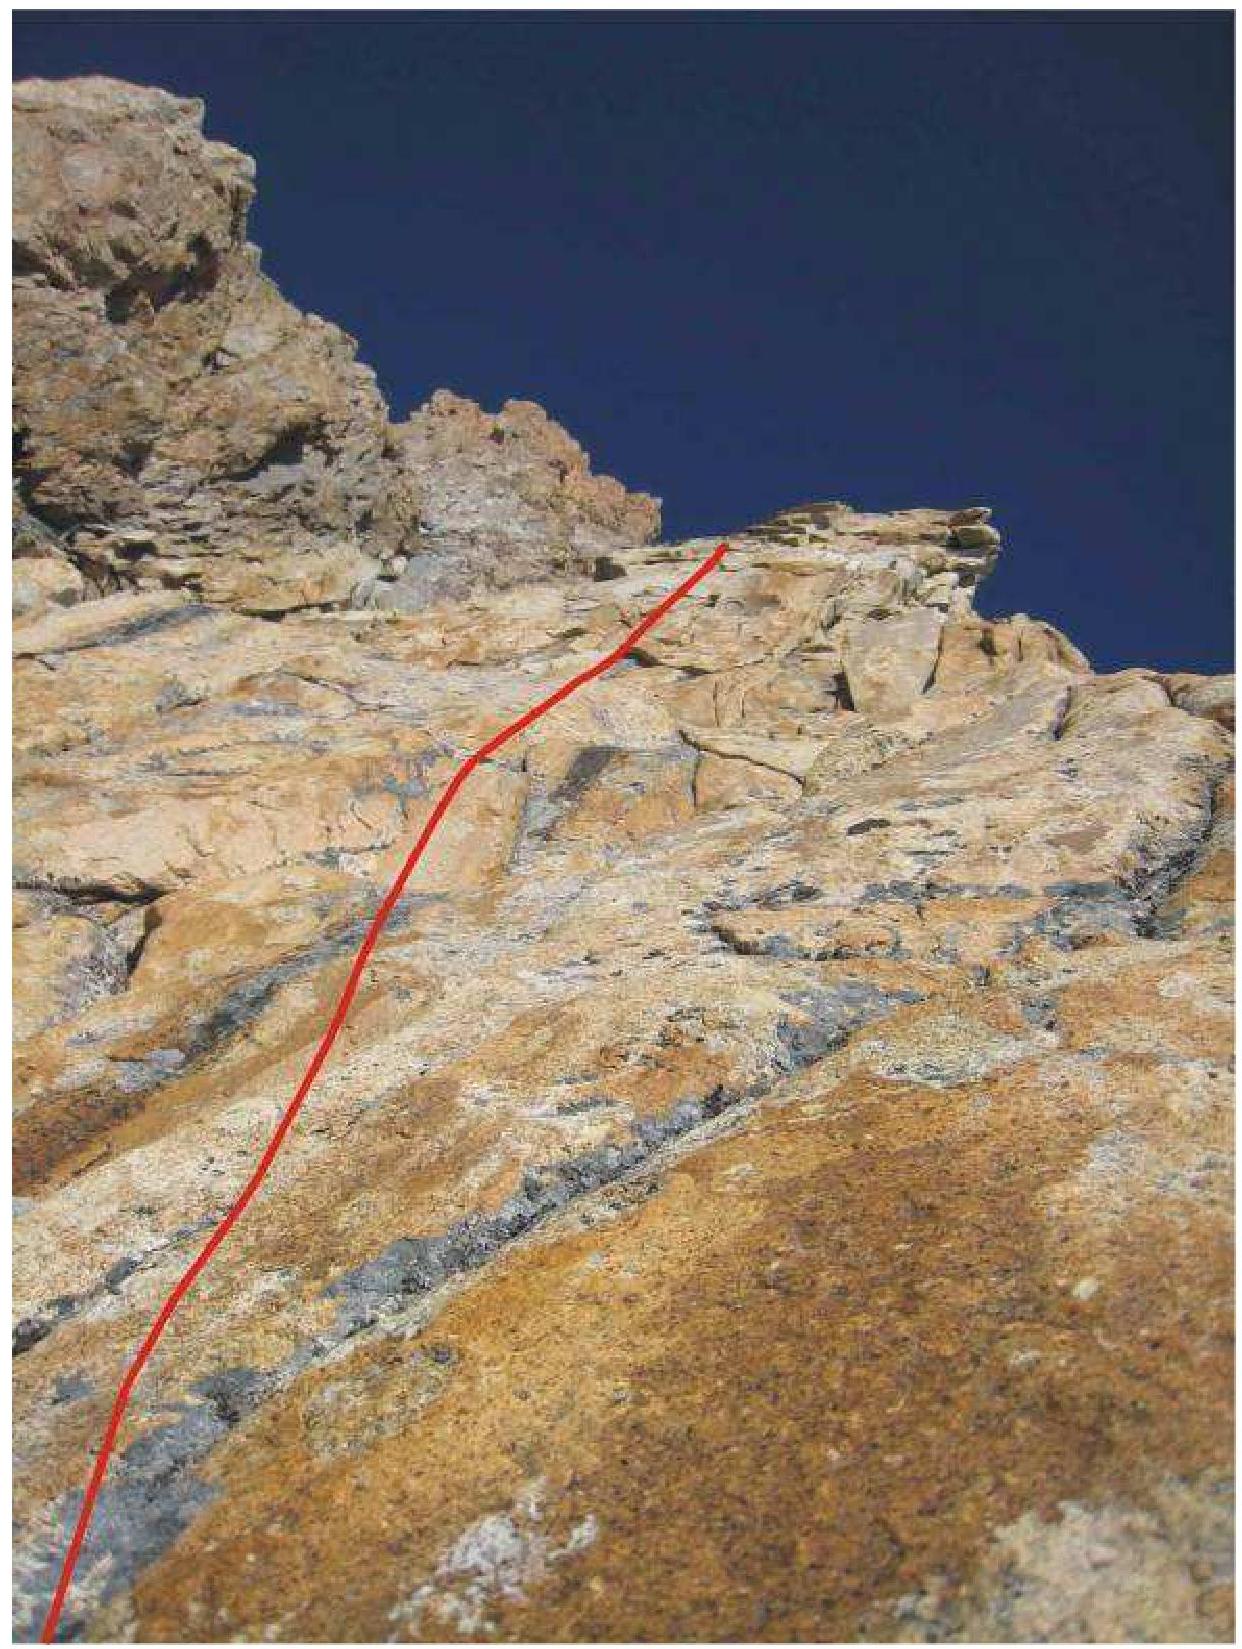
Section R3. View from below.

Section R3. View downwards.
Section R4. View from the third station to the first meters of the fourth rope.
Section R3. At the third station.
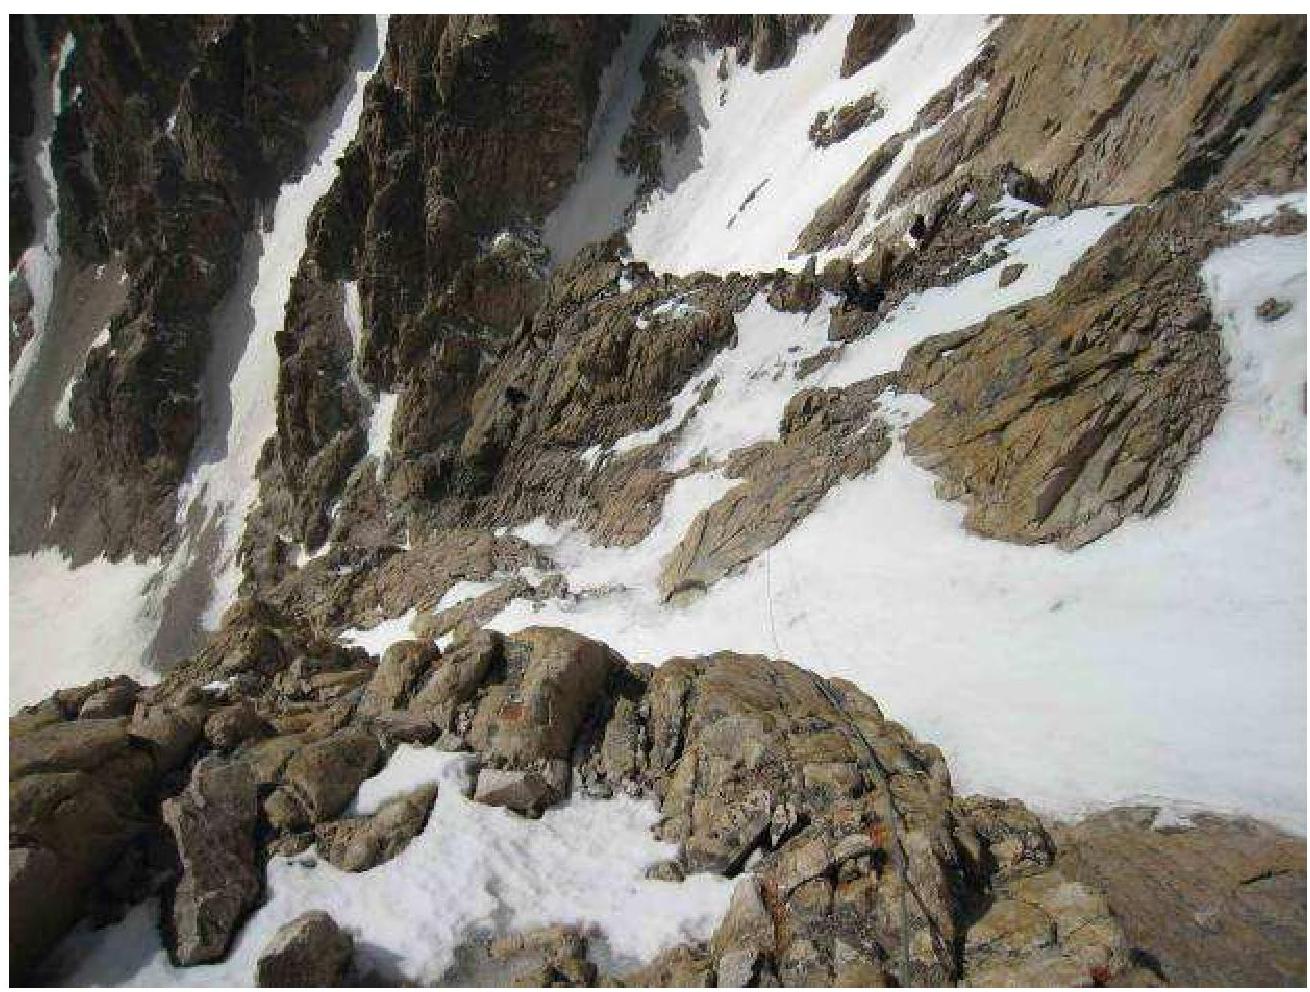
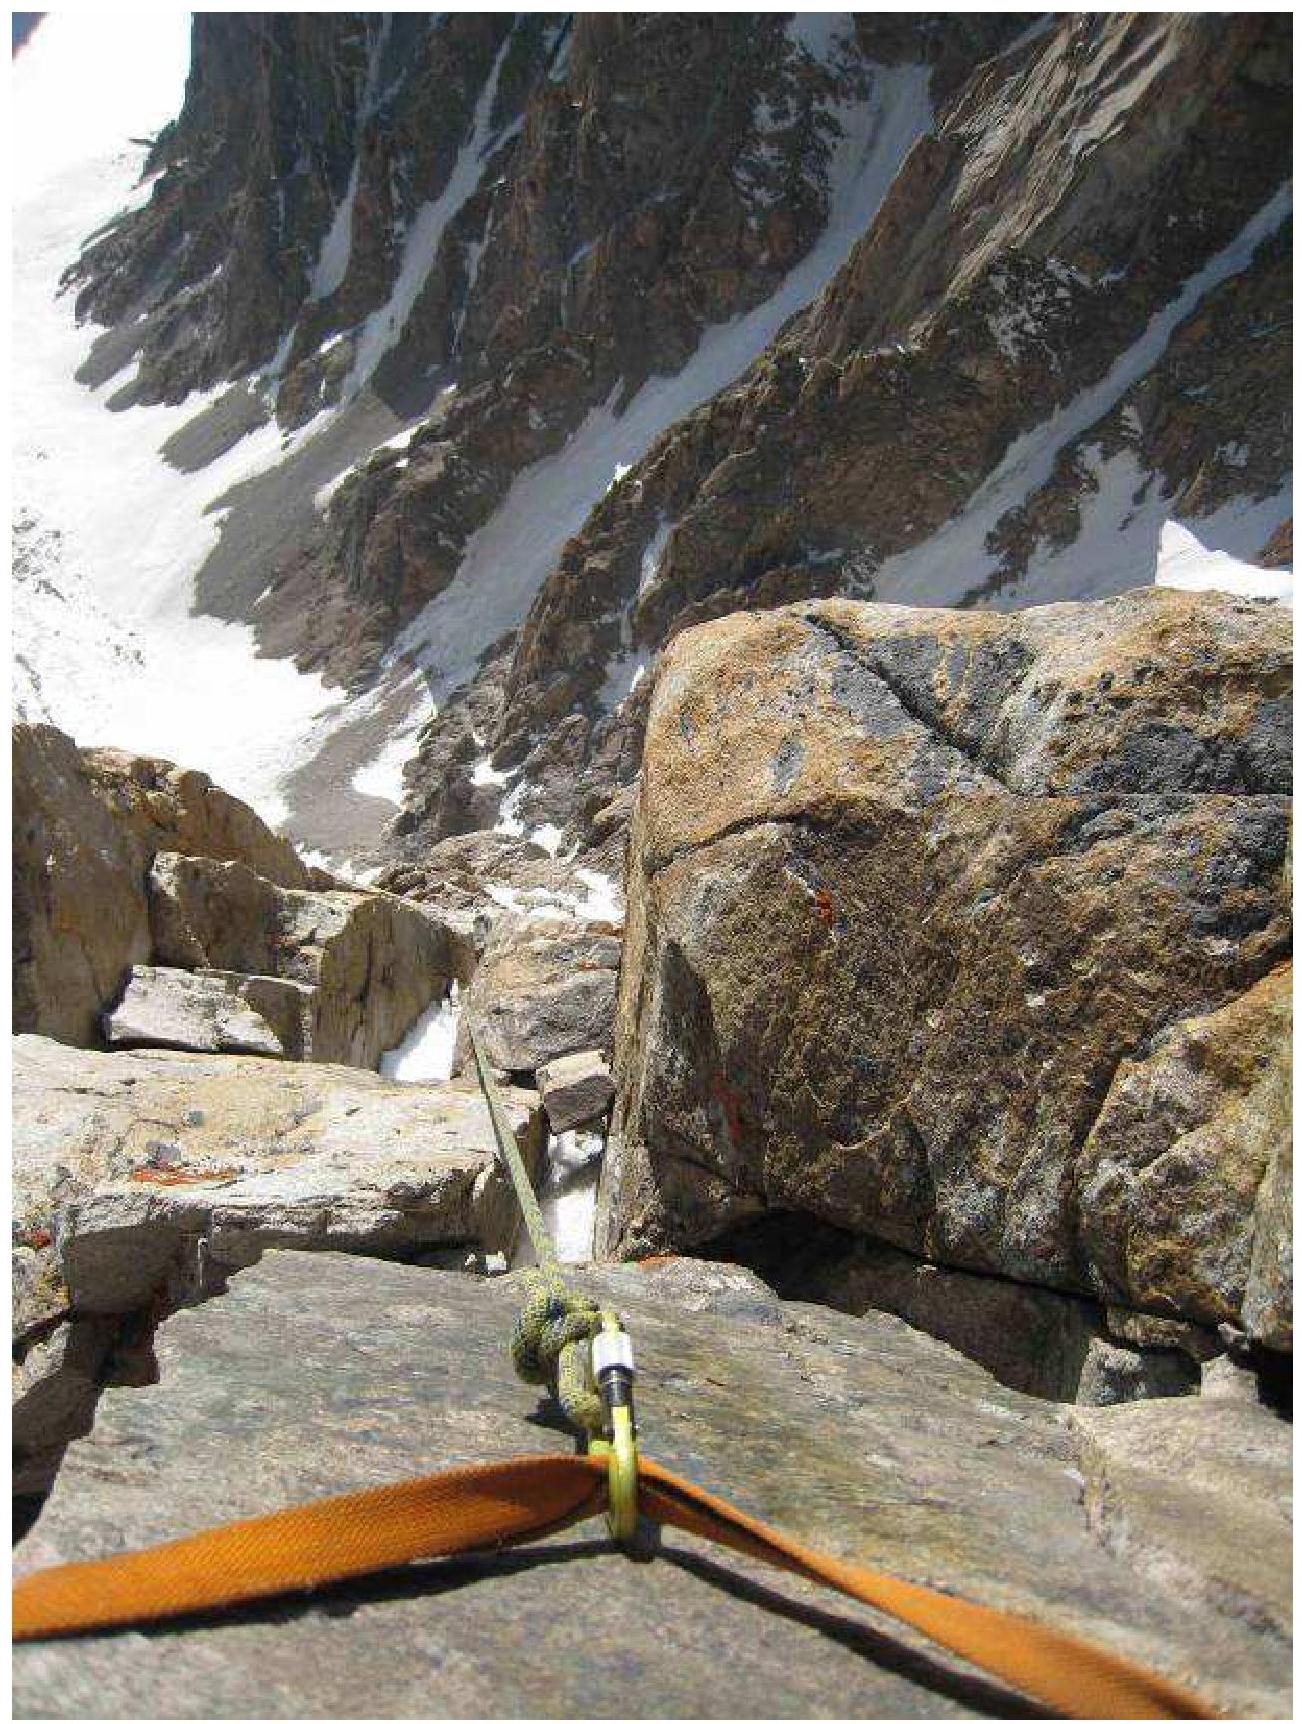
Section R4. Fourth rope. View downwards from the fifth station.
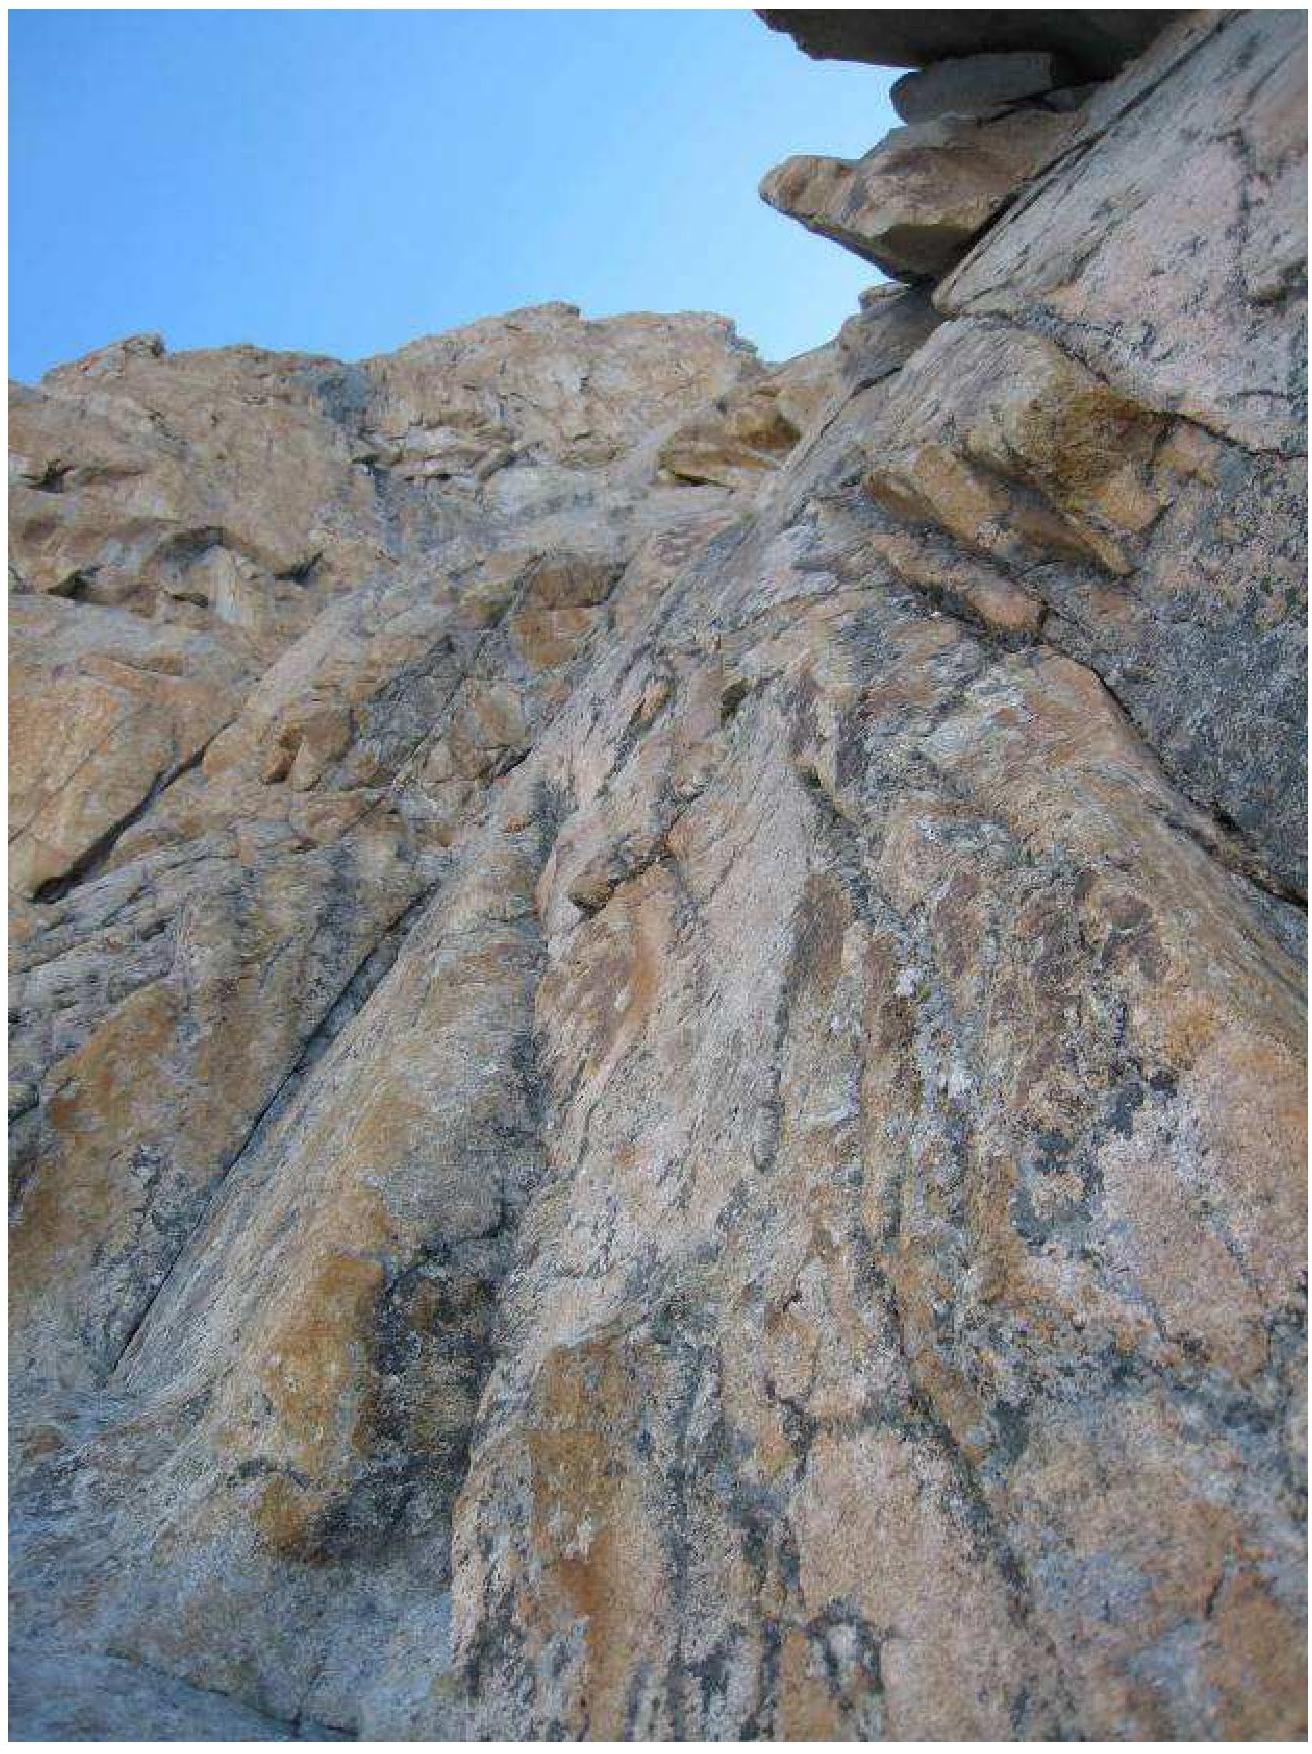
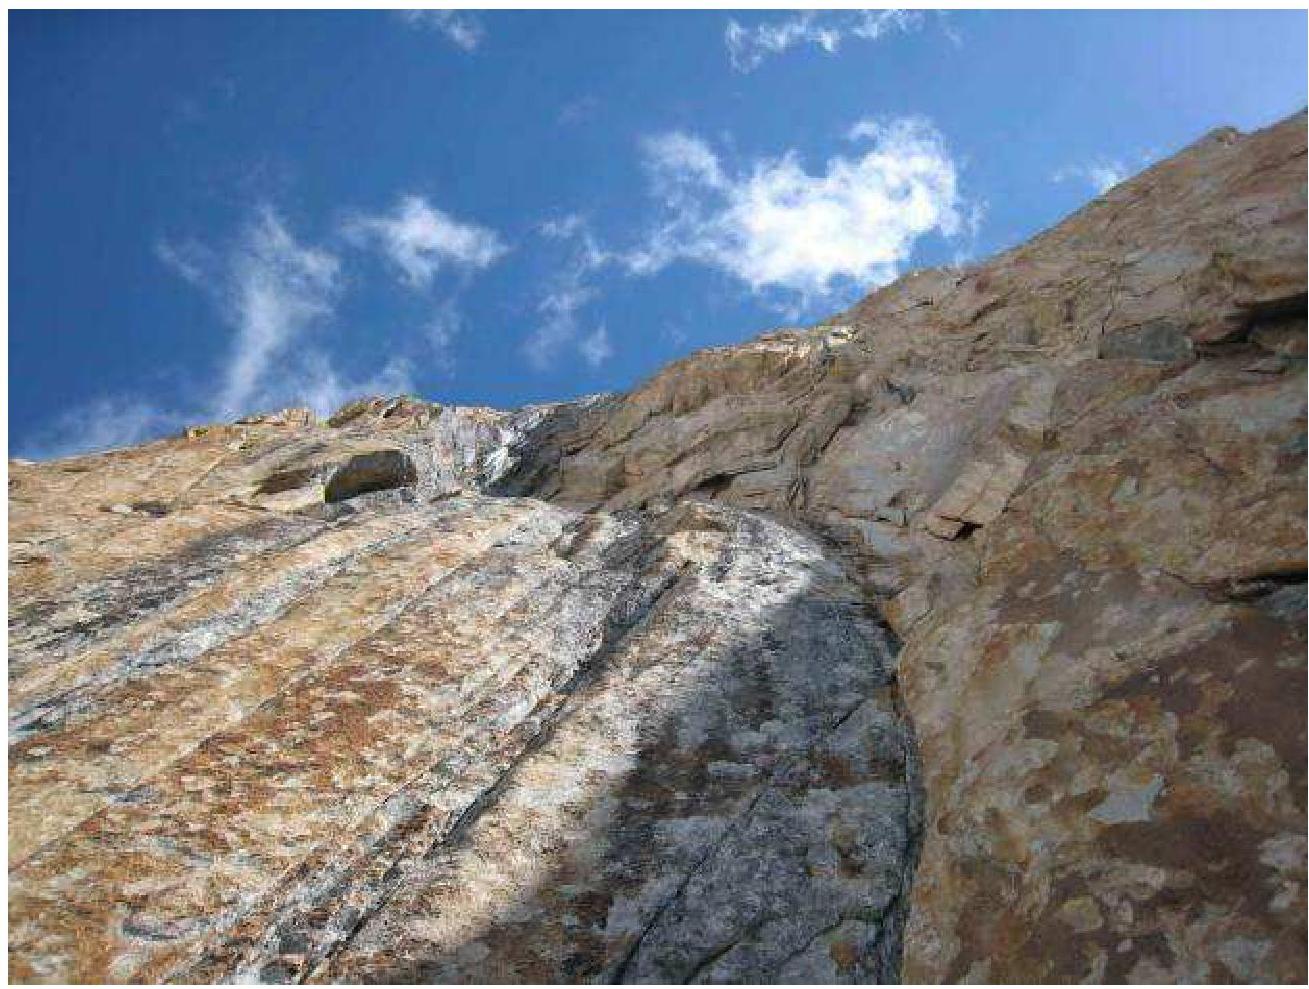
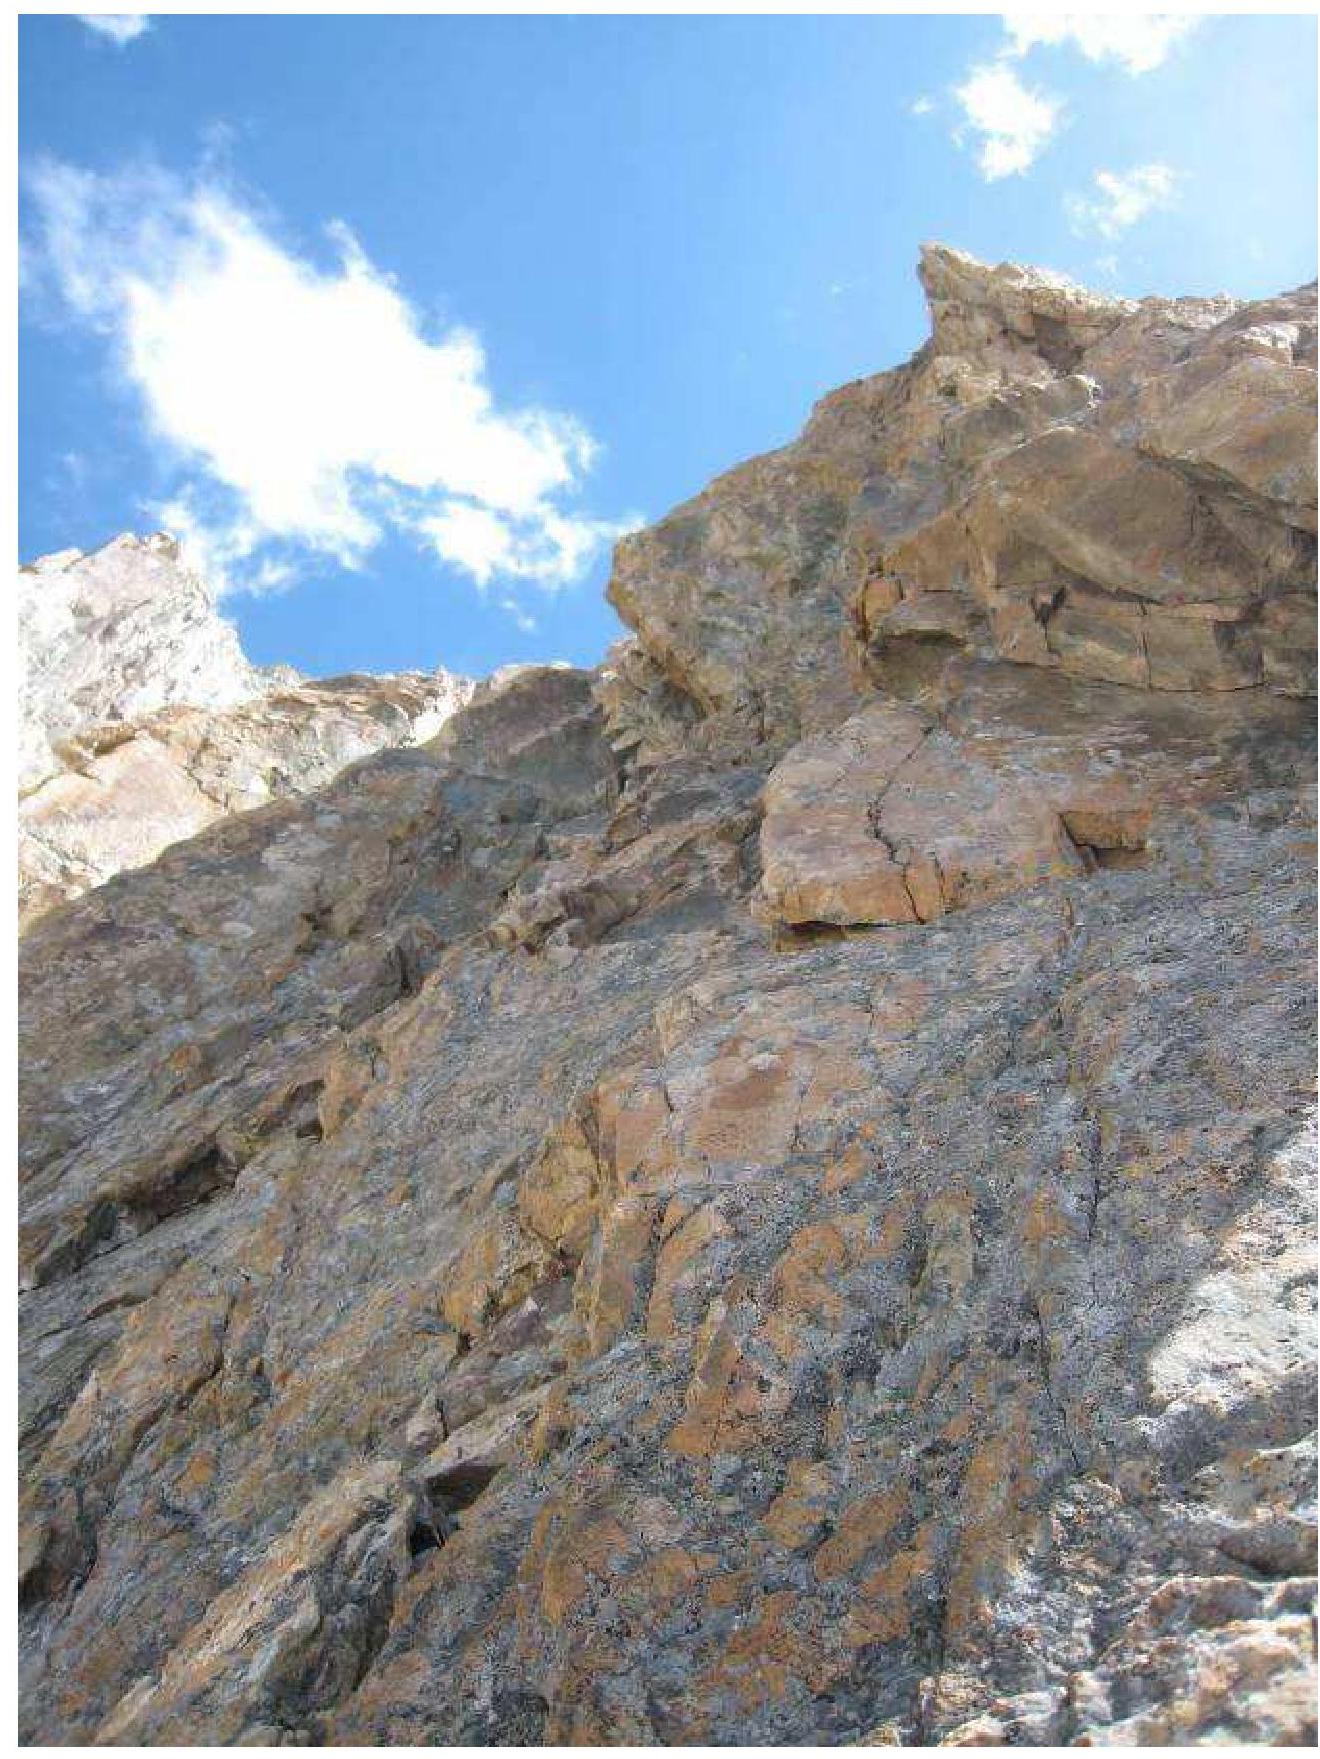
View of R4.
Team members overcoming Section R4.
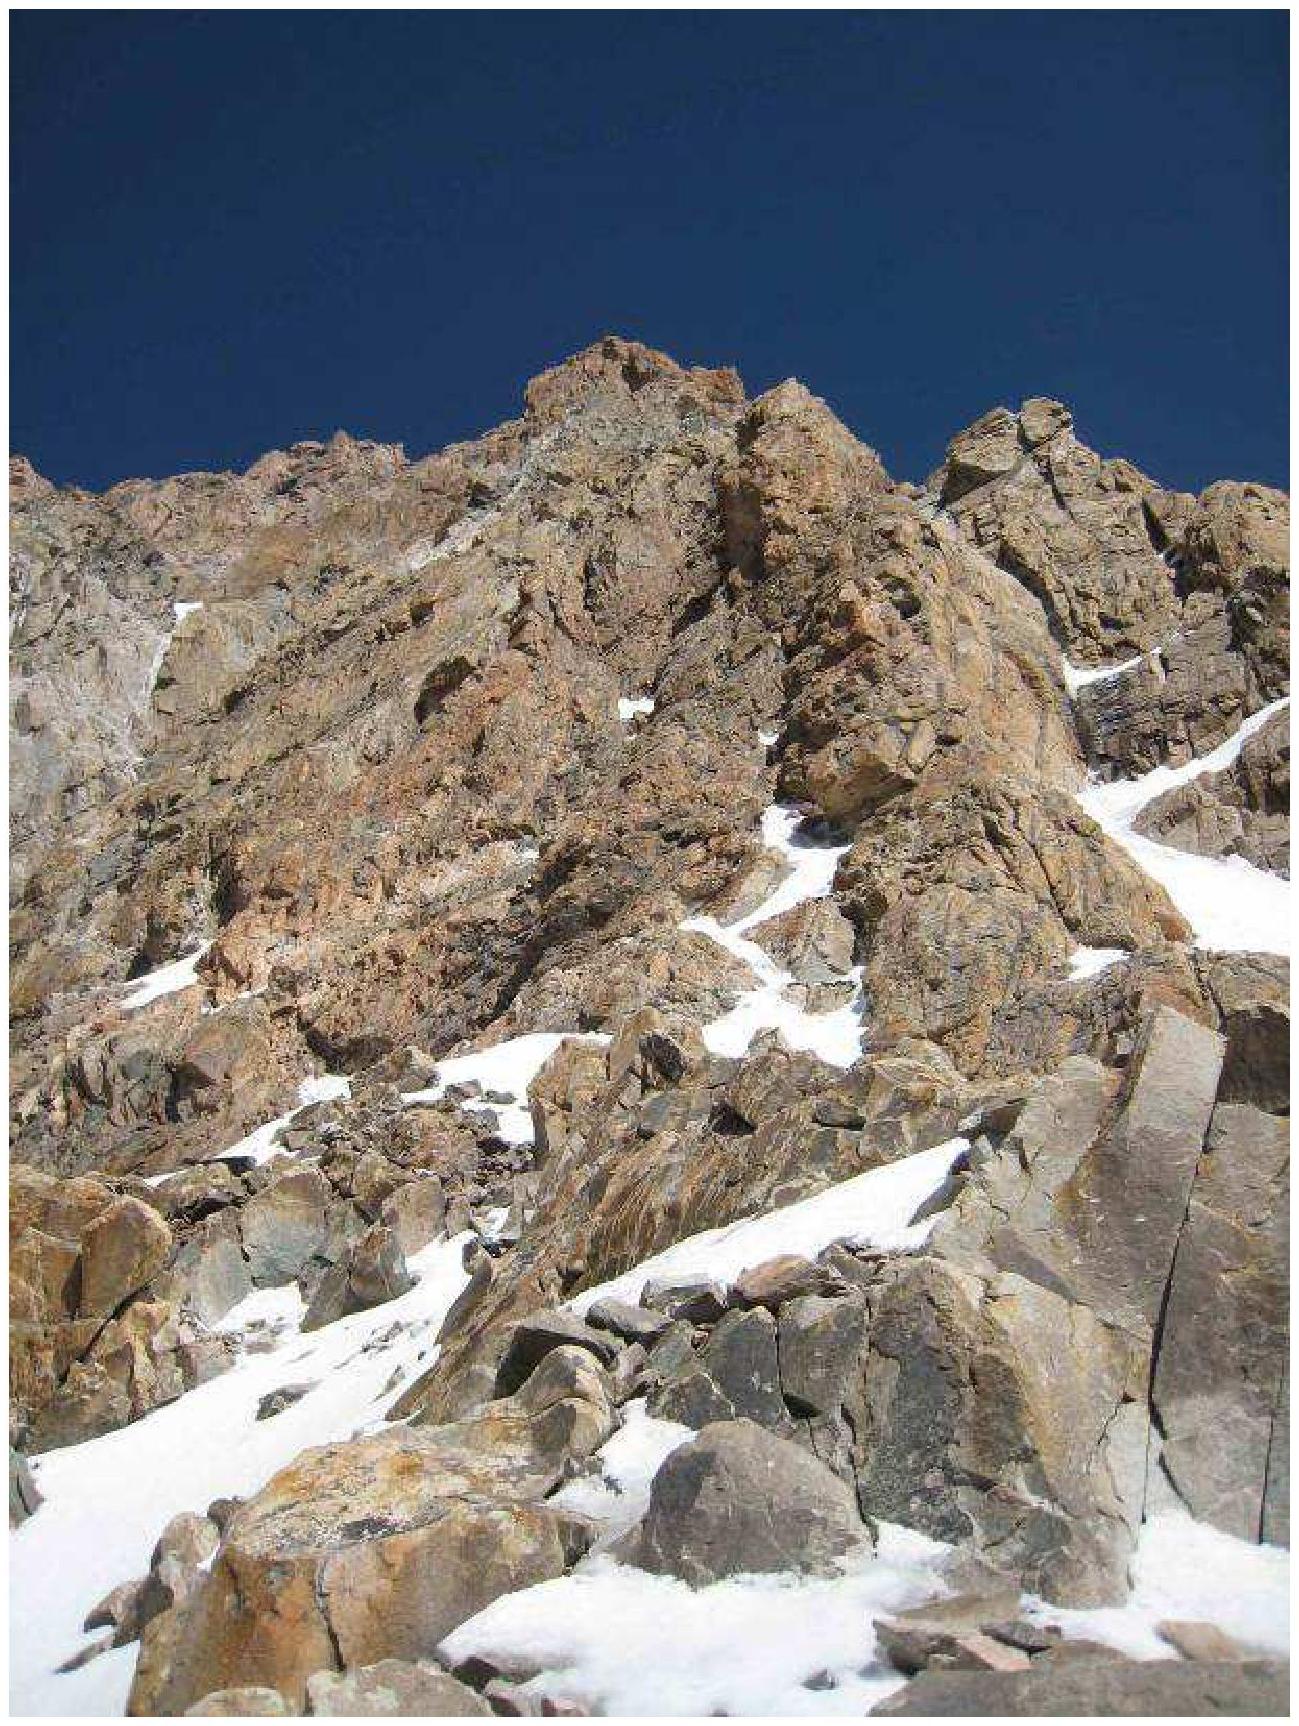
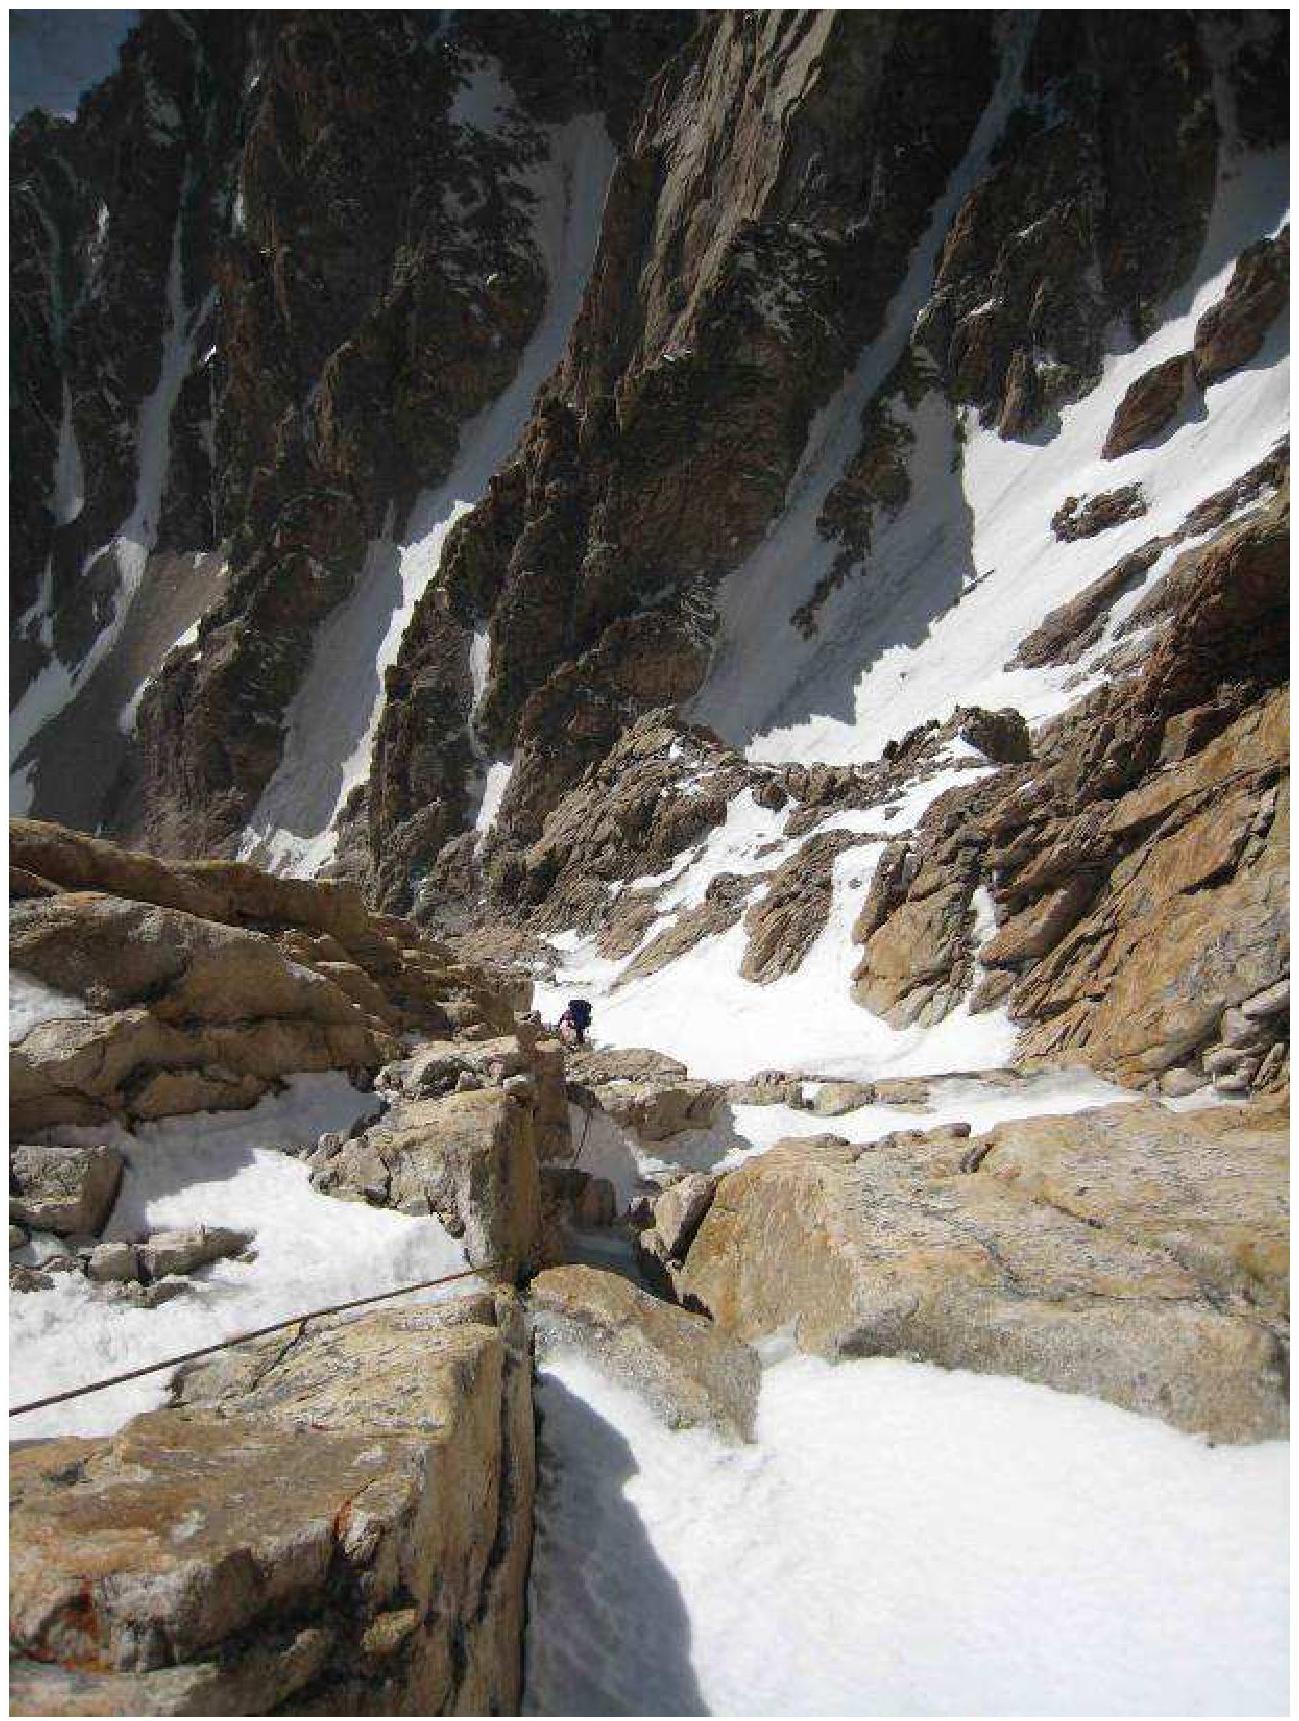
View of Section R5 from the fourth rope.

View of R5 from the station. Section - "Chimney with a cork." Overcoming the fifth rope.
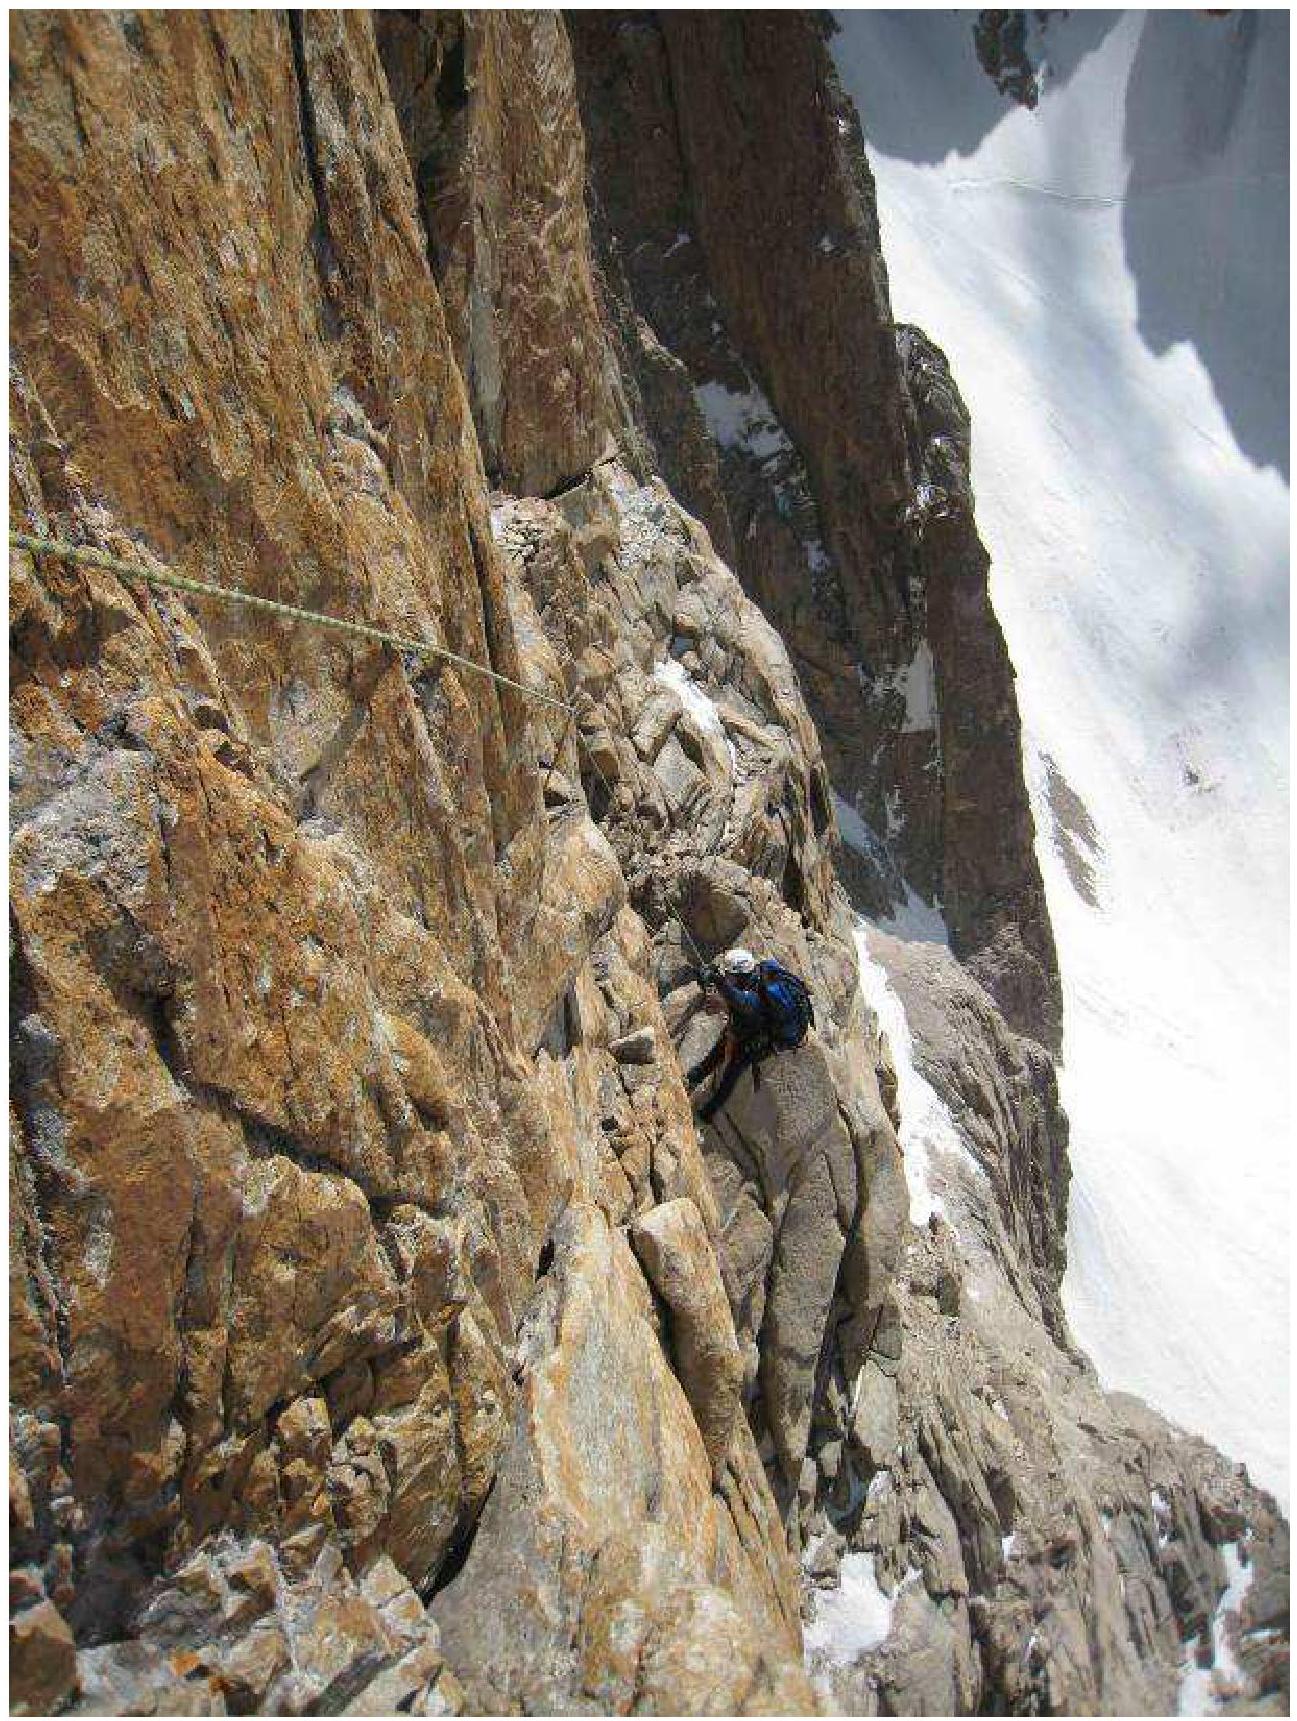
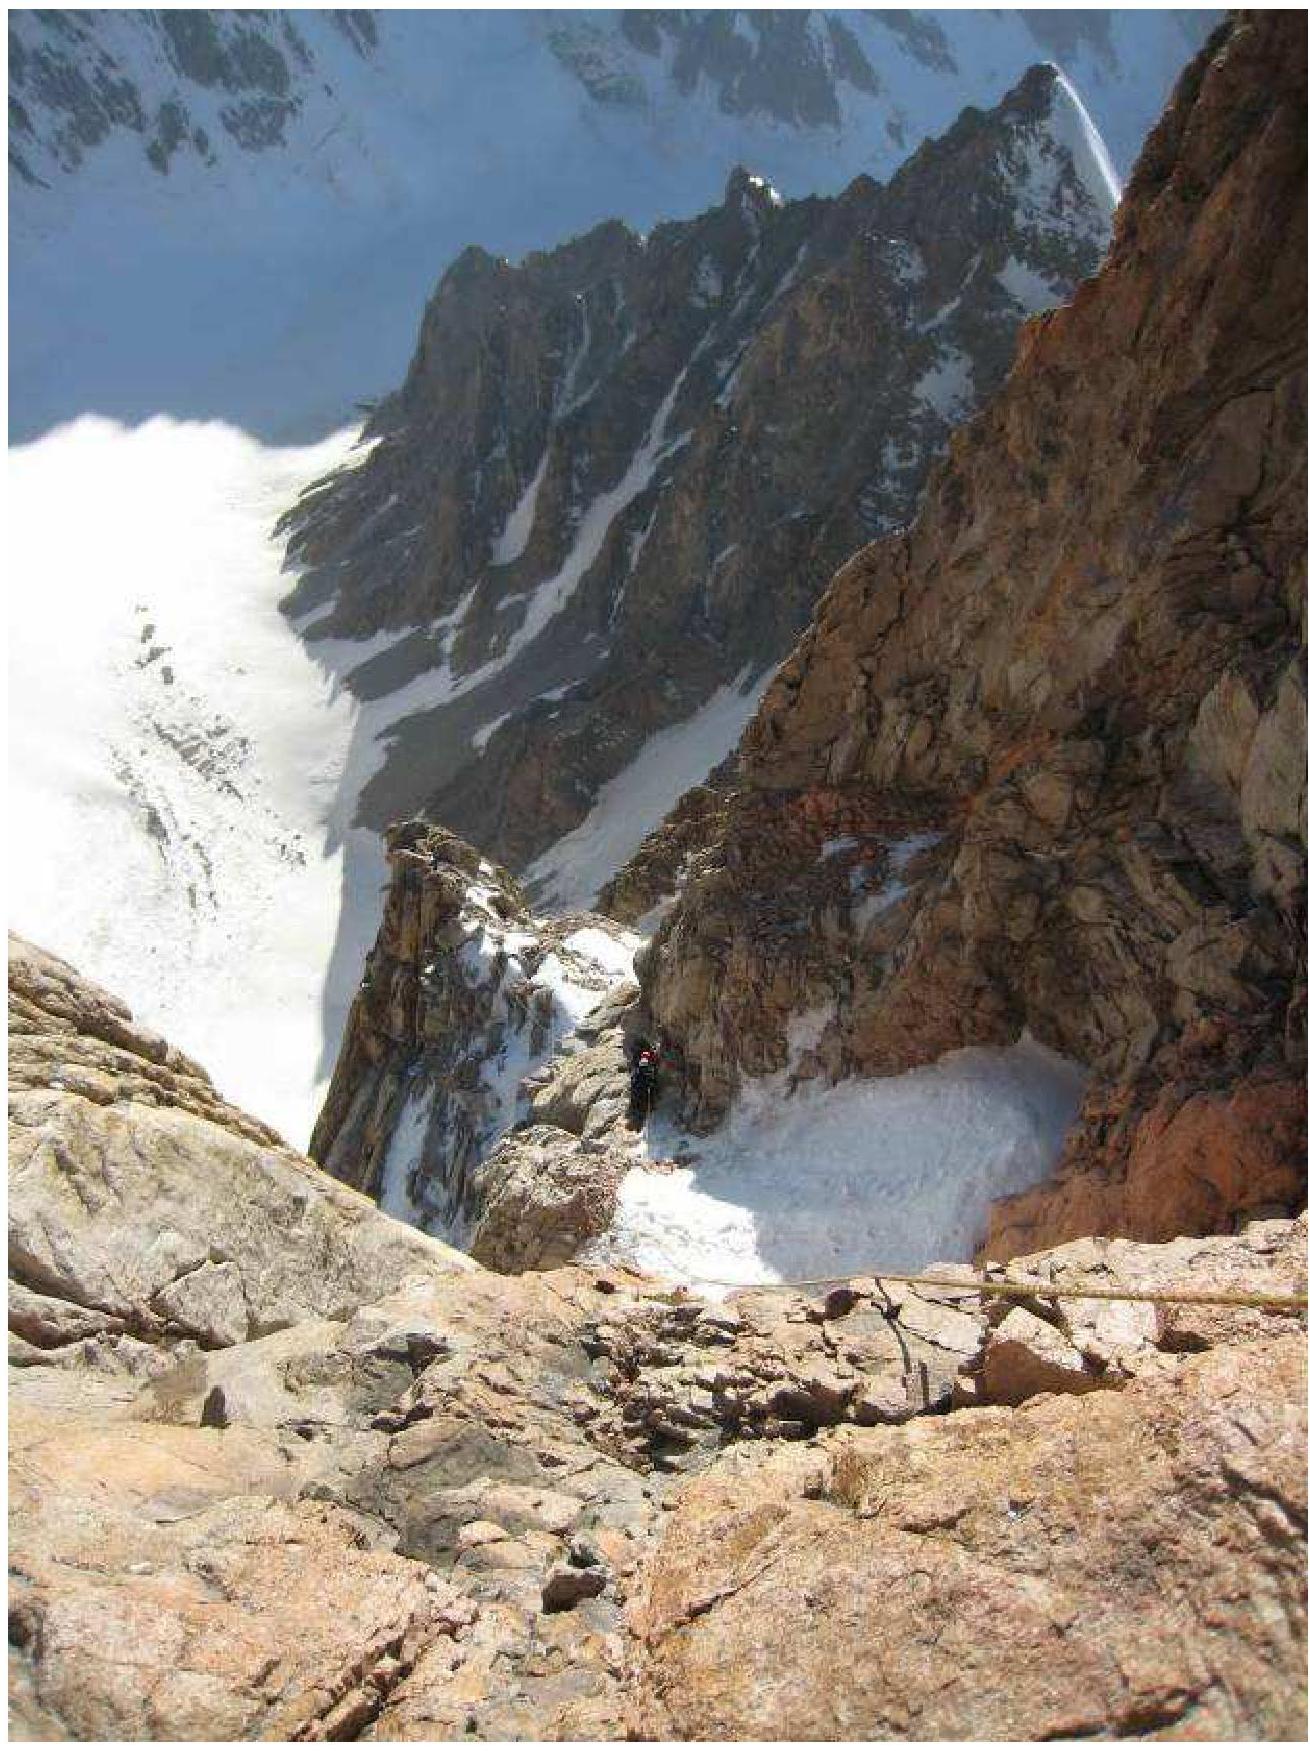
Section R6. Overcoming the sixth rope.
Section R6 - sixth rope.
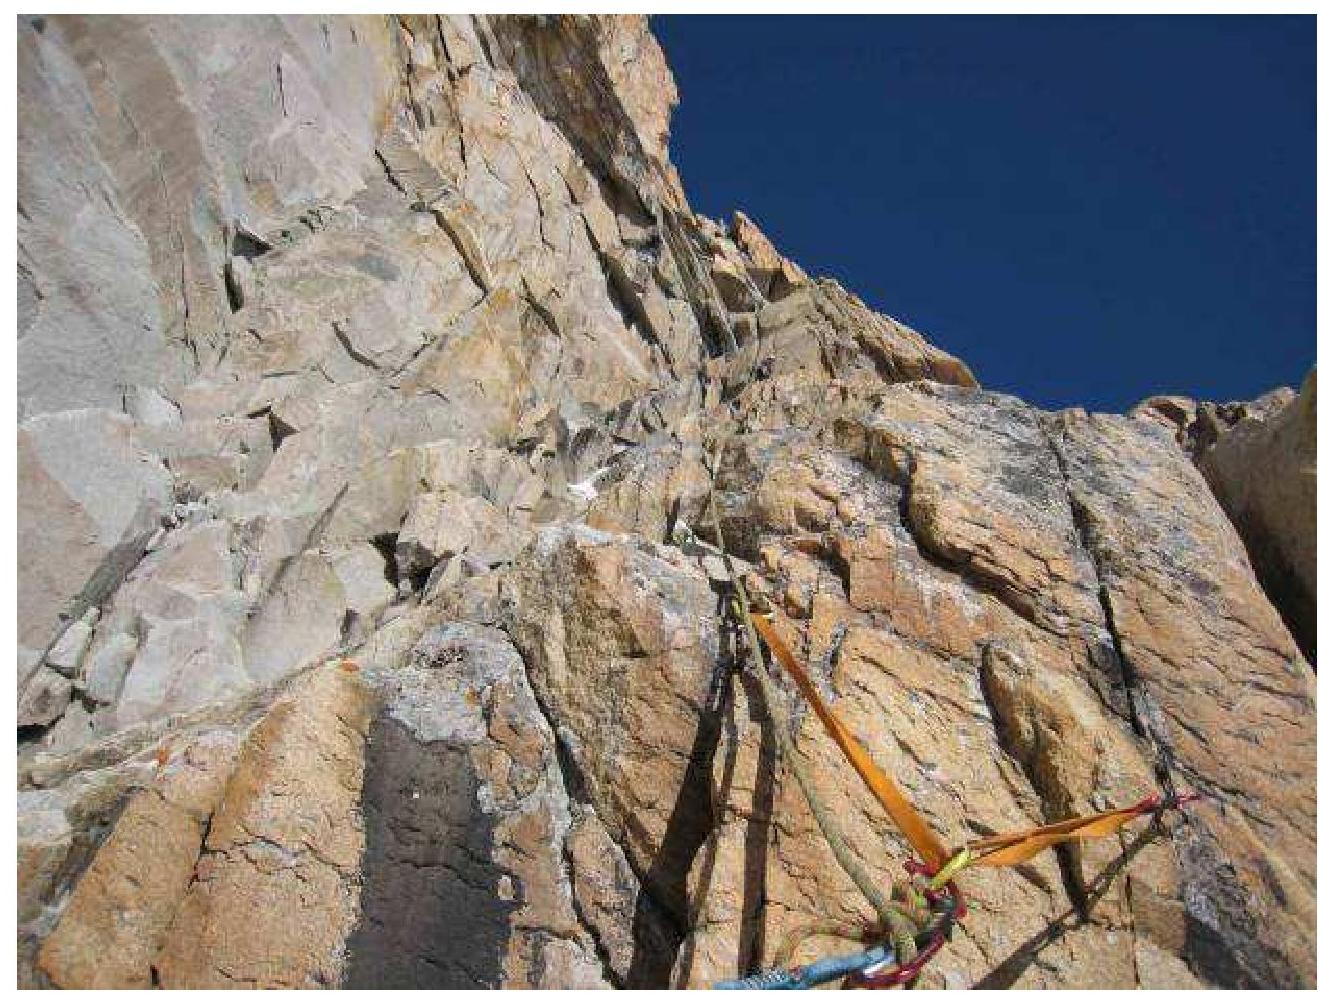
Section R7. Seventh rope "through icicles and traverse along the wall." Traverse equipped with original pitons. Key rope of the route.

Section R8. Along the left internal angle to the ridge. Station on a ready-made bolt and original hook. Eighth rope.
Section R8. Eighth rope. The internal angle remains behind the bend.
Section R9. View of the bivouac sites.
Section R9. View of ropes 9-10 on the ridge. Ninth rope goes along the ridge.
Section R10-R11. Eleventh rope passes along and through icy couloirs.
Section R12-R13. View of ropes 12-13.
Section R13. Station on the thirteenth rope.
Section R14. Fourteenth rope.
Section R14. Fourteenth rope.
Section R15. Fifteenth rope.
Section R15. Fifteenth rope.
Section R15. Station on the sixteenth rope.

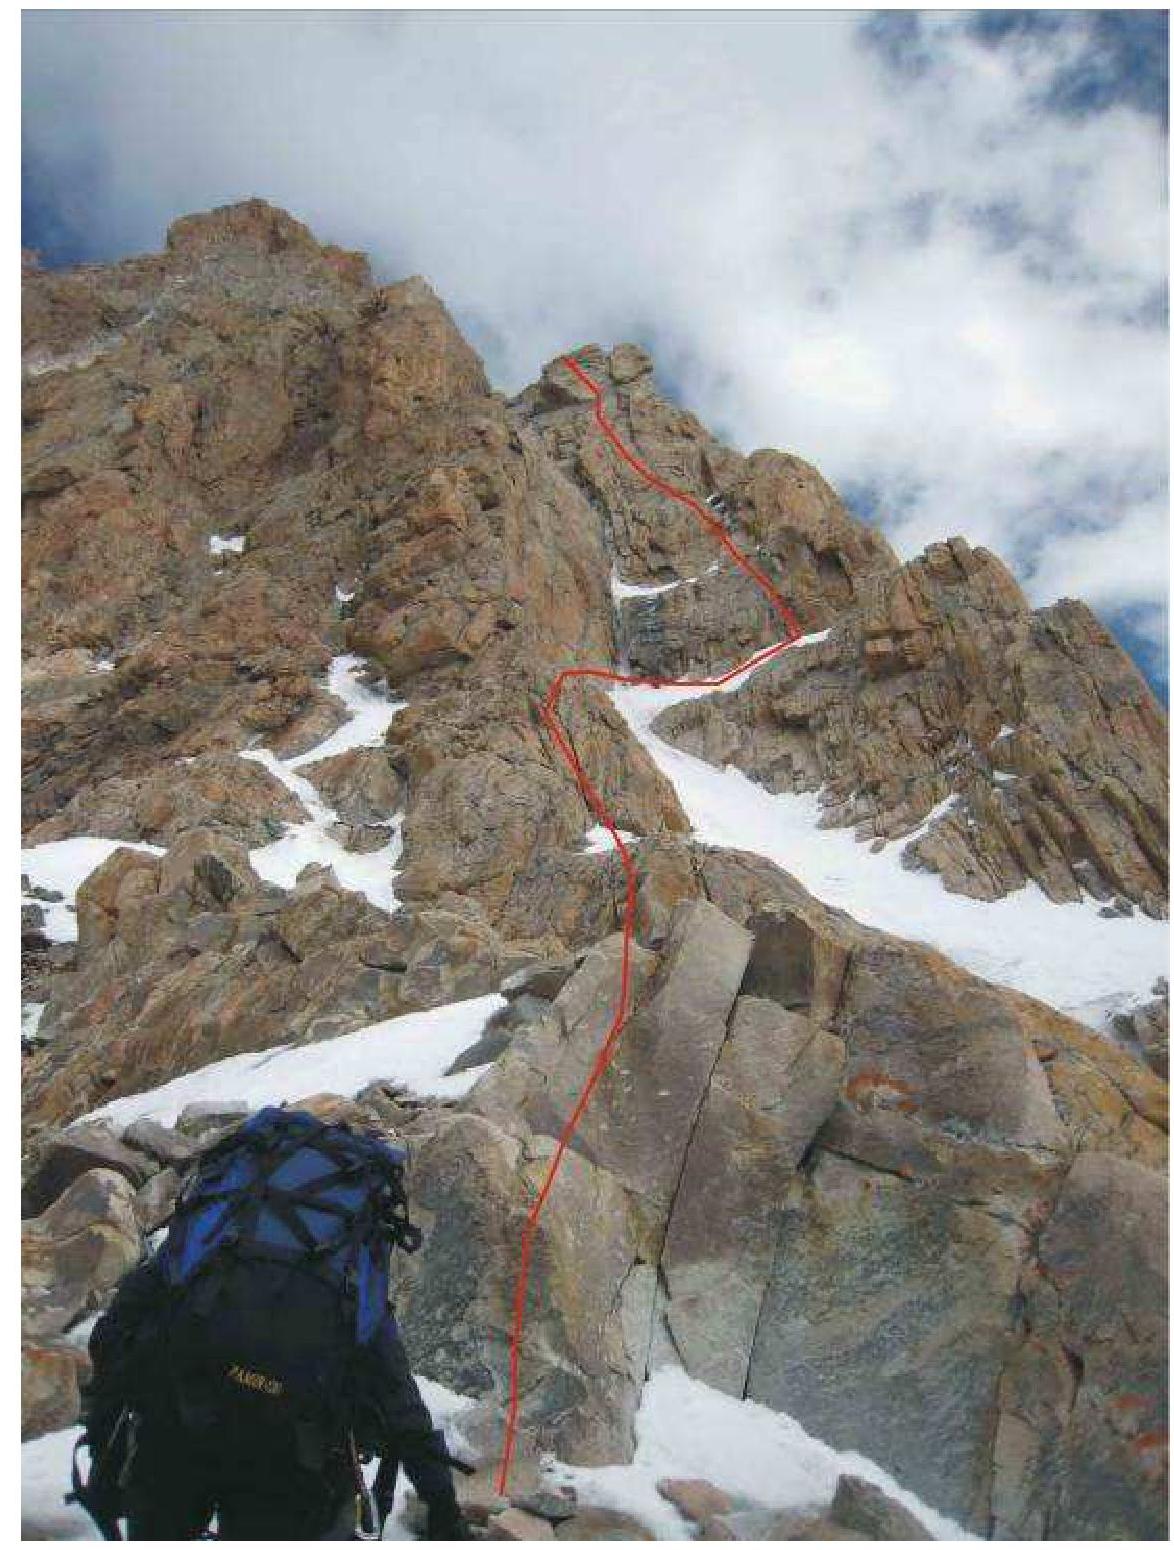
Section R15-R16. Seventeenth-eighteenth ropes leading to the pre-summit ridge. To the right, if following the route, there's a snow and ice couloir, but we decided to climb "straight on" to the top of the gendarme.
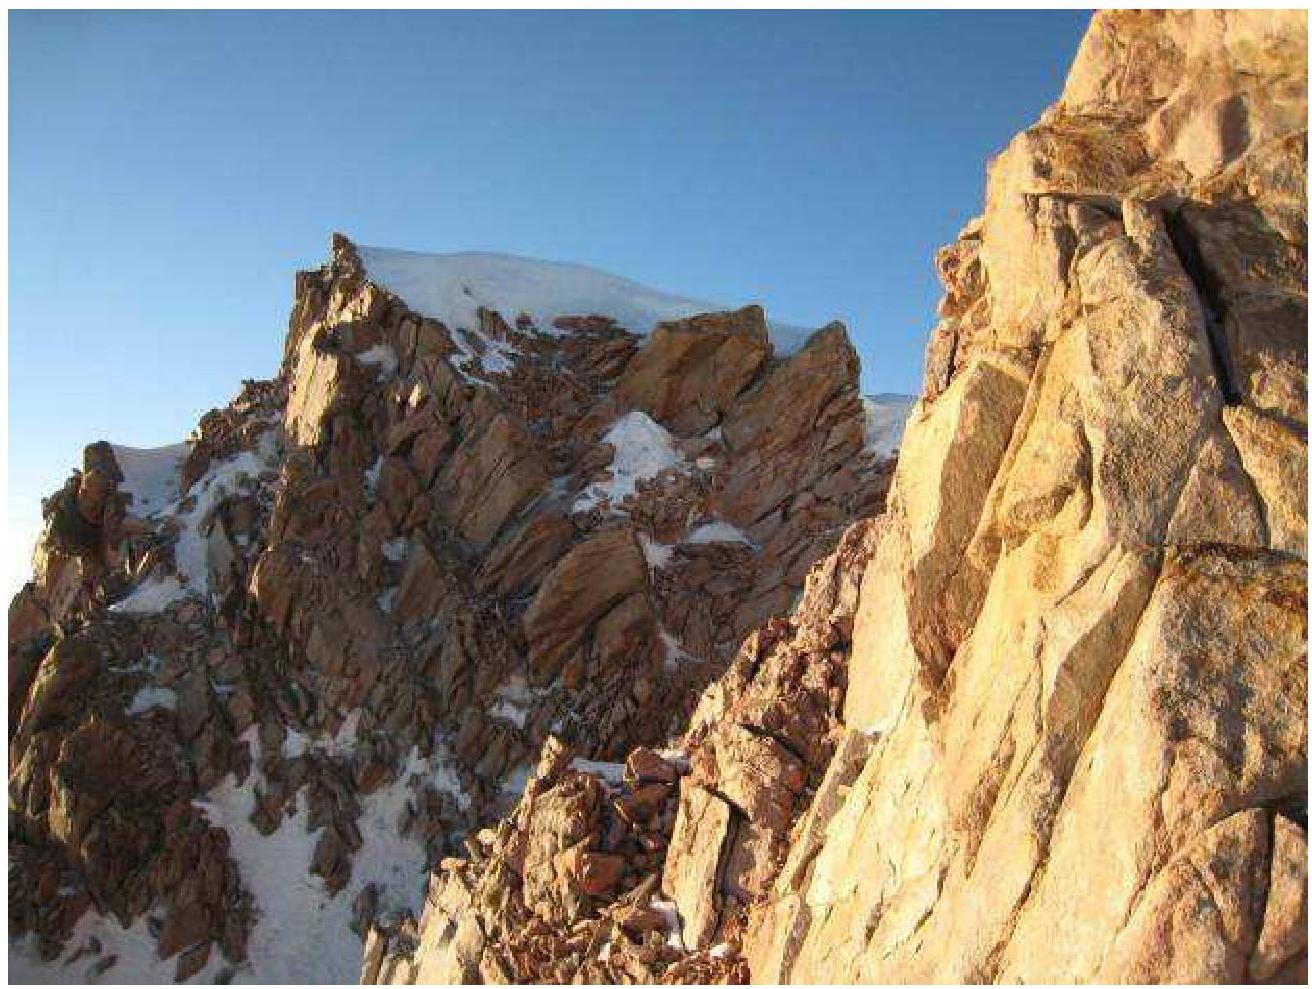
View from the last station to the summit of the 5th Tower.
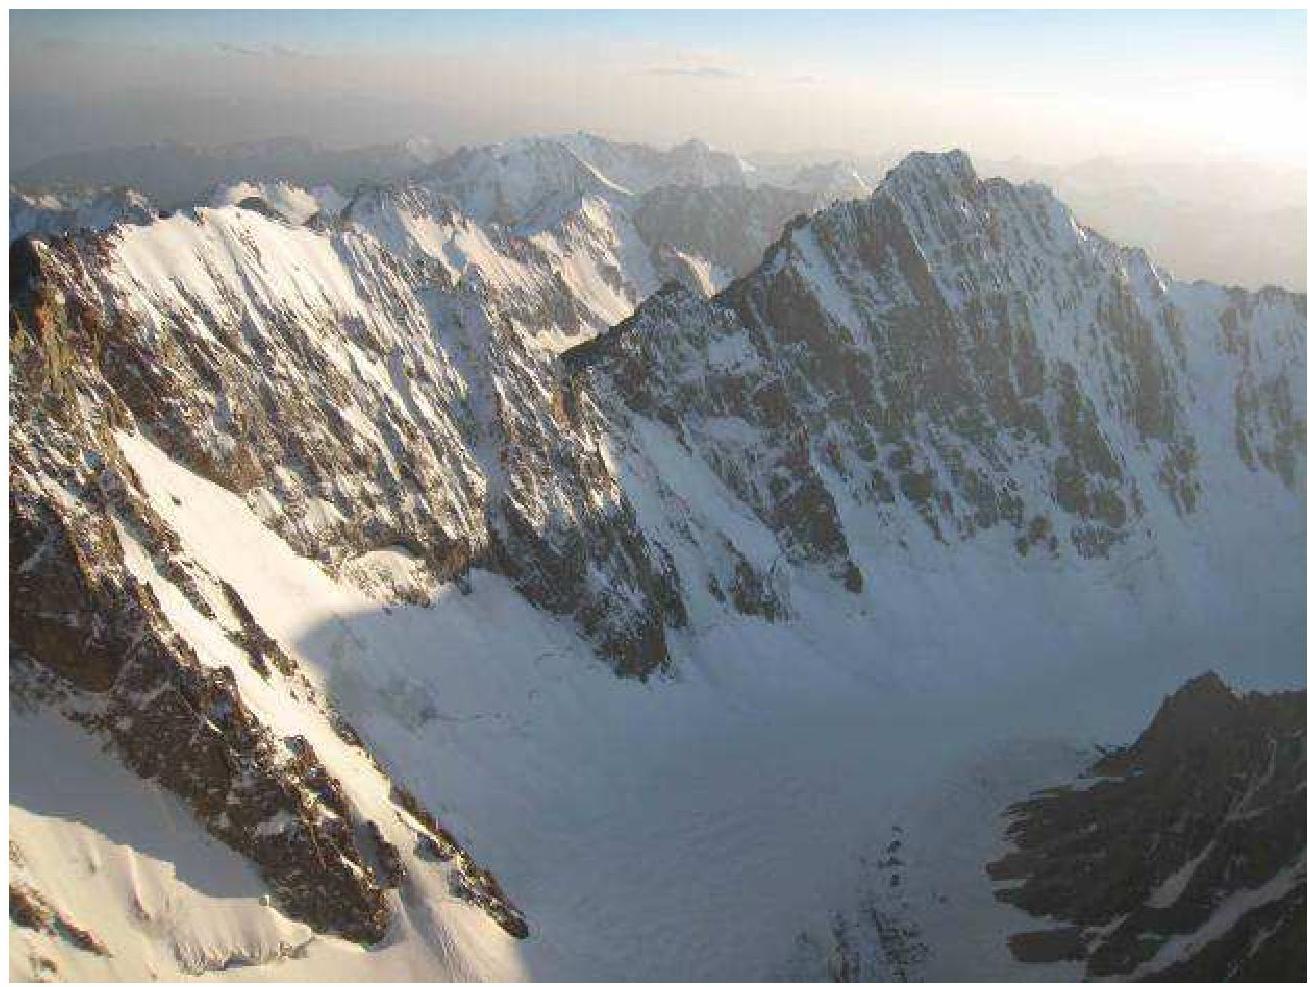
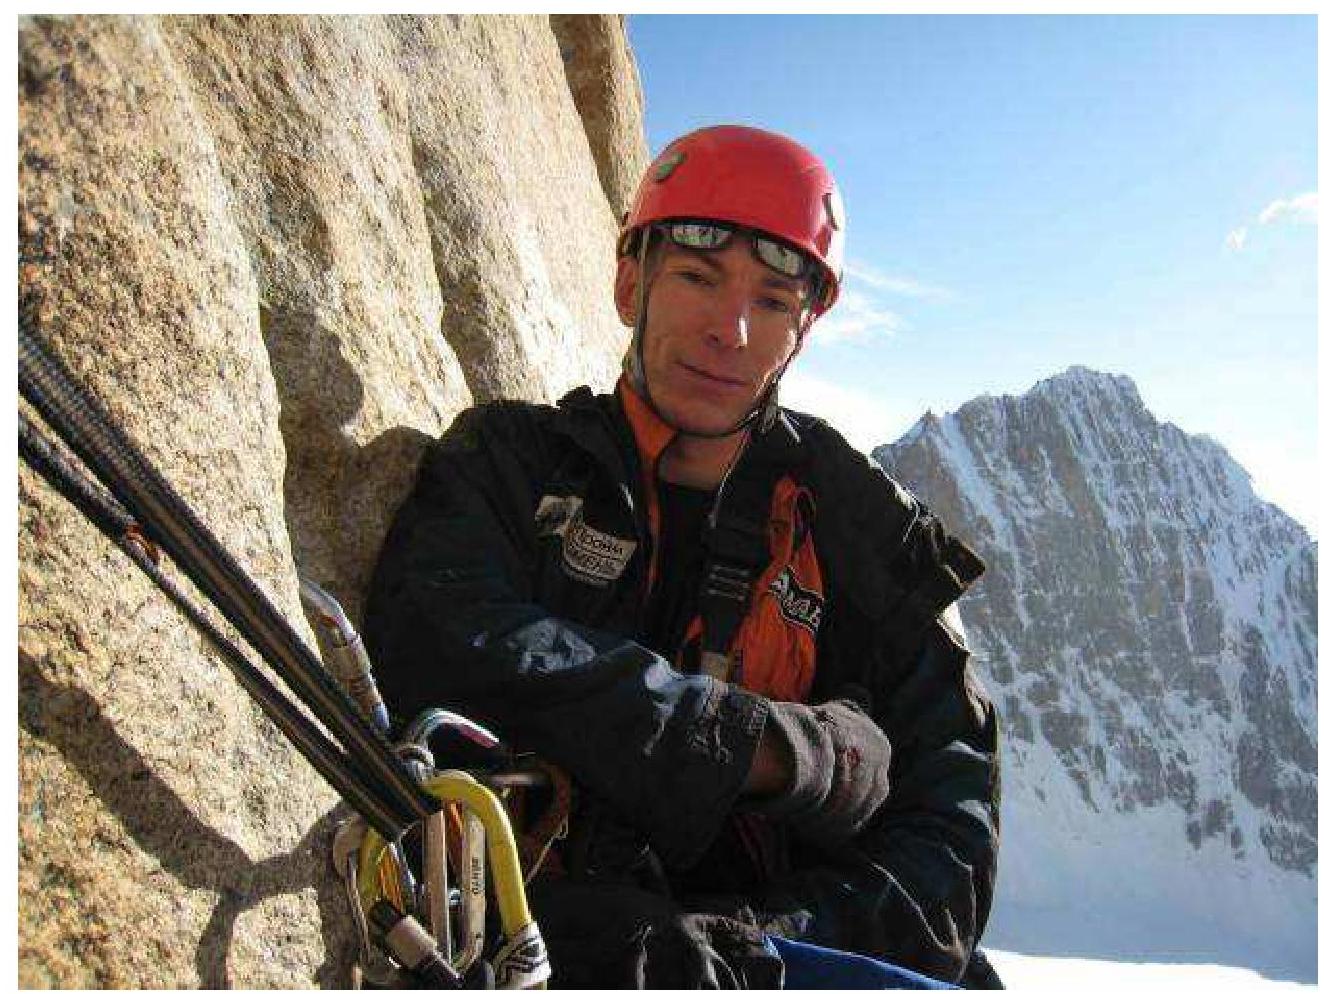
View from the summit to Peak Free Korea.
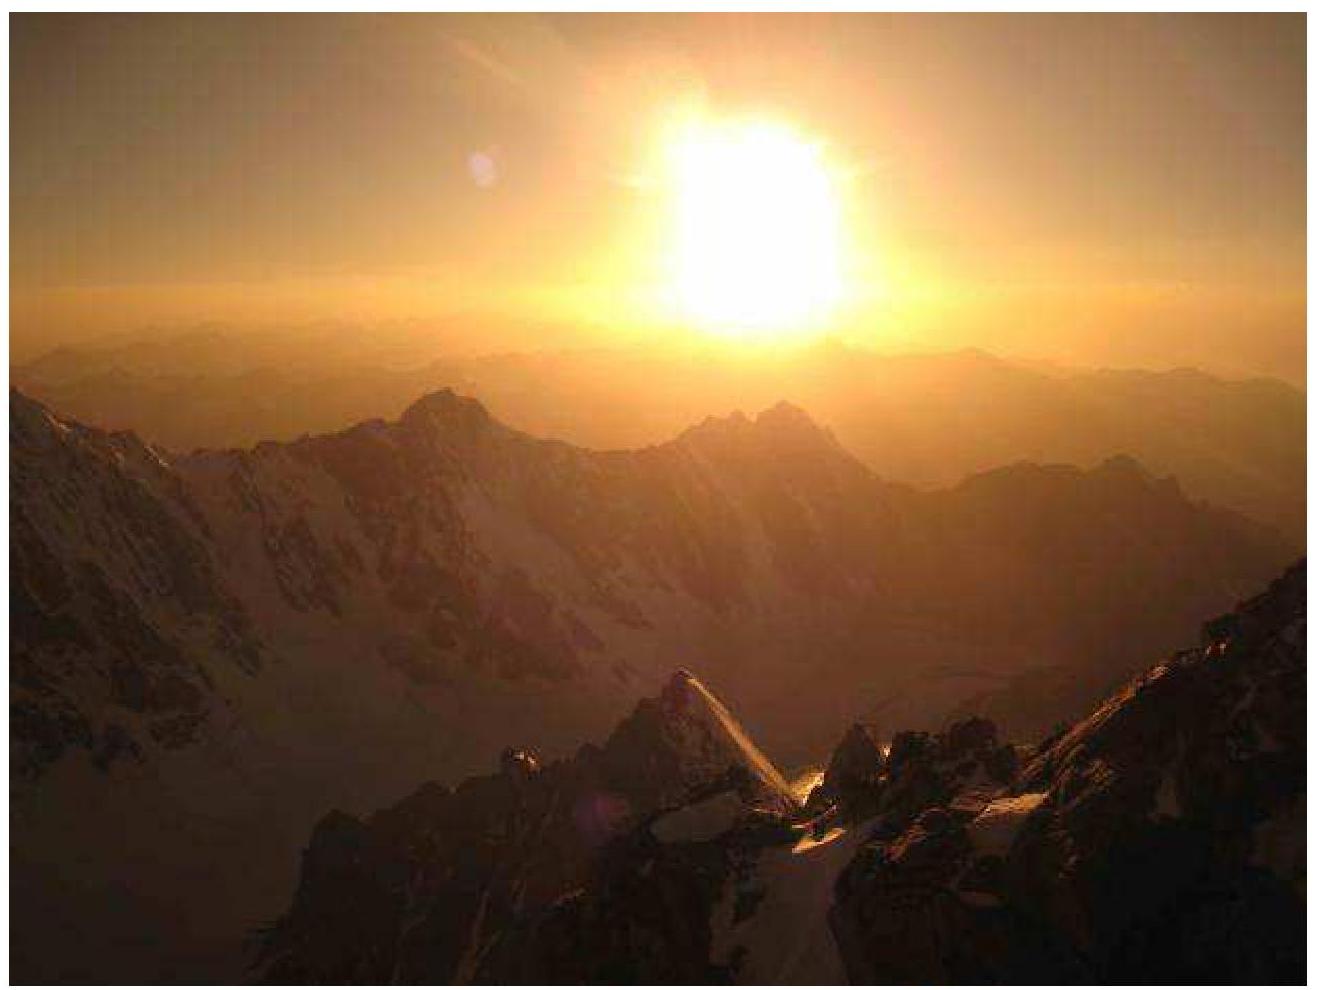
Sunset on the mountain.
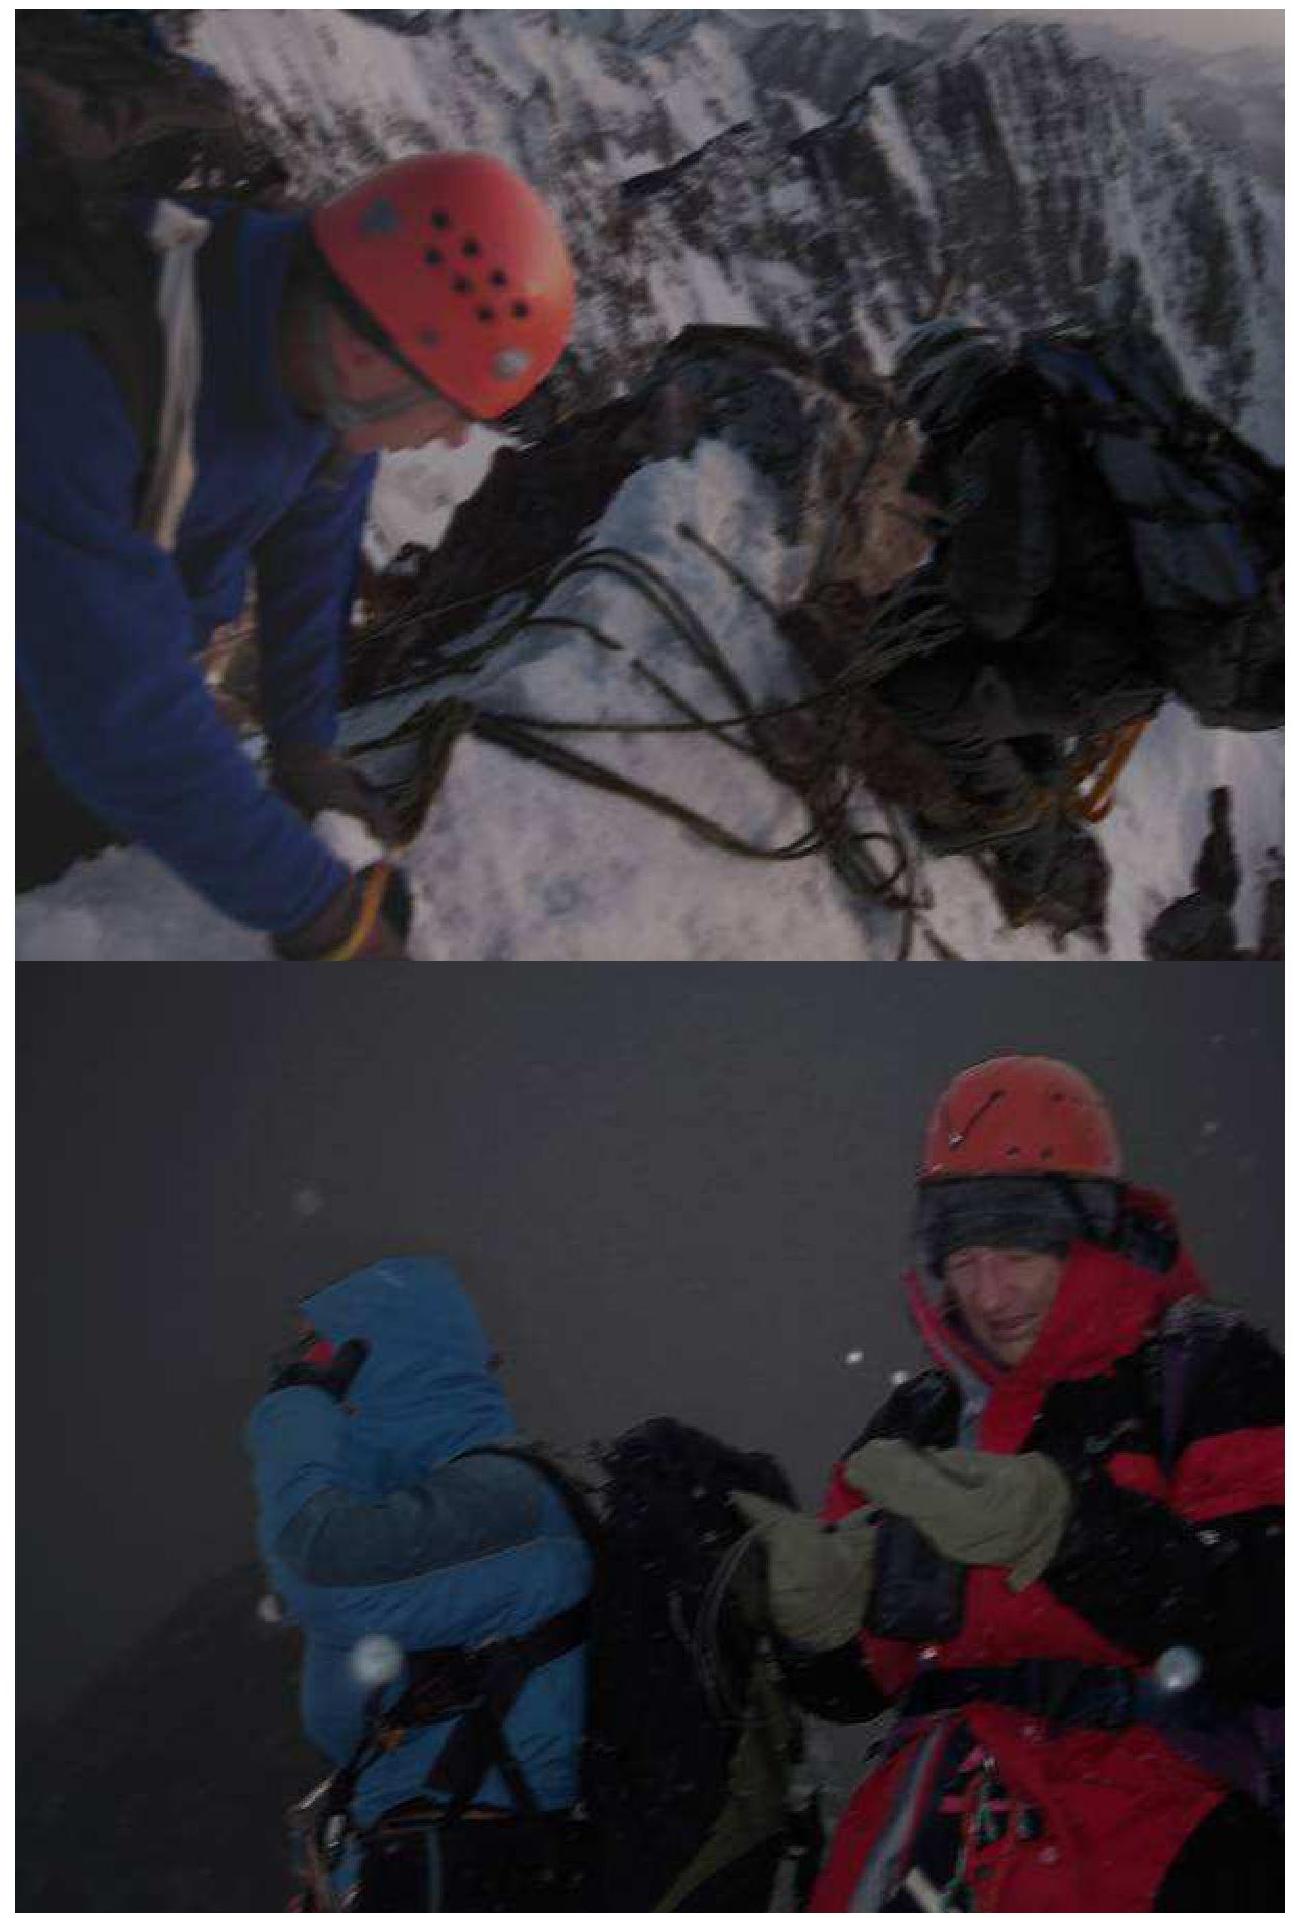
Team on the summit. Unfortunately, we didn't find any note on the summit, so we built a cairn and left our own.

Team's descent route after the wall.