Photo 2. Third rope.
The leader on the section R11–R12, 5 m from the belay station. Passing the crack — chimney, difficult climbing,
smoothed rocks, steepness 65°. The photo is taken from the belay station at
R9.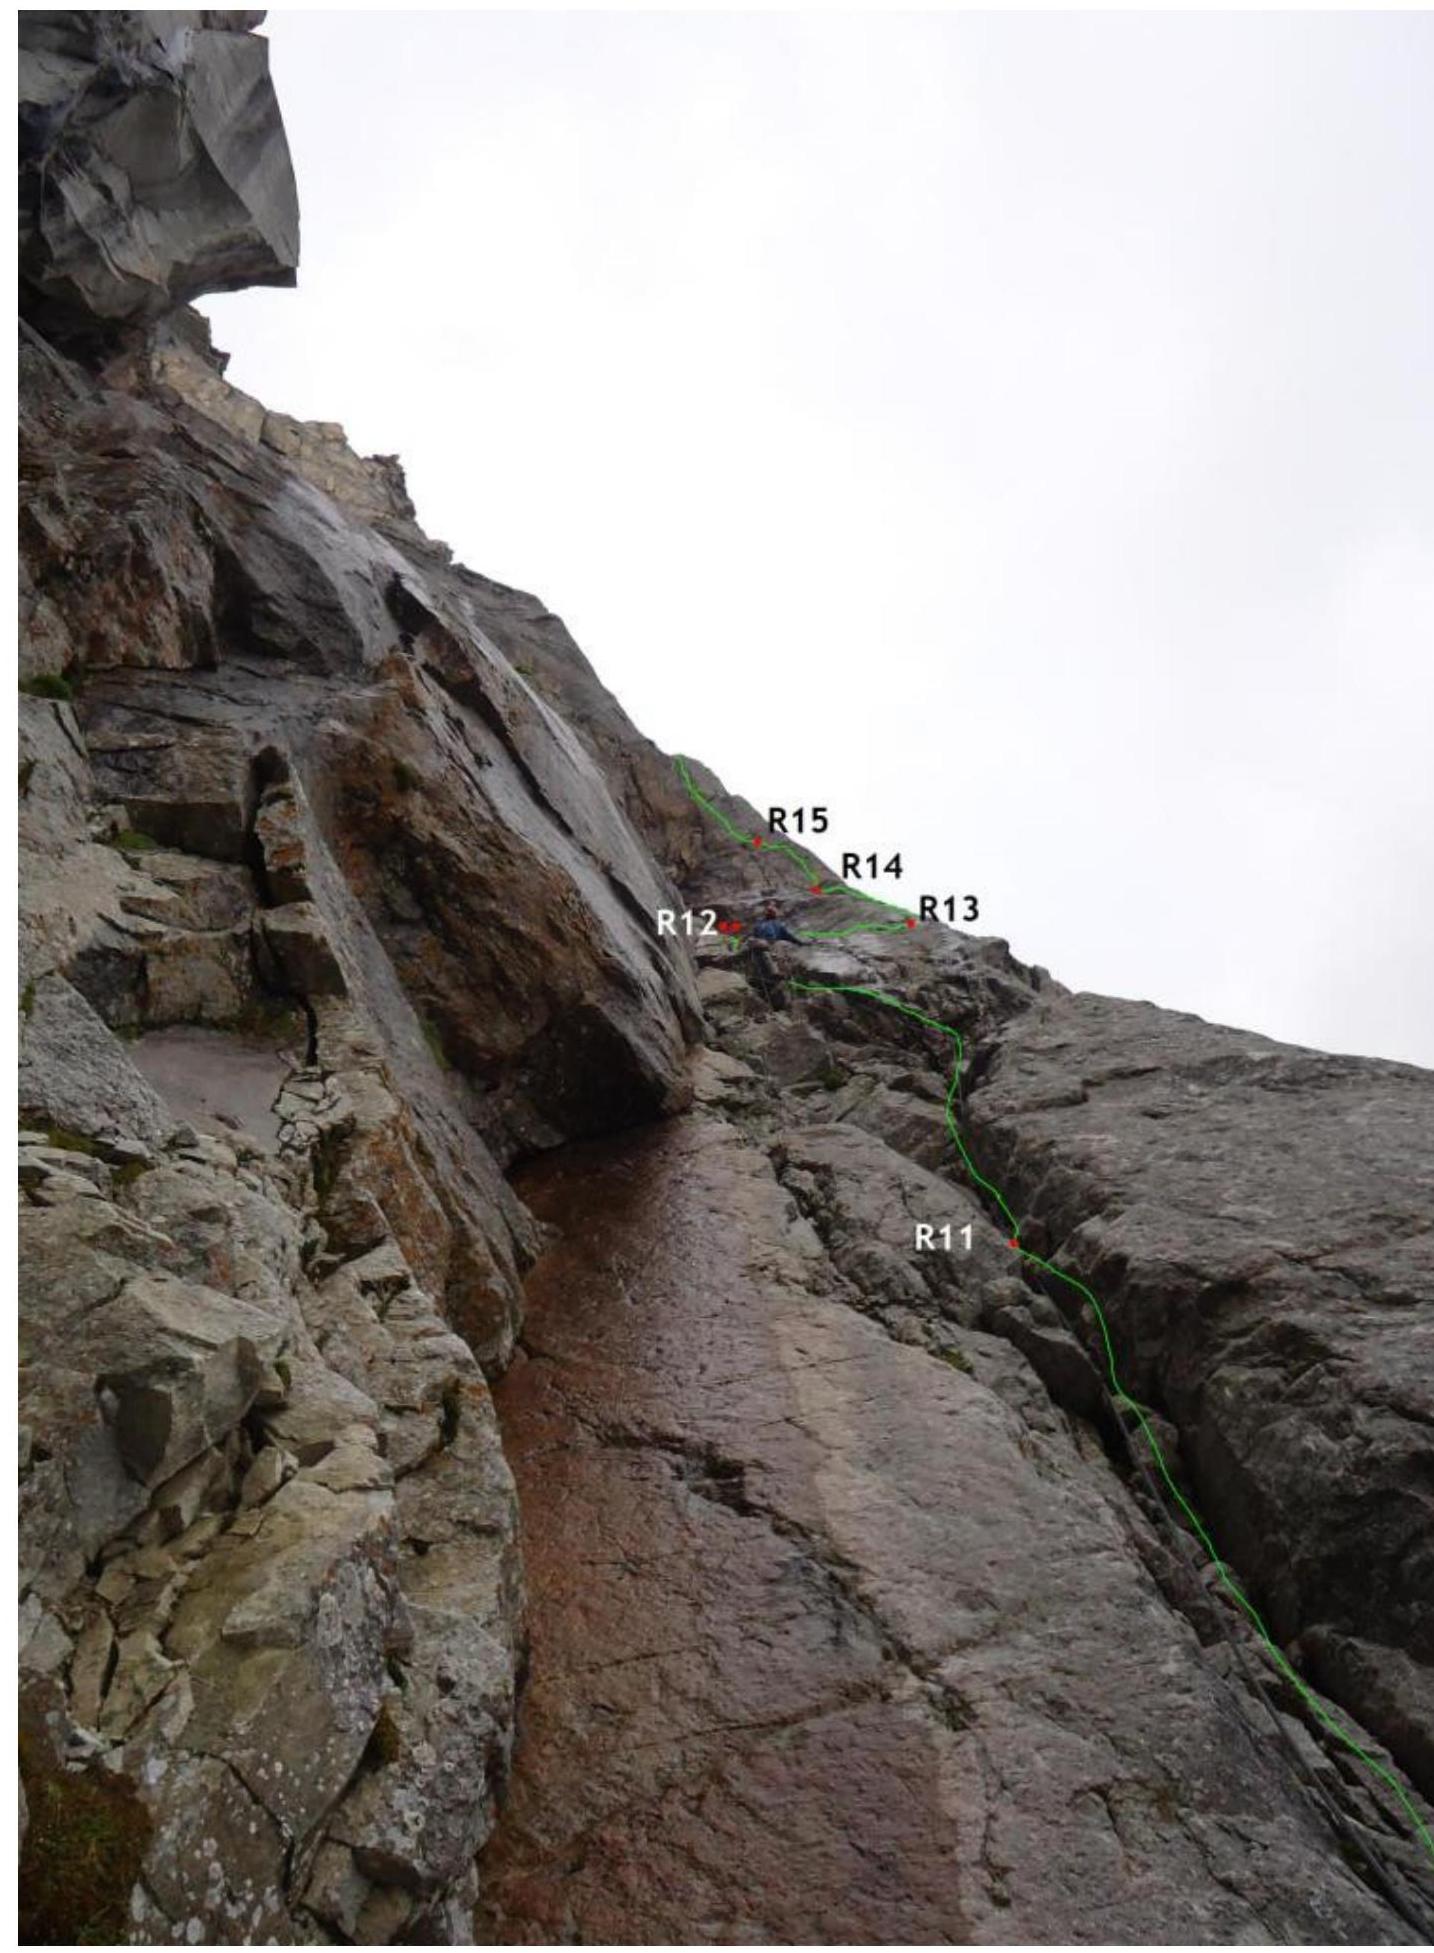
Photo 3. Fourth rope.
The leader at point R15. Passed:
- a vertical wall
- then 20 m internal corner. The photo is taken from the belay station at
R12.
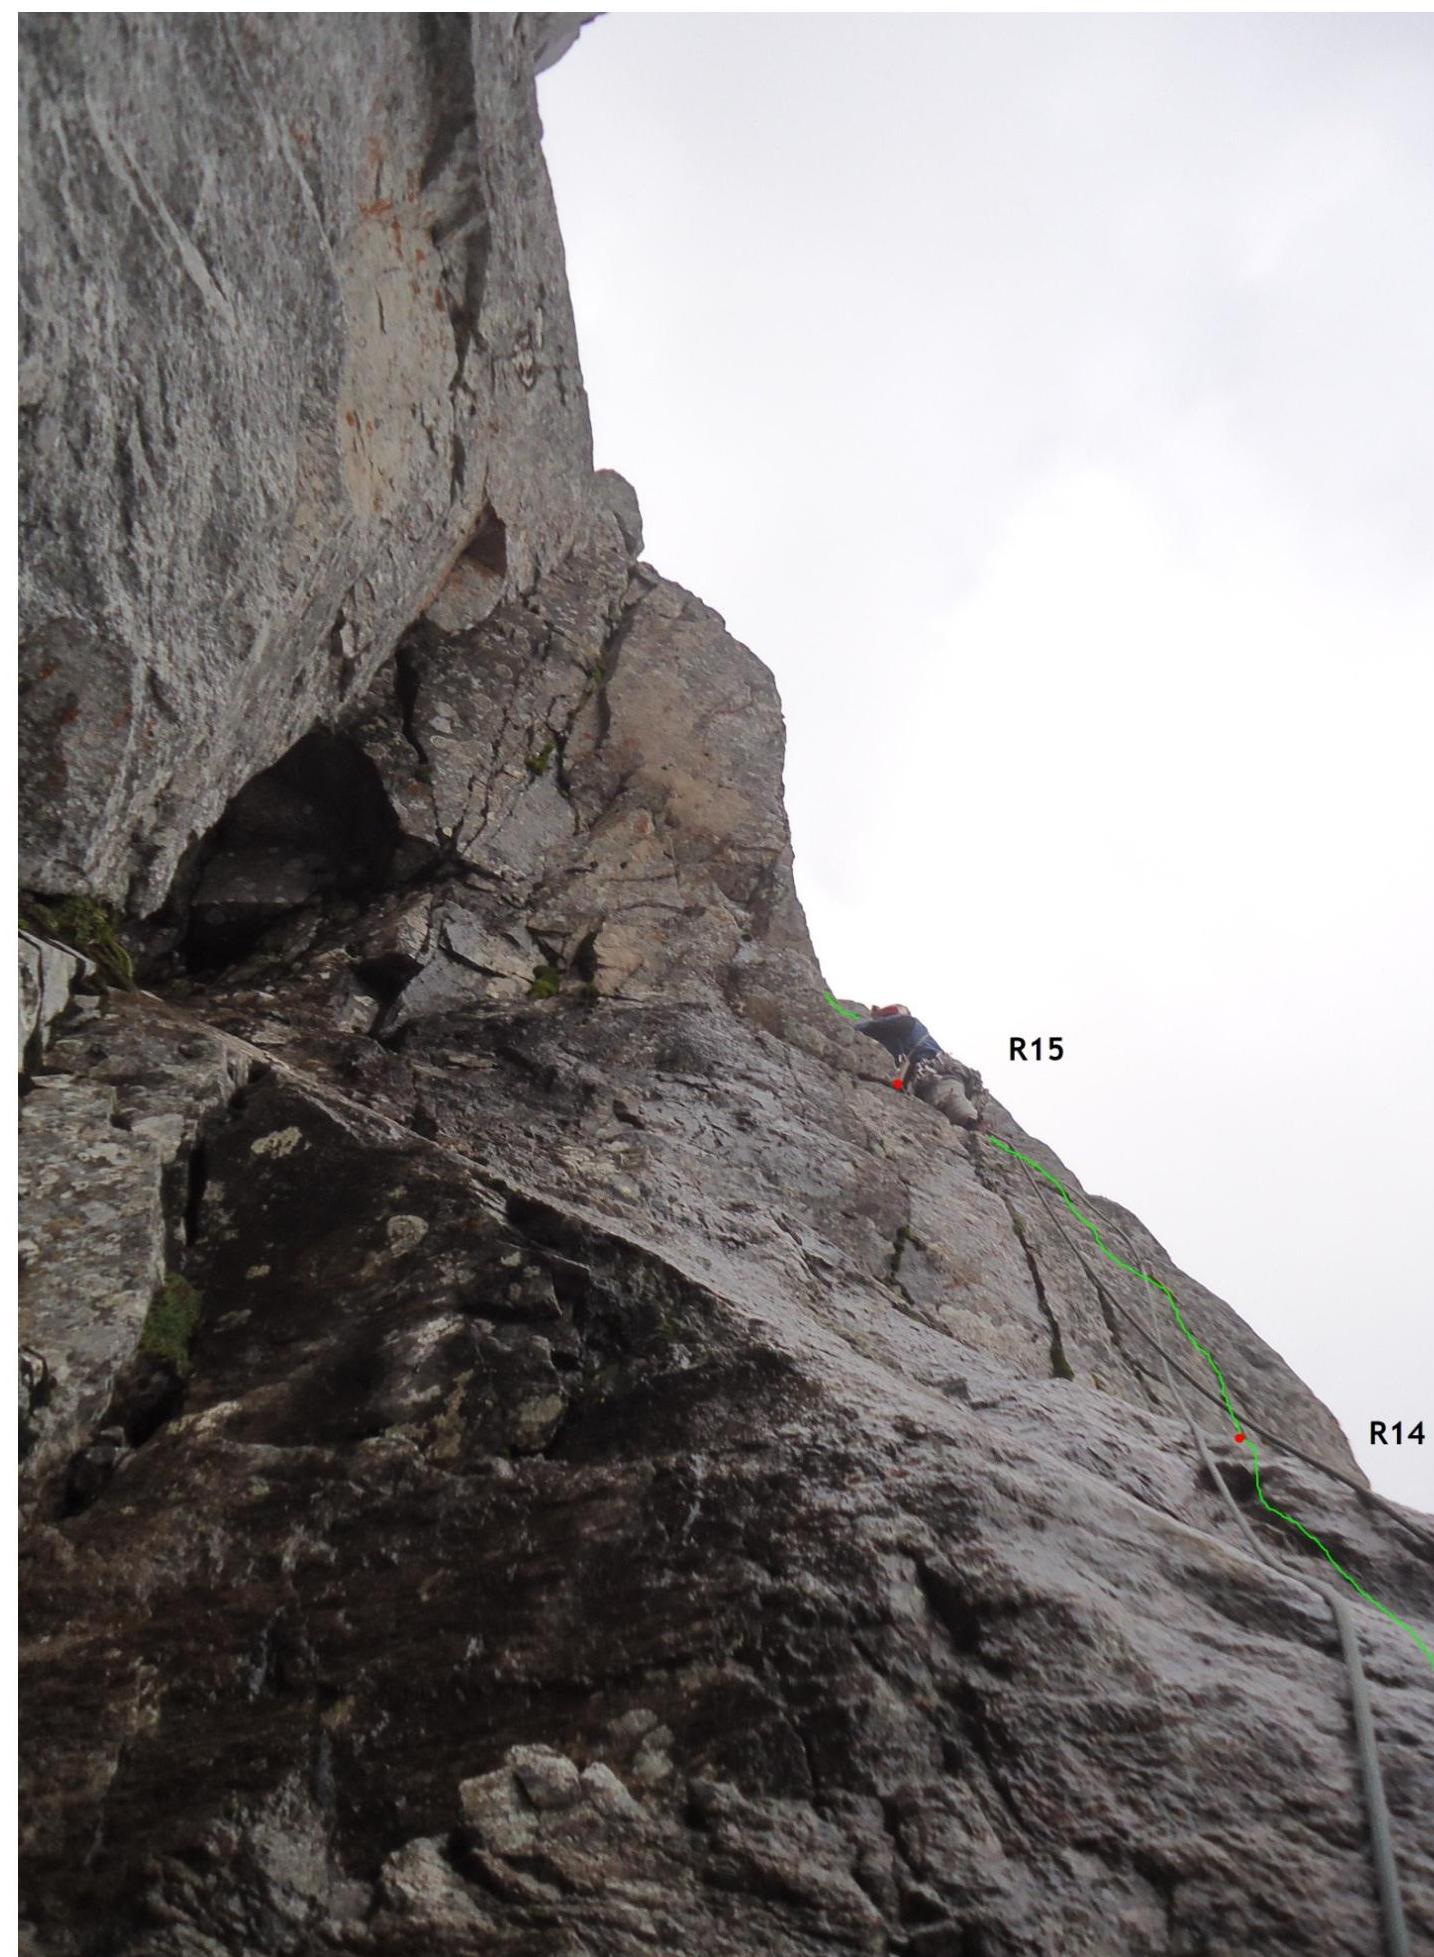
Photo 4. Fifth rope.
The leader at point R19, climbing monolithic slabs with poor relief. The photo is taken from the belay station at
R17.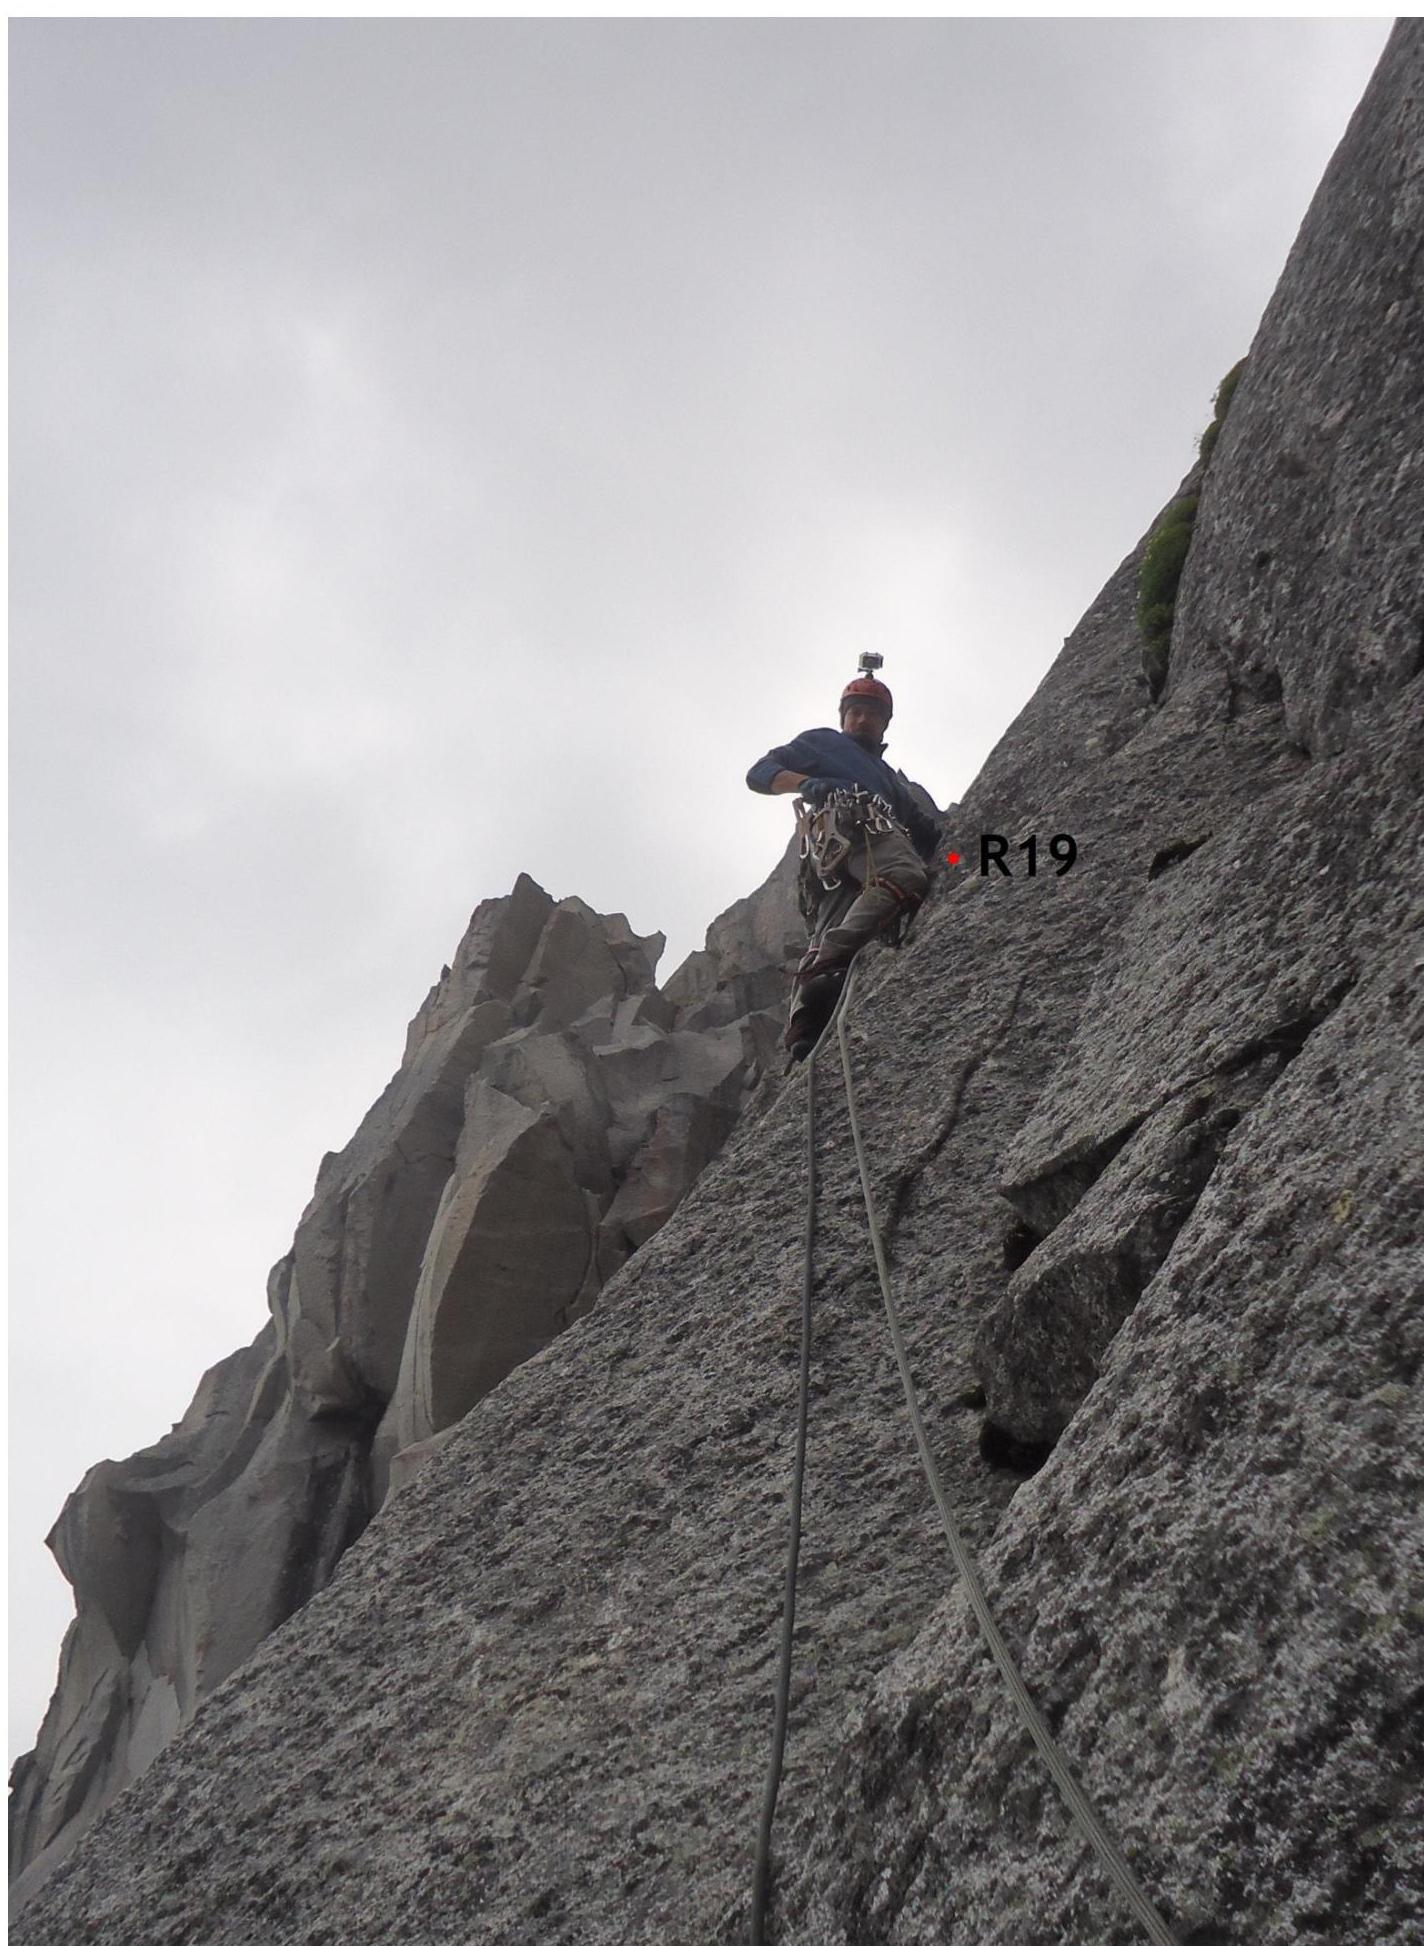
Photo 5. Sixth rope.
The leader at point R25, passed the internal corner and a 5-meter wall. The photo is taken from the belay station at
R22.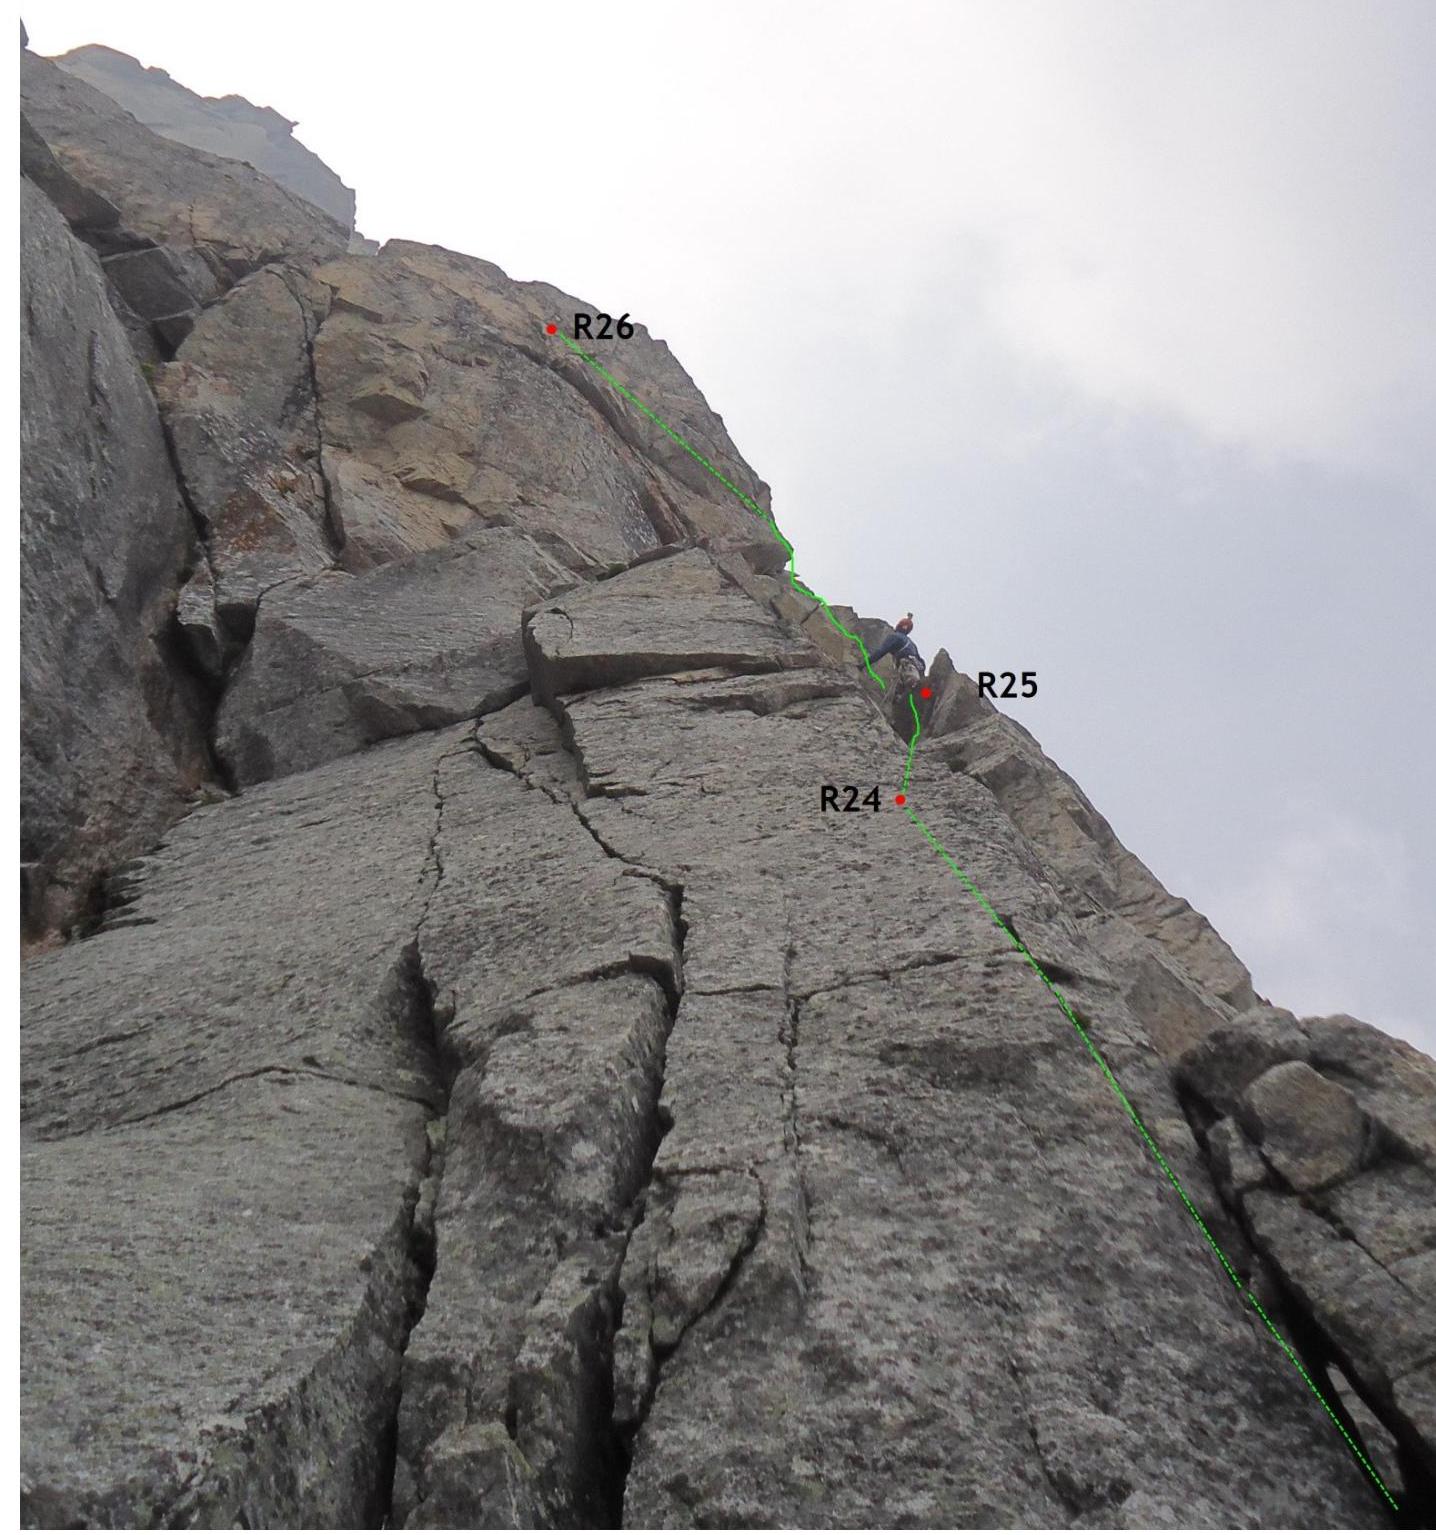
R25
Photo 6. Eighth rope. (eighth and ninth — key ropes of the route)
The leader on the section R30–R31, difficult climbing (6B fr.) on the crack, the wall is close to vertical with small hangs. The photo is taken from the belay station at R29.
830
Photo 7. Ninth rope. (eighth and ninth — key ropes of the route)
The leader at the beginning of the ninth rope, on the section R36–R37, one of the most difficult sections of the entire route:
- reverse relief,
- no good holds,
- climbing mainly on friction.
Further R37–R38 — a vertical wall, passed to the left, difficult climbing and poor relief for
protection. The photo is taken from the belay station at
R35.
Photo 8. Tenth rope.
The leader is on the section R42–R43, passing steep internal corner. The photo is taken from a camera located on the helmet. Since the camera has a wide-format lens, the space in the photo is somewhat distorted, the rock seems more gentle than it actually is.
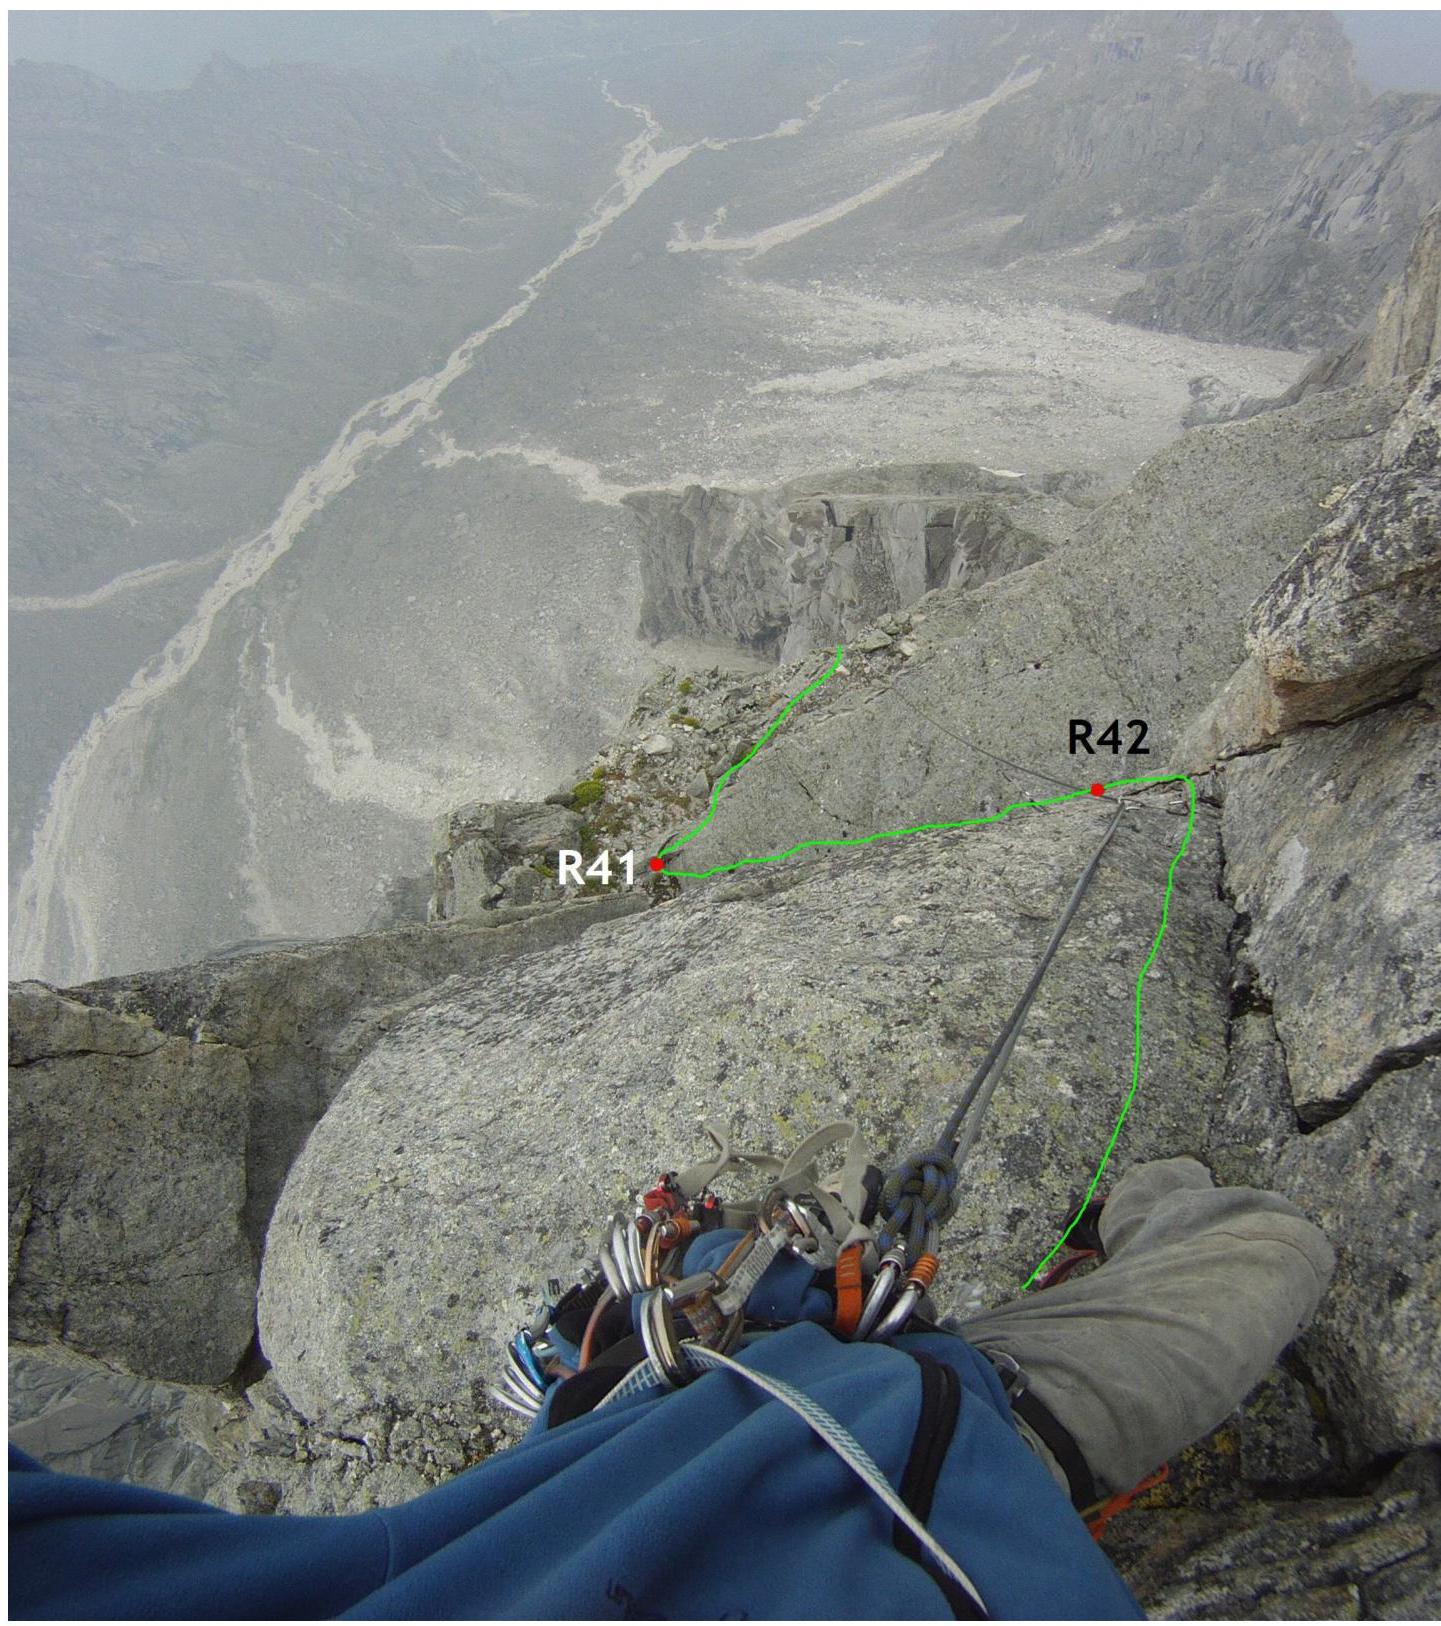
Photo 9. Eleventh rope.
The leader is on the section R45–R46, a wall with good relief, moderate difficulty climbing, moving towards a lowering. The photo is taken from the belay station at R45.
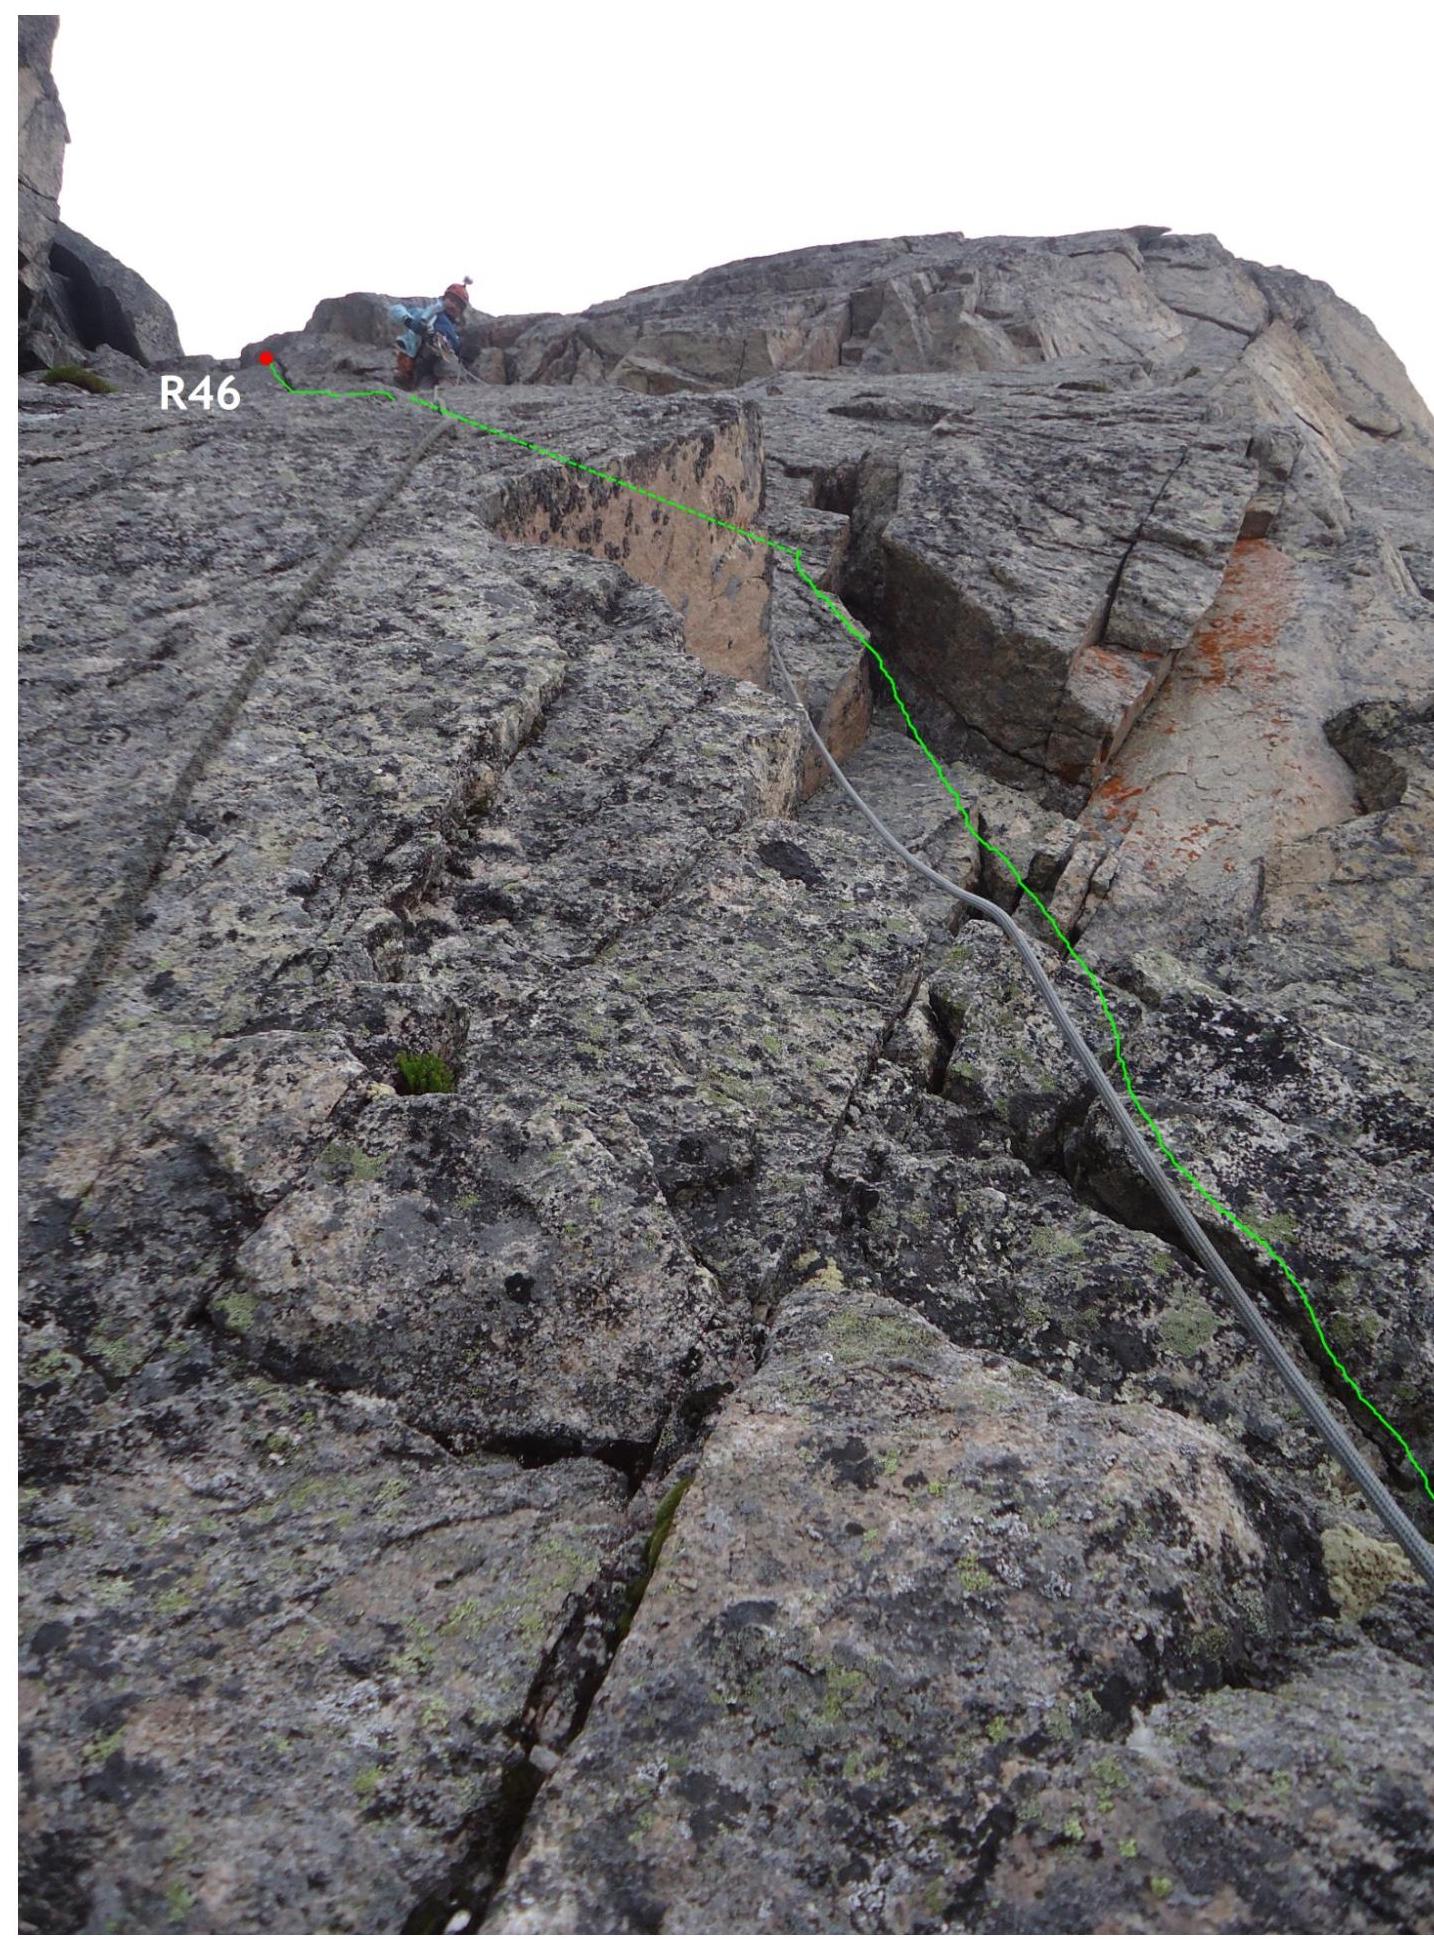
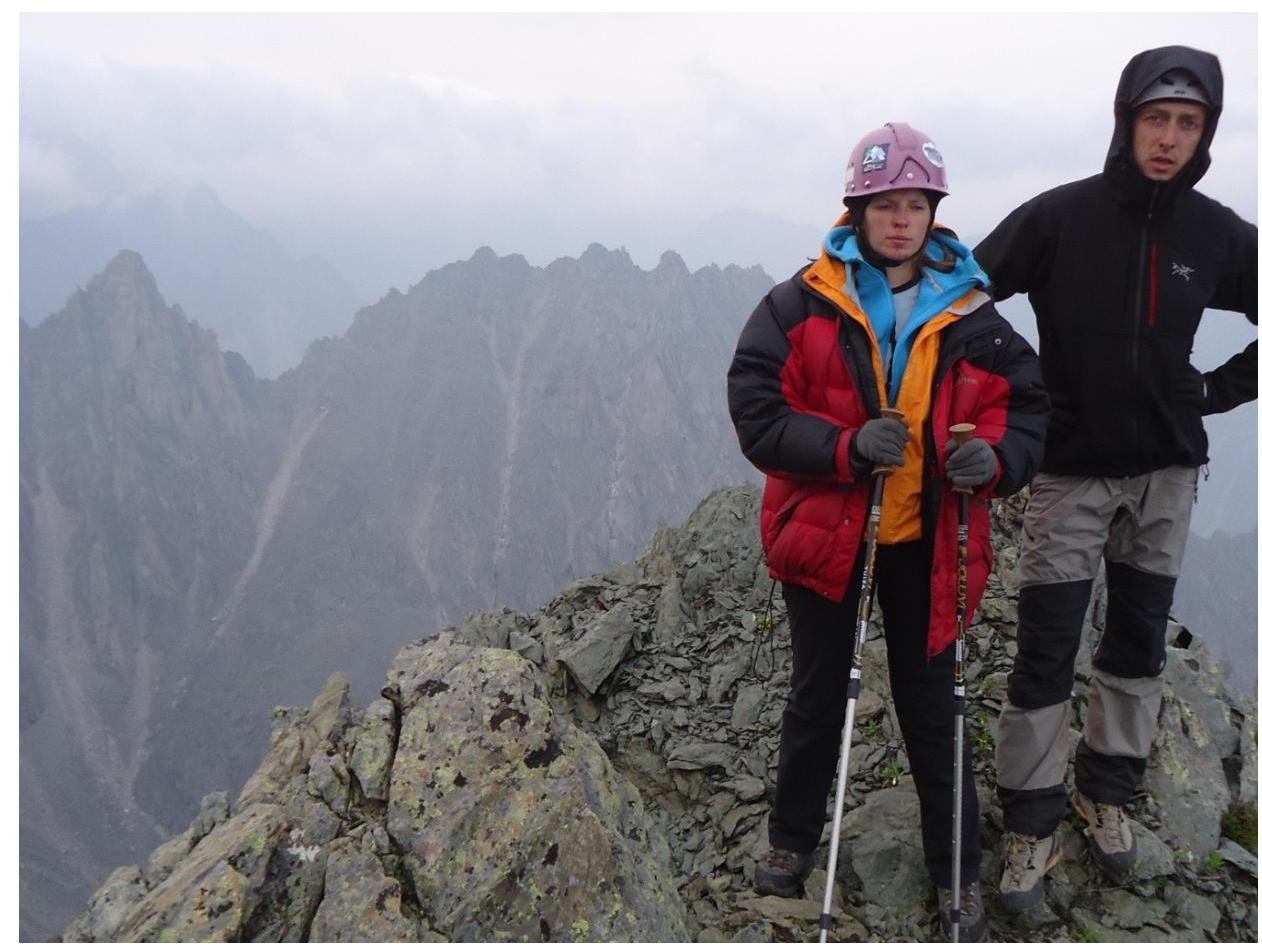
Photo on the summit. Klepikov A.A., Afanasieva A.A.
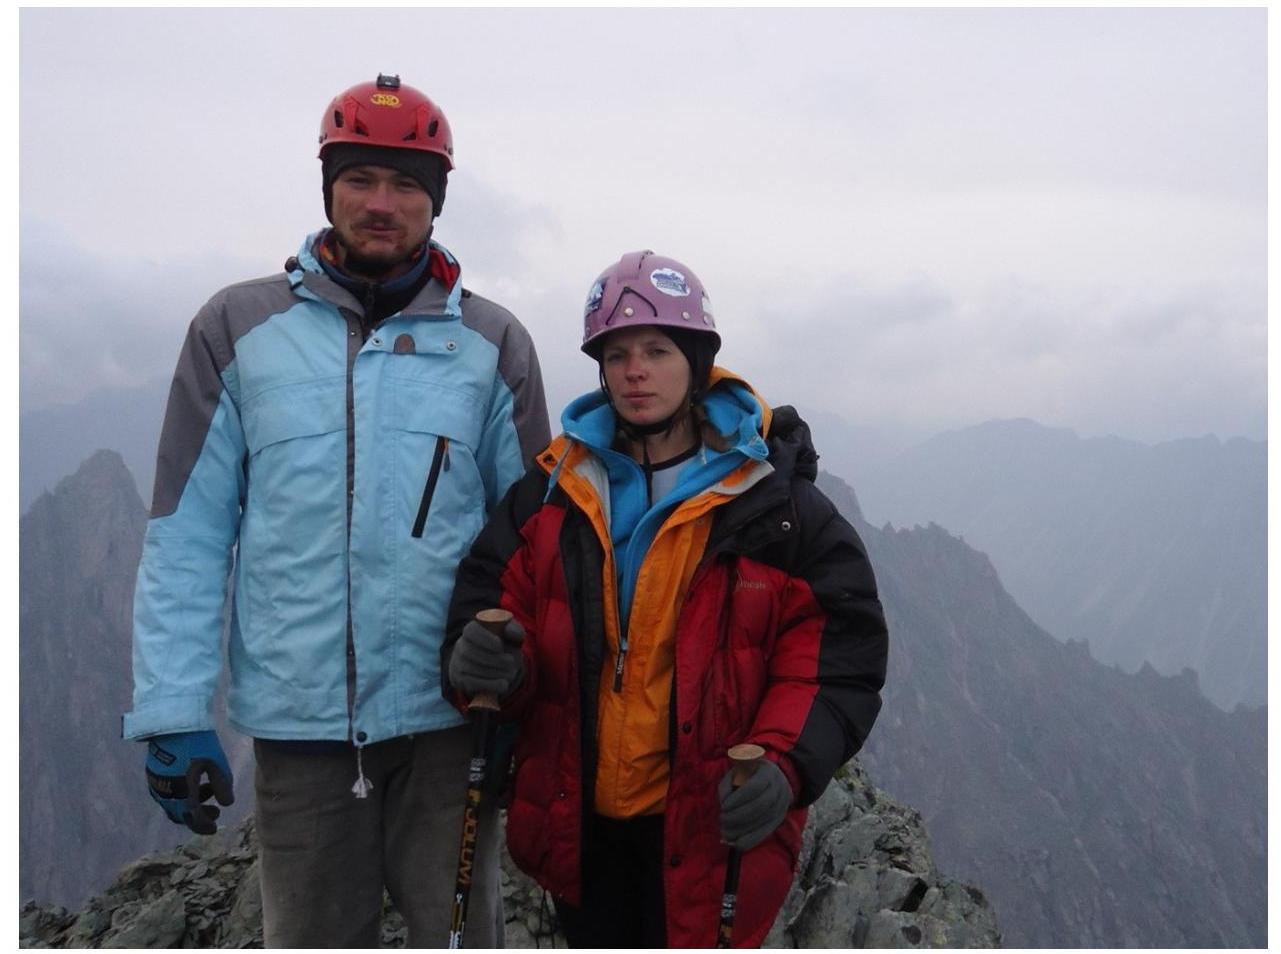
Afanasieva A.A., Shcherban A.N.
Additional photo. Start of the route.