Page 5. Ascent log details
- Region — Dagestan mountains, Chekhychai gorge.
- V. Erydag 3925 m via the left part of the NW wall.
- Difficulty category 6B, first ascent.
- Route type — rock.
- Wall section height difference 1000 m. Total length 1460 m,
- category 5 — 210 m,
- category 6 — 710 m.
- average steepness 69°.
- artificial aids difficulty: A-1 — 260 m, A-2 — 450 m.
- Pitons left on the route on belays for control cairns and pendulums:
- two construction bolts,
- two titanium channels,
- one placement and one anchor hook.
- Team's climbing hours — 60 h, 6 days, 6 nights.
- Participants: Dmitrienko E.V. — Master of Sports — team leader Gribtsov A.A. — Candidate for Master of Sports
- Head coach: Pyatnitsin A.A., coach: Spiridonov A.S.
- Approach to the route: February 16, 2010. Summit reached: February 21, 2010. Return to base camp: February 22, 2010.
Page 9. Route description
Section # 1
- 200 m to the right of A. Babitskiy's route, there is a large chip.
- Go up it to a sloping ledge on the left.
- The rope was hard to pull, and a belay was set up after 60 m.
- Cracks for anchors are poor.
Section # 2 — length 70 m. From the belay into a chimney that leads to a sloping ledge, then left and up to a chip that leads to a ledge. From the ledge, up via large blocks. Photo # 2
Section # 3 — length 70 m. Via small ledges to a large chip. Up the chip to a ledge, then a small chimney, and a large ledge. Control cairn # 1 is in the chimney.
Section # 4-5 — length 170 m. Along the large ledge right for 80 m, then:
- up snow left
- up right to a chip.
Section # 6 — length 70 m. Up the wall, slightly right of the left corner for ten meters, then up the corner to a ledge.
Section # 7 — length 100 m. Left along the ledge and up snow to the upper left snow corner.
Section # 8 — length 70 m.
- In the left part of the wall, there is a good crack for medium-sized stoppers. Start with it, then move to a large corner that slightly overhangs.
- Control cairn # 2. Photo # 3
Section # 9 — length 70 m.
- Continue up the corner.
- In some places, it's easier to overcome small sections via the right wall. Photo # 4
Section # 10 — length 70 m. Up the corner to the end of the vertical corner. Photo # 5
Section # 11 — after the large corner, move left up via a system of corners, ledges, and walls to a ledge with a large chip.
Page 10. Route description
Section # 12 —
- For 10 m, there are small ledges.
- Then a 30 m wall without cracks.
- Then pass a cornice via a crack and move 5 m right and up. It's convenient to set up a belay there. Photo # 6
Section # 13 — you face a large chimney, 5 m wide. The upper part is passed on the left and leads to ledges.
Section # 14 — from the ledges, a large corner leads left up for 100 m.
Section # 15 — the corner ends in broken terrain. Move right from it towards a black streak. Live hanging blocks. Photo # 7 Photo # 6.5
Section # 16 — belay on two construction bolts. From the belay:
- right and slightly up towards a ledge on the black wall,
- from the right part of the ledge, slightly left and up. After passing the wall, you'll reach a ledge and from it, right for 3 m to a crack that leads to a cornice. Belay under the cornice.
Section # 17 — bypass the cornice on the right via a crack that leads to a convenient chimney. After the chimney — a ledge with very broken walls. The more left on the ledge, the sounder the rock.
Section # 18 — on the left part of the ledge, there is a 20 m long wall. Protection on the first three meters and on ten-twelve meters. After the wall, there's a strongly broken ledge (possible to knock down rocks on the second person with a rope). Photo # 8
Section # 19 — the ledge is surrounded by broken overhanging rocks. On the left, there's a passage with cracks, and after 10 m, the rock becomes sounder. Pass the overhangs:
- The first one — easier right of the crack by 5 m
- The second one — straight via the crack The cracks then lead to a ledge, and on the left part of the ledge — again via a crack to the summit. After the bend, it's hard to set up a belay, so it's recommended to gather before the bend. Photo # 10, # 11
Section # 20 — up scree. Belay on a section buried in snow.
Page 16. Team's tactical actions
We approached the route with a tent since there were many ledges on the route. We took one 70 m long rope to minimize the number of belays as much as possible since setting up belays takes a lot of time. We also took 20 m of 8 mm static rope.
We took 11 anchor hooks:
- 3 large,
- 6 medium,
- 2 small. Sometimes we lacked 3-5 medium hooks. We took medium and two large stoppers, but it's better to take more large ones. I only use hexes in winter, and this time I took them, but it would be better to take cams if we had them. Skyhooks with holes are a must for this route.
We climbed as much as we could each day but always spent the night on snow ledges. On the second night, we rappelled, tying the 8 mm rope.
After passing the wall, we reached the summit but decided to spend the night on the route again since it would take 6 hours to get to the base camp, and a strong wind was starting. The next morning, we descended to the base camp.
Since we had only one rope, we fixed it on the upper belay, and the first person descended via it, making re-clips where necessary.
Continuation of page 16 on a single sheet
Weather
Weather for the first two days: sunny until 11:00, then clouds covered, and the sun didn't shine on the wall. On the third day, it snowed in the morning and stopped after lunch. The next three days were clear, and the sun shone on the wall from 14:30 to 17:30. Snow didn't melt in the sun, indicating sub-zero temperatures. Night temperatures were −20°, −30°. Climbing in cracks was cold during the day, even though we carried them the whole way.
Photo report
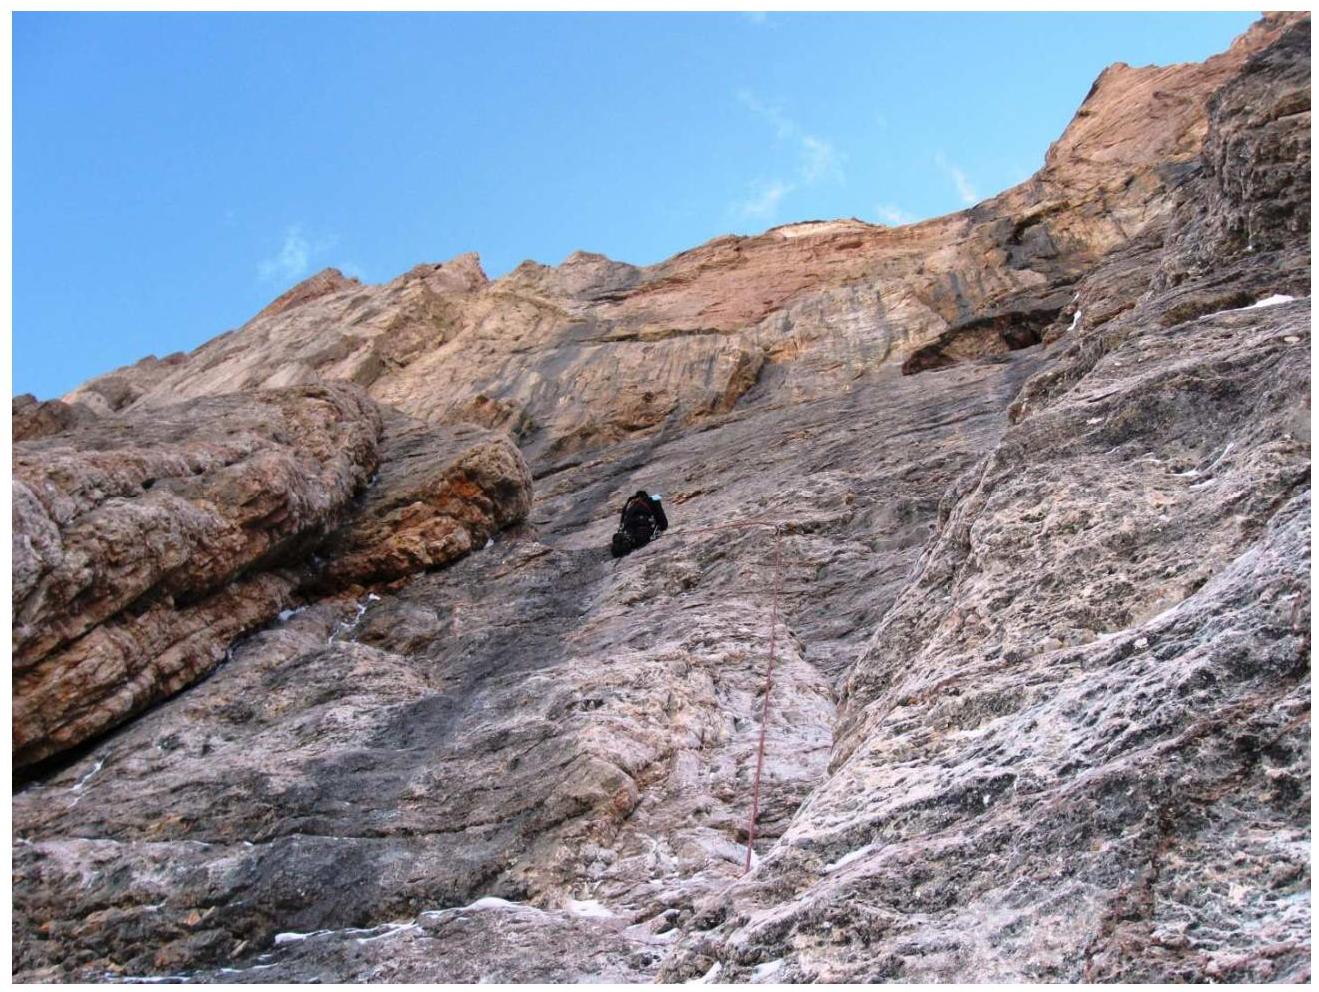
Photo # 2. Section R6. First rope after the first night.
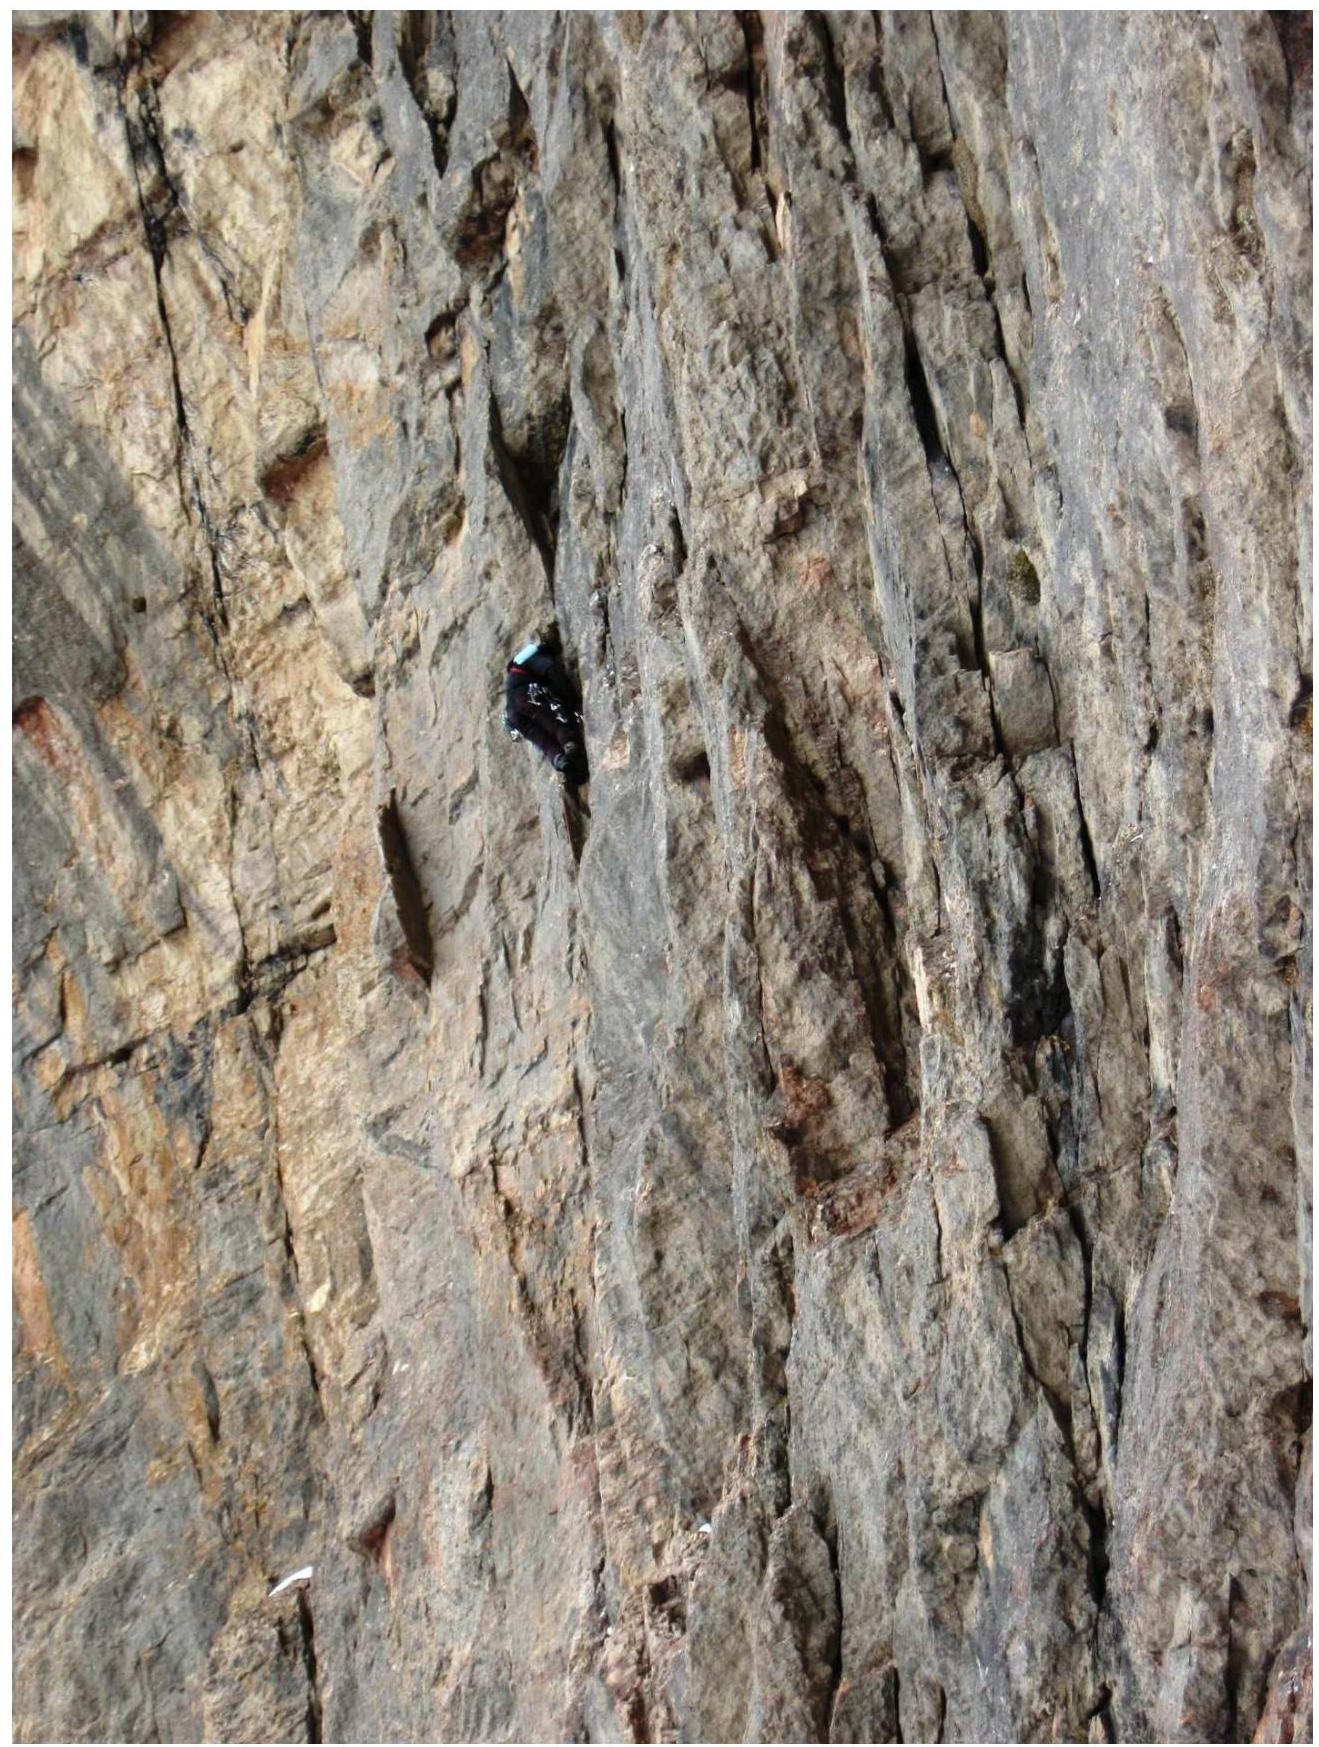
Photo # 3. Section R8. A1 artificial aid on stoppers.

Photo # 4. Section R9. First overhang.
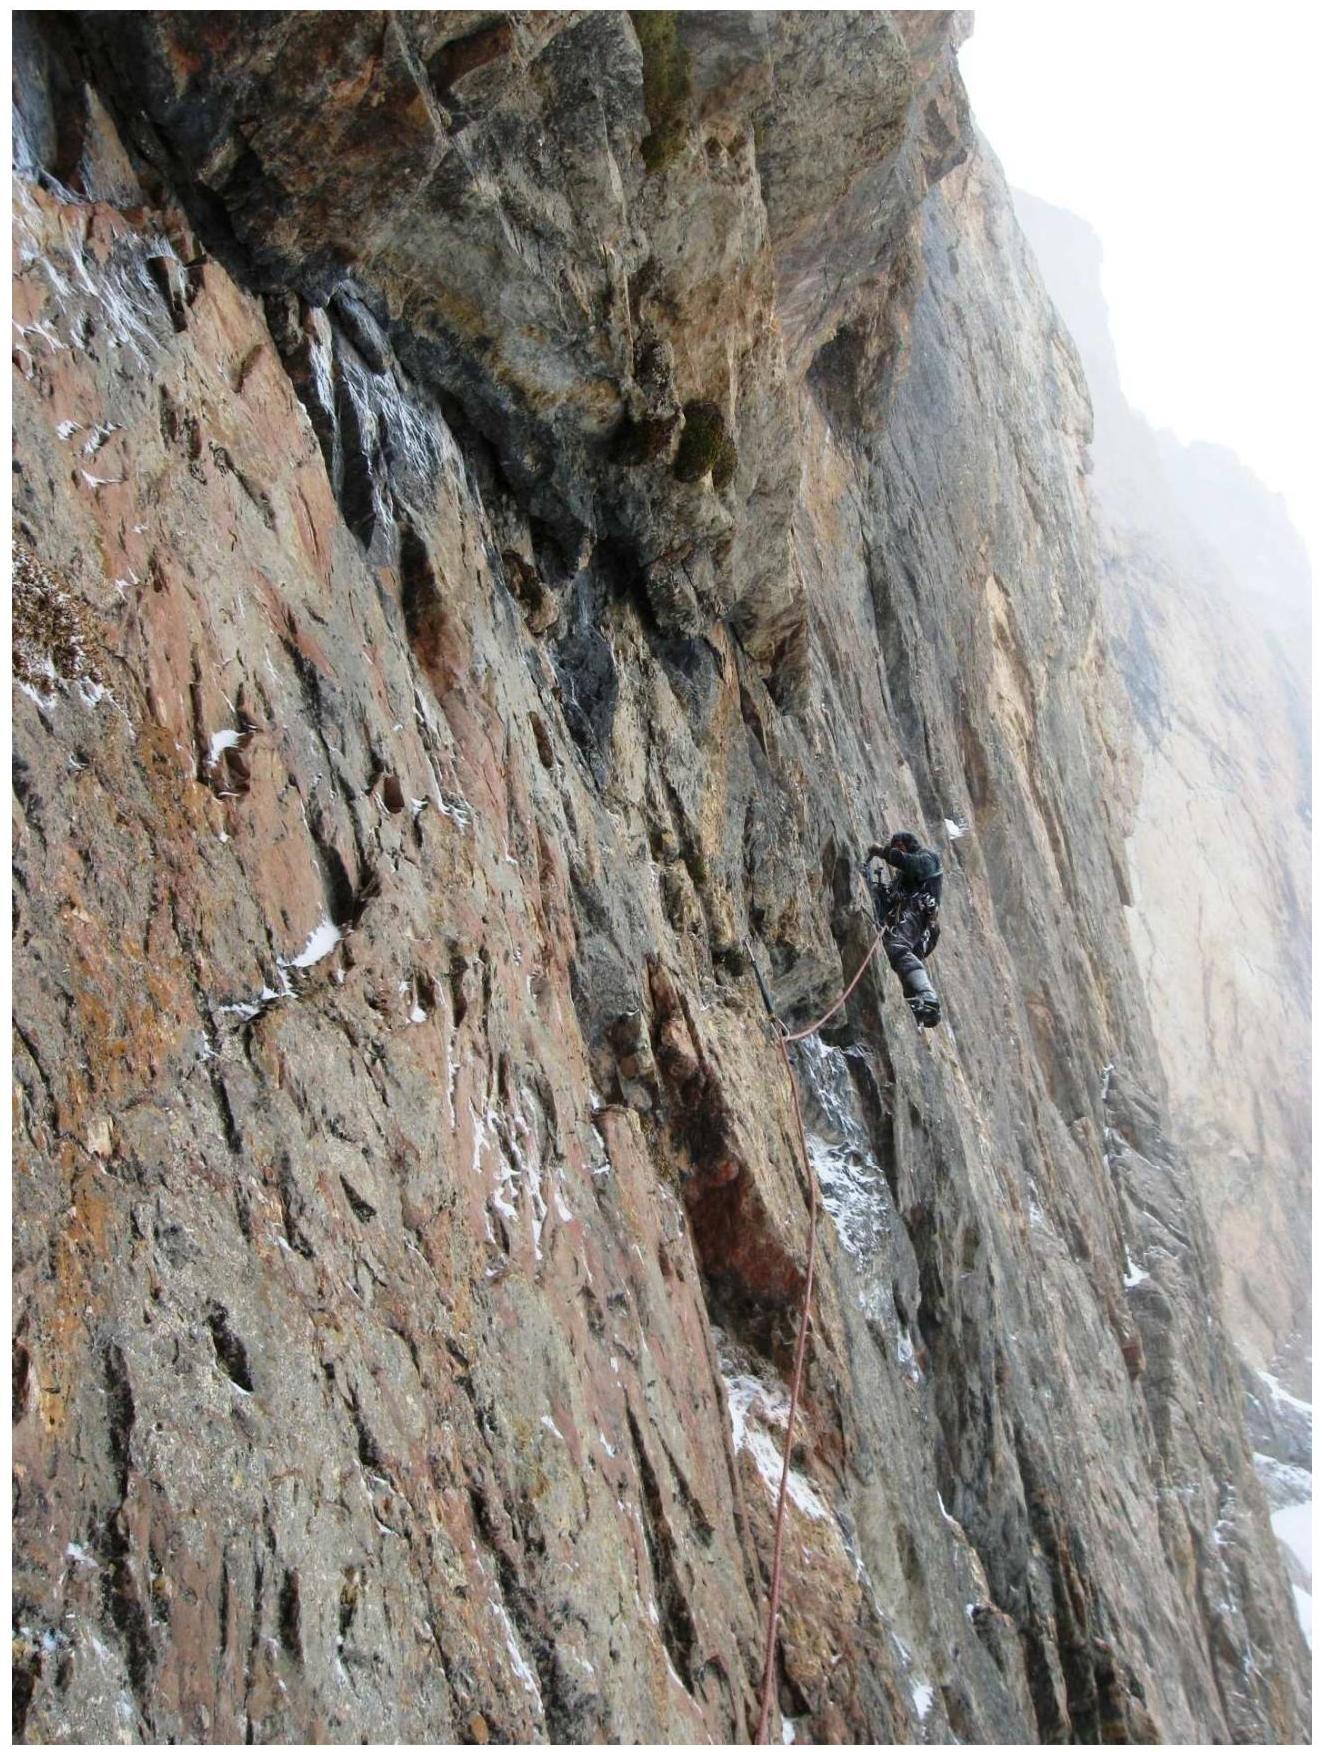
Photo # 5. Section R10.
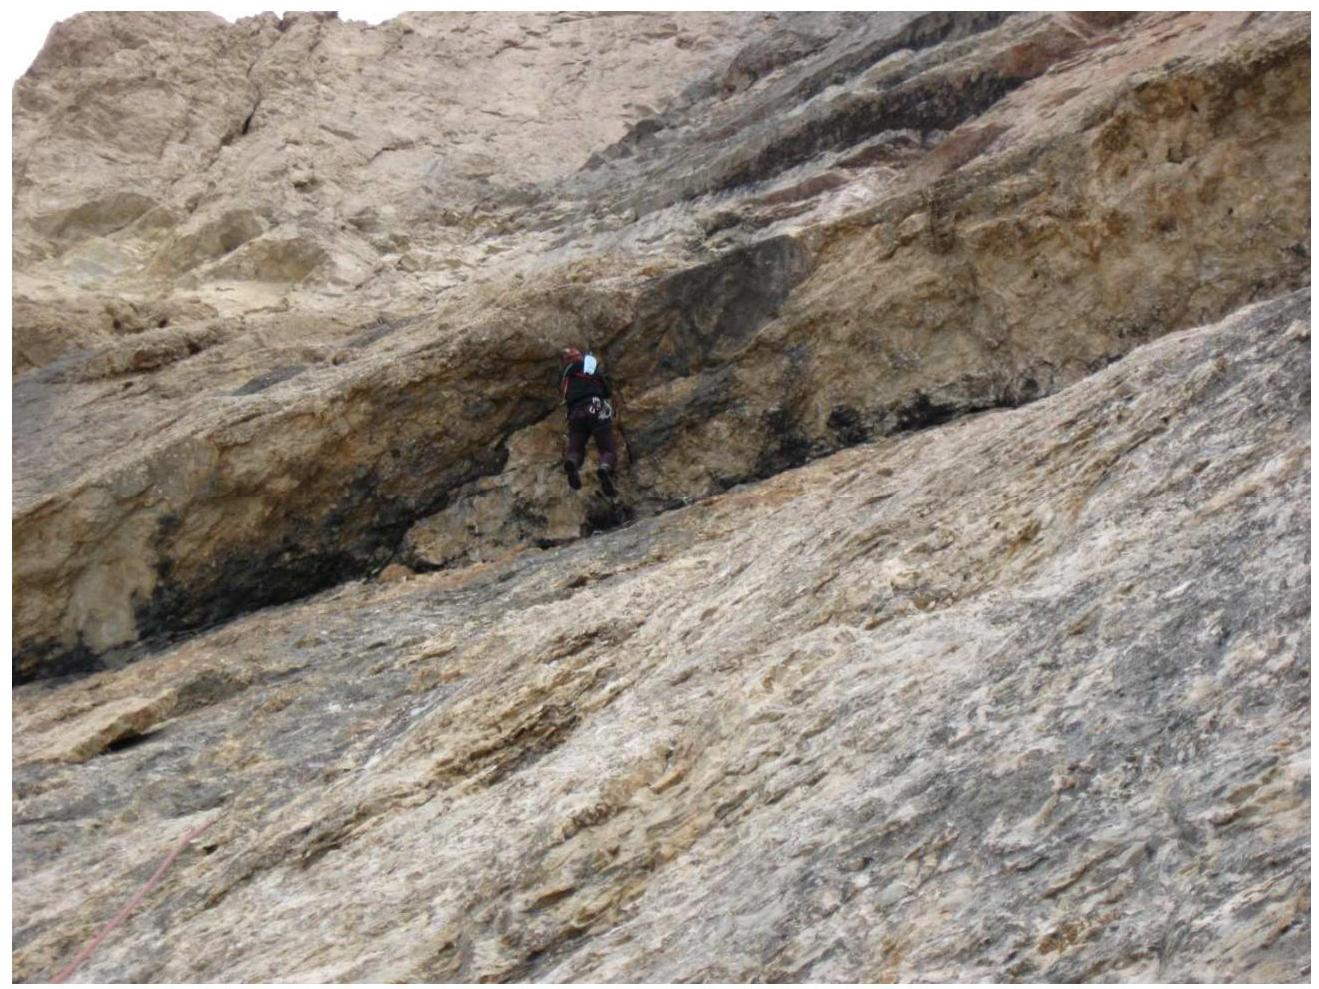
Photo # 6. Section R12.
Cornice.
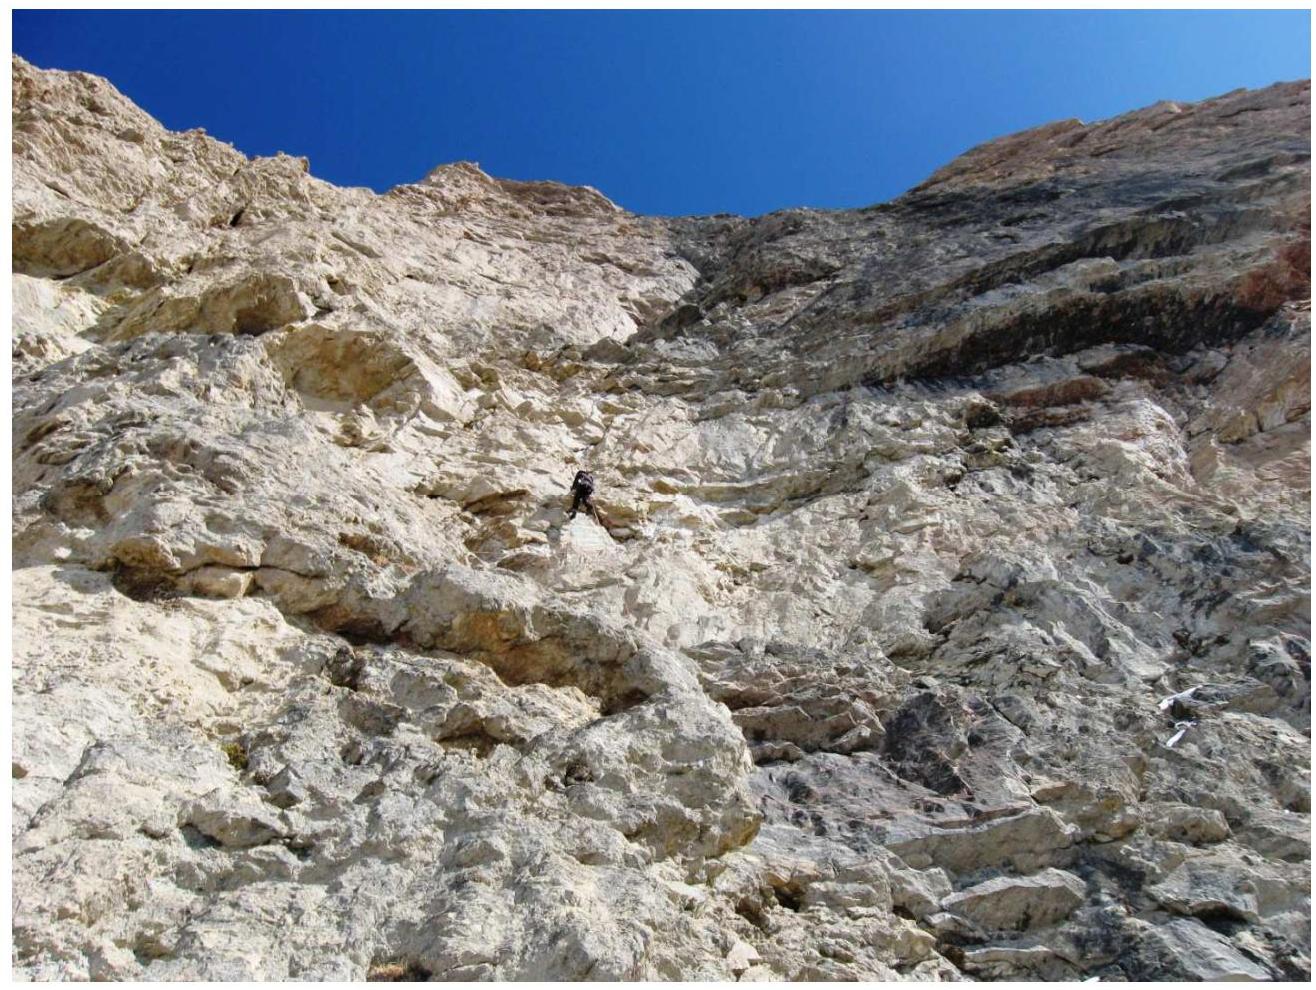
Photo # 7. Section R15. Hanging 64 m from the wall.
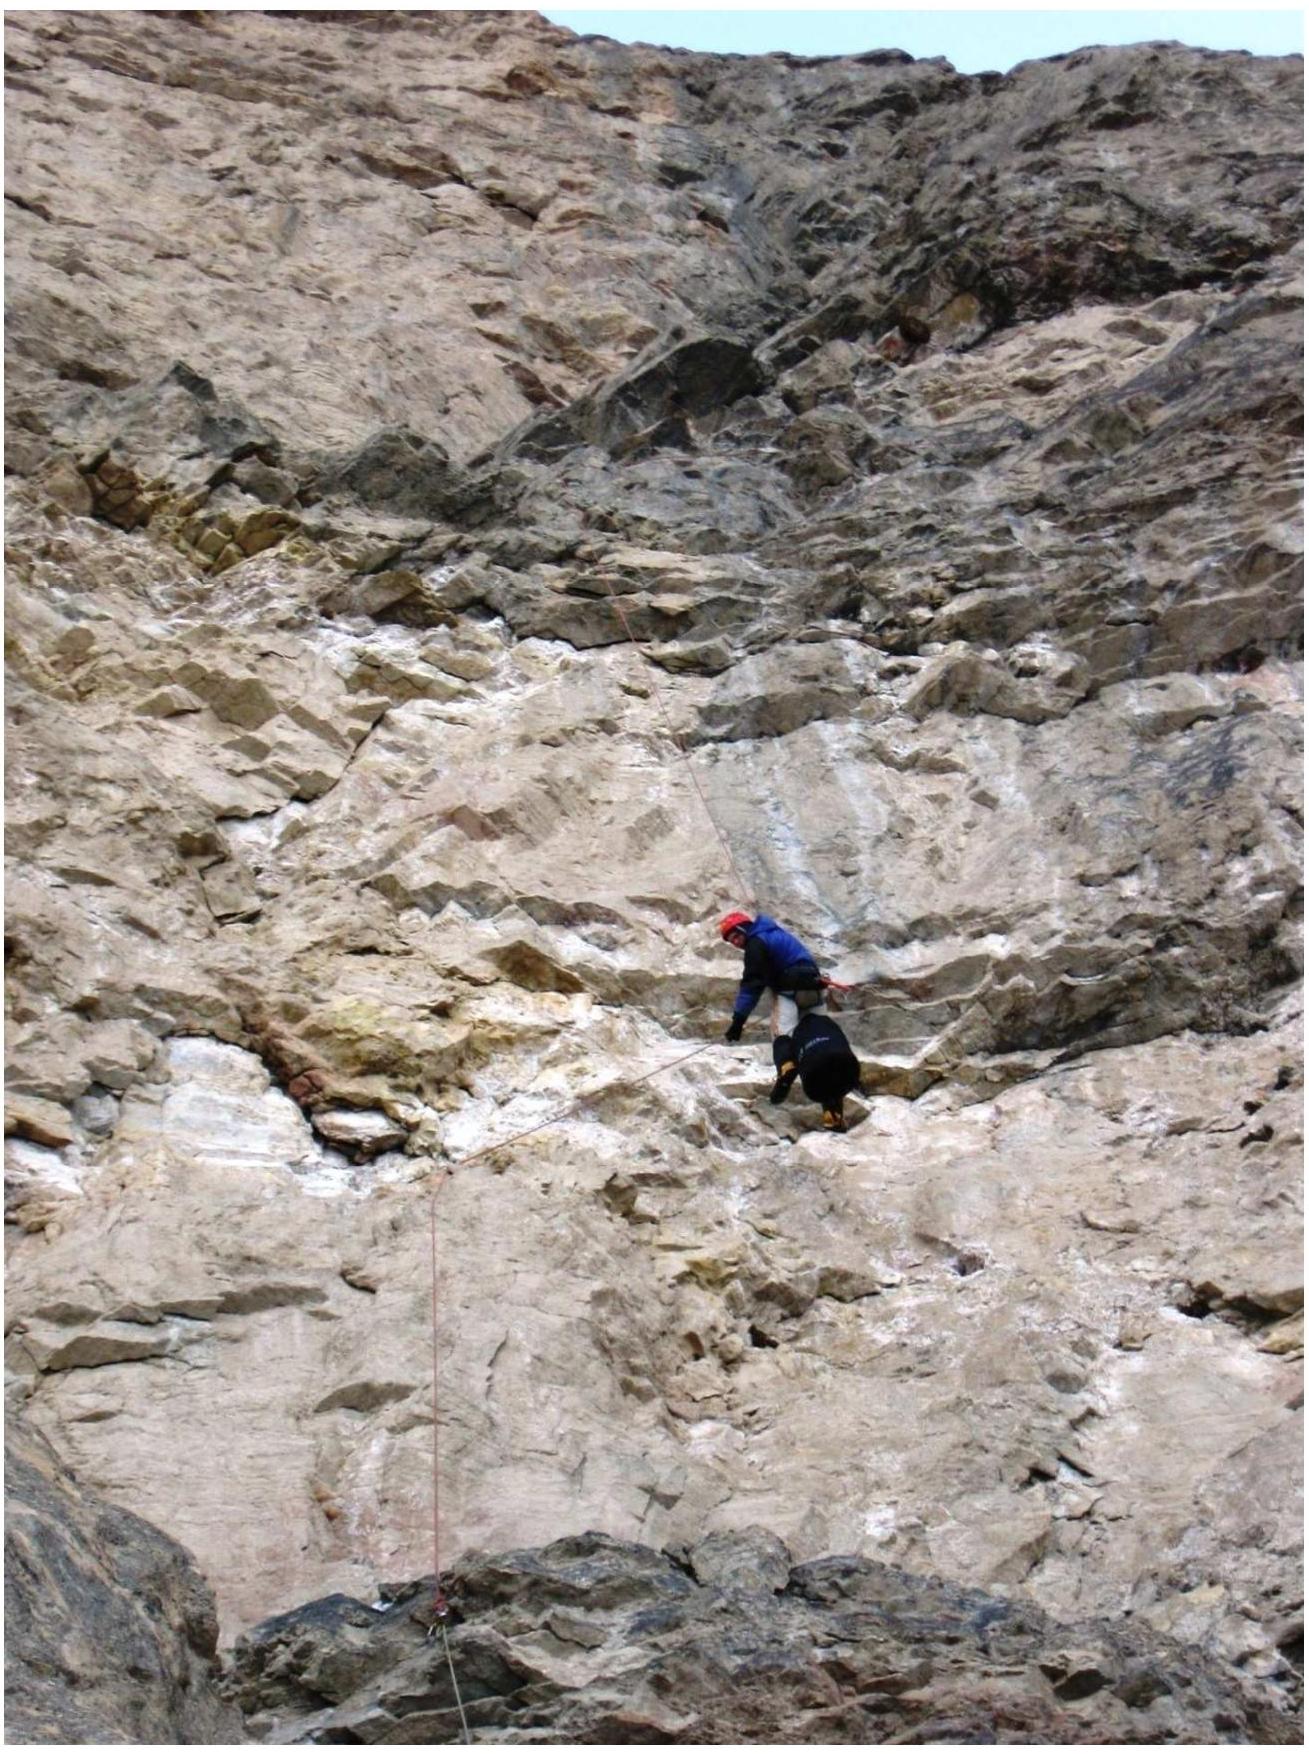
Photo # 6,5. Section R15.
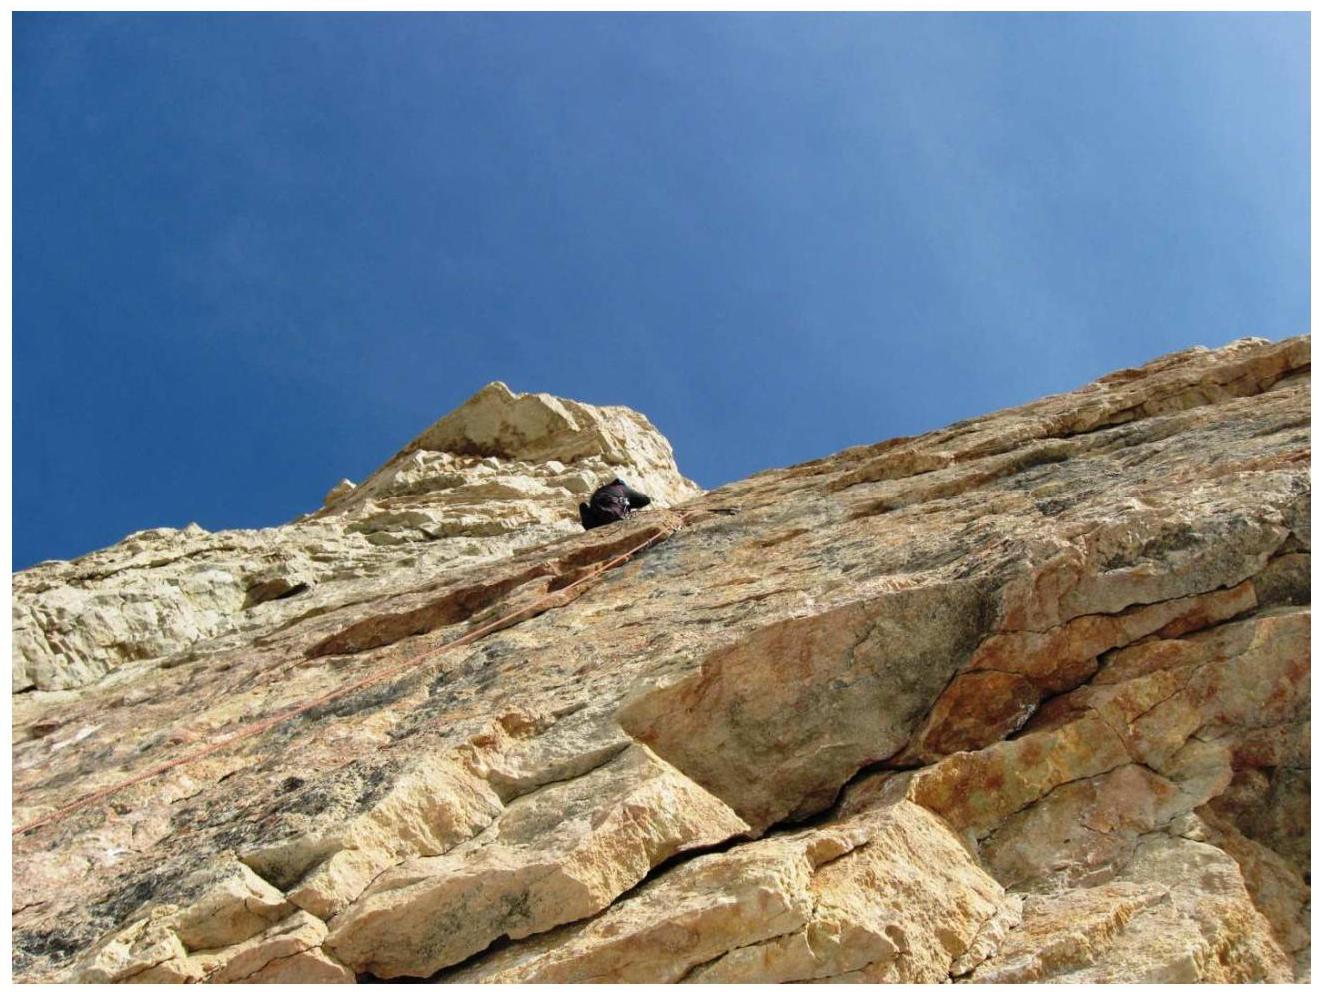
Photo # 8. Section R18. A2 artificial aid.

Photo # 9. Section R19. Overhanging debris one rope length from the summit.
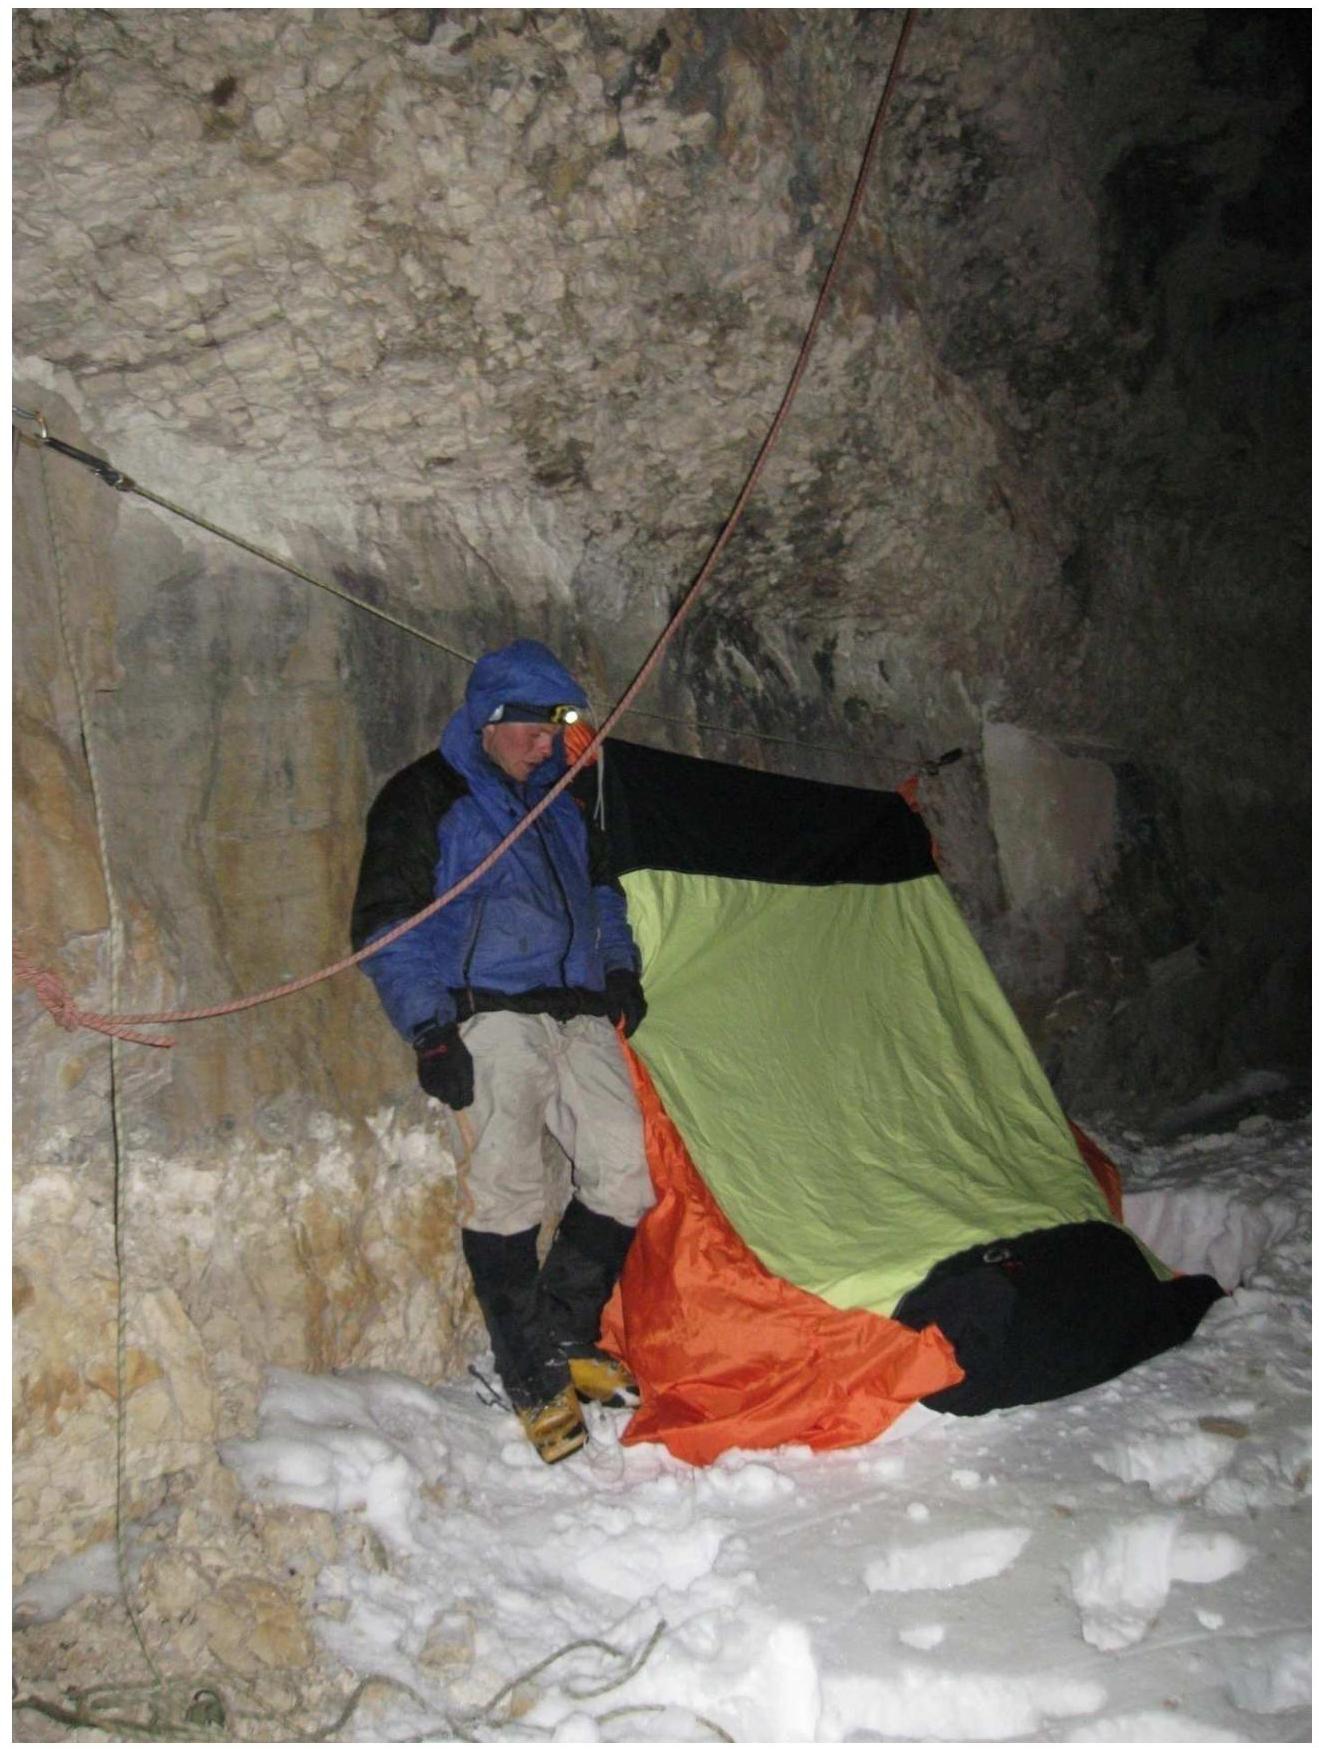
Photo # 10. Section R19. Last night.
Photo # 11. Summit.
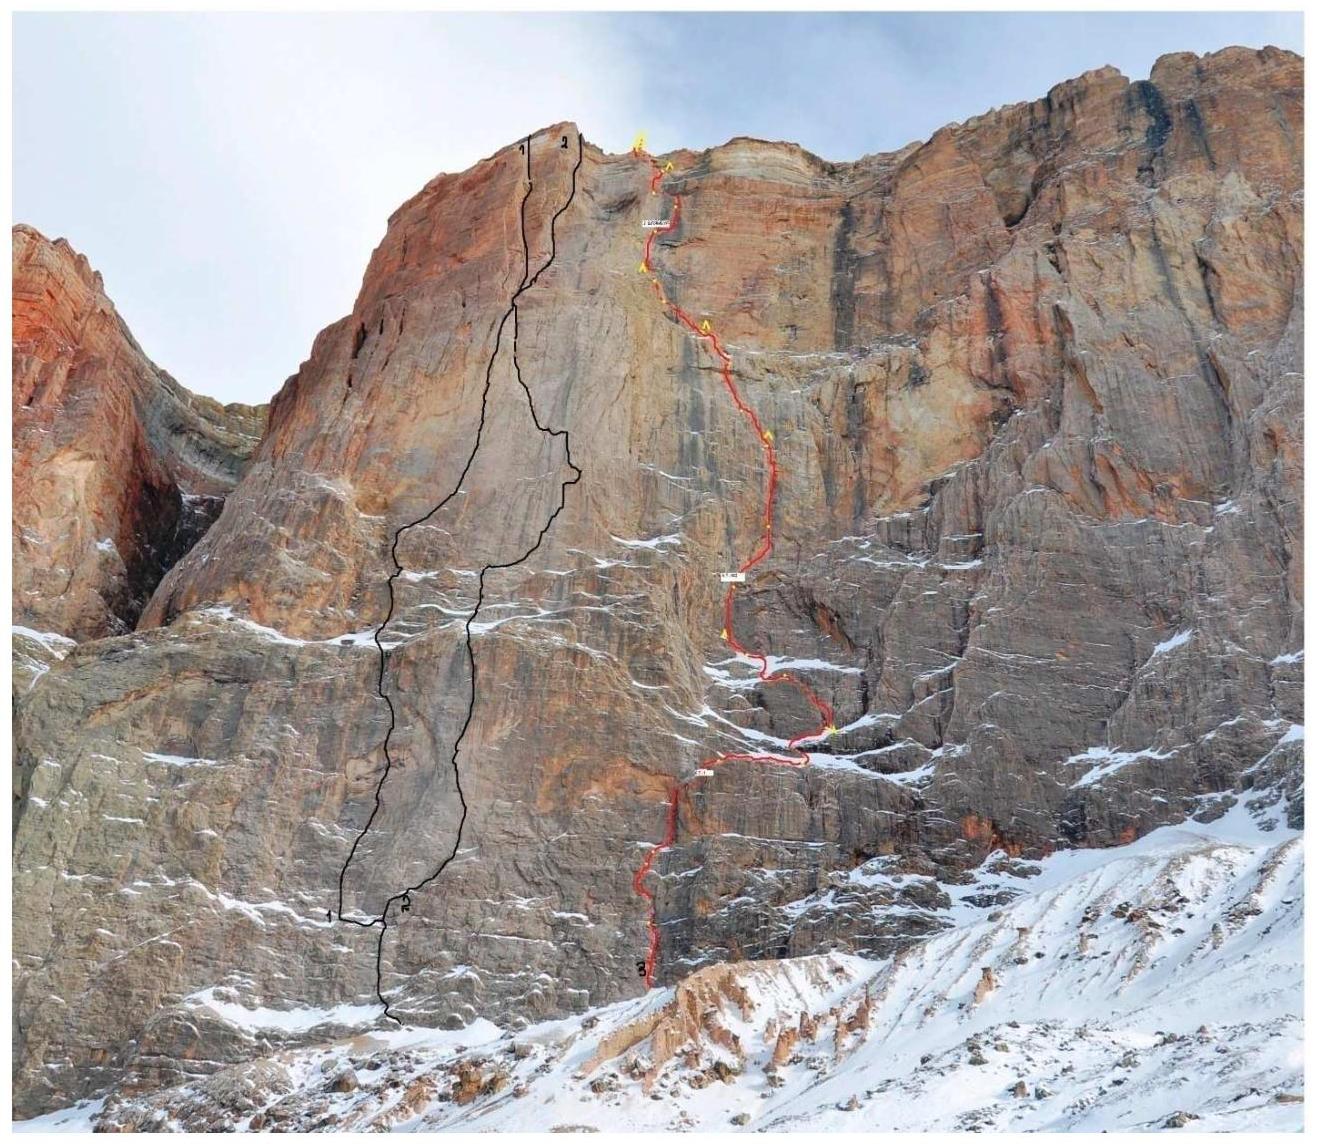
- S. Efimova's route
- A. Babitskiy's route
- Our team's route
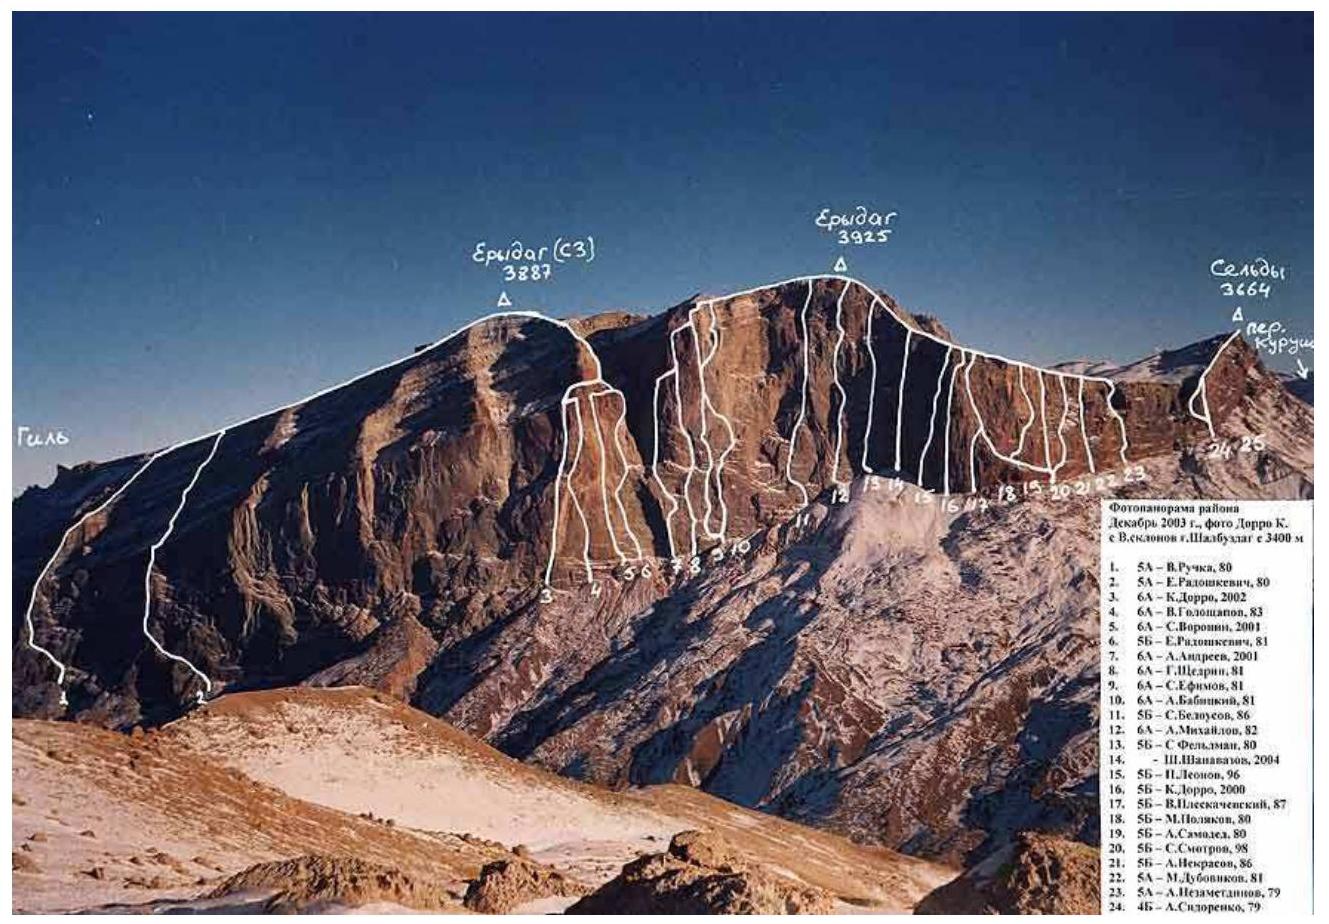
Panoramic photo of the area
December 2003, photo by K. Dorro from the W. slopes of Shalbuzdag at 3400 m
- 5B. Ruchka, 80 g.
- 5A. E. Radoshkevich, 80 g.
- 6A. K. Dorro, 2002 g.
- 6A. V. Goloshchapov, 83 g.
- 6A. S. Voronin, 2001 g.
- 5B. E. Radoshkevich, 81 g.
- 6A. A. Andreev, 2001 g.
- 6A. G. Shchedrin, 81 g.
- 6A. S. Efimov, 81 g.
- 6A. A. Babitskiy, 81 g.
- 5B. S. Belousov, 86 g.
- 6A. A. Mikhailov, 82 g.
- 5B. S. Feldman, 80 g.
- Sh. Shanazazov, 2004 g.
- 5B. P. Leonov, 96 g.
- 5B. K. Dorro, 2000 g.
- 5B. V. Pleskachevsky, 87 g.
- 5B. M. Polyakov, 80 g.
- 5B. A. Samodel, 80 g.
- 5B. S. Smotrov, 98 g.
- 5B. A. Nekrasov, 86 g.
- 6A. M. Dubovikov, 81 g.
- 6A. A. Nezammetdinov, 79 g.
- 4B. A. Sidorenko, 79 g.