Report
on the ascent to the summit of Dolomit Severny via the right part of the western wall, category 4A by the team led by Popov V.I.
I. Climbing Passport
| 1. General Information | ||
|---|---|---|
| Full Name, sports rank of the leader | Morozov A.E., CMS | |
| Full Name, sports rank of the participants | Baib G.A., Shironin D.S., 2nd sports rank | |
| Full Name of the coach | Popov V.I. | |
| 2. Characteristics of the Climbing Object | ||
| Region | From the Nakhar pass to the Chiperezau pass | |
| Valley | Kichkinokol | |
| Name and height of the summit | Dolomit Severny, 3719 m | |
| 3. Characteristics of the Route | ||
| Name of the Route | via the right part of the western wall | |
| Category of Difficulty | 4A | |
| Degree of Route Exploration | Frequently chosen by climbers | |
| Nature of the Route Relief | Rocky | |
| Descent from the Summit | From the summit along the ridge, then down the scree slopes under the ridge leading to the Okhotnichy pass, constantly bearing right. From the pass to Dolomit Lake. | |
| 4. Characteristics of the Team's Actions | ||
| Time of Movement (climbing hours of the team, indicated in hours and days) | 10 hours | |
| Departure for the Route | 5:00 | |
| Arrival at the Summit | 15:00 | |
| Return to the Base Camp | 16:50 | |
| :-- | :-- | :-- |
| 5. Responsible for the Report | ||
| Full Name | Shironin D.S. |
General view of the route.
Route 5 – Dolomit Severny via the right part of the western wall
Route Description
| Section Number | Description | Photo Number |
|---|---|---|
| Start of the Route | Right lower edge of the lower massif of Dolomit Severny. If you go around this edge, you will see a small stream running down gray, destroyed rocks. The start of the route is at the base of the stream. | 1 |
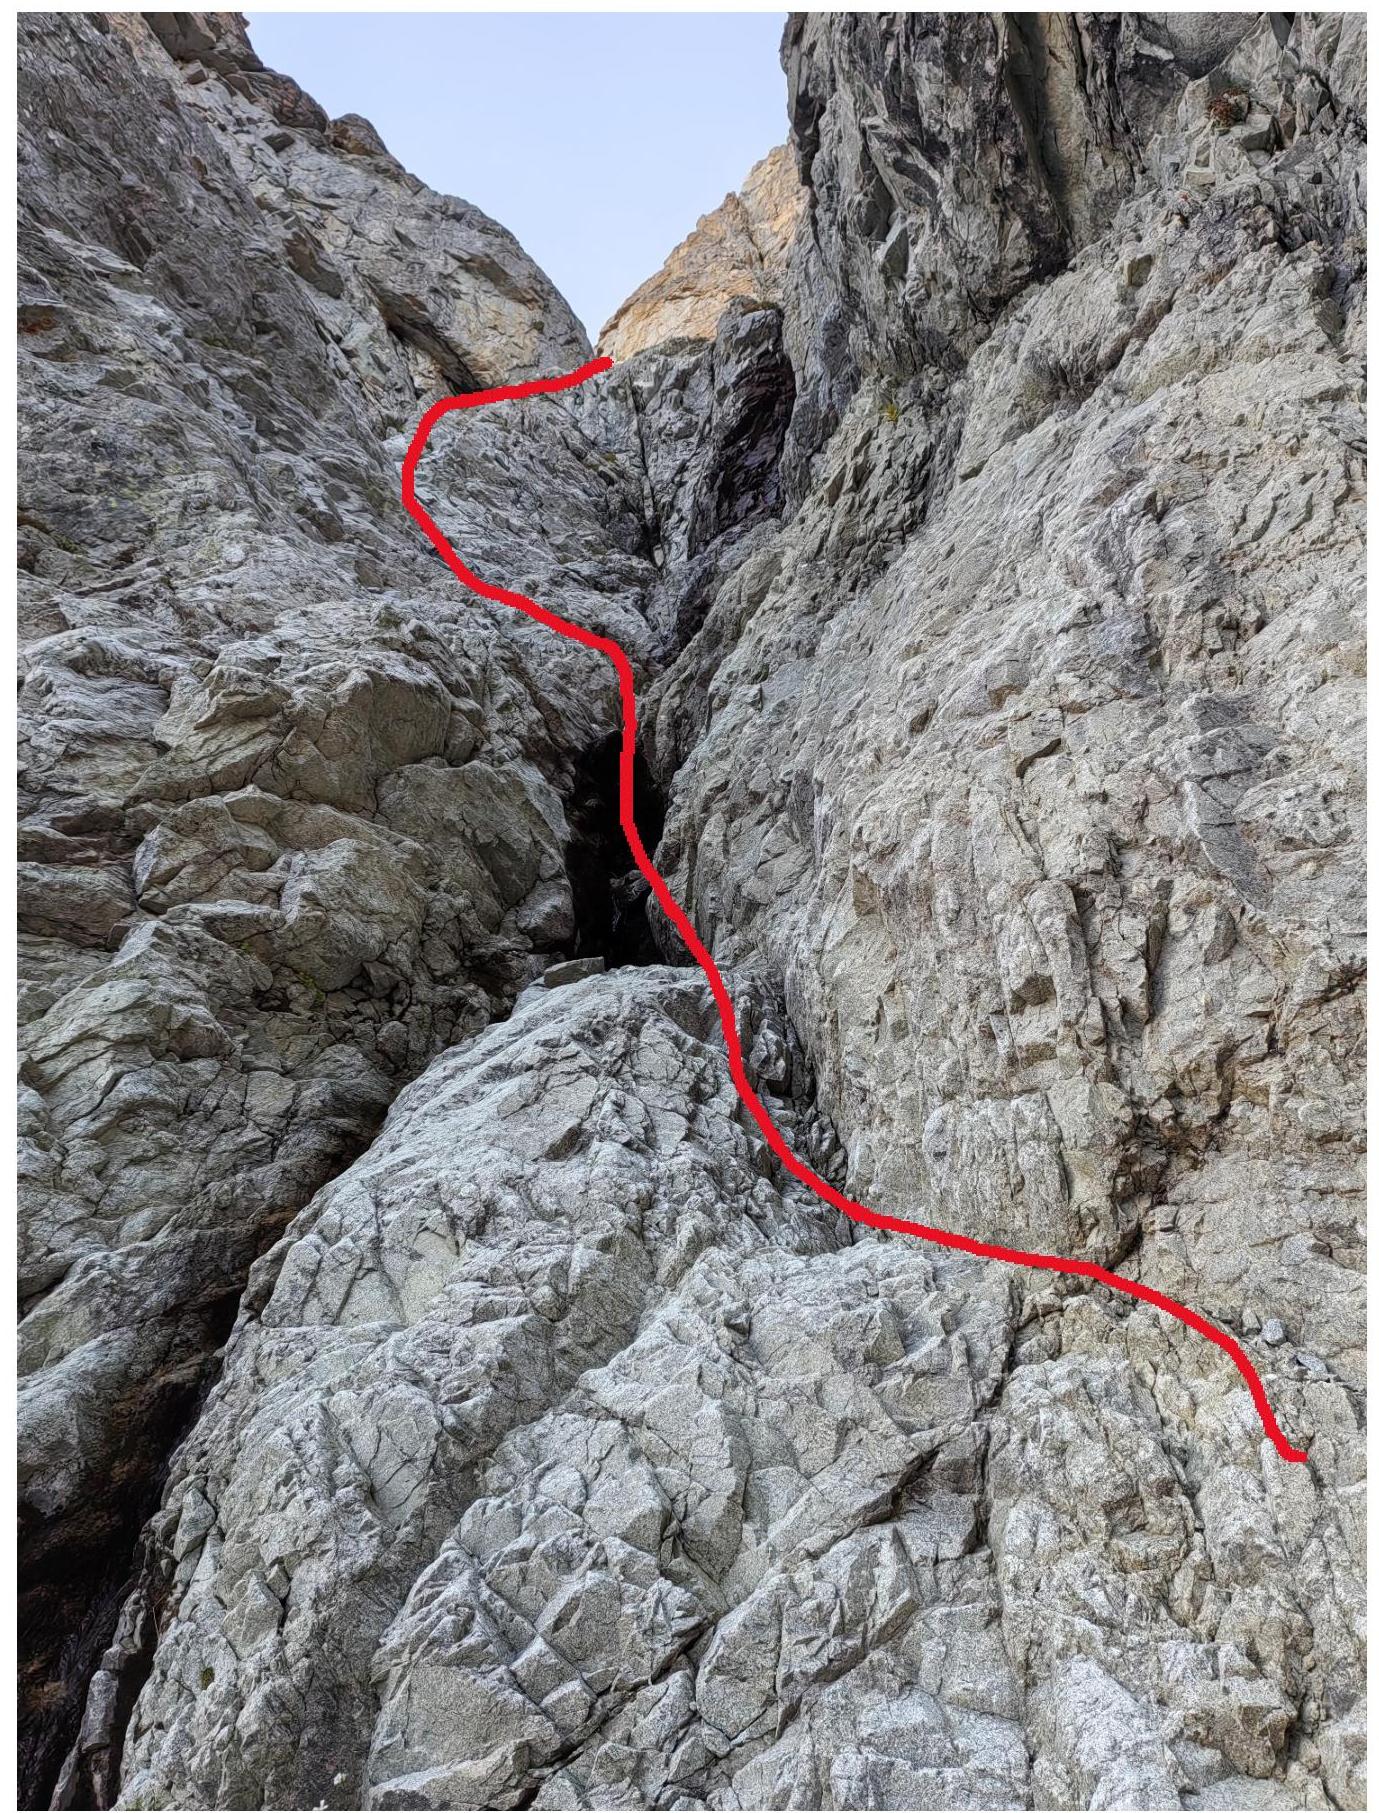
| R0–R1 | Starting to the right of the stream, gradually move to the left side and proceed left of the stream to a large talus shelf, 150 m. Movement in a rope team is possible simultaneously using medium-sized chocks and friends; many loose rocks. After reaching the shelf, move left for about 50 meters to the control tour. | 1,2 |
| R1–R2 | You will find a medium-sized, gray, triangular, inclined slab directly opposite the control tour. Move up the center of this slab along a crack; at the top, turn right, and a chimney will appear. Movement up the slab can also be done simultaneously, 50 m. | 3 |
| R2–R3 | To the right, at the base of the chimney (on a ledge), it is possible to organize a safe stance using a loop on a flake, where two people can comfortably stand. Climbing the chimney is only possible without a backpack (very narrow). Protection is well-placed in the depth of the chimney (medium and large friends). At the exit from the chimney, there is a "cork"; bypass it on the right side and reach a ledge. The section is 20 m long. | 4 |
| R3–R4 | On the ledge after the chimney, a stance can be set up around several flakes; it is possible to create "hourglasses." From the ledge, move left and up through a small overhang (psychological moment) for several meters. Then proceed left of the counterfort ridge along gray, steep rocks with ledges, left and up | 5 |
| 50 m; here, protection is not very easy to organize; pitons are used. Exit onto a ledge at the base of a 5-meter internal yellow dihedral. The stance can be set up on friends under the internal dihedral. | ||
| :--: | :--: | :--: |
| R4–R5 | It seems that it's easier to climb inside the dihedral, but the dihedral is bypassed on the left wall (where there is a small overhang), and the climbing is not very difficult. Exit onto a large shelf (the so-called "room-shelf"), move towards a huge internal yellow dihedral. Stance under the dihedral on a large block. The section is about 40 m long. Unfortunately, there is no photo. | --- |
| R5–R6 | Along large shelves, approach the internal dihedral with a crack. Climb exclusively along this crack within the dihedral, using holds on both the left and right; protect with medium and small chocks and, in the upper part of the dihedral, friends. Exit onto a series of shelves with loose rocks (be careful with protection, as rocks may fall). The section is 30 m long. One of the most challenging sections on the route. It is possible to set up a stance immediately after the internal dihedral, about 10 meters, or move further up and left under the base of the next internal dihedral with loose blocks at the top. | 6 |
| R5–R6 | Another internal dihedral made of gray rocks. Move inside the dihedral along a small crack (where small and medium chocks and friends fit well). Blocks at the top of the dihedral appear loose. Holds are small; climbing is tense. Exit onto a series of shelves with loose rocks and inclined, destroyed rocks. The section is 55 m long. Stance on a huge block to the right of a large gendarme. Unfortunately, there is no photo of this section. | --- |
| R6–R7 | Left and up onto the ridge – easy climbing; it's possible to move 60 m simultaneously. Bypass all gendarmes on the left side along the ridge. | 7 |
| Do not descend too far down the ridge; there are many unclear paths. Proceed until you see a sharp crest on the left, and set up a stance under it. | ||
| :--: | :-- | :--: |
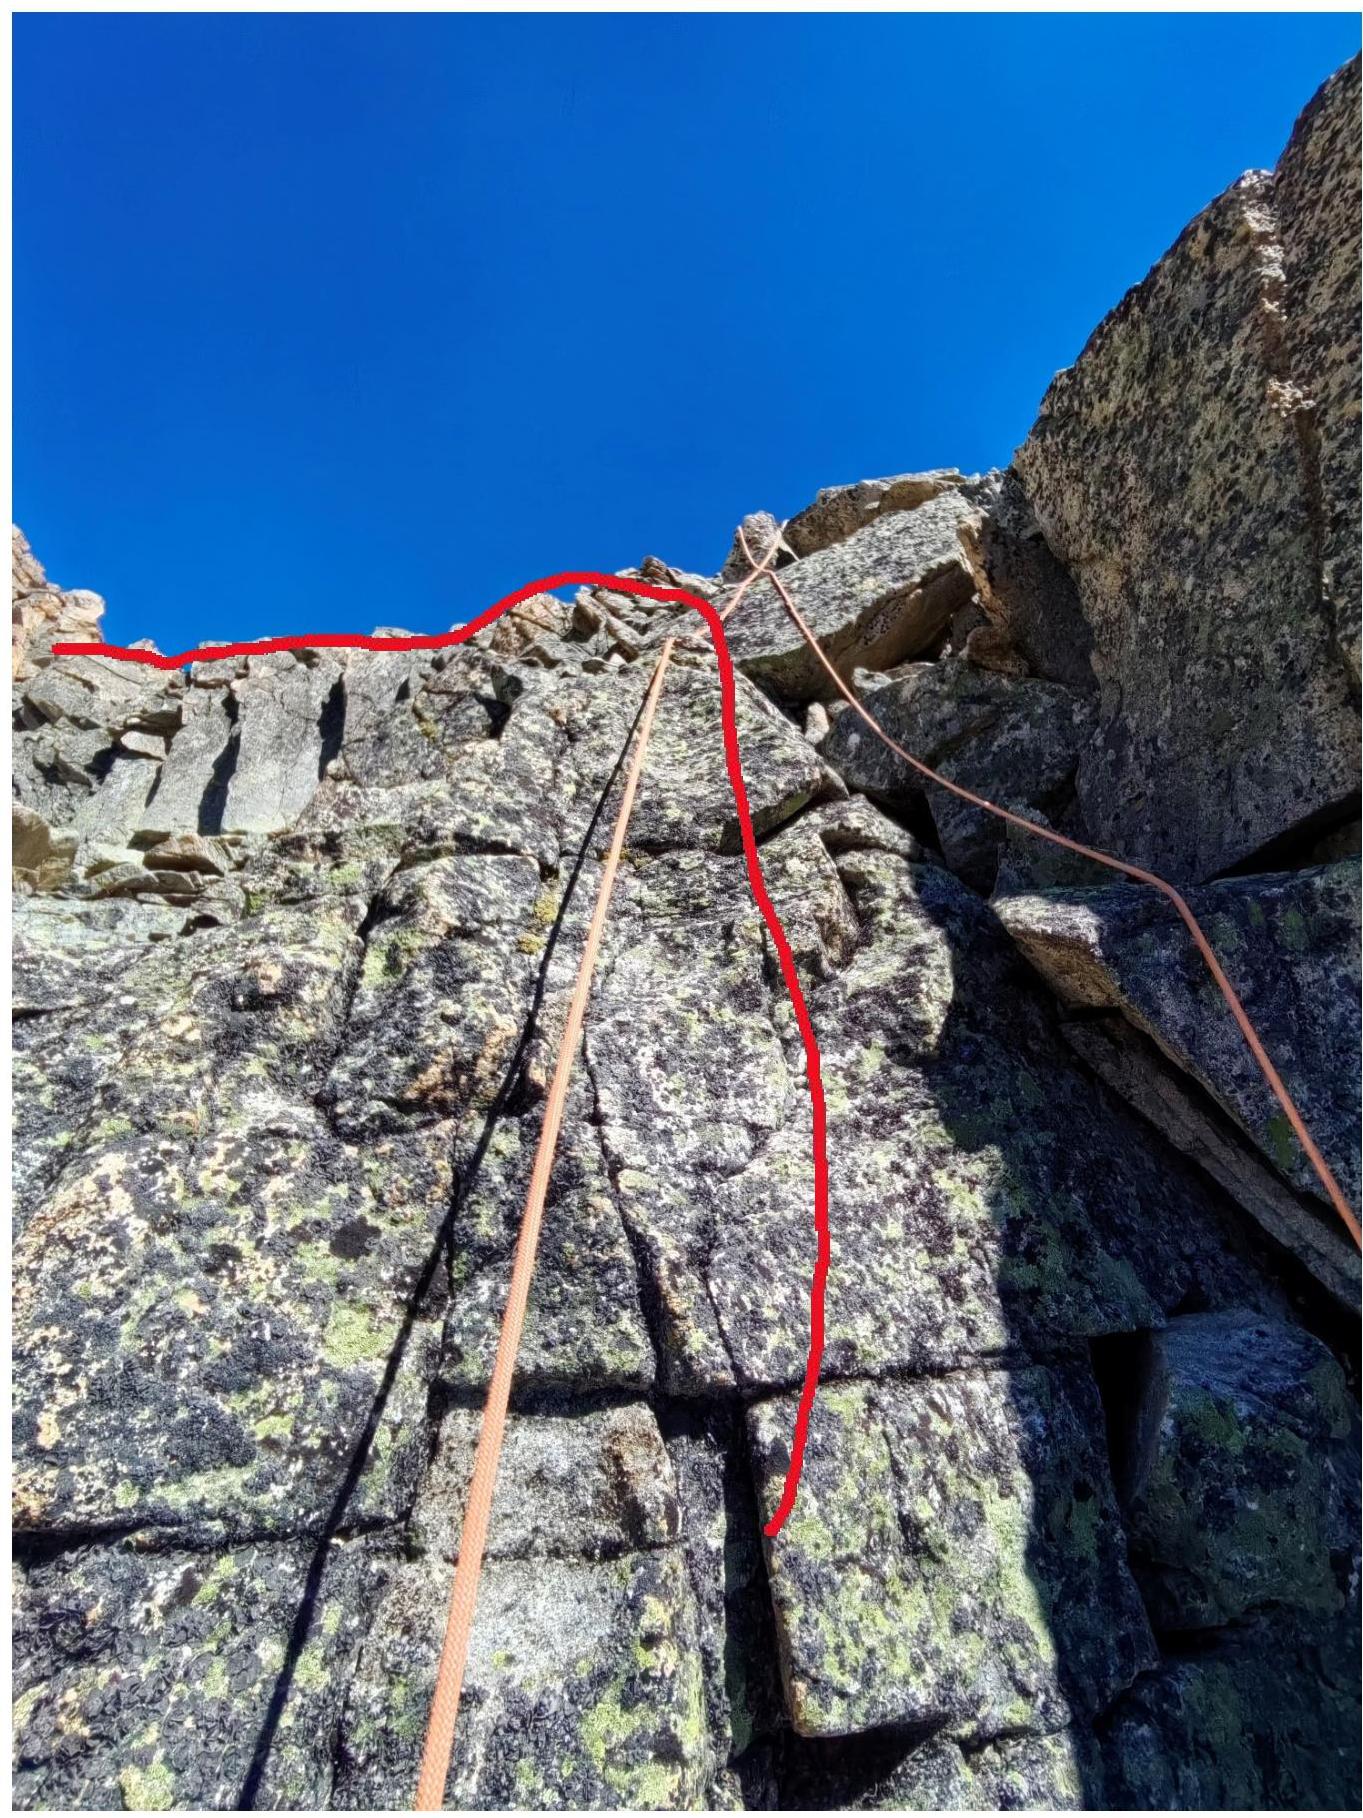
| R7–R8 | Left along the crest, then up and left – bypassing gendarmes. Continue until you see a ridge on the left leading to the summit. | 8 |
| R8–R9 | To the summit, it's 150 m along talus shelves – on a path. | -- |
| Descent | From the summit along the ridge, then down the scree slopes under the ridge leading to the Okhotnichy pass, constantly bearing right. From the pass to Dolomit Lake. | -- |
Photo Illustrations.
Section
R0–R1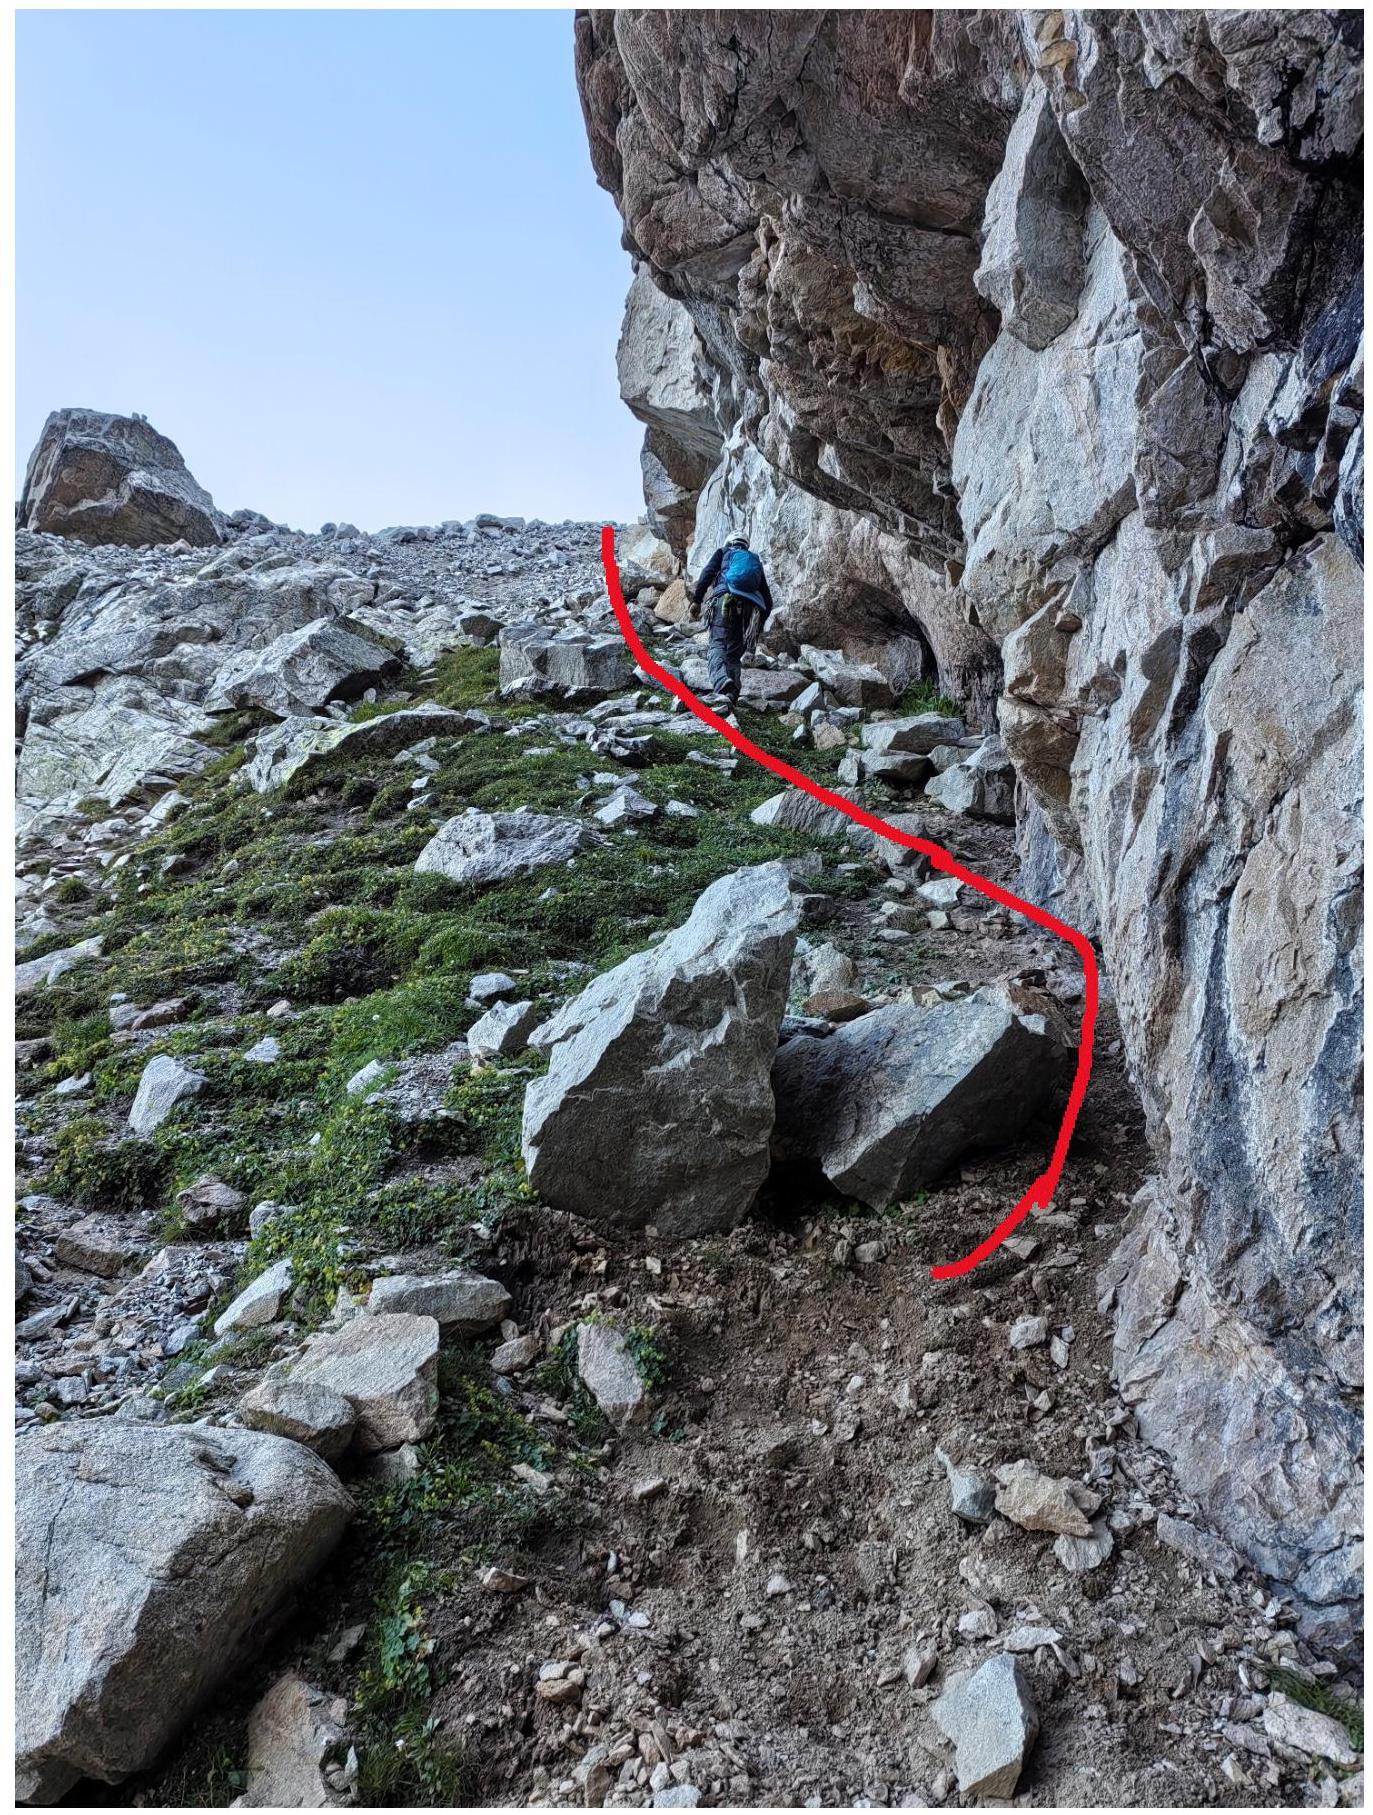
Section on the large talus shelf, approaching the control
tour.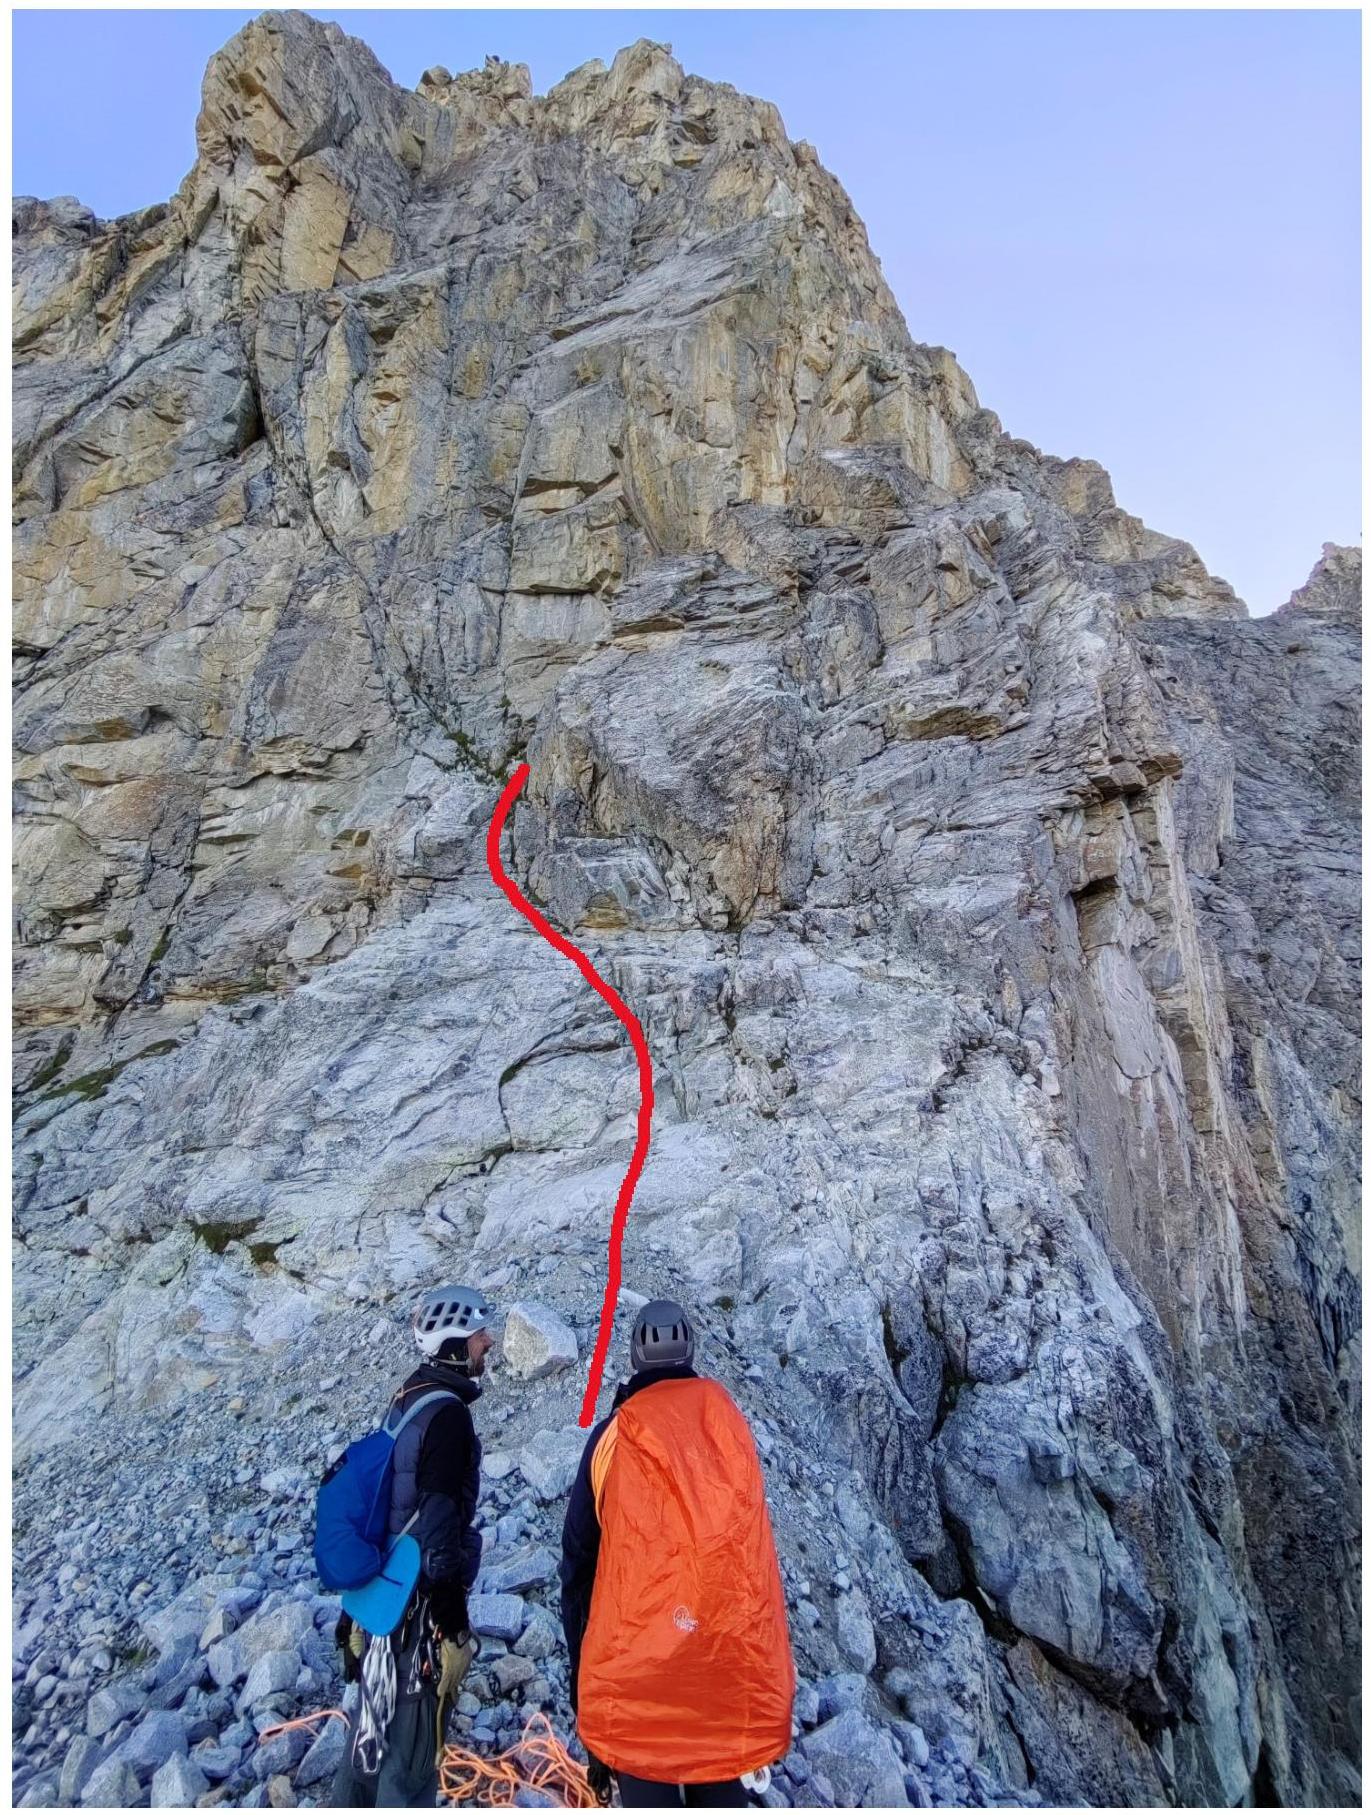
Section R1–R2, gray slab with an exit to the chimney (control tour behind).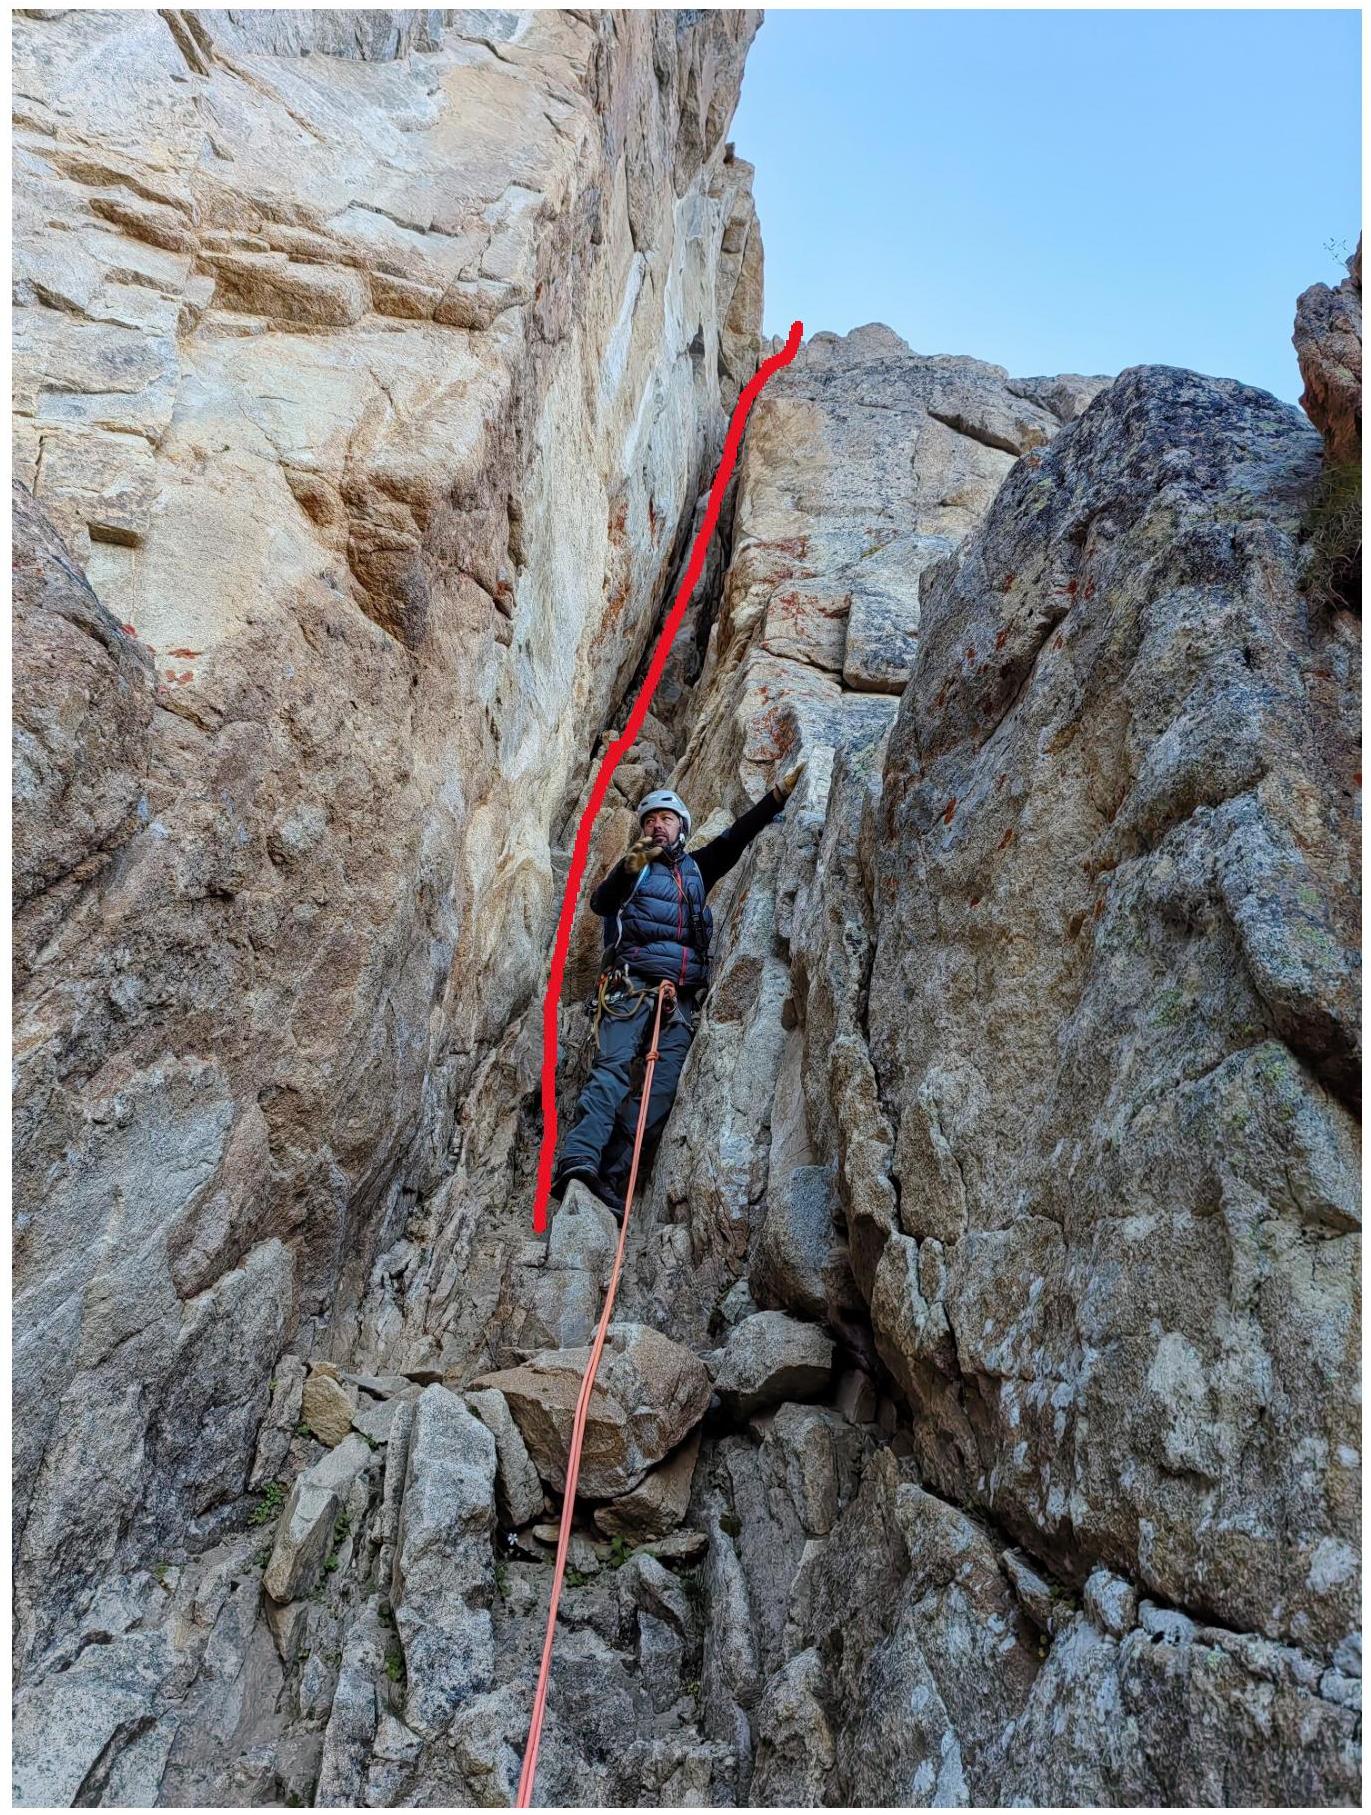
Section R2–R3, the narrow
chimney.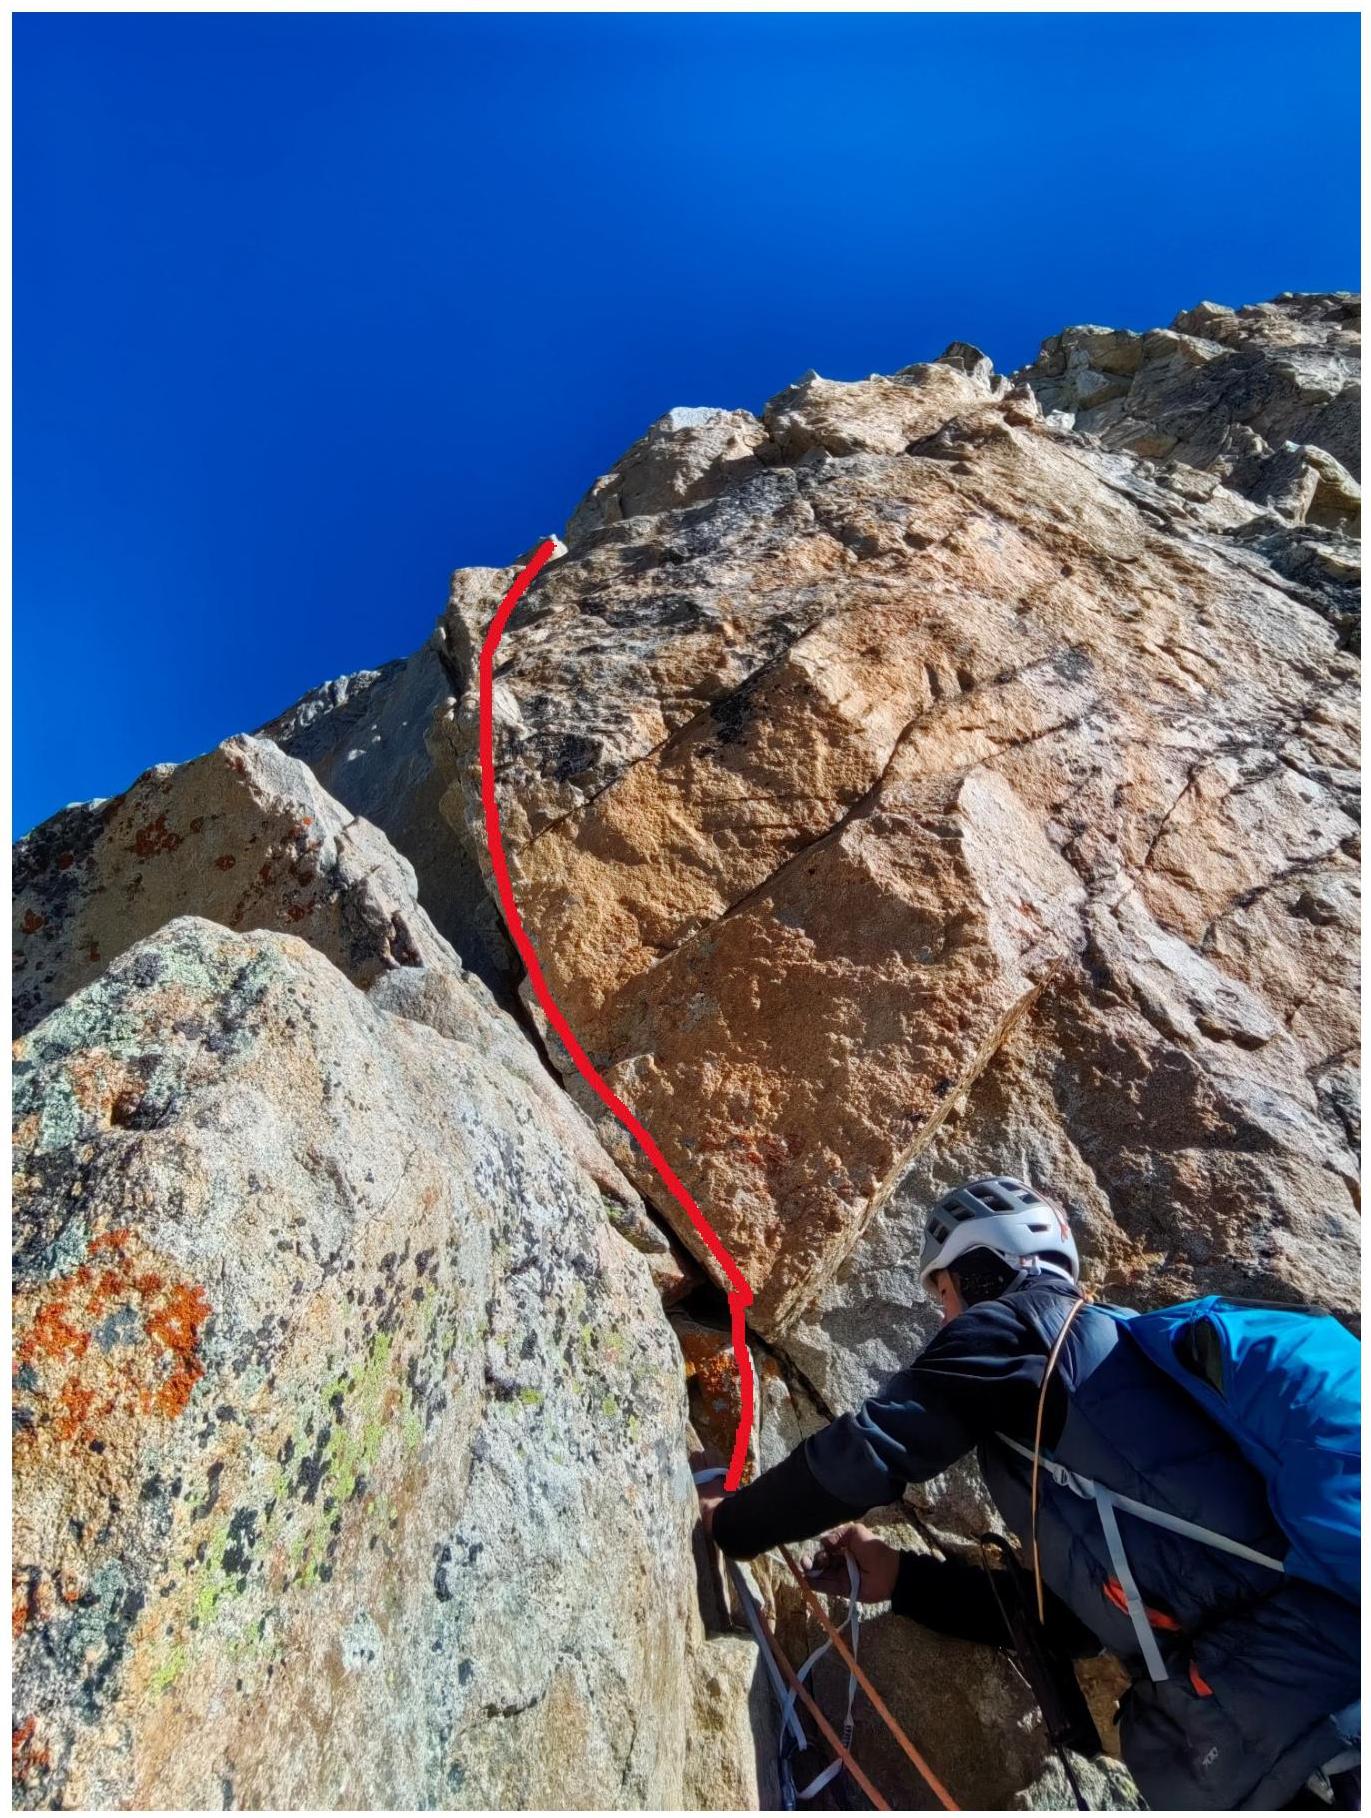
Start of section R3–R4, exit after the
chimney.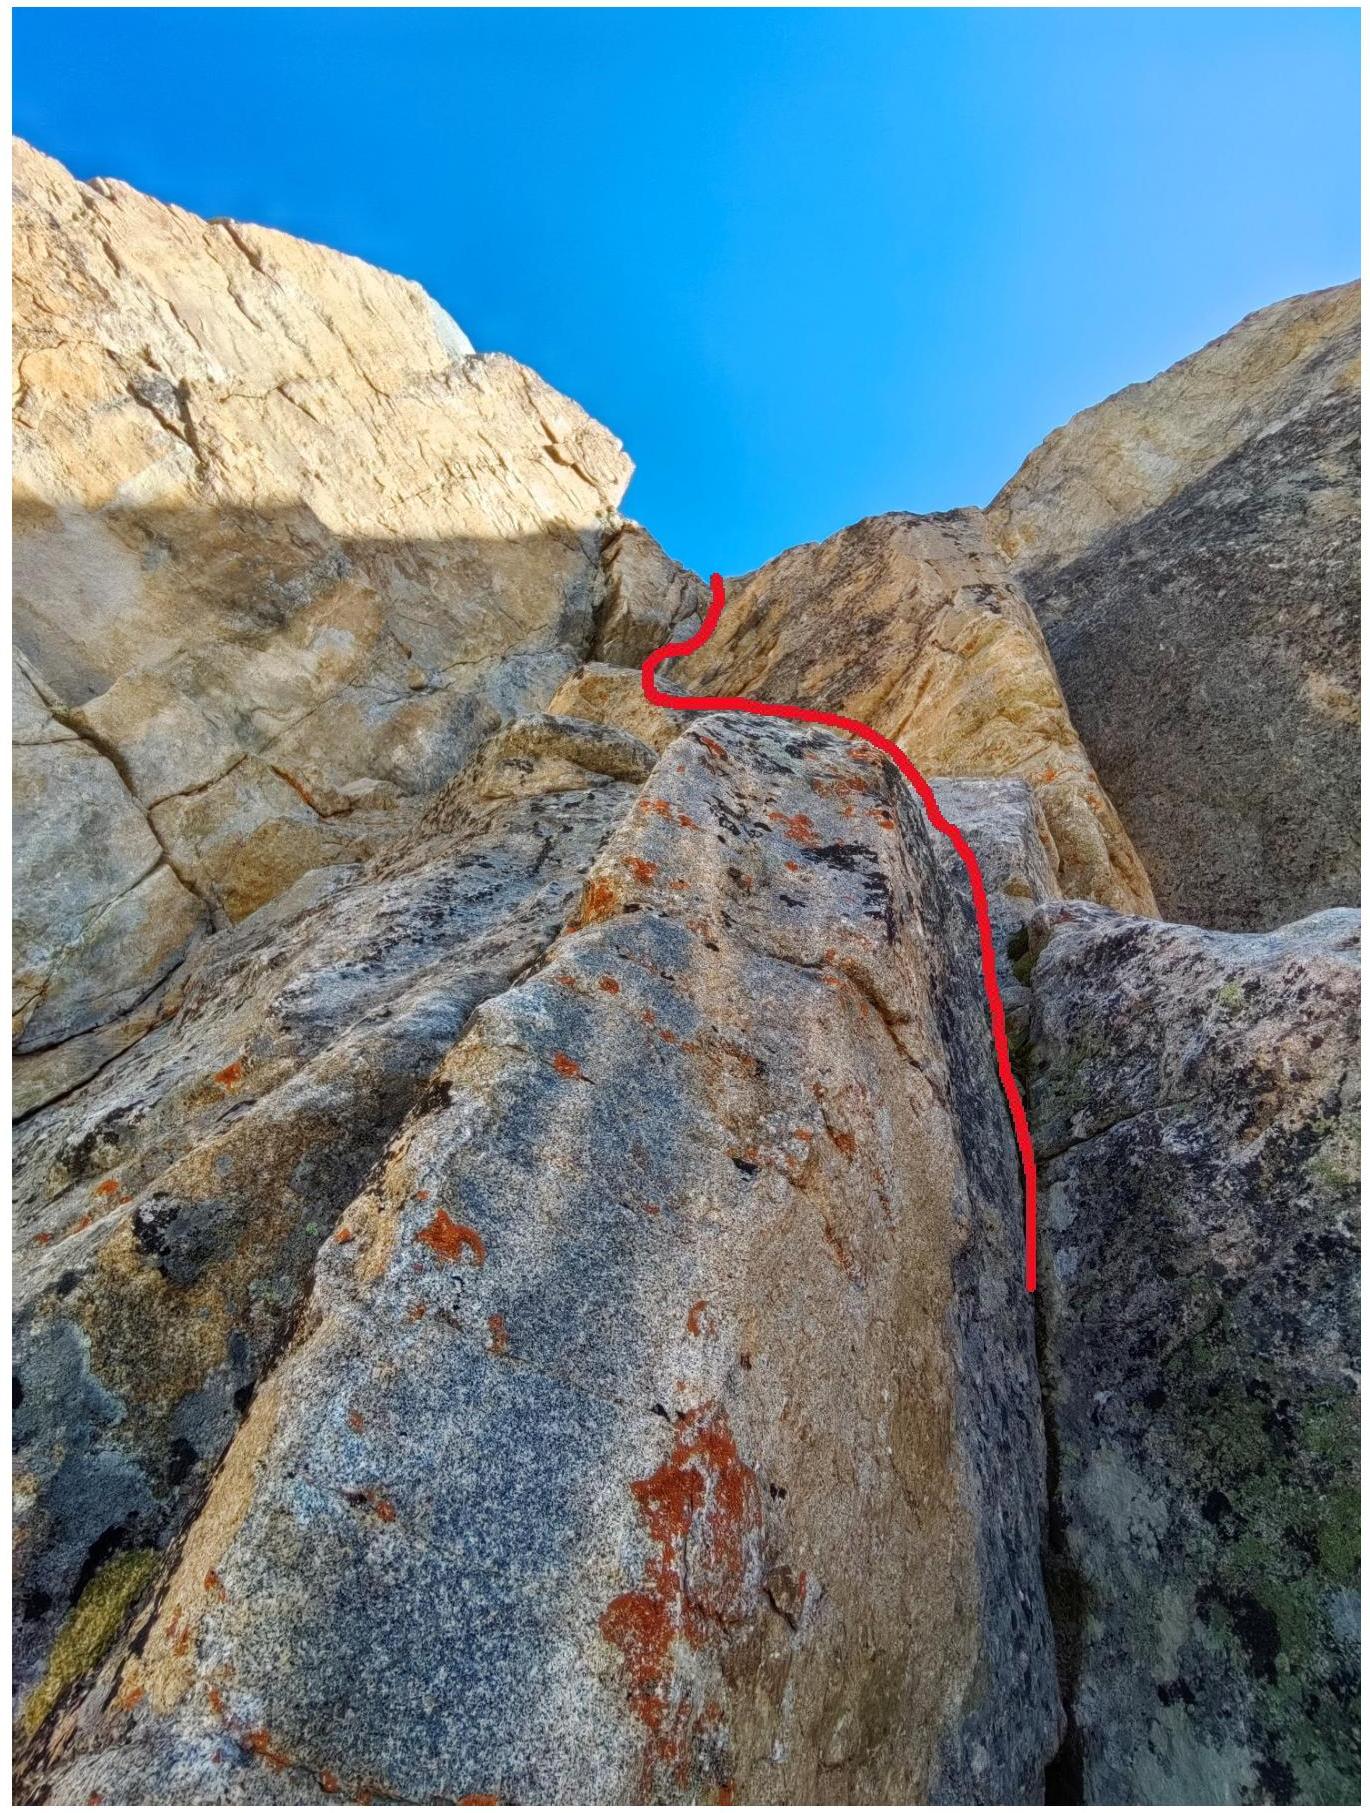
Start of section R4–R5, the so-called "room-shelf" (huge internal yellow
dihedral)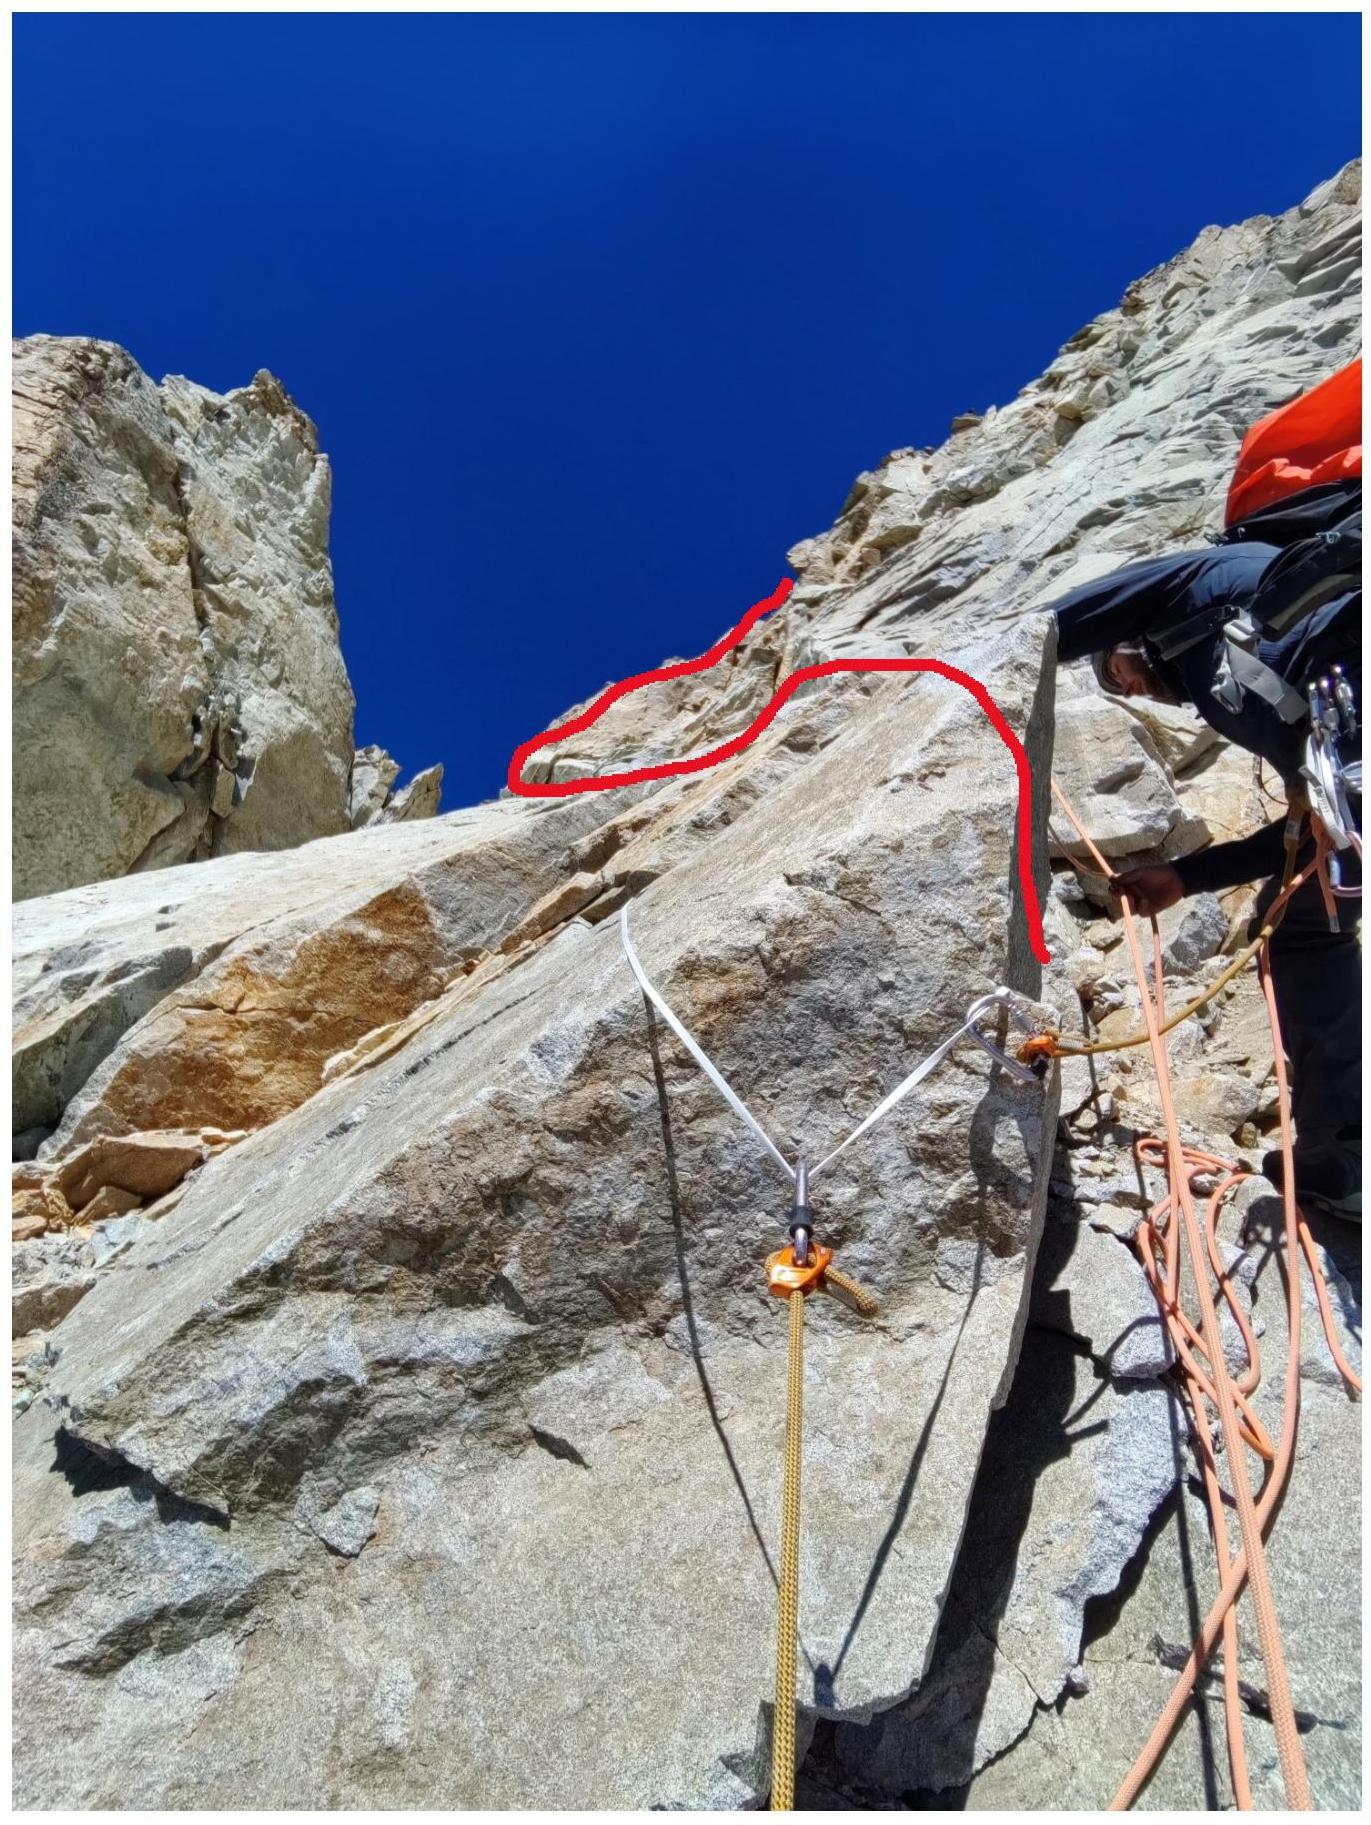
Start of section R6–R7, exit after the internal dihedral with loose blocks.
Start of section R7–R8, exit onto the crest (saw).


