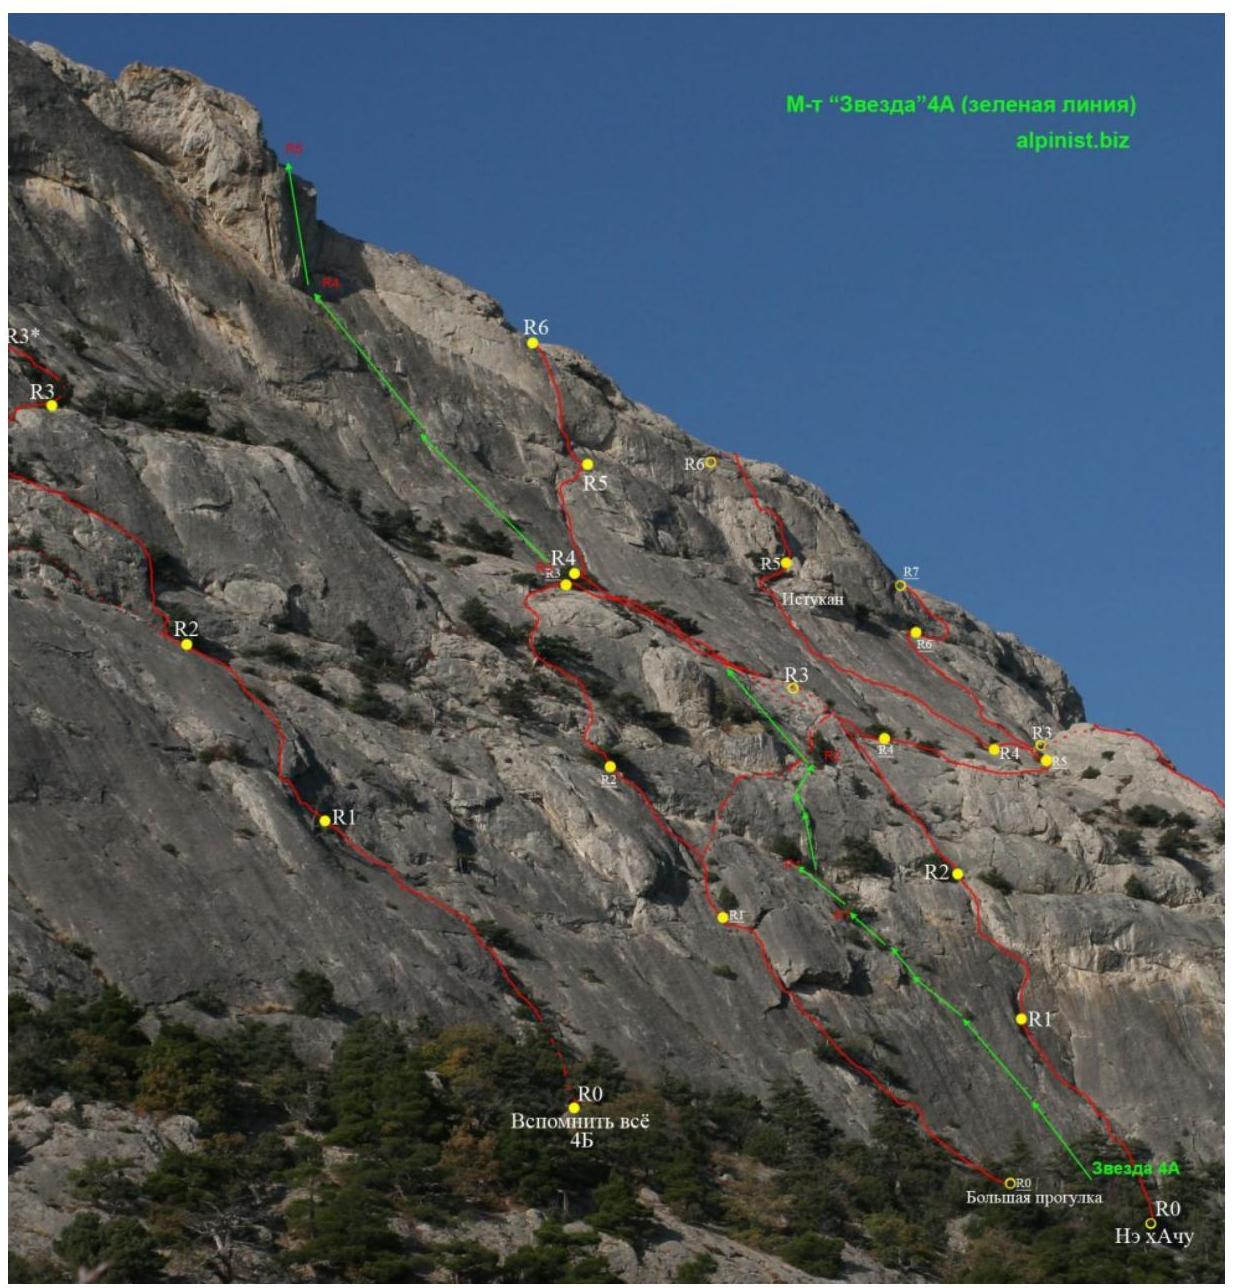
Sokol peak, "Zvezda" route, 4A (S. Nadtochiy, A. Shelkhakov; January 2008), lower ropes (S. Nadtochiy, E. Burkulai; 2010).
General impression of the route:
- Beautiful and challenging 4A, doesn't quite reach 4B due to its relatively short length (only 5 pitches).
- Varied and technically demanding climbing.
The route starts 4 meters to the left of the "Ne khochu" route. Approach to the route: see "Zhazhda" route. The "Zvezda" route begins with a crack, to the left of which the route's name is carved. In the upper part of the route, a rock tower (bastion) serves as a landmark, with a star drawn on its right side.
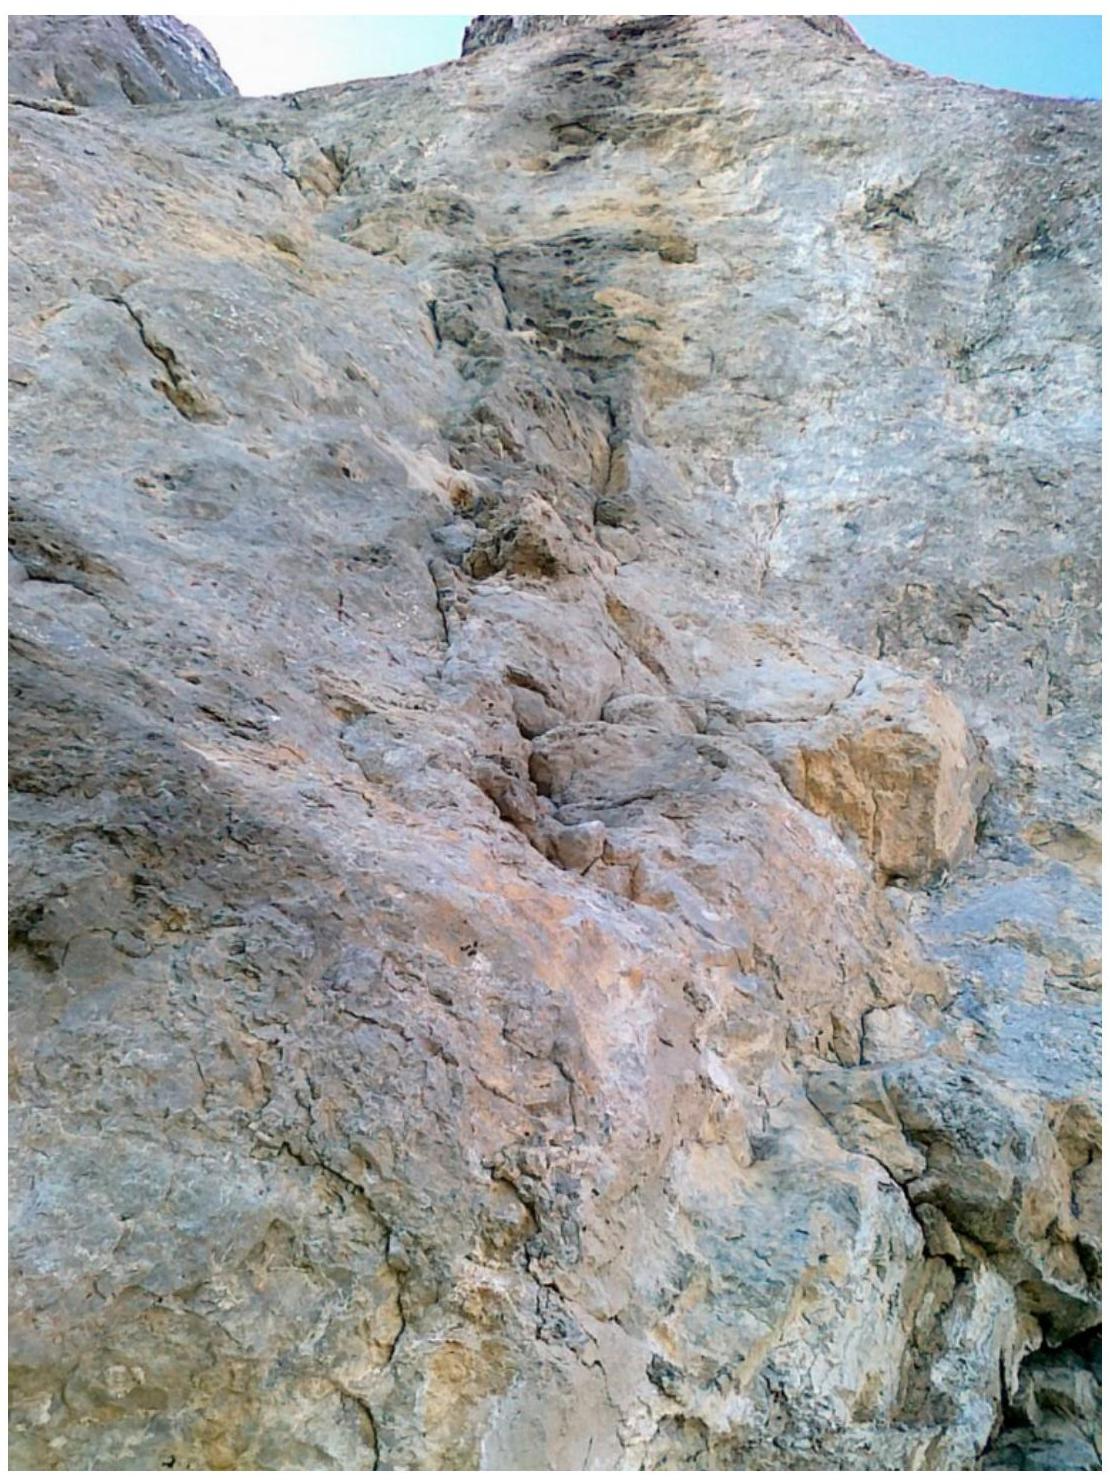
 Crimea,
Sokol peak. "Zvezda" route, 4A (green line). Photo: S. Nadtochiy
Crimea,
Sokol peak. "Zvezda" route, 4A (green line). Photo: S. Nadtochiy
Description of the "Zvezda" route:
R0–R1: 55–60 m (IV–V). Start on an inclined slab with a crack, which becomes steeper at the top where the crack ends. Continue slightly left, towards a small tree to the right of a destroyed cornice - a "nashlyopka".
25 m from the start, there's a bolt.
From the small juniper tree, traverse left; after 5 m, a second bolt.
Then:
- under the cornice,
- a psychologically tense traverse on a steep slab a few meters to the left,
- exit through a hang-up.
Continue a few meters on easy rocks left and up to a ledge. Belay station on a tree.
If the rope is 60 m, you can climb higher to a wide ledge, with a belay station on a tree (R1').
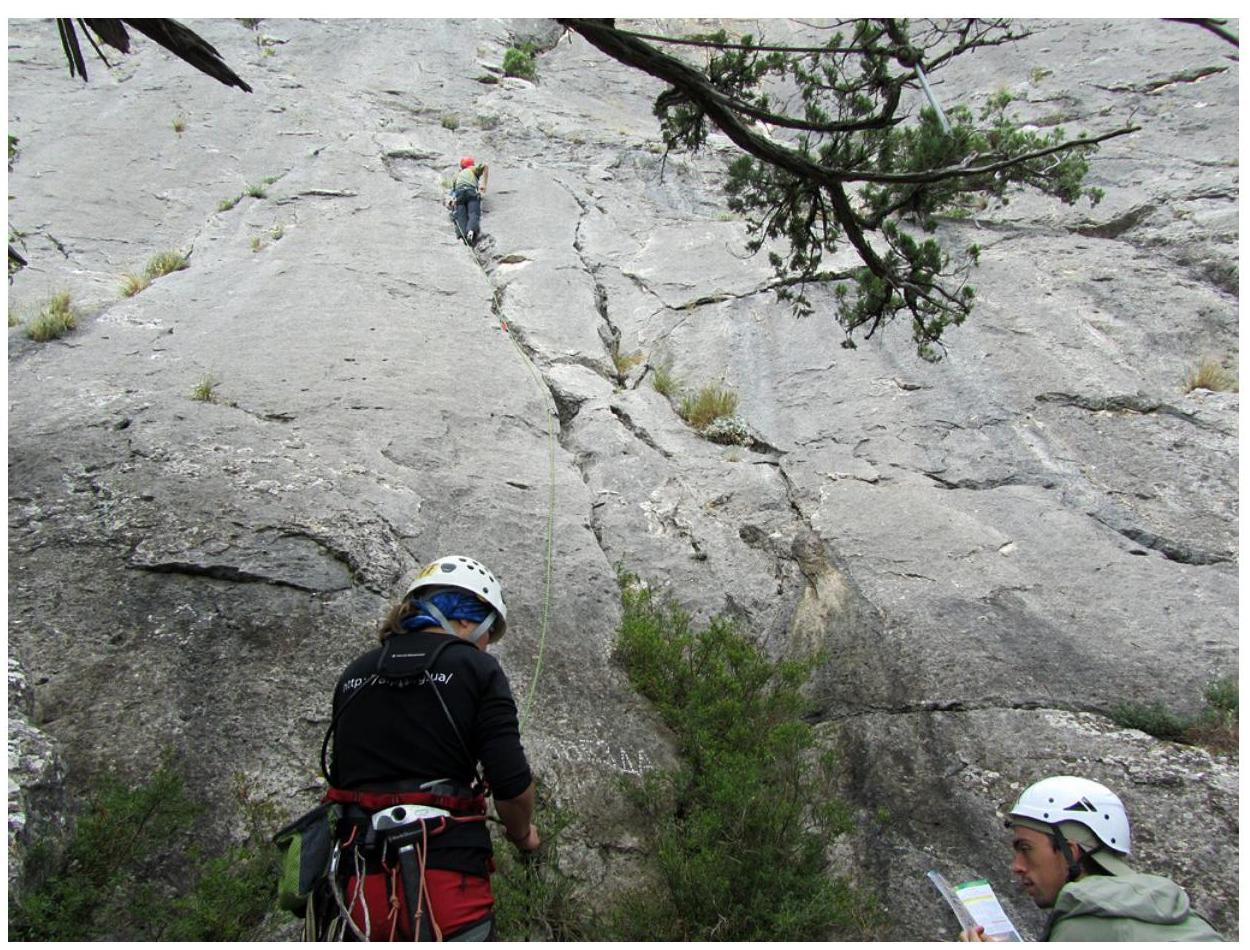
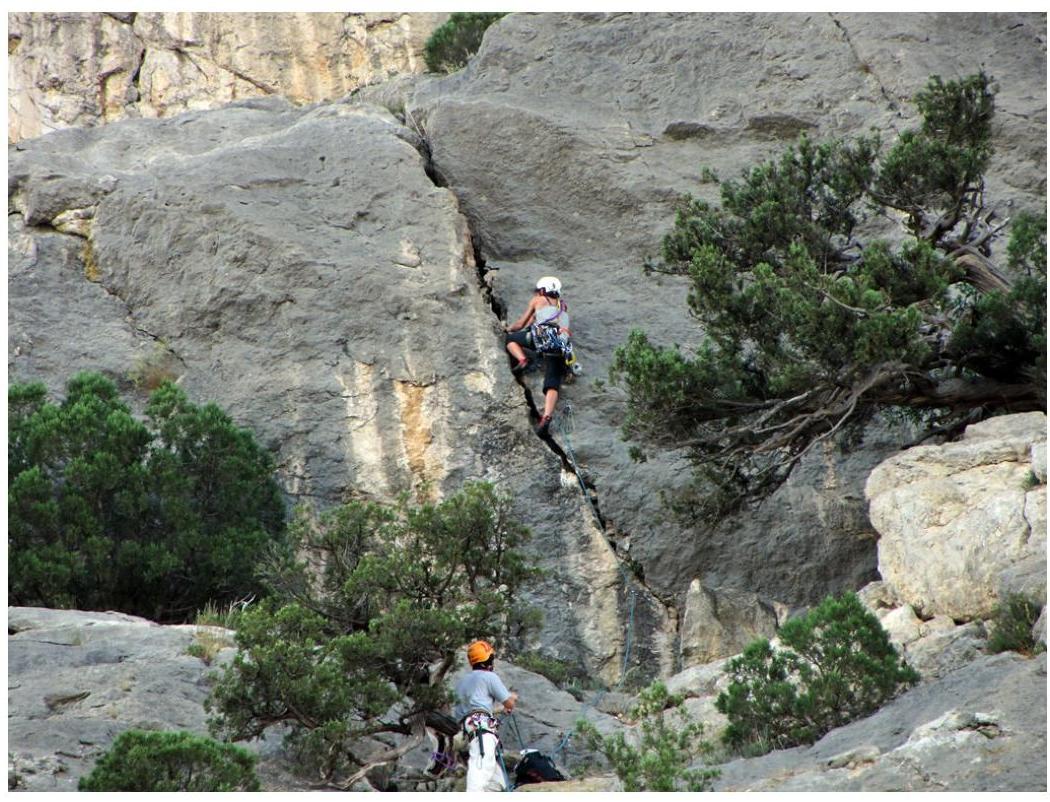
Crimea, Sokol. "Zvezda" route, 4A. Section R0–R1. Start of the route
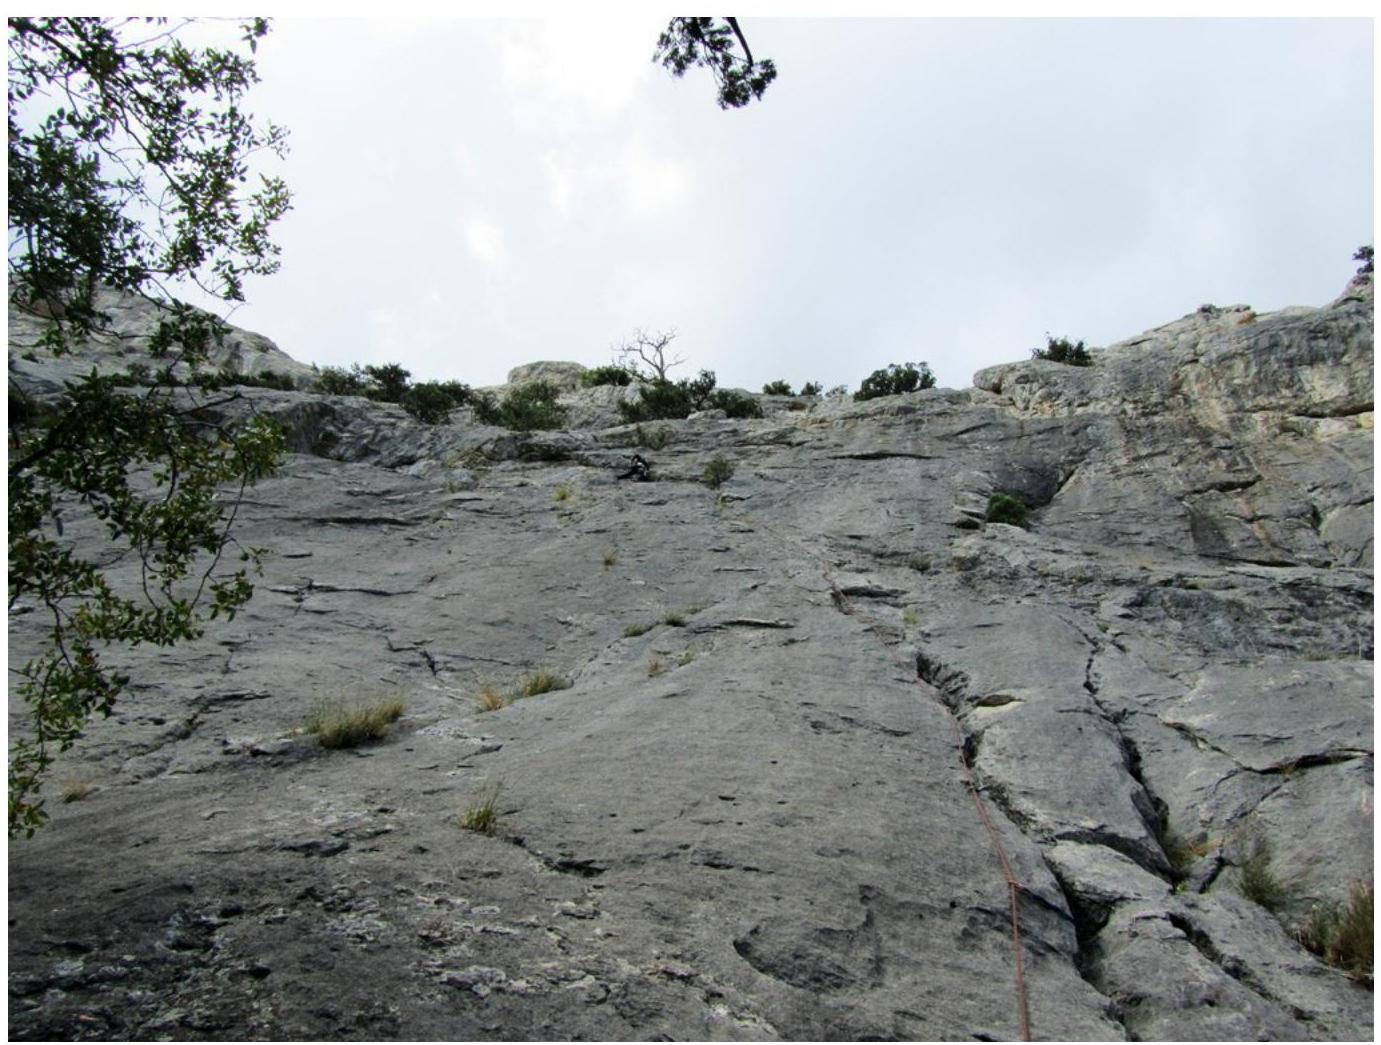
"Zvezda" route, 4A. Section R0–R1, R1–R2: 25 m (12 m V+ (A1) + 13 m II).
Directly above the ledge, a challenging section begins - an overhanging diagonal crack (first crux), about 12 m. Characteristics of the section:
- The lower, most challenging part of the crack is about 8 meters.
- Then a small ledge - a выступ.
- To the bolt, about 6 meters.
Sokol, "Zvezda" route. Section R1–R2 - an overhanging diagonal crack (first crux)
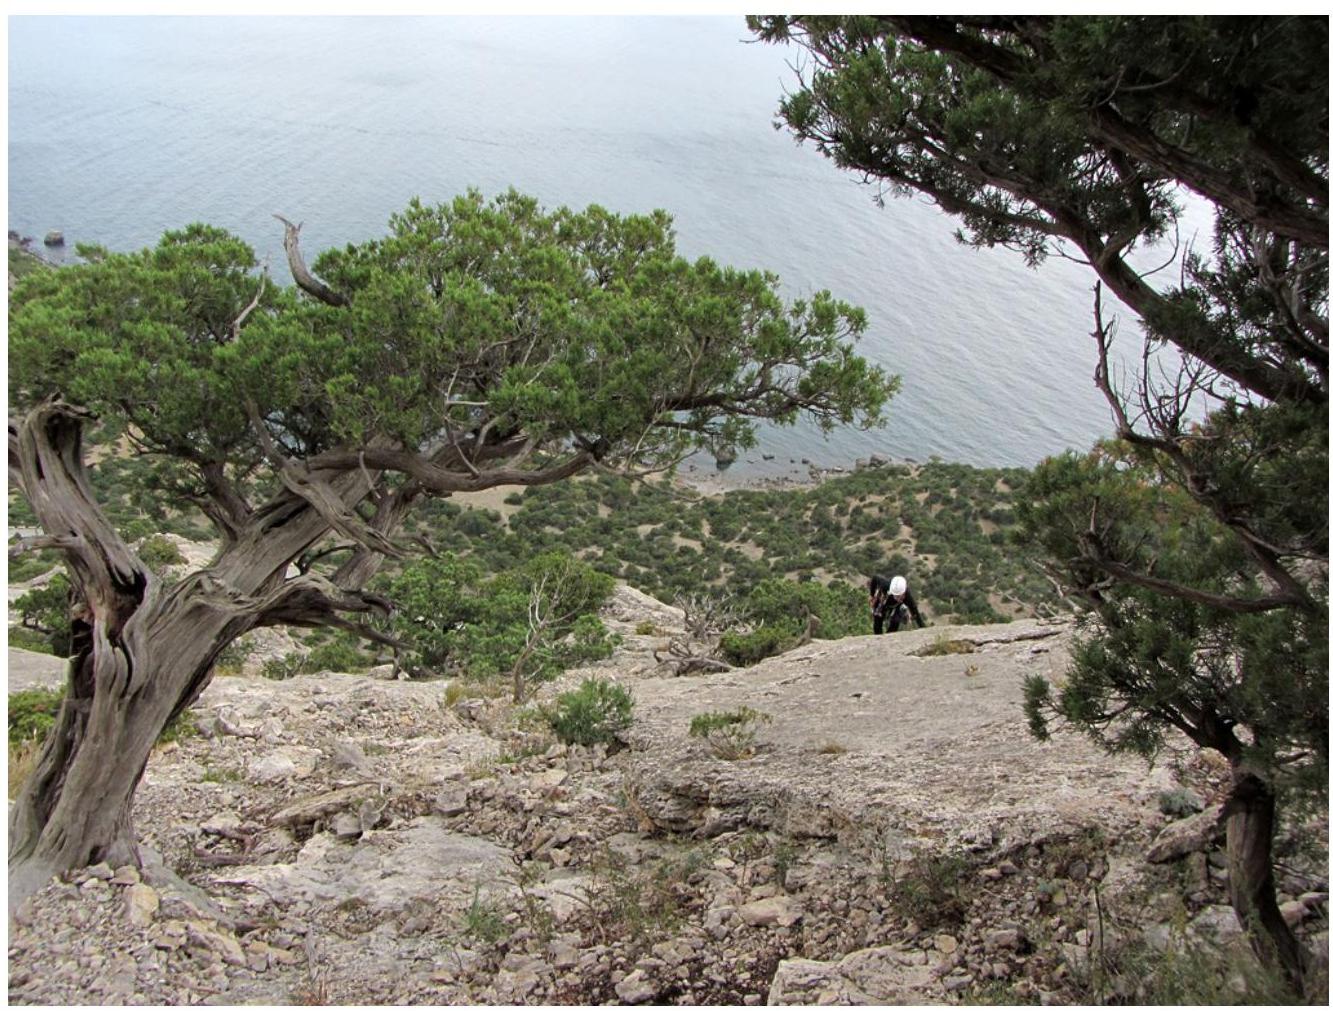
Section R1–R2 - passing the crack by a team of climbers from Kiev. Photo taken in June 2013 from the path on the approaches to the route.
Features of passing the diagonal crack: it can be climbed free or aided. My opinion is that climbing the crack is easier from the point of view that protection is not very reliable here (up to the bolt), i.e., protection points are mostly placed for aid climbing, which takes more time than free climbing.
Climbing in this section is quite tense, but it's doable with a confident level of climbing up to 6b. After the bolt, the terrain becomes easier, around 5c.
In this section, hexes work well; other gear (cams, stoppers) is not placed reliably enough for safe protection. Pitons also don't work well here.

Section R1–R2. Passing the diagonal crack with aid. After the diagonal crack, move left into another crack (3–4 m) and then along the ledge to the right to a tree. Belay station on a tree.
R2–R3: 50 m (20 m II + 30 m easy). From the tree, exit onto a large ledge via an internal corner. Continue on easy rocks to the base of the slabs. Landmark - the last large tree. Belay station on it.
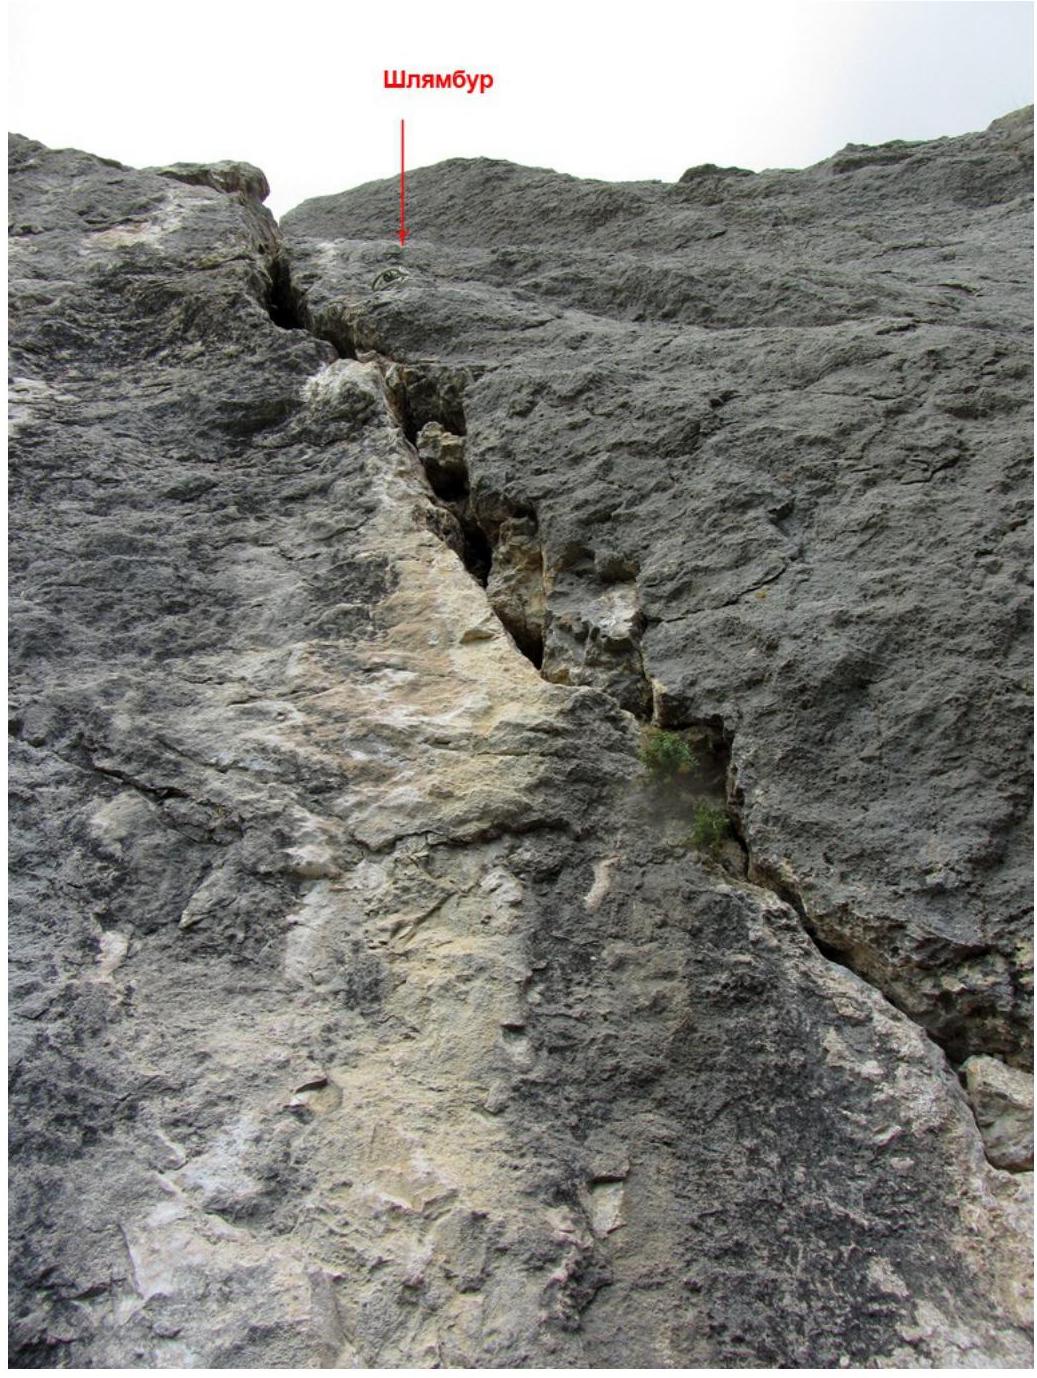
Section R2–R3, R3–R4: 50 m (15 m II+; 25 m IV; 10 m III). Along a relatively easy crack to the first bolt (about 30 m), then on broken rocks 6 m up-left into a small depression. From there, up an internal corner, after the second bolt, move left to the base of the bastion (second crux). Belay station on a bolt + large rocks (stoppers) above the bolt.

Belay station R3 on a large tree. Arrows indicate the direction of travel.
*Note: if for some reason you think you won't be able to climb the last (and most challenging) pitch, for example due to rain, in this case, from belay station R3 (on a tree), you can traverse to the right, on slabs to the "Zhazhda" route.
R4–R5: 23 m, VI (key pitch). From the belay station, move on a slab (steepness increases at the top) left under the base of the bastion. After 8–9 m from the belay station, there's a bolt. 4 meters further, a second bolt. Then climb up a weakly expressed crack to a third bolt.
From the last bolt, a few meters to a ledge. This section can be climbed free (requires a climbing level of at least 6b) or aided (possibility of placing a piton or a small stopper).
From the ledge:
- Enter the corner on the left.
- Pass through a small overhang.
- Exit onto the plateau.
Belay station on a tree.
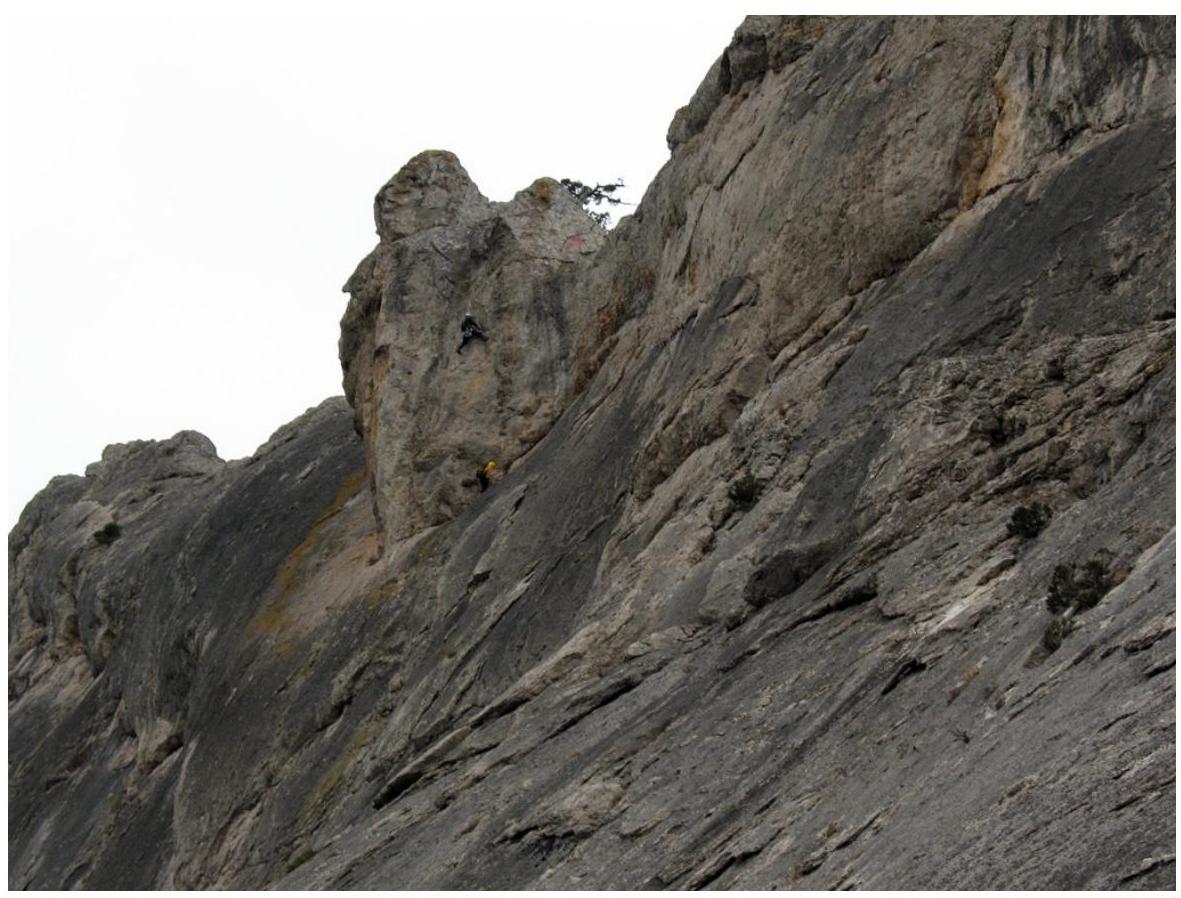
Sokol. "Zvezda" route. Section R4–R5 (second crux - bastion)
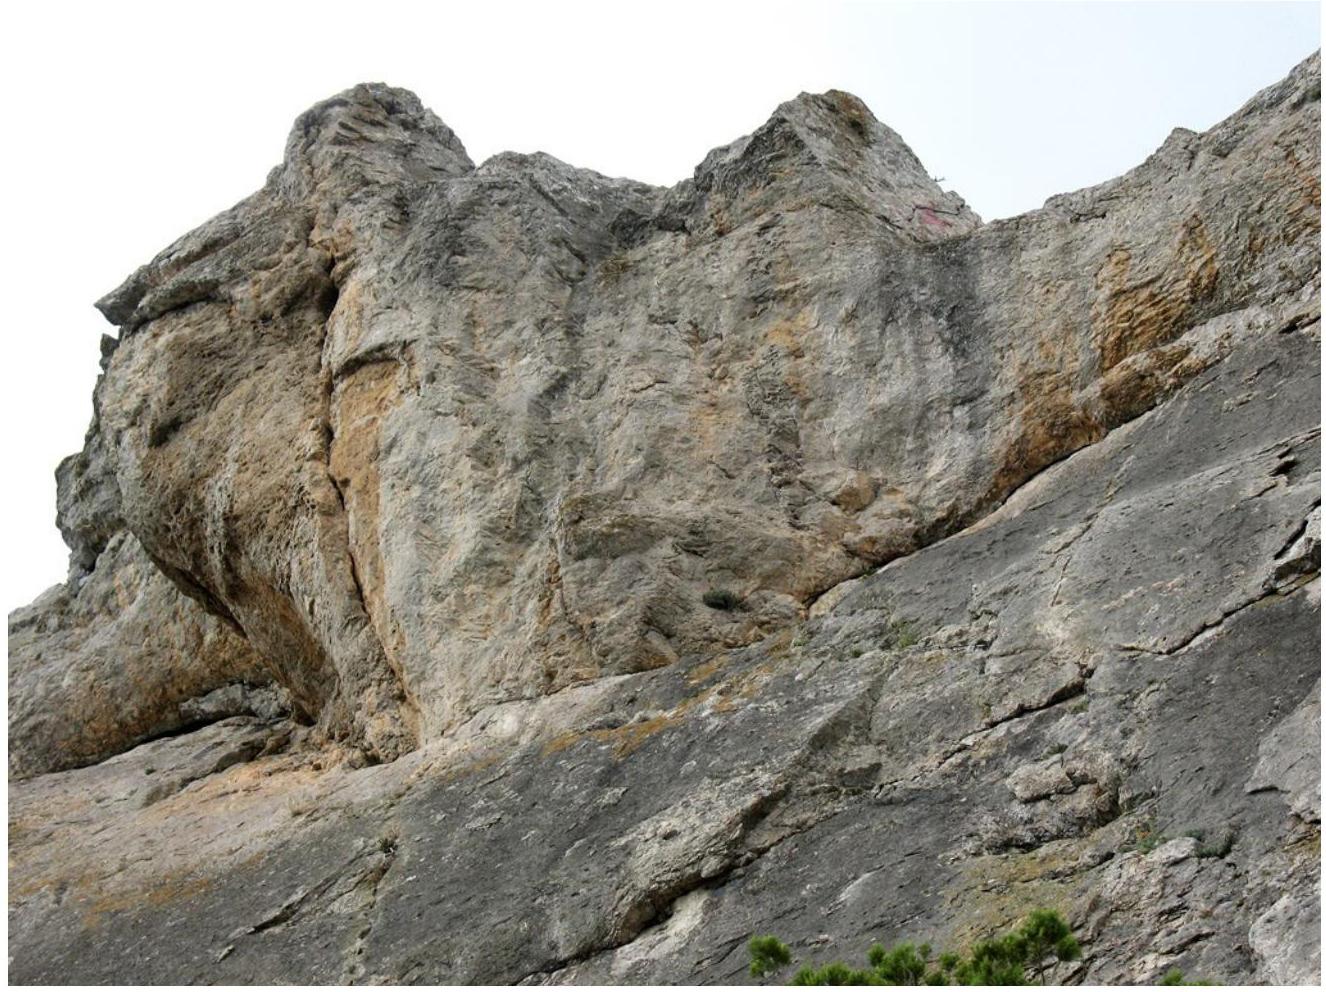
Section R4–R5 (second crux - bastion)
Section R4–R5 - bastion (close-up). Photo from the report: Sergey Matvienko
Recommended gear:
- 60 m rope
- long and medium slings (5–6 pcs)
- long quickdraws (13–14 pcs)
- set of cams and stoppers
- rock anchors (4–5 pcs) and hammers
- étrier (if planning to aid two sections)
Author of the description: Tatyana Senchenko. Source: https://alpinist.biz/archives/2978↗