The "Victoria" route (2B) was laid on Mshatka Kaya mountain on May 10, 2011 by a team from Luhansk: Alexander Khoroshevsky and Nikita Popov. The overall impression of the route is a beautiful and logical double pitch, with pleasant and varied technical climbing, after which you want to express gratitude to the authors of the route for 2 reasons:
- the line turned out to be really beautiful,
- to spot the route on the wall, which is already oversaturated with other lines, you need to have talent.
"Victoria" passes between the "PK" and "Vilka" routes along a system of cracks. Insurance is predominantly natural, with one bolt hammered at each station. There are also a few intermediate bolts.
You need to approach the route along a clearly visible path leading to "PK". 20 meters before the base of the PK route, you need to traverse to the right with a height gain and climb onto a ledge under the base of the wall - there is a bolt hammered there, this is the start of the route.
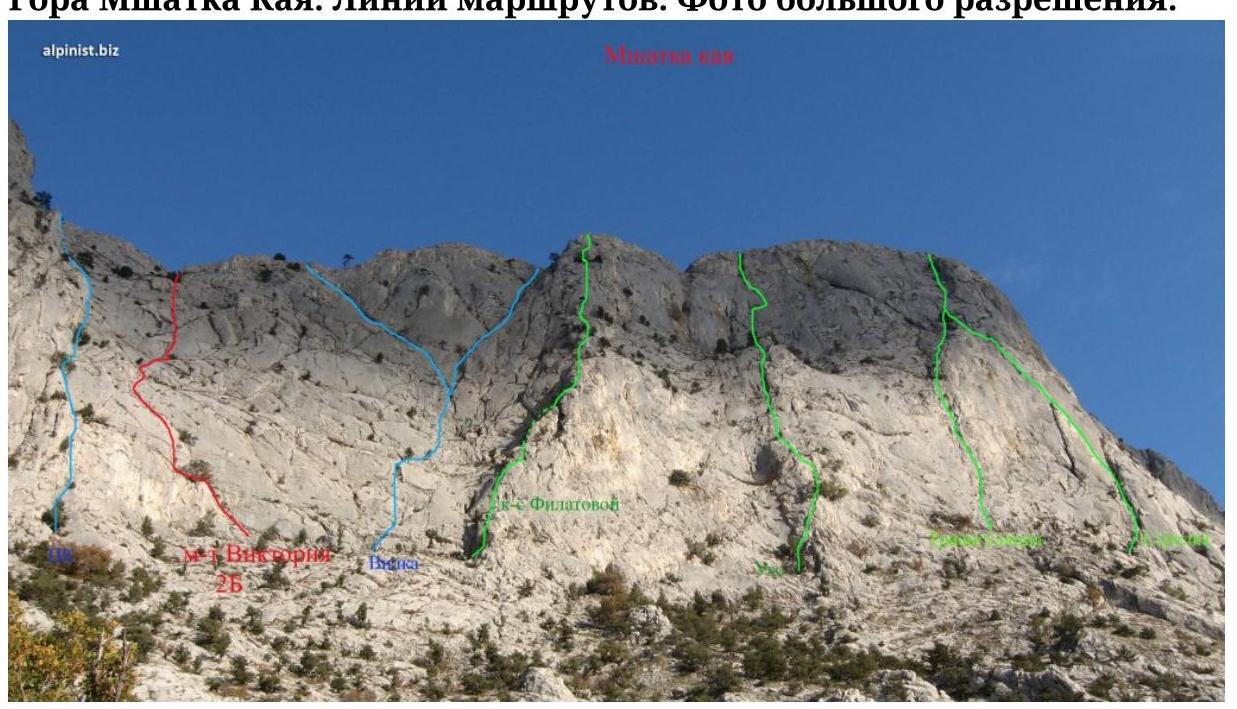
Mshatka Kaya mountain. Route lines. High-resolution photo:
"Victoria" route (2B), general scheme. High-resolution photo: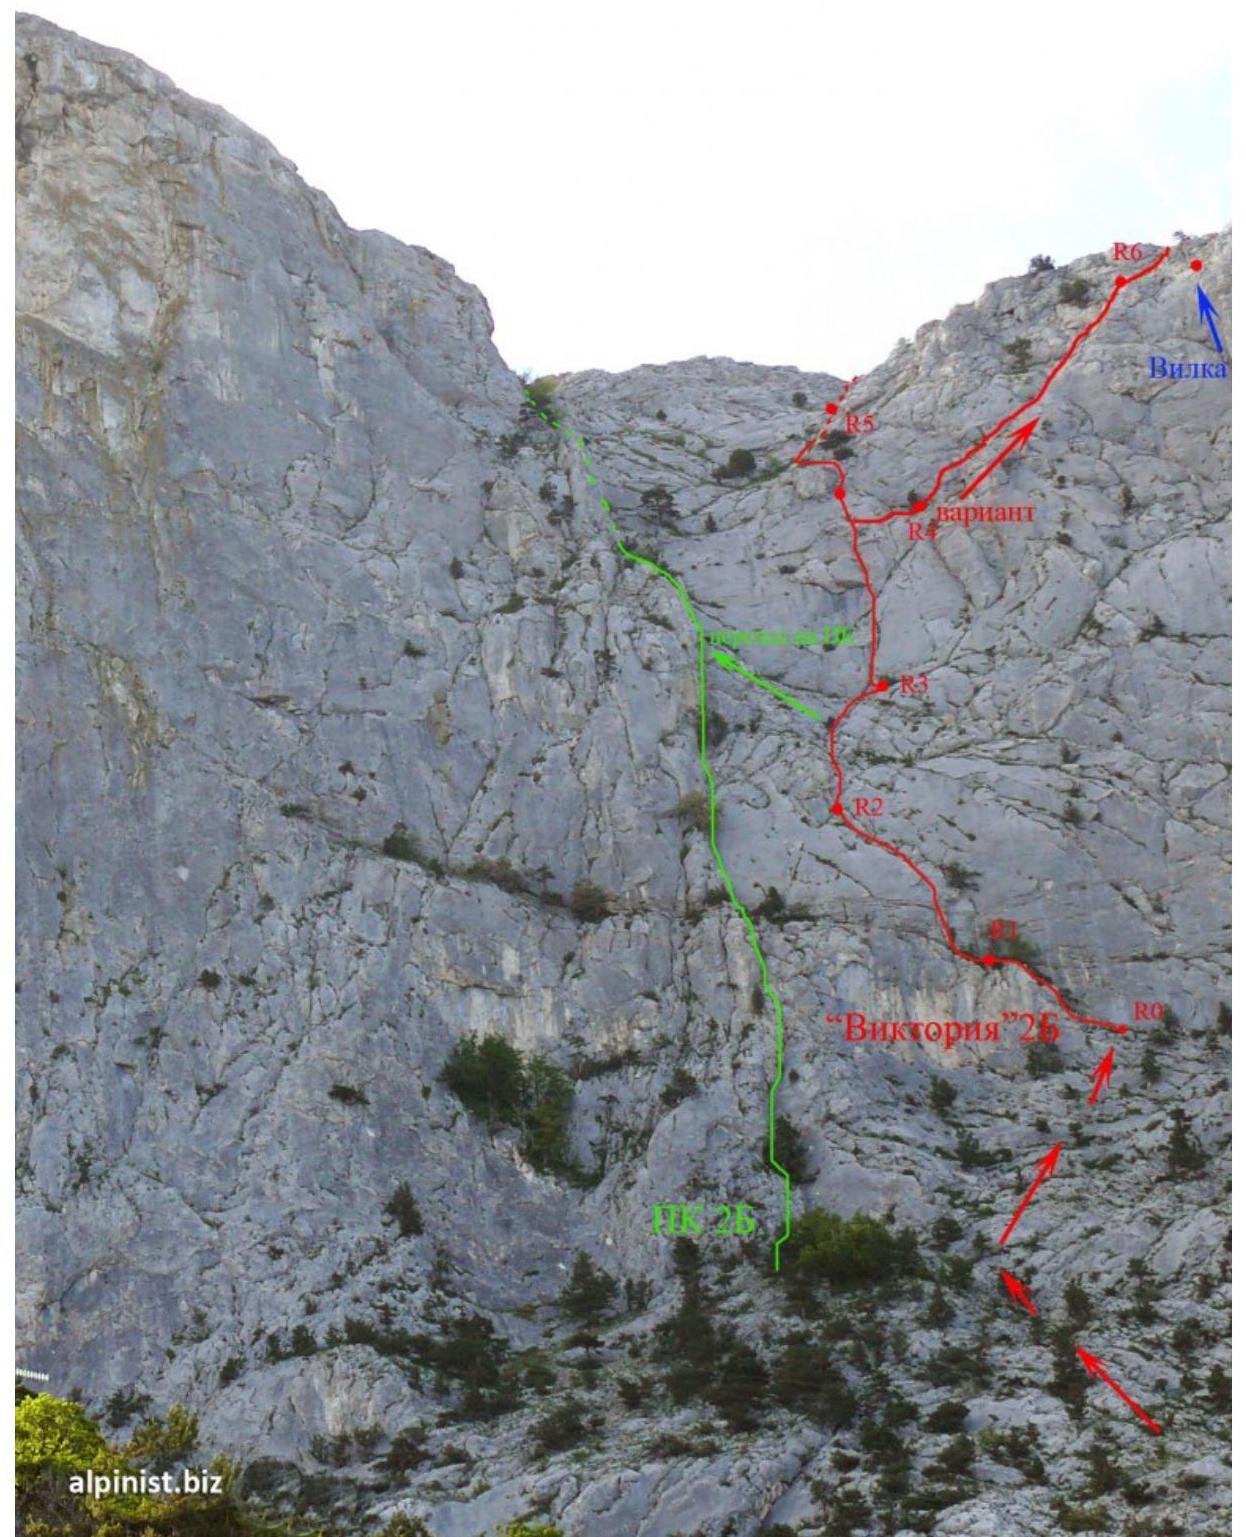
alpinist.biz
"Victoria" route (2B). Detailed scheme. High-resolution photo. R4 station - our version of the passage, R4* - the first ascenders' version.
Technical description of the route:
R0–R1. 30 m Easy climbing. From the station, left and up along the ledge and up the inner corner along simple rocks, overgrown with low trees, to a narrow ledge with a group of trees. Station on a large tree - shameless.
Section R0–R1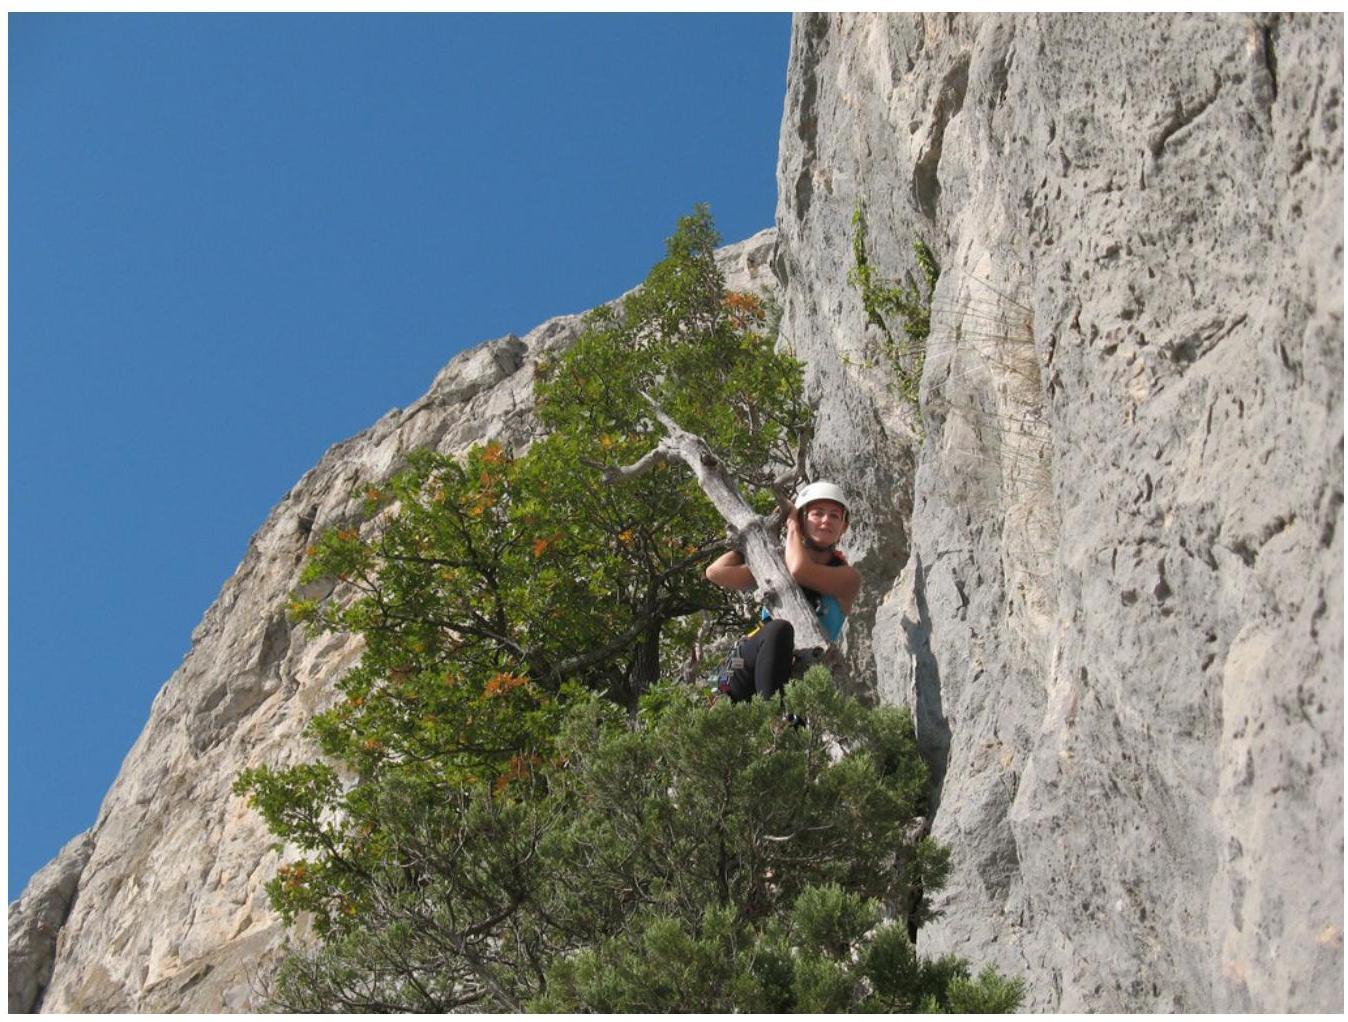
Section R0–R1
Station on a tree on a ledge before section R1–R2
R1–R2. 10 m III; 25 m II. From the station on the ledge:
- Go a little to the left and climb the wall with good holds for a couple of meters;
- Then - into the inner corner (there are a couple of hooks), along the corner to the flattening;
- Then - left and up under a small overhang.
Station on a ledge, there is a bolt + own insurance.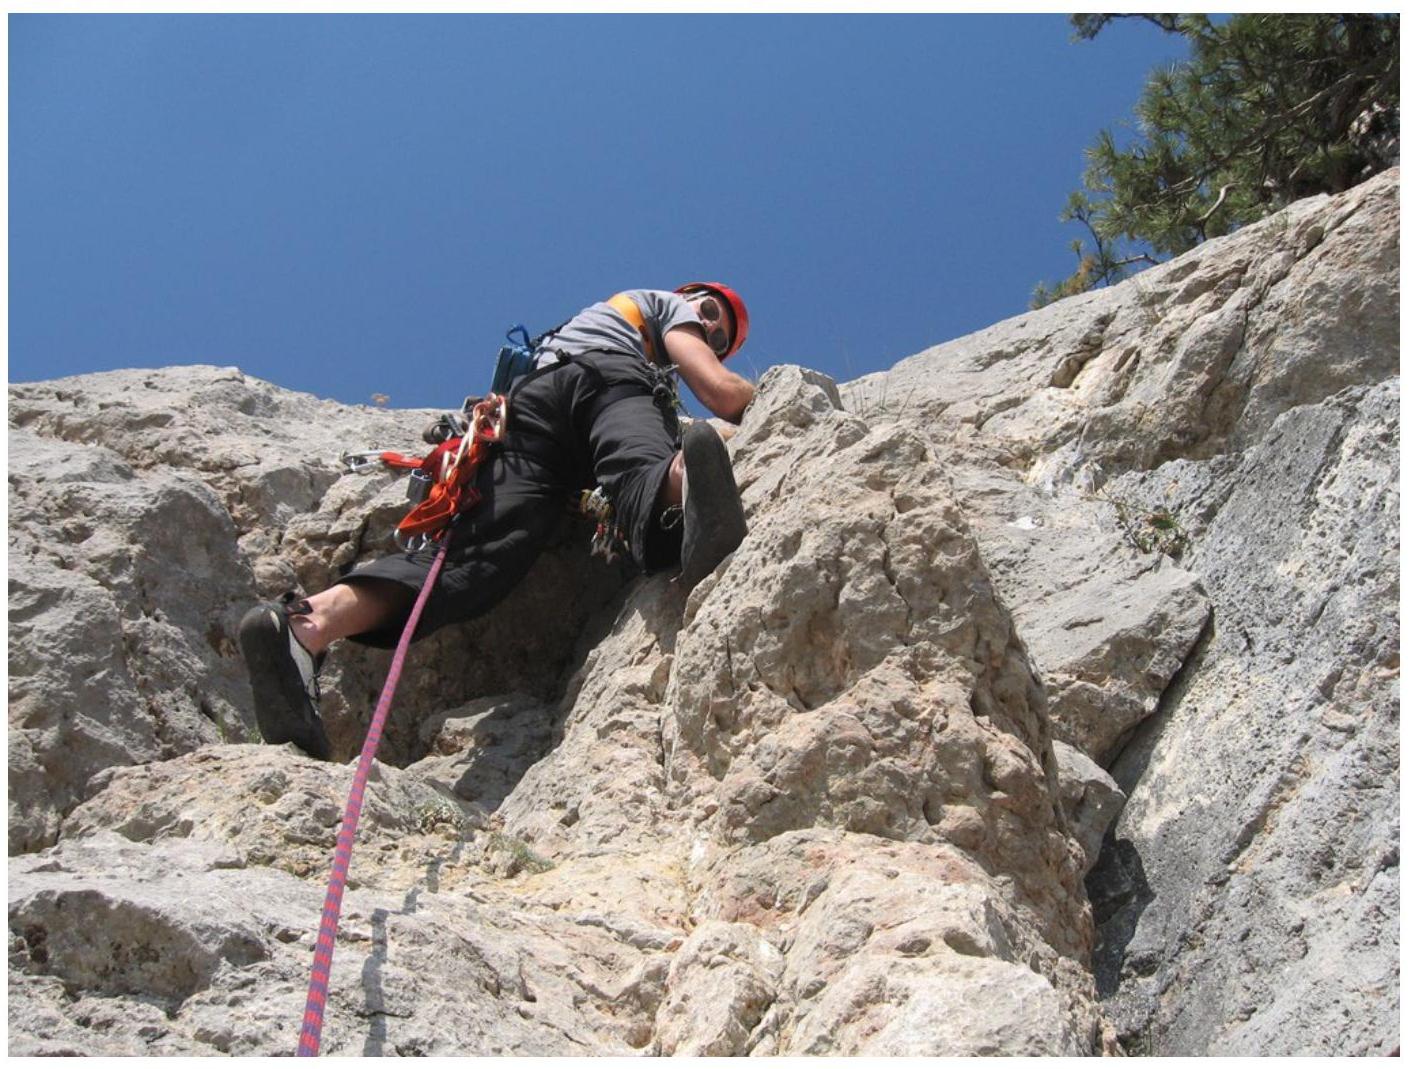
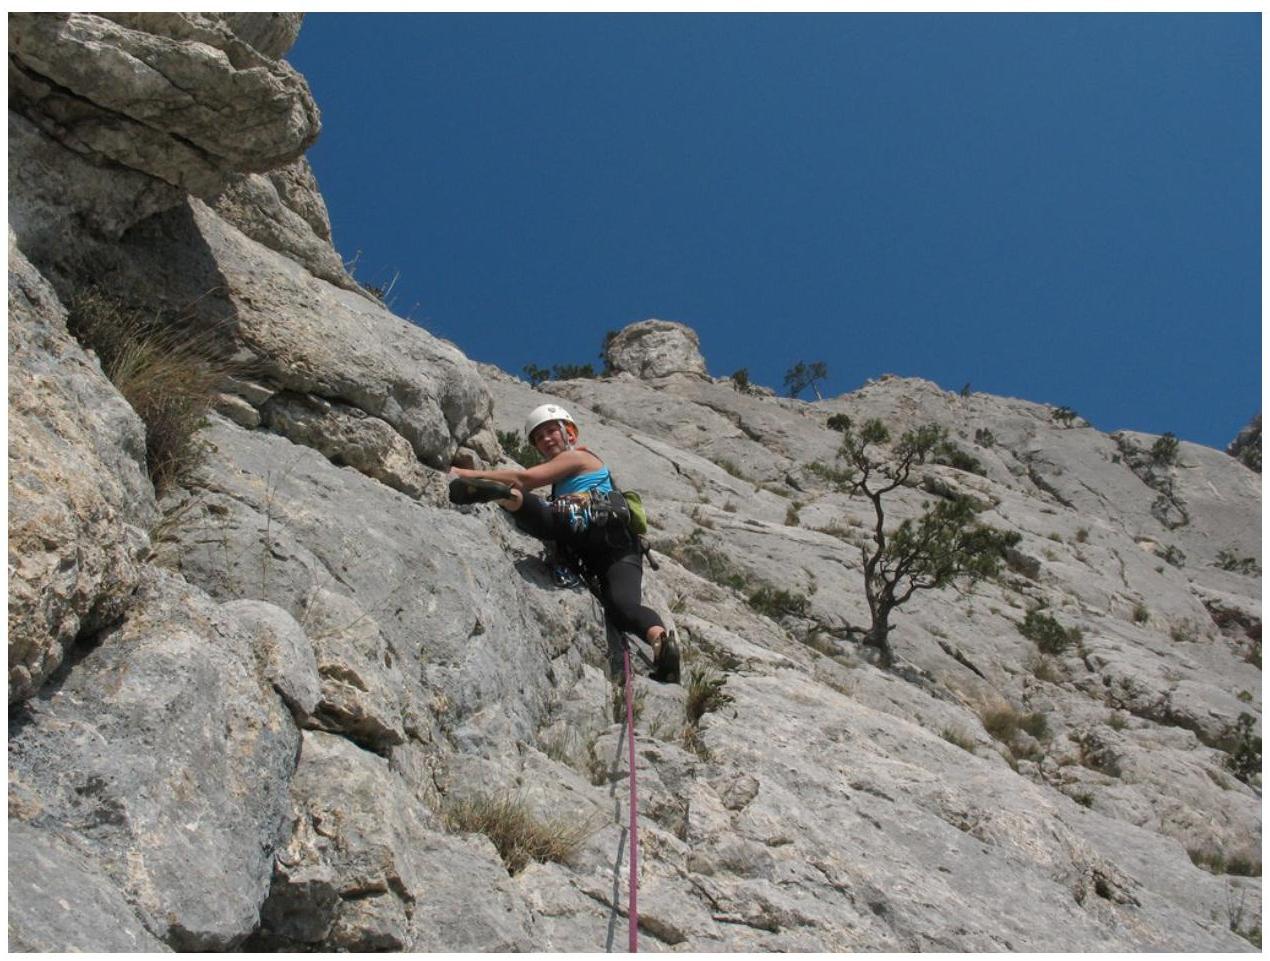
Start of section R1–R2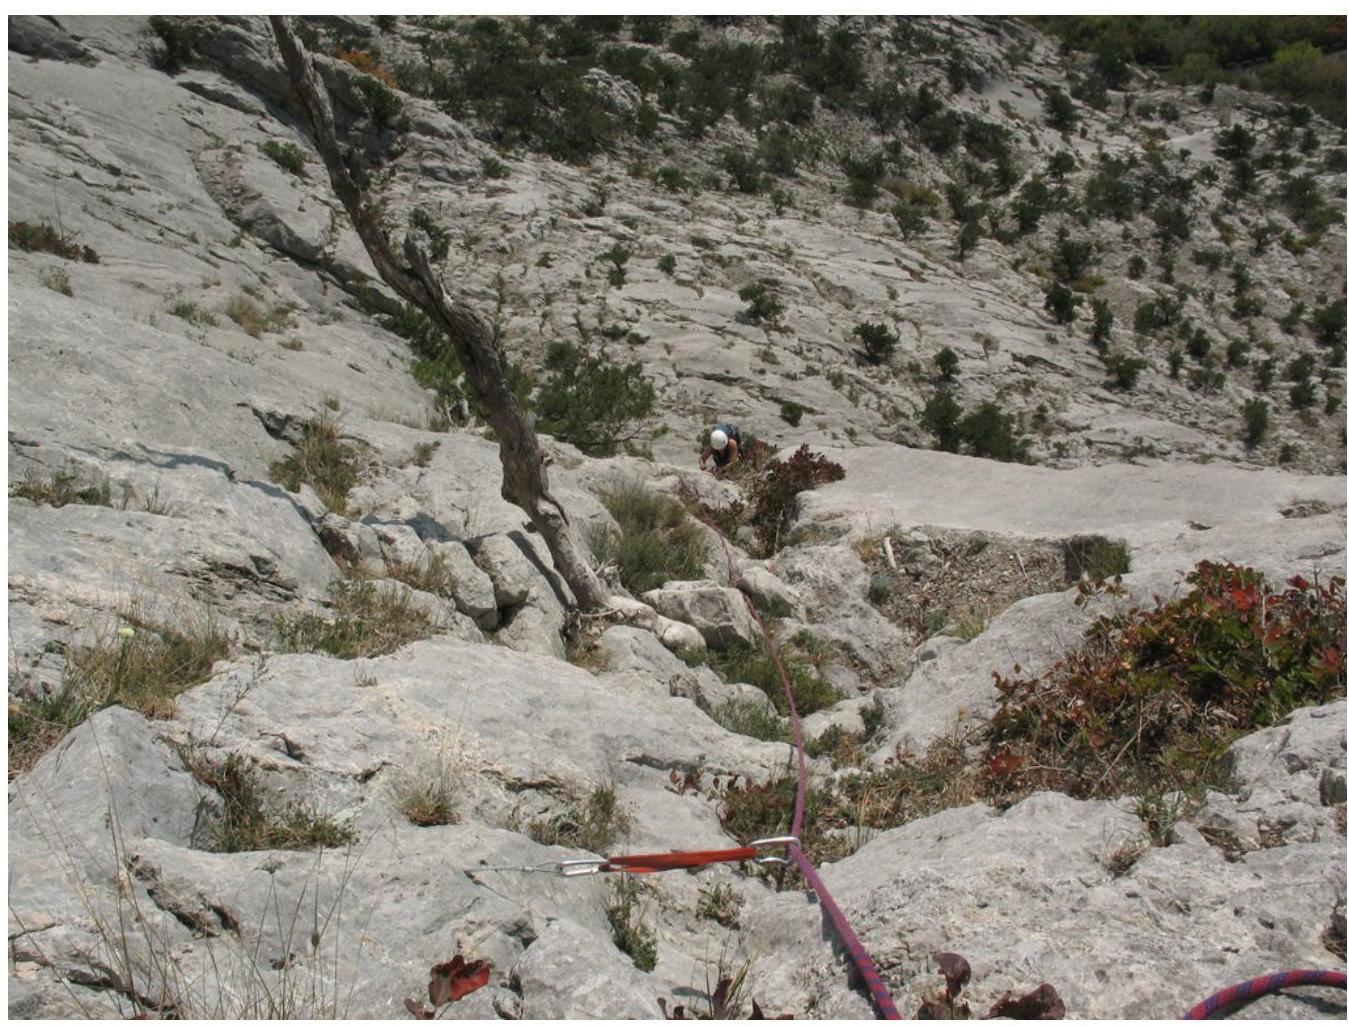
Passage of sections R1–R2, R2–R3. 10 m III; 30 m II.
From the station, climb to the right and up along the crack, then up to a tree, then to the right and up, and along the ledge to the right to a low-growing tree, a little higher than the tree is a bolt.
It is recommended to block the bolt at the station with your own point. I used a 0.75 cam, which fit perfectly into a small monolithic crack near the bolt.
The station before section R3–R4 is rockfall-prone. It is recommended that the belayer stand as close to the rock as possible.
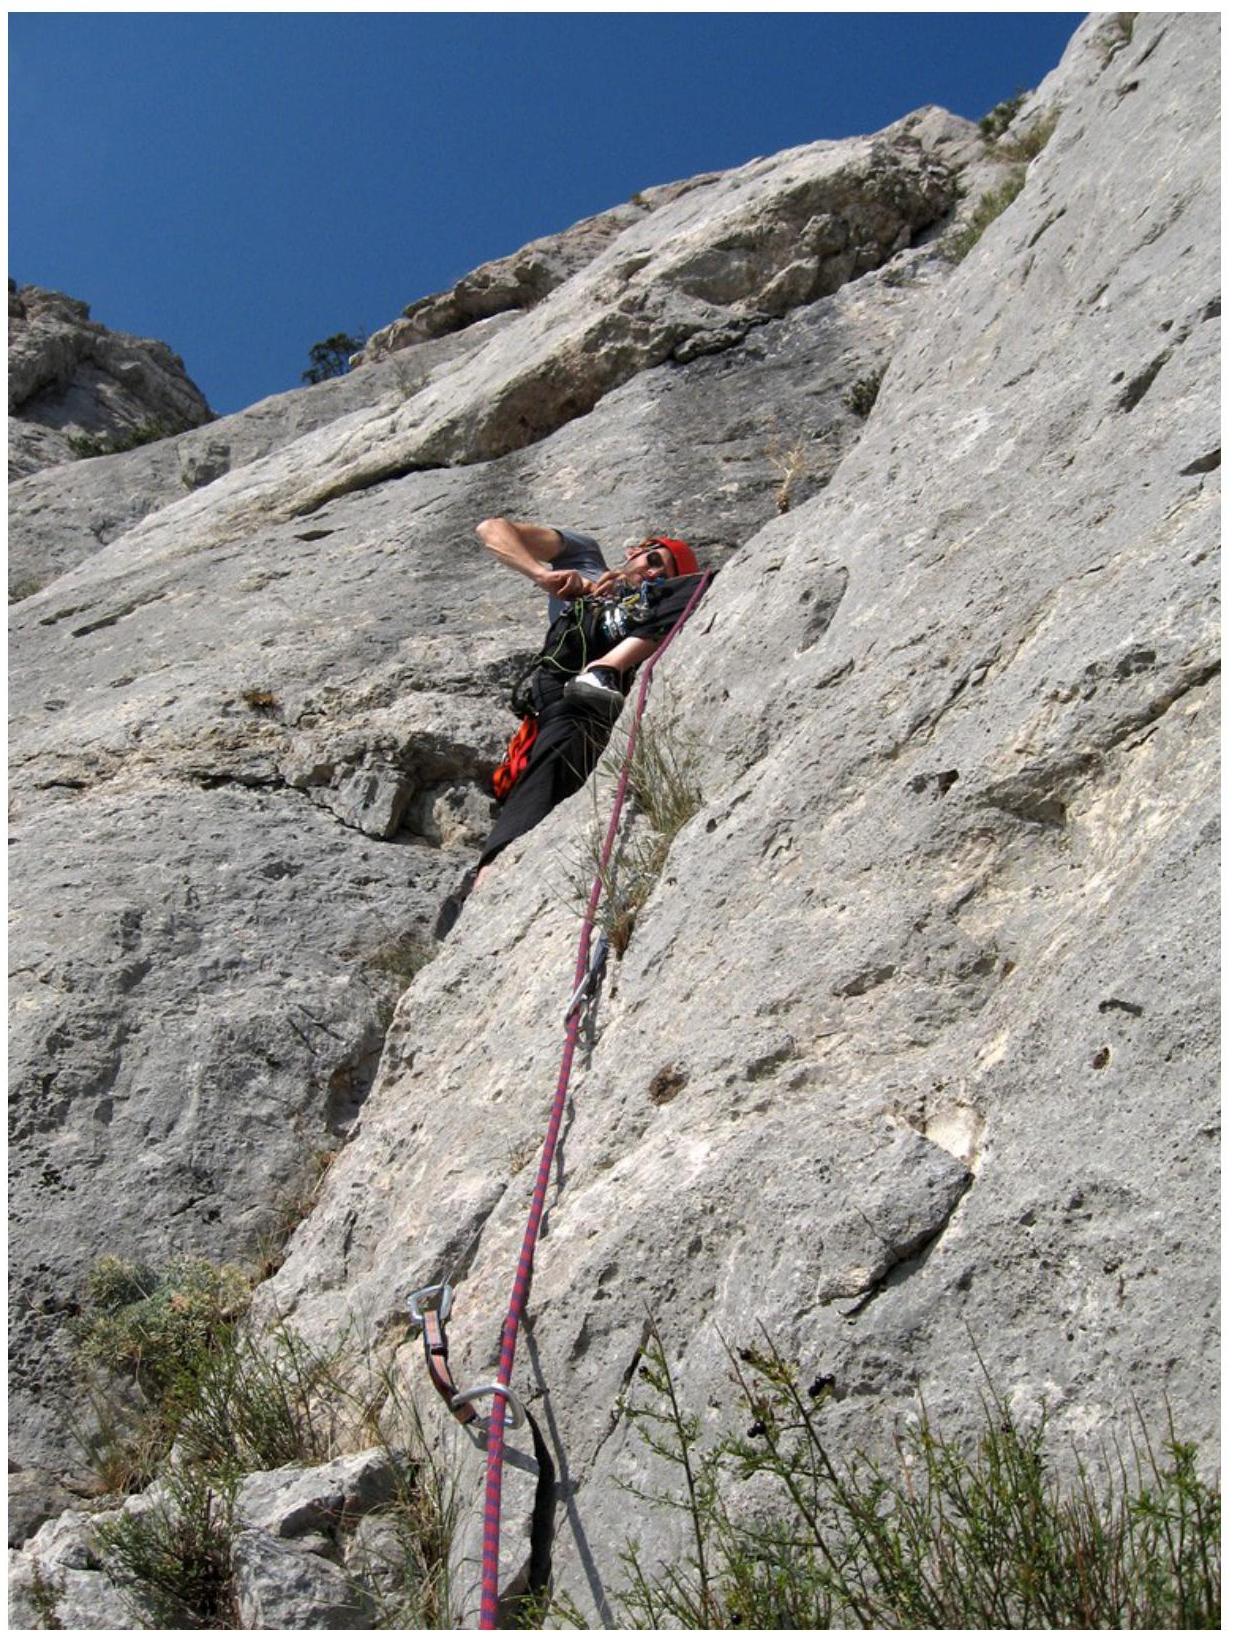
Start of sections R2–R3, R3–R4 (key rope). 50 m (5 m IV; 35 m III; 5 m IV; 5 m ledge).
Climb from the station up along the inner corner, bypassing the overhanging cornice to the right. Own insurance is organized quite easily. There is an intermediate bolt.
Further, the relief seems to split into two cracks. Classic version:
- Cross over to the left crack
- Climb up along it and along the slabs with good holds (another intermediate bolt), bypassing the overhang to the right
Exit to a ledge.
We climbed along the right crack, this can be considered as an option for passing the key rope. The crack goes to the right, then splits again - there you need to go up along the left one and climb onto the ledge. The station is to the right on a tree on a comfortable ledge, 50 m of rope is just enough. There are many rocks on this ledge, so you need to be extremely careful not to drop anything on your partner with the rope.
R4–R5. 30 m II (II+). From the station, move along the ledge to the left along the wall, then up along the destroyed crack for several meters. Further, there will be an overhang, which needs to be bypassed to the left, then along simple rocks to a large tree.
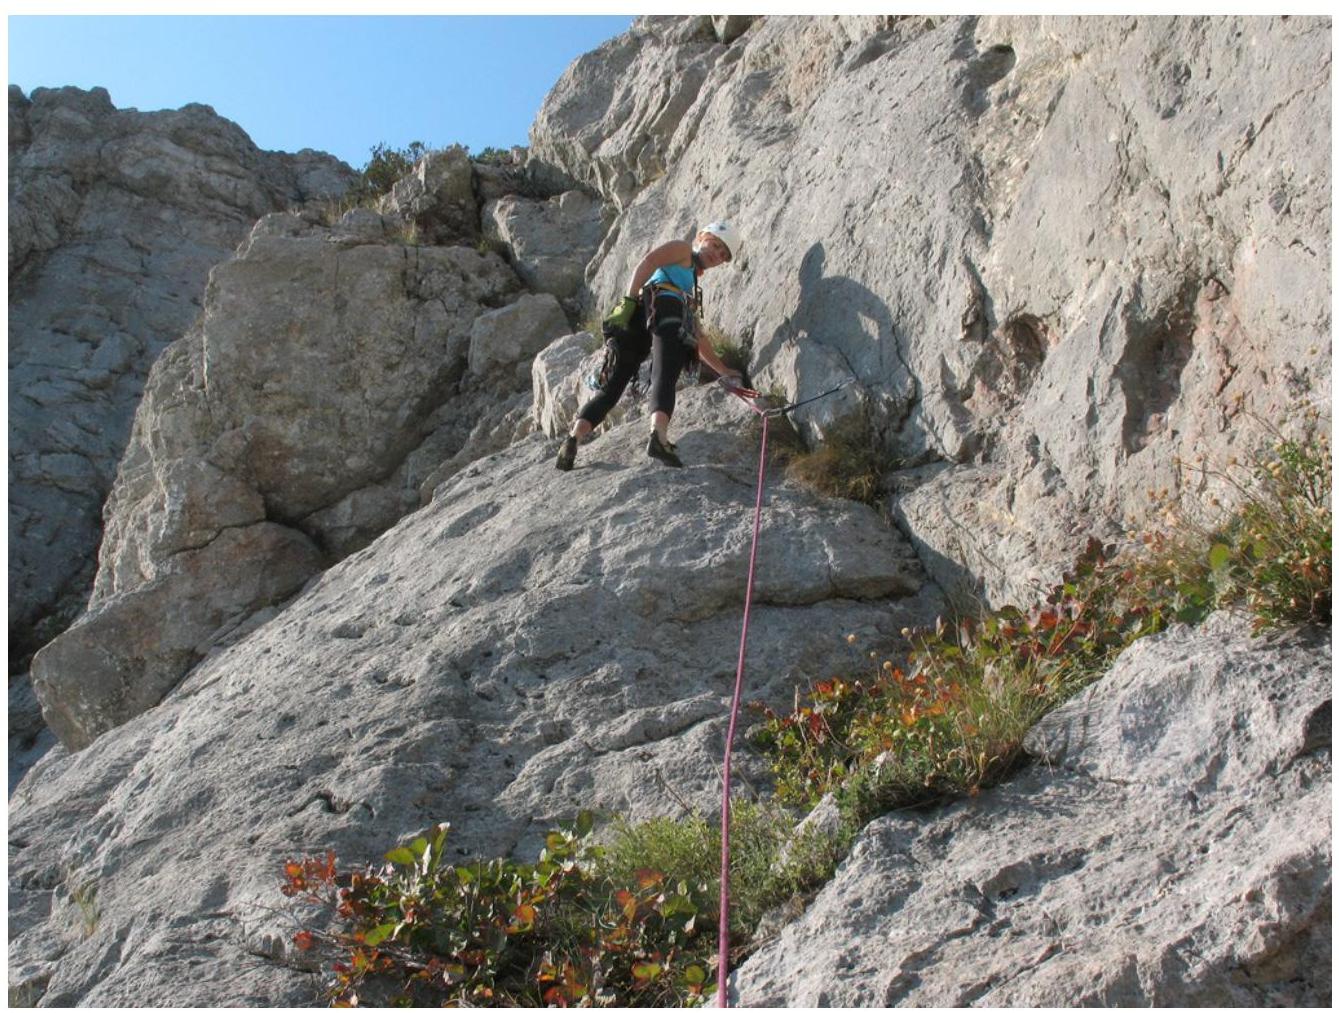
Start of section R4–R5. As an option - from the station, you can go to the right and up along the oblique inner corner in the direction of the exit from the "Vilka left" route (60 m, II+).
R5–R6. 15 m II; 35 m I. From the tree up past the overhang, then to the right and up along the "gardens" to a large dry tree. Make a station here and receive the second. Further, 20 m on foot to the exit to the yayla. Section R5–R6 can be done with simultaneous insurance.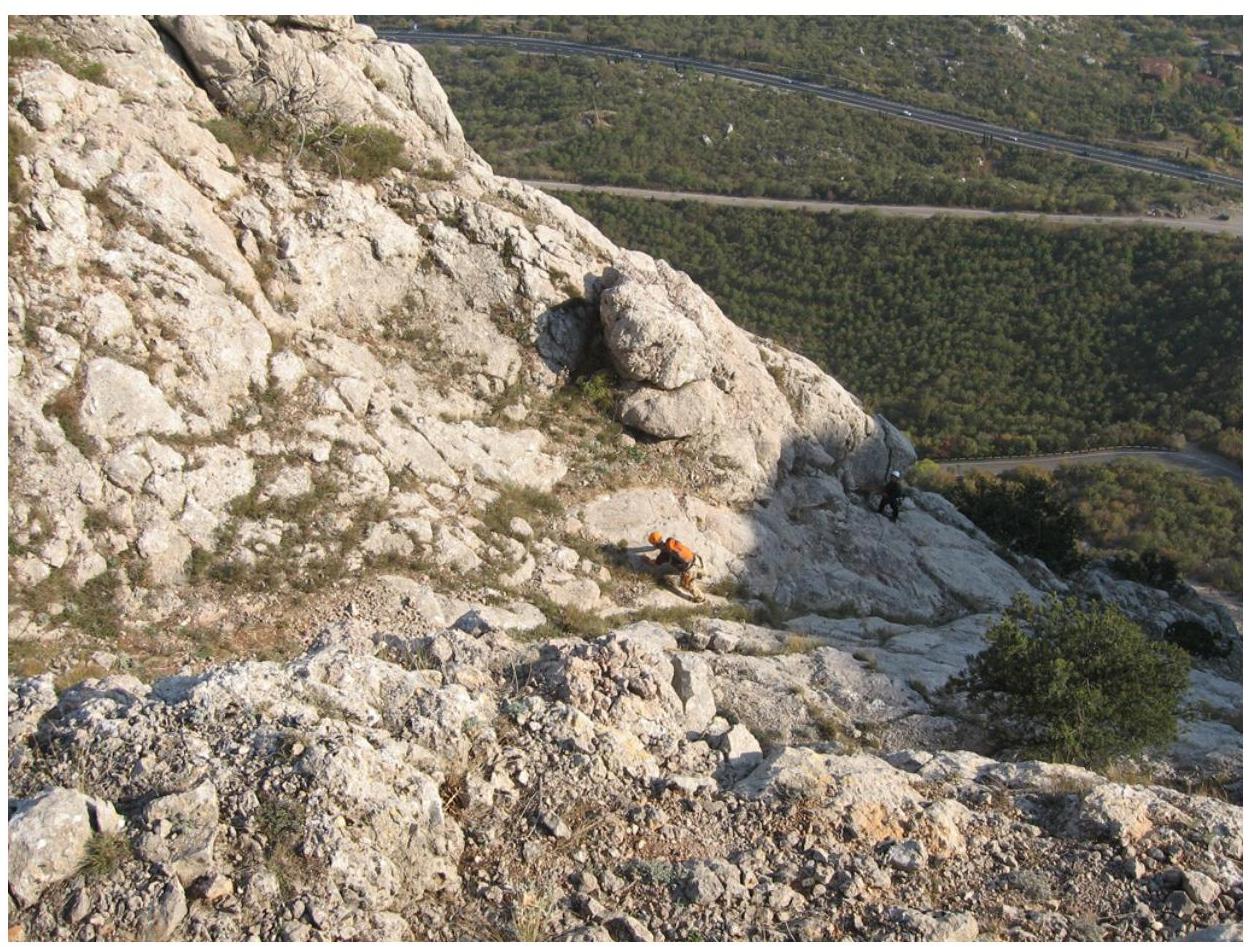
Section R5–R6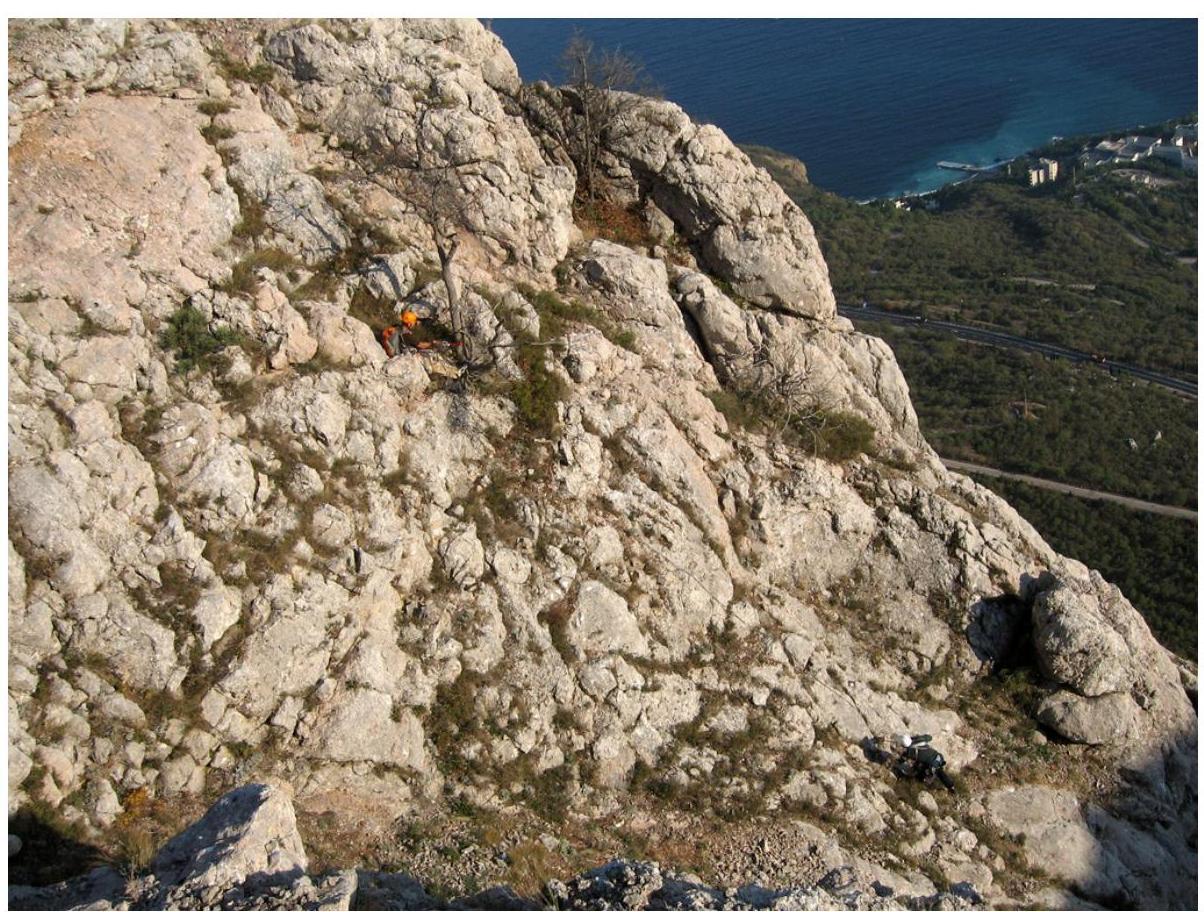 Section R5–R6. Station on a large tree. Since the route is new, there are many "live" rocks. During rain, the route becomes rockfall-prone.
Recommended equipment:
- A set of small and medium cams (you can take one large one too)
- A set of stoppers
- 5 station loops
- 8-10 quickdraws.
Author of the description: Tatyana Senchenko. Source: alpinist.biz