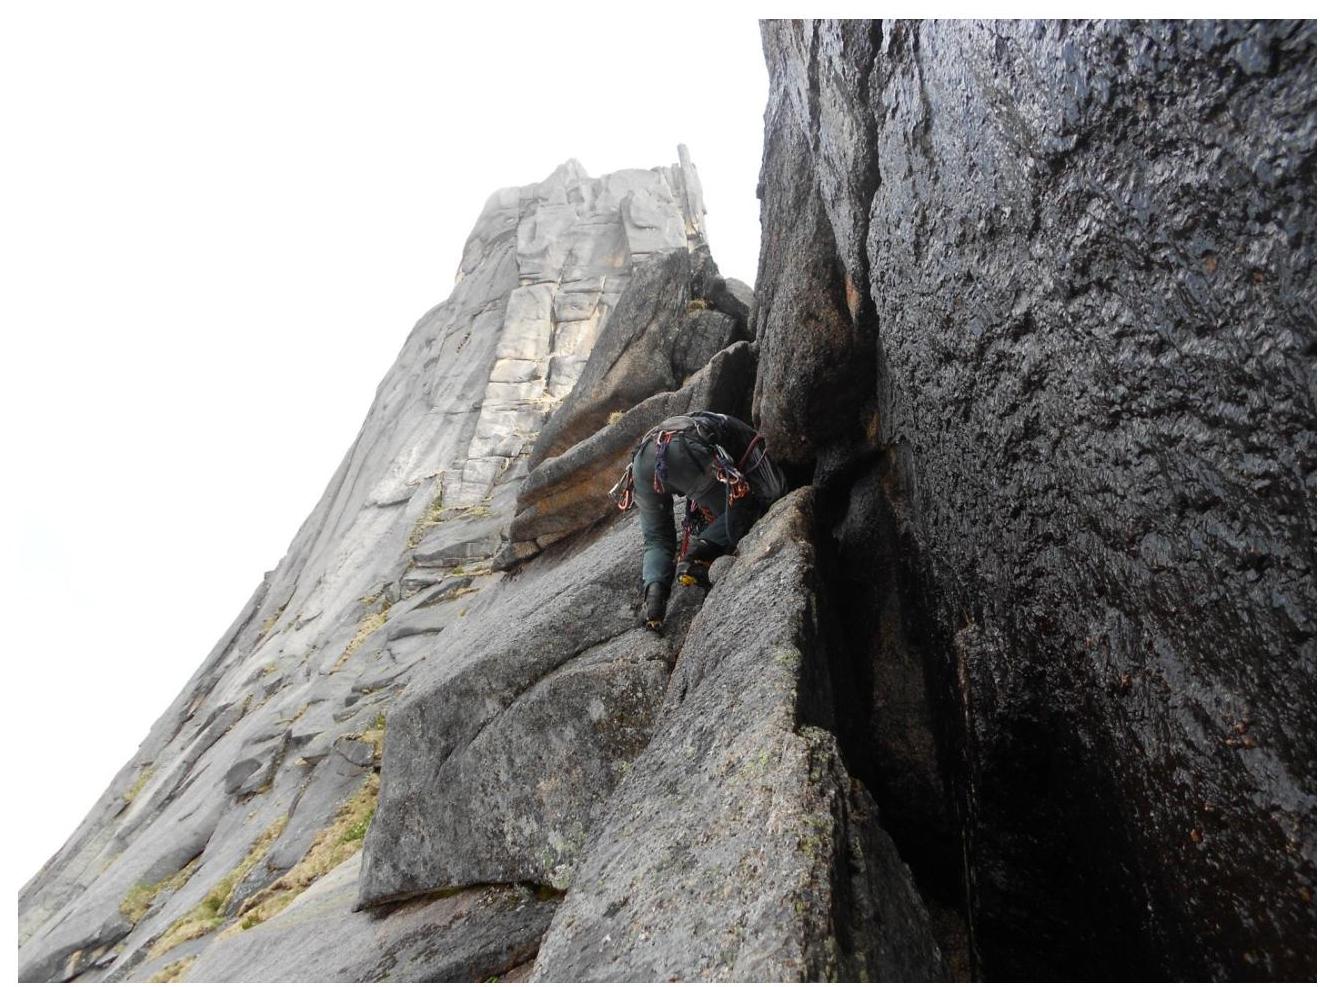
Sections R3–R7
- R3
- R4
- R5
- R6
- R7
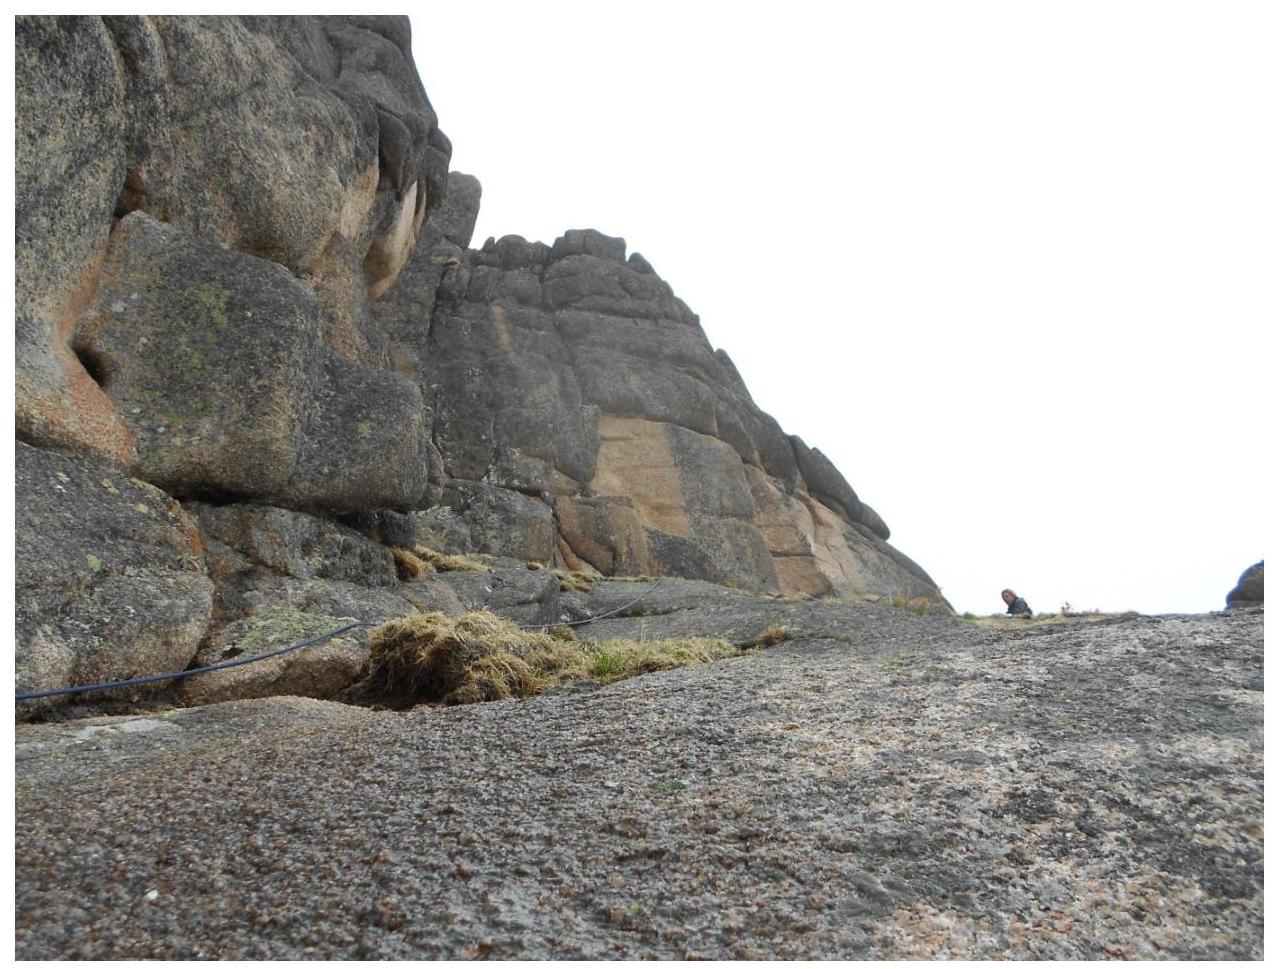
Section R5–R6
- R5
- R6
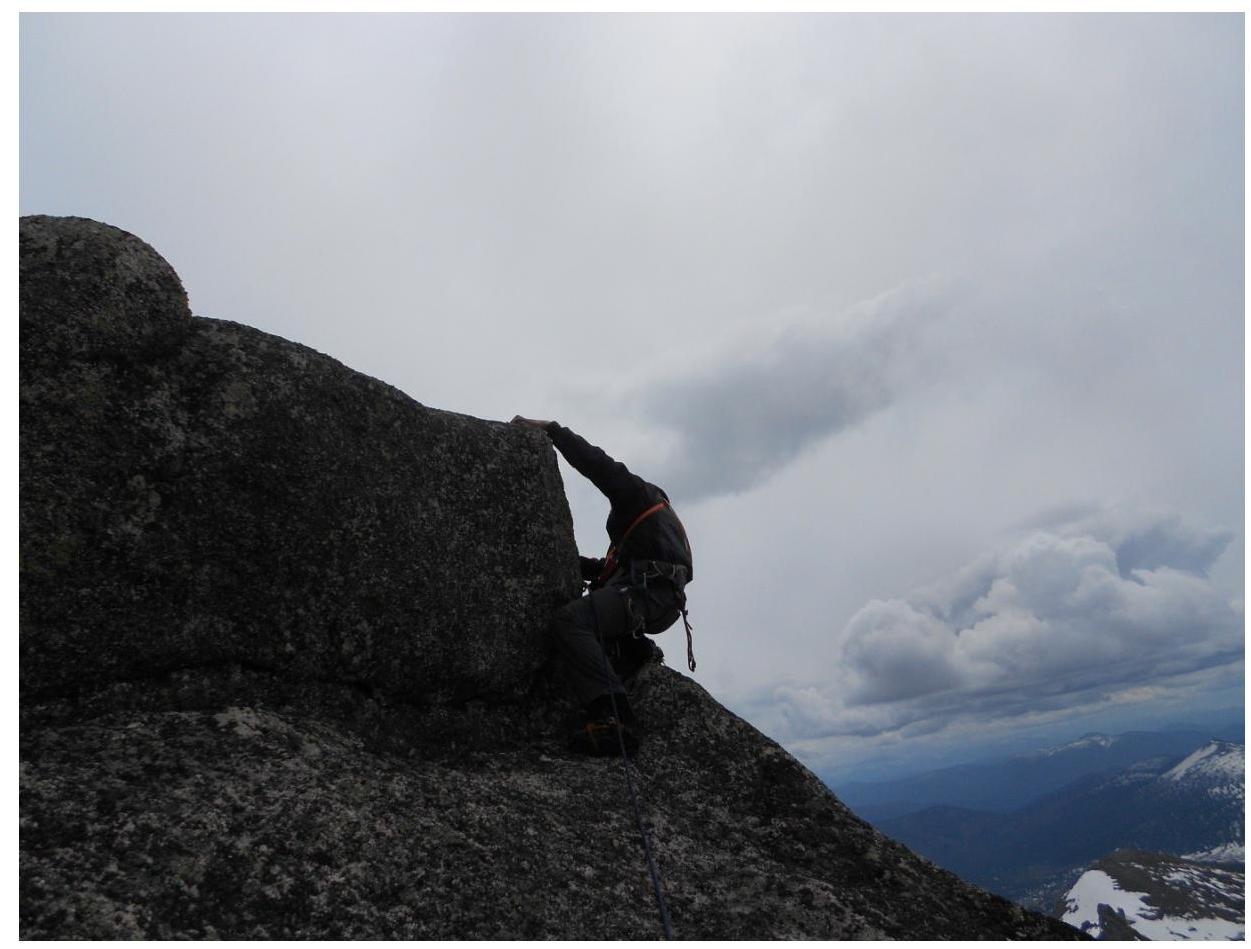
Section R7–R8
- R7
- R8

Section R8–R9
- R8
- R9
Section R9–R10
Map-diagram
of the area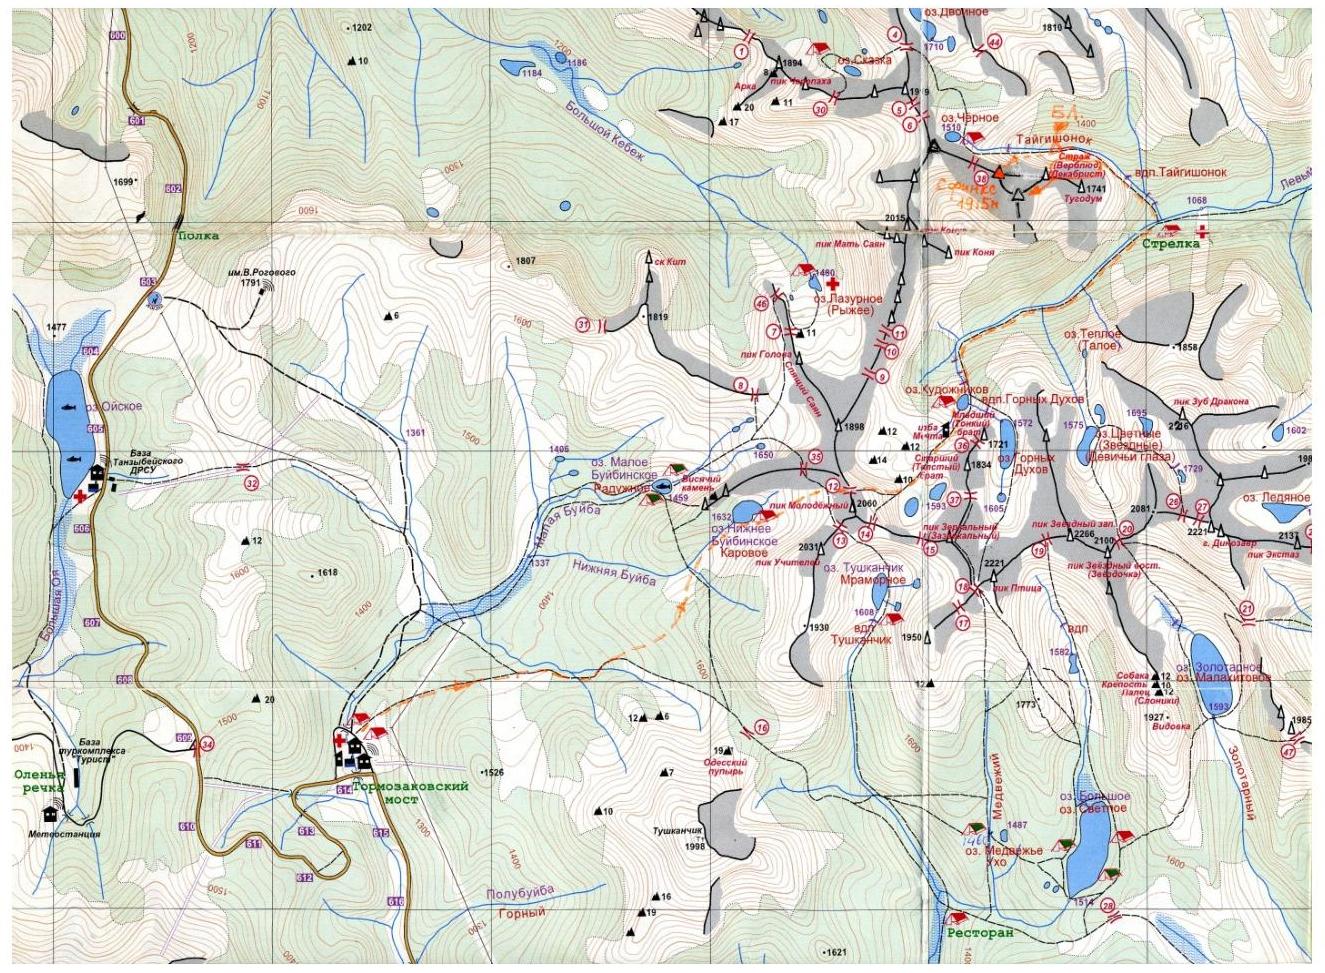
Sections R3–R7
Section R5–R6
Section R7–R8
Section R8–R9
Section R9–R10
Map-diagram
of the area
 img-0.jpeg
 img-1.jpeg
 img-2.jpeg
 img-3.jpeg
 img-4.jpeg
Sign in to leave a comment