
Report on the First Ascent
Jarlam
Via the center of the southwestern wall
Bogdanov A.V. Estimated difficulty: 2B
2023
Climbing Passport
| 1. General Information | ||
|---|---|---|
| 1.1 | Full name, sports rank of the leader | Bogdanov Alexey Vladimirovich, Candidate for Master of Sports |
| 1.2 | Full name, sports rank of the participants | Gogolev Stepan Vladimirovich, badge Kupal’tseva Evgeniya Vladimirovna, badge Kovaleva Natalia Evgenievna, badge Kulikova Yulia Nikolaevna, badge |
| 1.3 | Organization | Regional Sports Organization "Alpinism Federation of Nizhny Novgorod Region" |
| 2. Characteristics of the Climbing Object | ||
| 2.1 | Region | Caucasus |
| 2.2 | Valley | Dzheyrakhsky district |
| 2.4 | Name and height of the peak | Jarlam, (2867) |
| 2.5 | Geographical coordinates of the peak (latitude/longitude), GPS coordinates | N 42°51′32″ E 44°48′0″ |
| 3. Characteristics of the Route | ||
| 3.1 | Terrain type | Rock |
| 3.2 | Difficulty category | 2B |
| 3.3 | Name, year of the first ascent | Via the center of the southwestern wall, 2023 |
| 3.2 | Height difference of the route (altimeter or GPS data, m) | 650 |
| 3.3 | Route length (in meters) | 810 |
| 3.4 | Descent from the summit | Descent via a 1B category route |
| 3.5 | Additional route characteristics | Use anchors, friends, and chocks as belay points. |
| 4. Characteristics of the Team's Actions | ||
| 4.1 | Time on the route (team's walking hours) — time to the summit, total time including descent, time between bivouacs | 7 h 00 min, 8 h 30 min, 10 h 30 min |
| 4.3 | Time at control points | Departure from bivouacs on Jarlam pass – 6:00 (November 2, 2023) – Reached the wall – 7:00 – Reached the summit – 14:00 – Returned to bivouacs – 16:30 (November 2, 2023) |
| 5. Weather Conditions | ||
| 5 | November 2, 2023 – clear sky | |
| 6. Person Responsible for the Report | ||
| 6.1 | Full name, e-mail | Bogdanov Alexey Vladimirovich, 2965056@gmail.com, 8 (987) 537-55-93 |
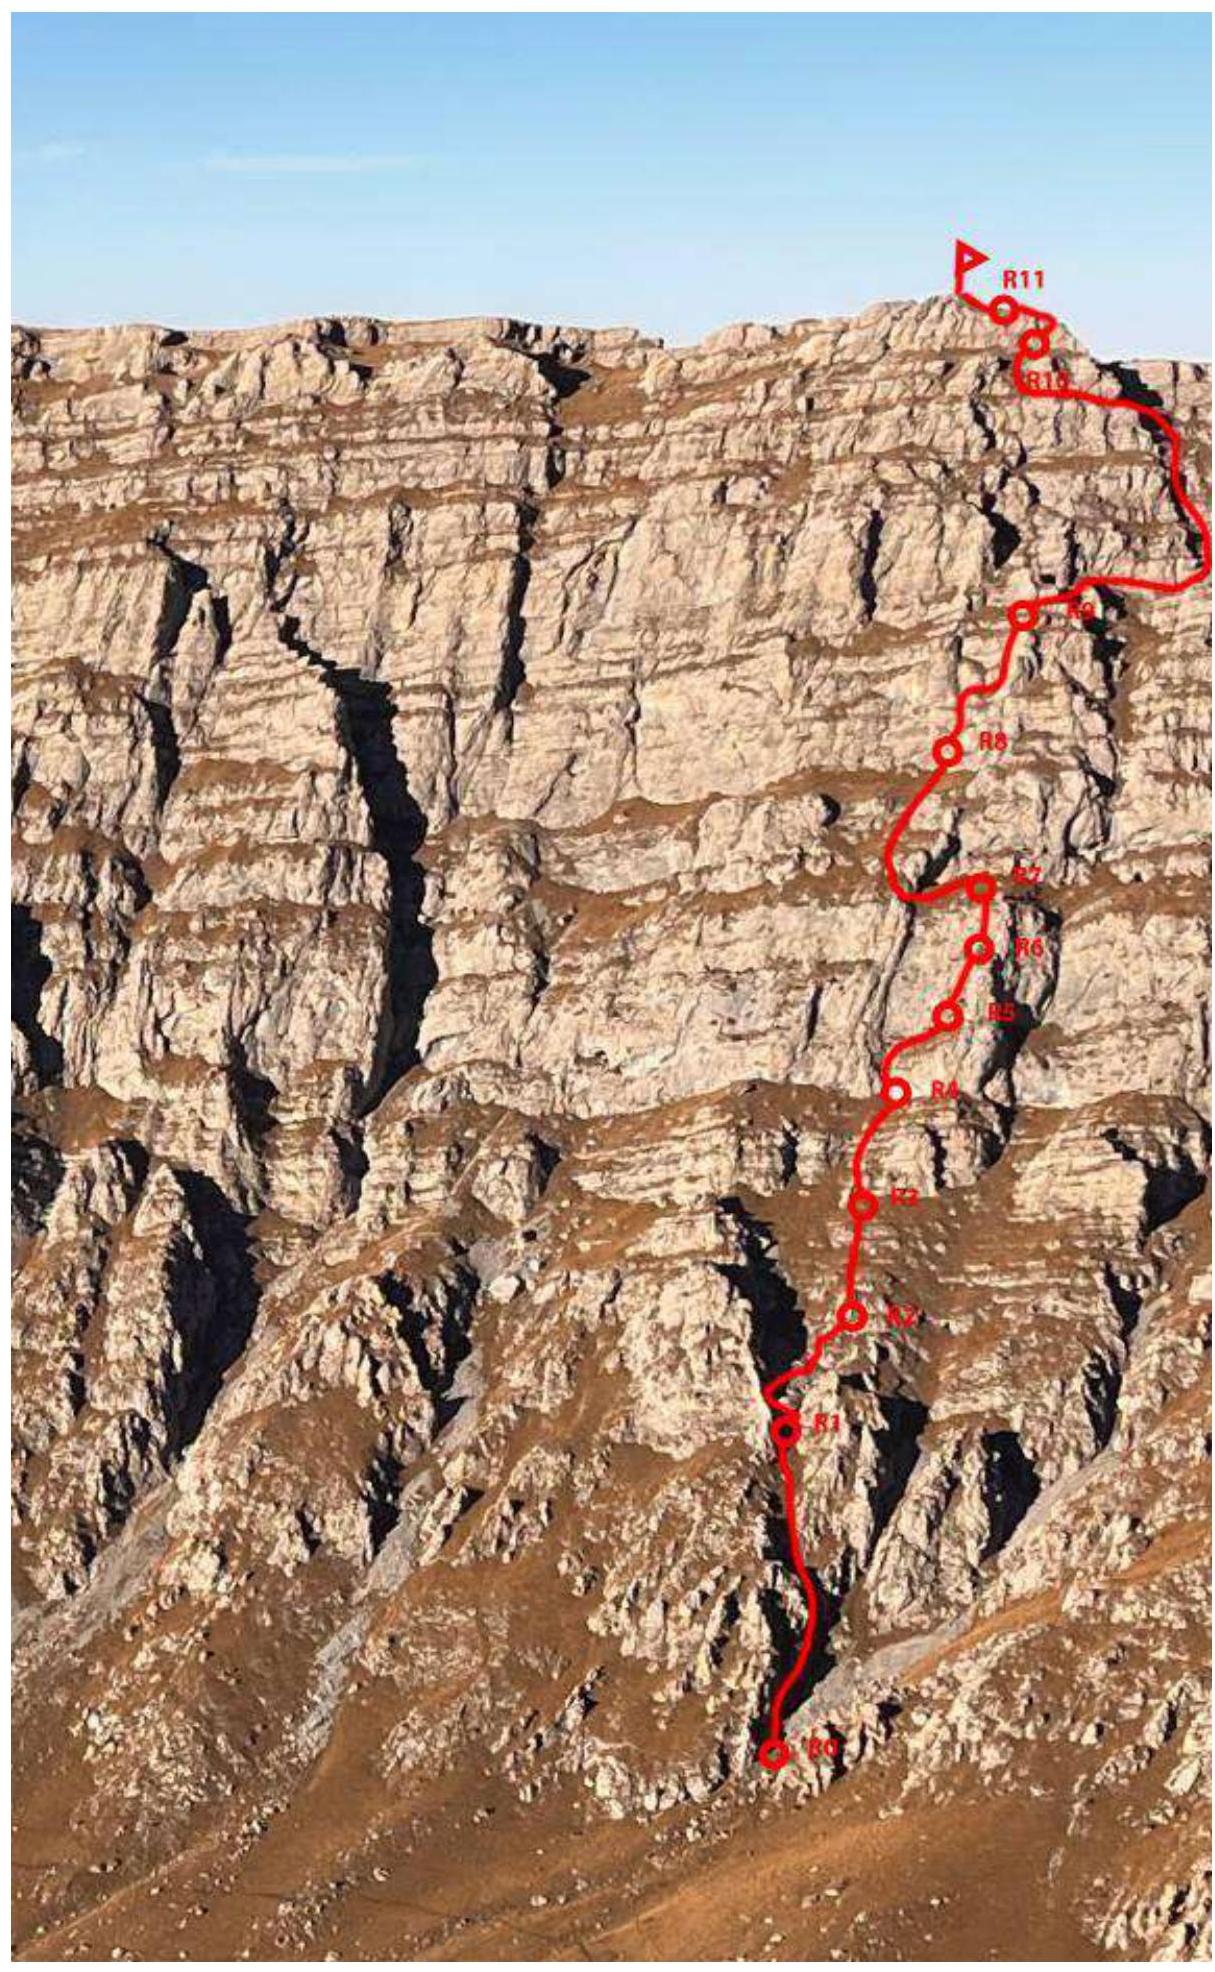
Section lengths:
- n-k – 268 m
- 1st cat. difficulty – 295 m
- 2nd cat. difficulty – 120 m
- 3rd cat. difficulty – 110 m
- 4th cat. difficulty – 17 m
Maximum steepness of the wall section: 85°; Average steepness of the wall section: 65°; Average steepness of the entire route: 50°.
Belay points used:
- Anchor hooks – 8
- Friends – 32
- Chocks – 4
Belay points left on the route: Total – 0
Route section table.
| Section # | Length | Steepness | Terrain characteristics | Difficulty category | Number of belay points |
|---|---|---|---|---|---|
| R0–R1 | 100 | 45 | Grass, rocks | 1 | 2 |
| R1–R2 | 15 | 60 | Rock | 3 | 2 |
| 20 | 45 | Scree, grass | 1 | 2 | |
| R2–R3 | 50 | 30 | Grass, rocks | 1 | 4 |
| R3–R4 | 20 | 45 | Rock | 2 | 2 |
| 10 | 80 | Rock | 3 | 2 | |
| 30 | 25 | Grass | easy | 0 | |
| R4–R5 | 7 | 85 | Rock | 4+ | 2 |
| 10 | 45 | Grass | 1 | 0 | |
| 20 | 70 | Rock | 3 | 2 | |
| 8 | 15 | Grass | easy | 0 | |
| R5–R6 | 10 | 60 | Rock | 1 | 1 |
| 20 | 70 | Rock | 3 | 4 | |
| 10 | 75 | Rock | 4 | 3 | |
| 10 | 60 | Rock | 3 | 2 | |
| R6–R7 | 10 | 50 | Rock | 3 | 2 |
| 30 | 40 | Rock | 2 | 3 | |
| 10 | 15 | Grass | easy | 0 | |
| R7–R8 | 150 | 20 | Grass | easy | 0 |
| R8–R9 | 20 | 70 | Rock | 2 | 3 |
| 5 | 10 | Rock | 1 | 0 | |
| 5 | 80 | Rock | 3 | 2 | |
| 10 | 20 | Rock | 1 | 2 | |
| R9–R10 | 70 | 30 | Grass | easy | 0 |
| 30 | 30 | Scree | 1 | 0 | |
| 50 | 45 | Rocks, grass | 2 | ||
| 10 | 45 | Rocks | 1 | 1 | |
| R10–R11 | 20 | 70 | Rock | 3 | 2 |
| 50 | 10 | Grass, rocks | 1 | 0 |
Equipment used by the team:
- Anchor hooks: 3 pcs.
- Friends: 8 pcs.
- Chock set: 10 pcs.
Ropes: static, dynamic
Area map
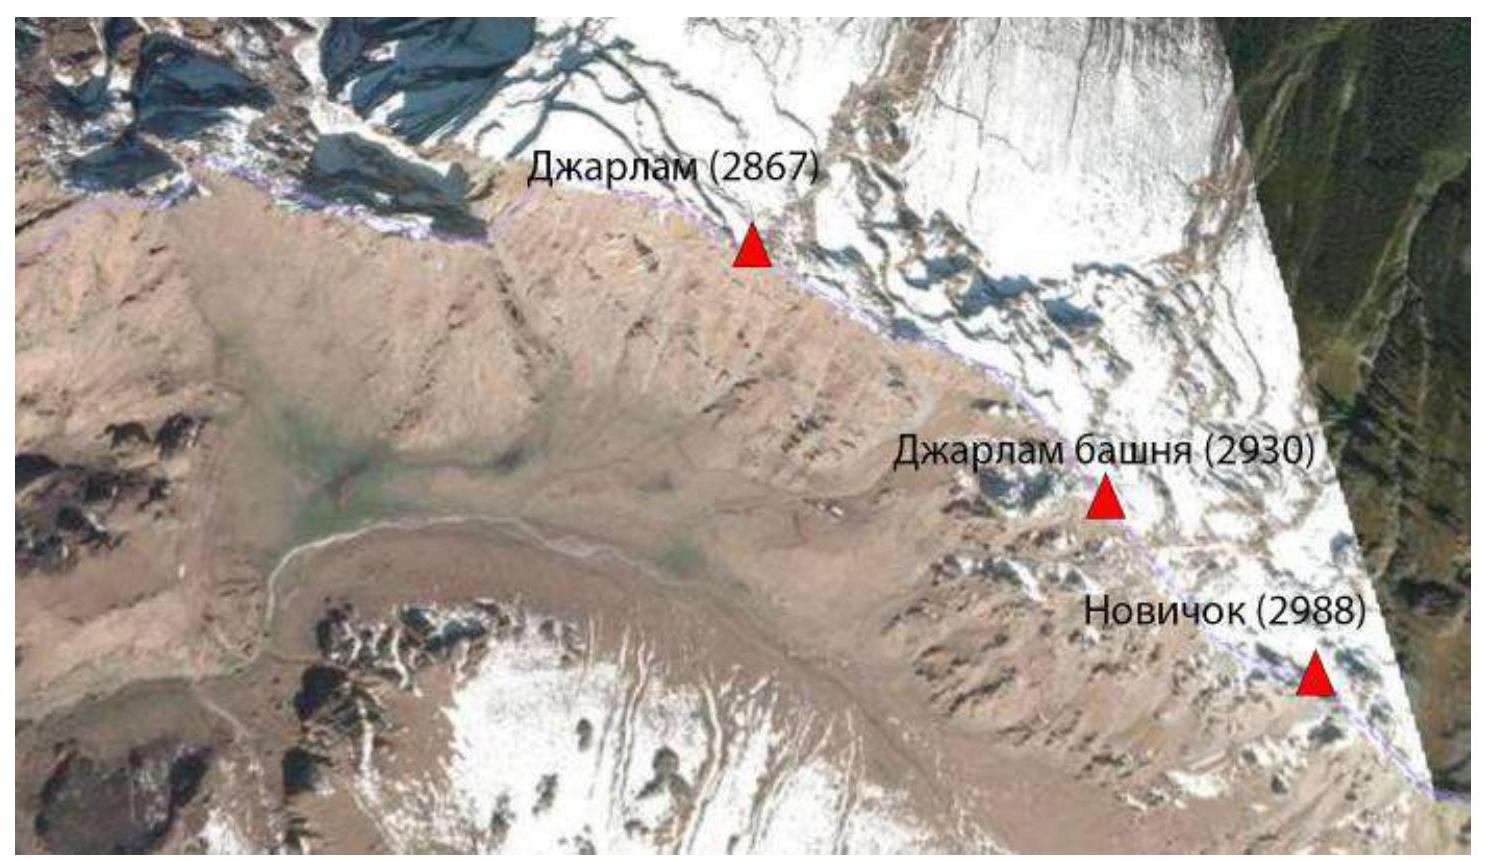 Jarlam (2867)
Jarlam tower (2930)
Novice (2988)
Jarlam (2867)
Jarlam tower (2930)
Novice (2988)
Ascent line
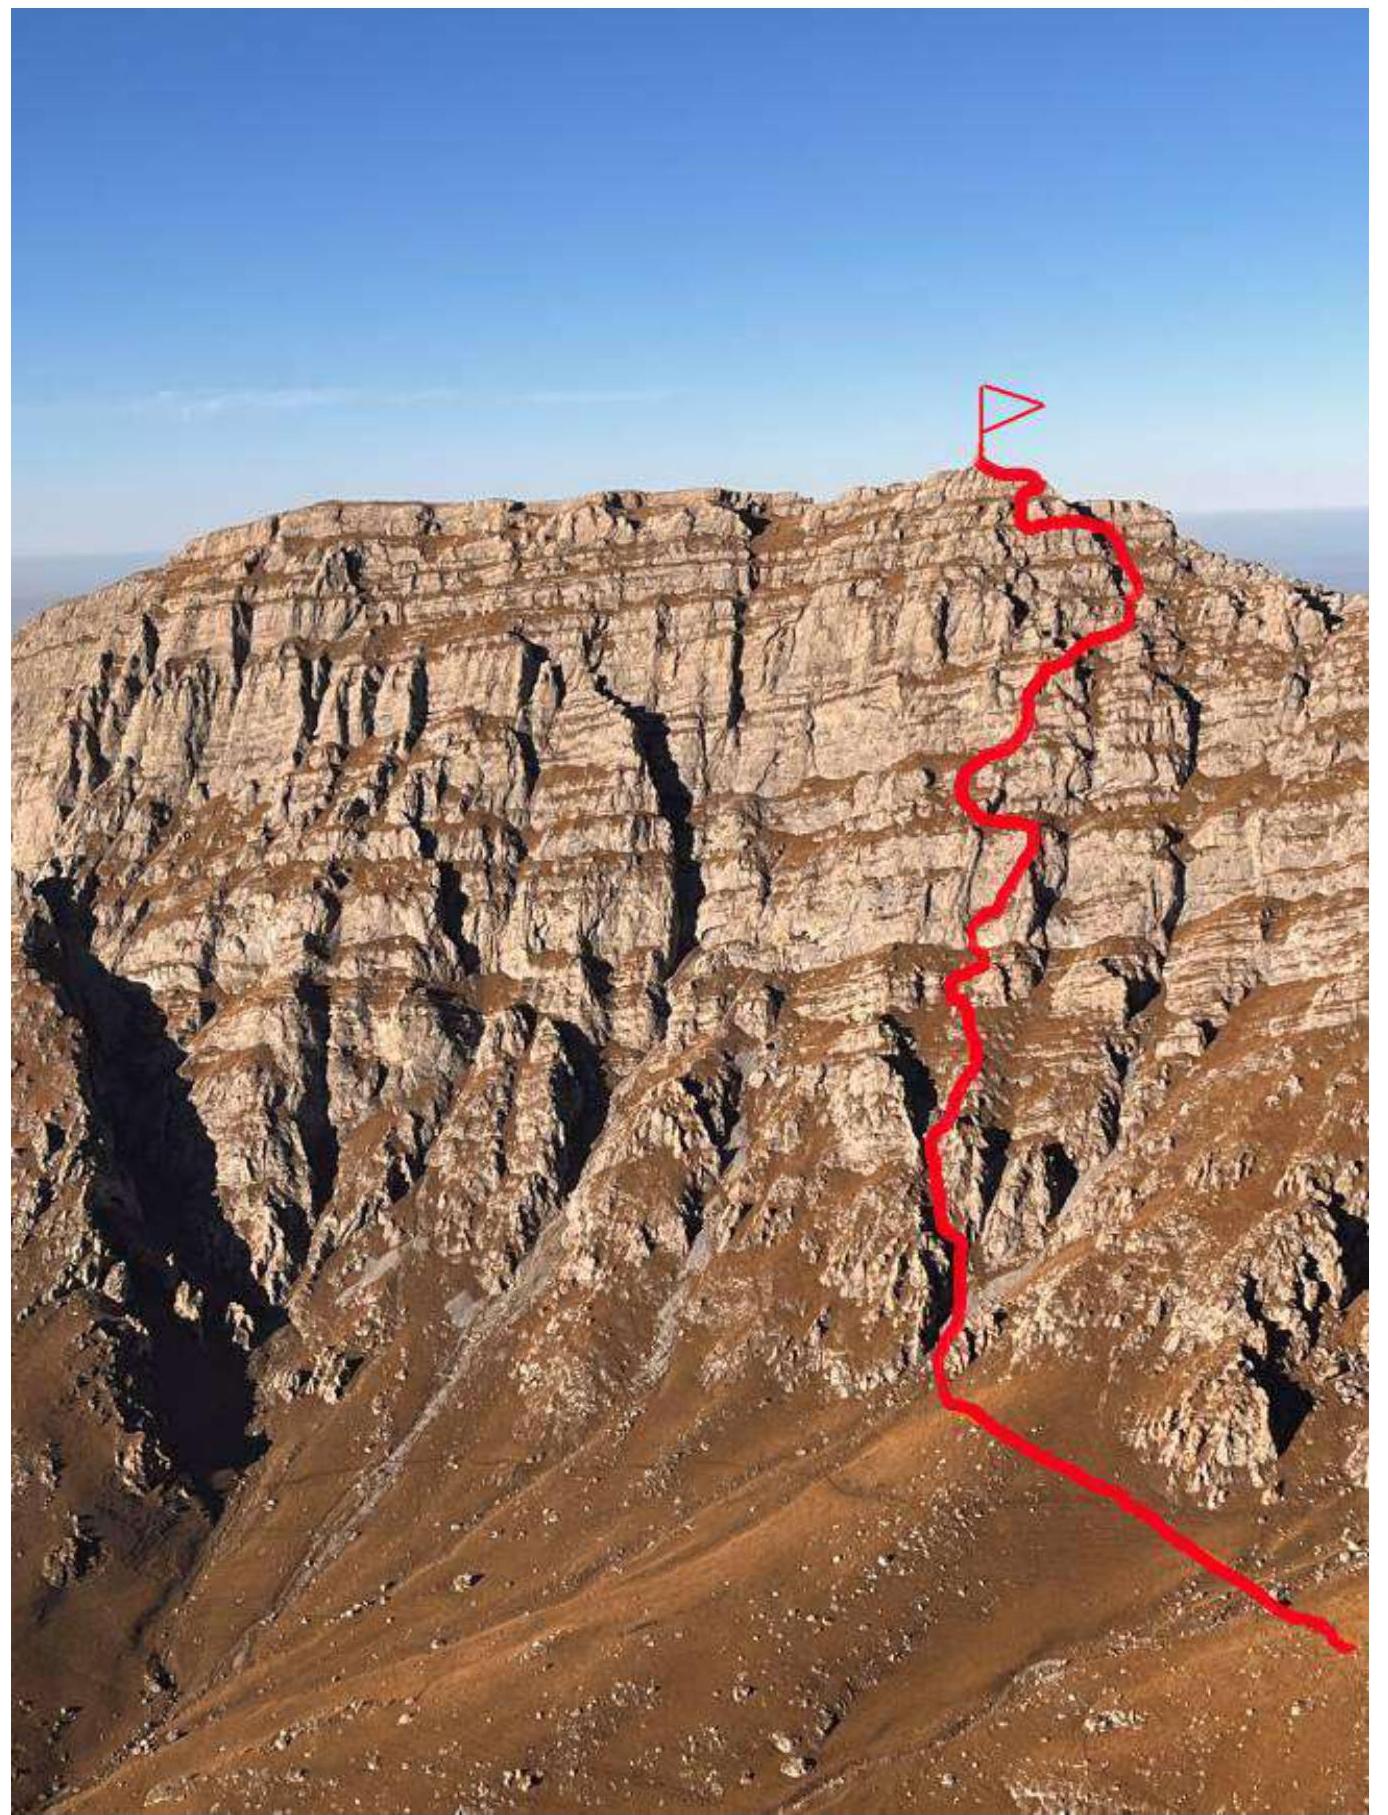
Route Description
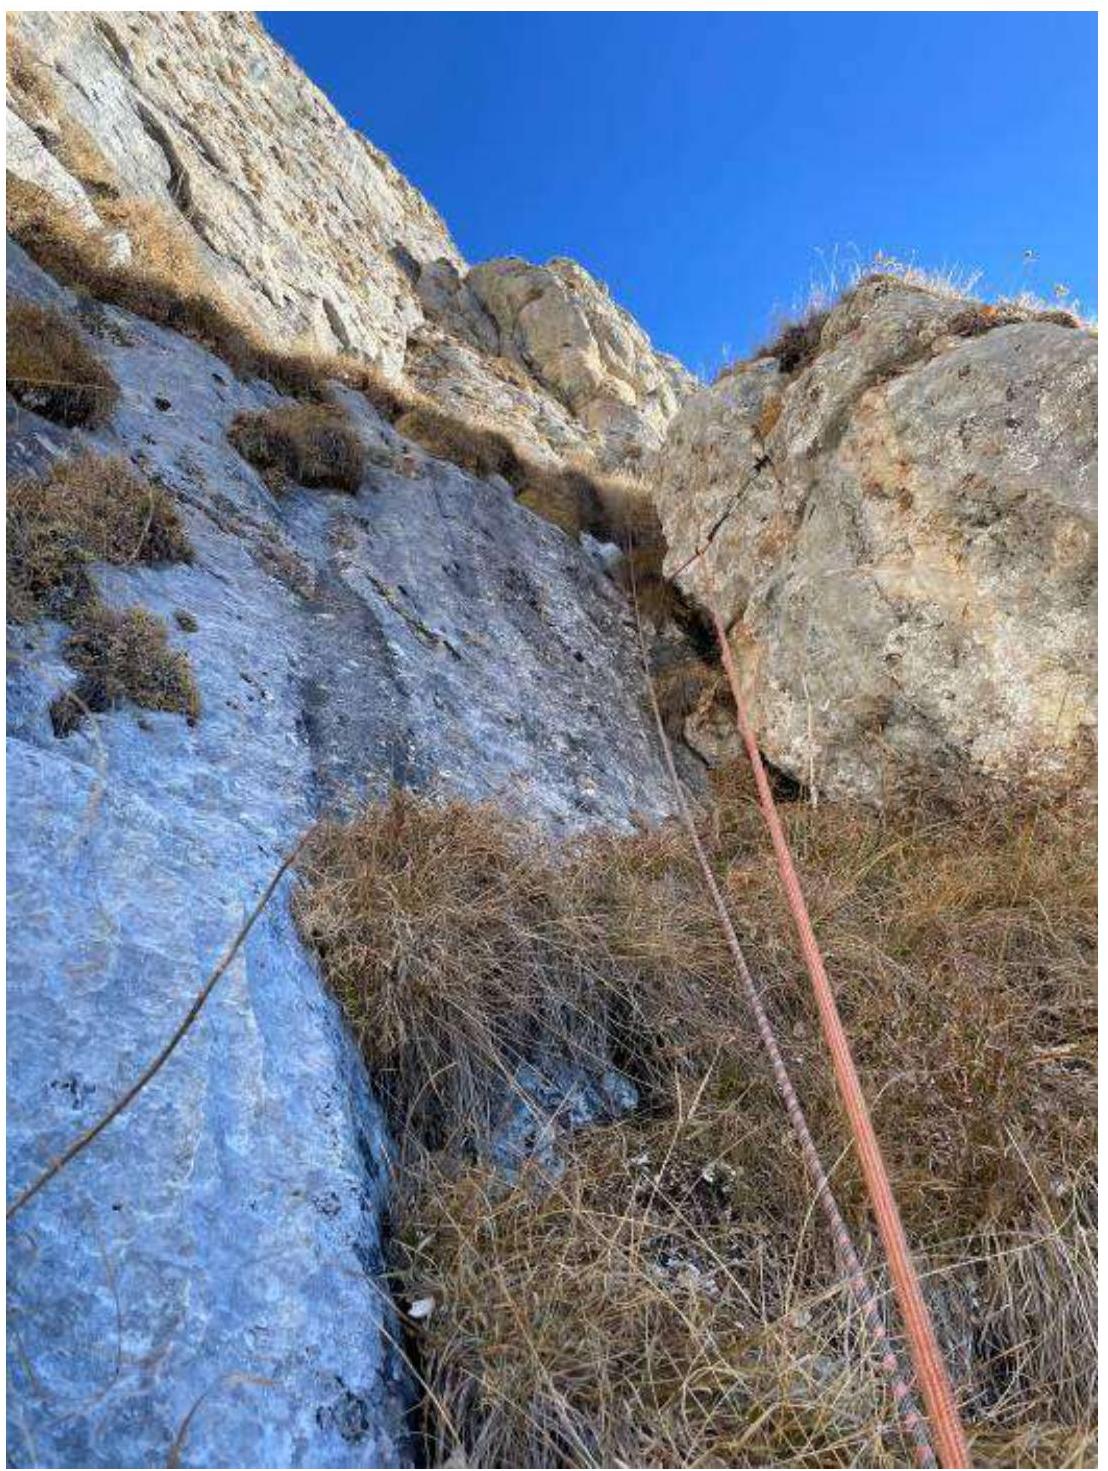
Approach: From the bivouac on the pass, descend along the grassy slope towards Jarlam mountain until the second ridge after the descending couloir.
R0–R1: Move 100 m along rocks and grassy ledges towards the large wedged stone between the ridges.
R1–R2:
- Bypass the stone on the left – 15 m of rocks (3) with a 60° slope. Protection on friends.
- Then move 20 m upwards and to the right, first along scree, then along a grassy slope. Protection is natural.
- Station on a large stone.
R2–R3:
- Move upwards to the right 50 m along rocks and grassy ledges (1). Protection on friends and natural.
- Station on a large stone.
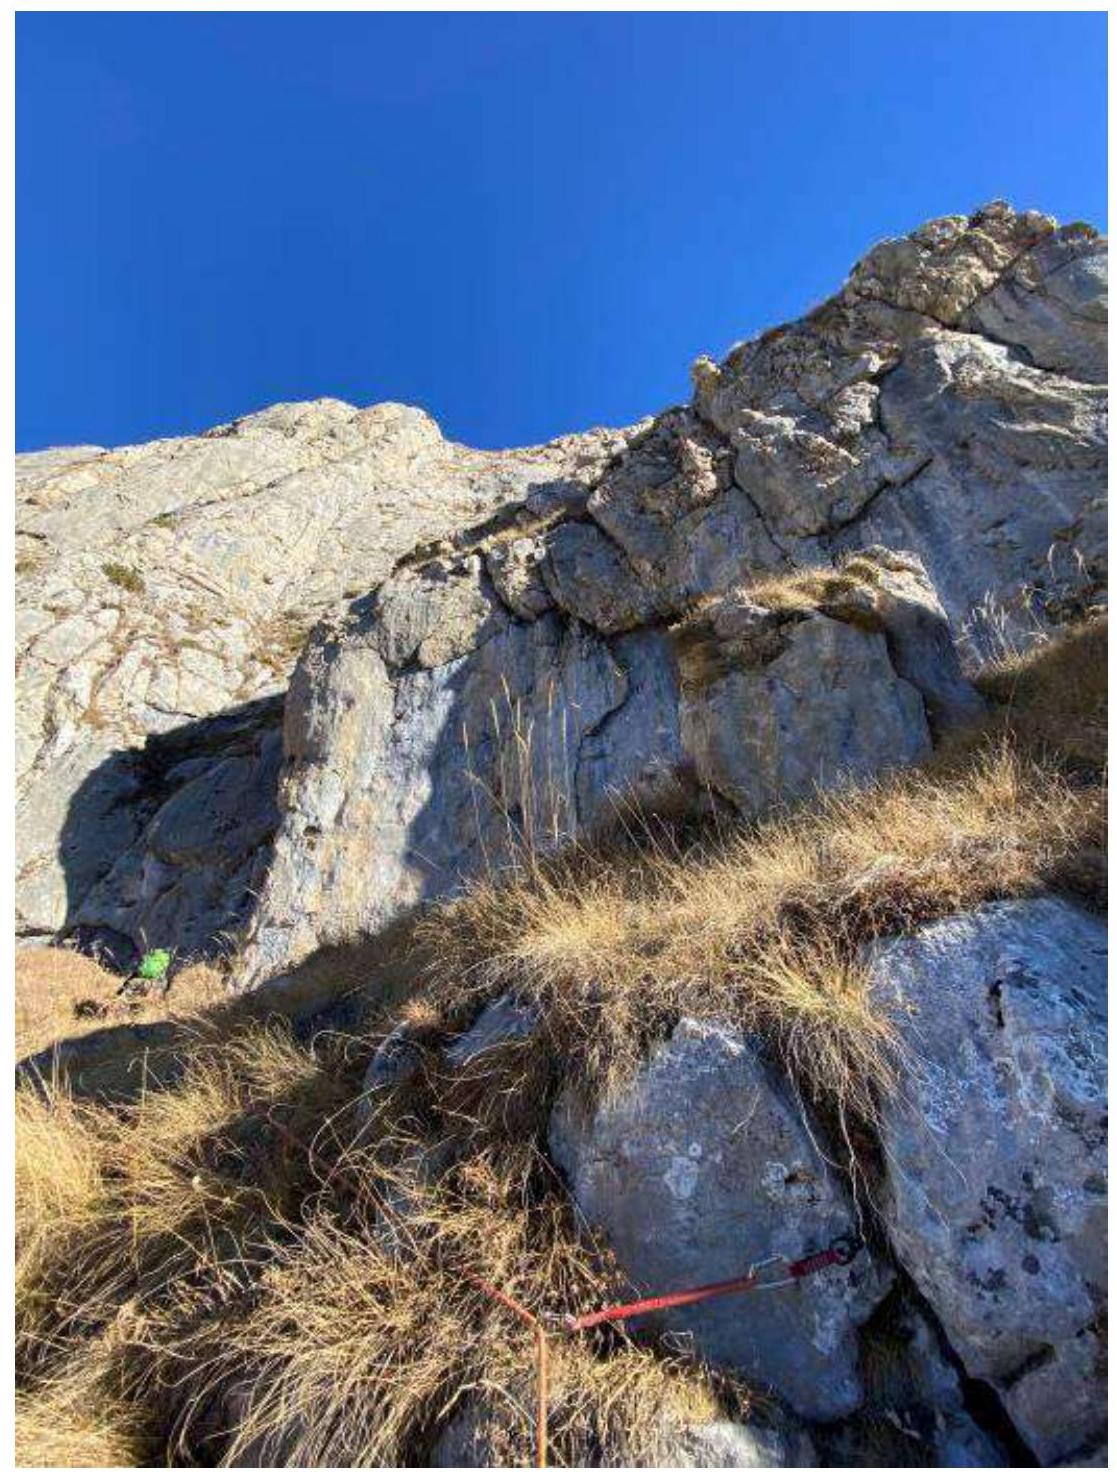
R3–R4:
- From the station, move upwards 30 m along rocks (2, 3). Protection on friends and natural.
- Then 30 m to the left upwards along a grassy ledge towards a wall with a small cleft.
- Station in the cleft on self-placed points.
R4–R5: The key section of the route.
- Move upwards 7 m (4+). Protection on friends and anchor hooks.
- Further, move upwards and to the right 10 m along a grassy ledge to a small chimney.
- Exit onto the ridge via the chimney. Protection on friends.
- Then move 20 m along rocks to the right upwards to a juniper.
- From the juniper, 7 m to the right along a rocky grassy ledge (2).
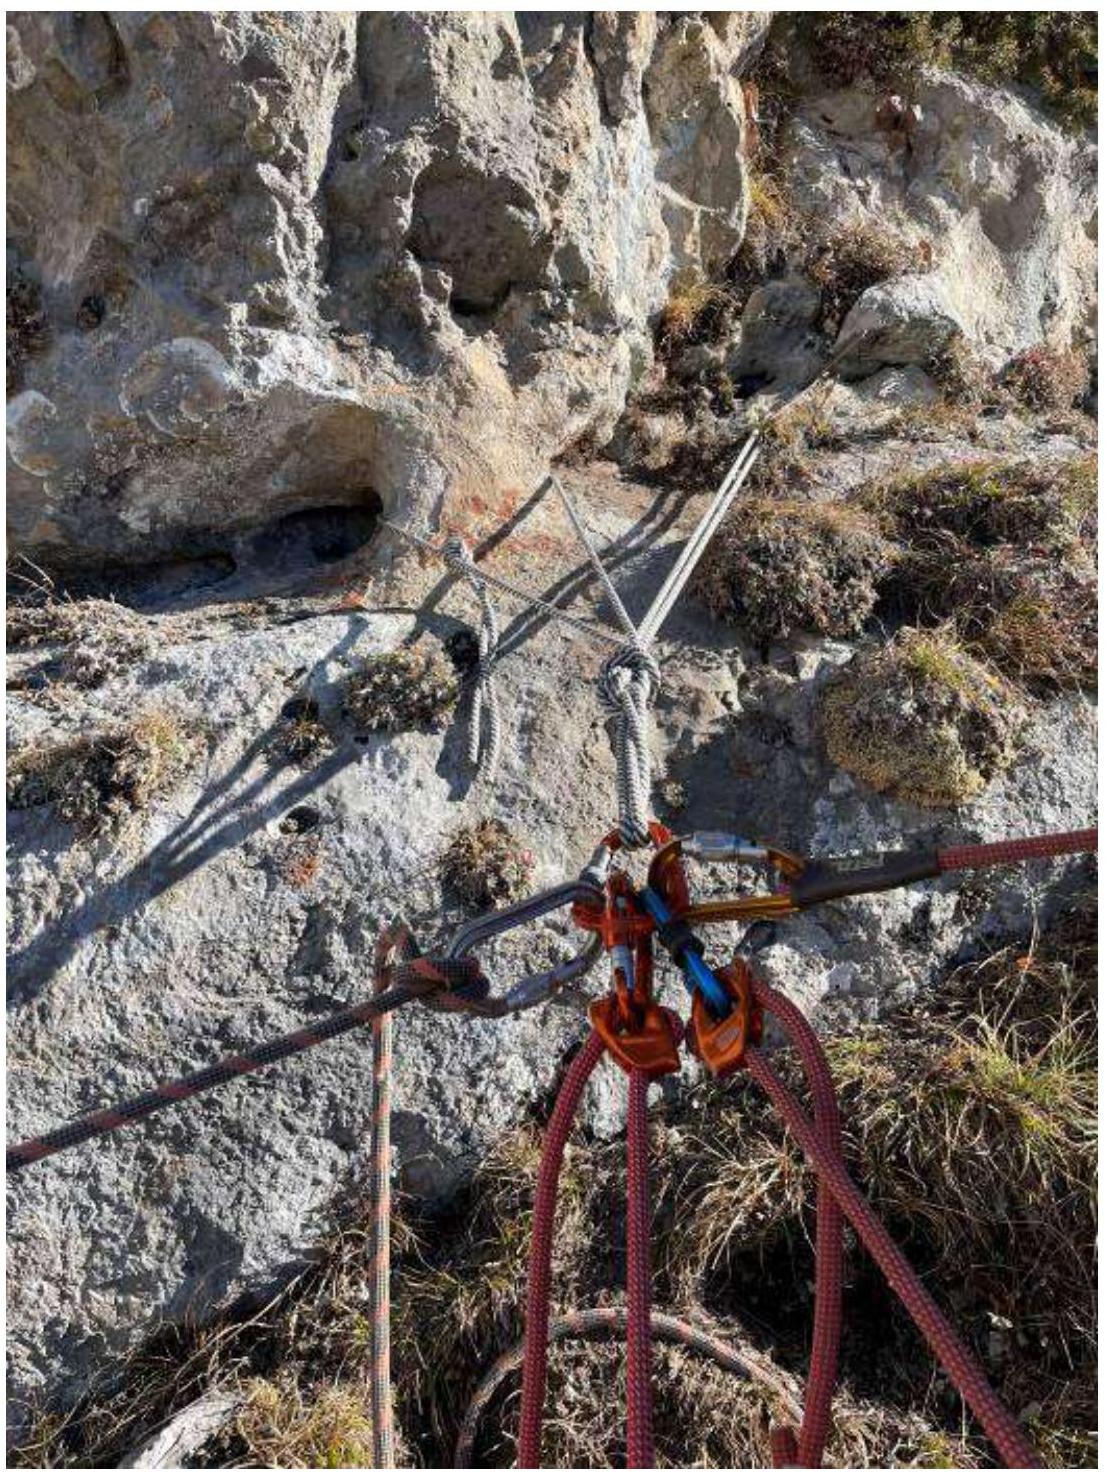
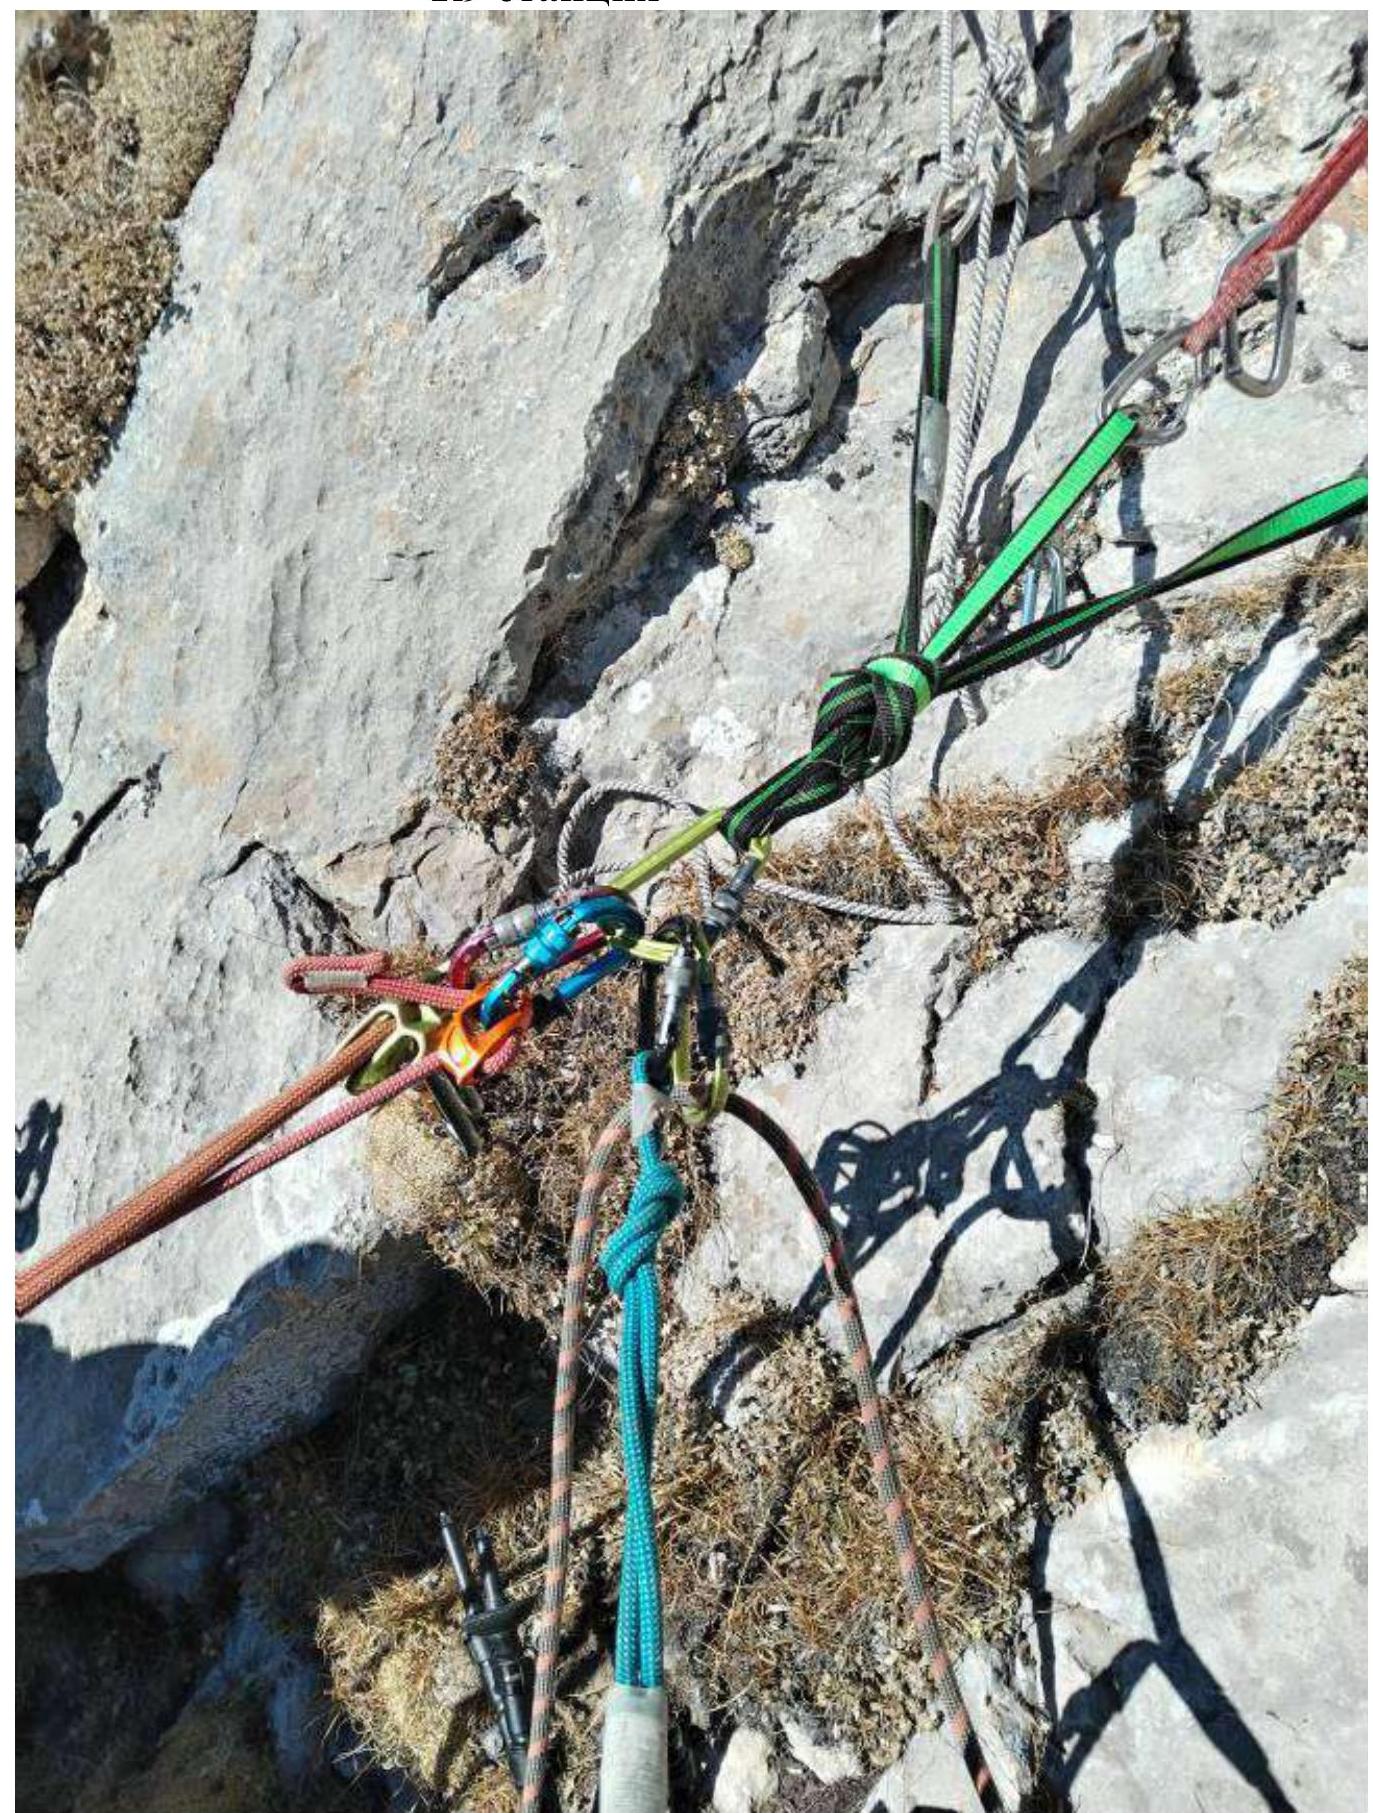
- Station on the "hourglass" and an anchor.
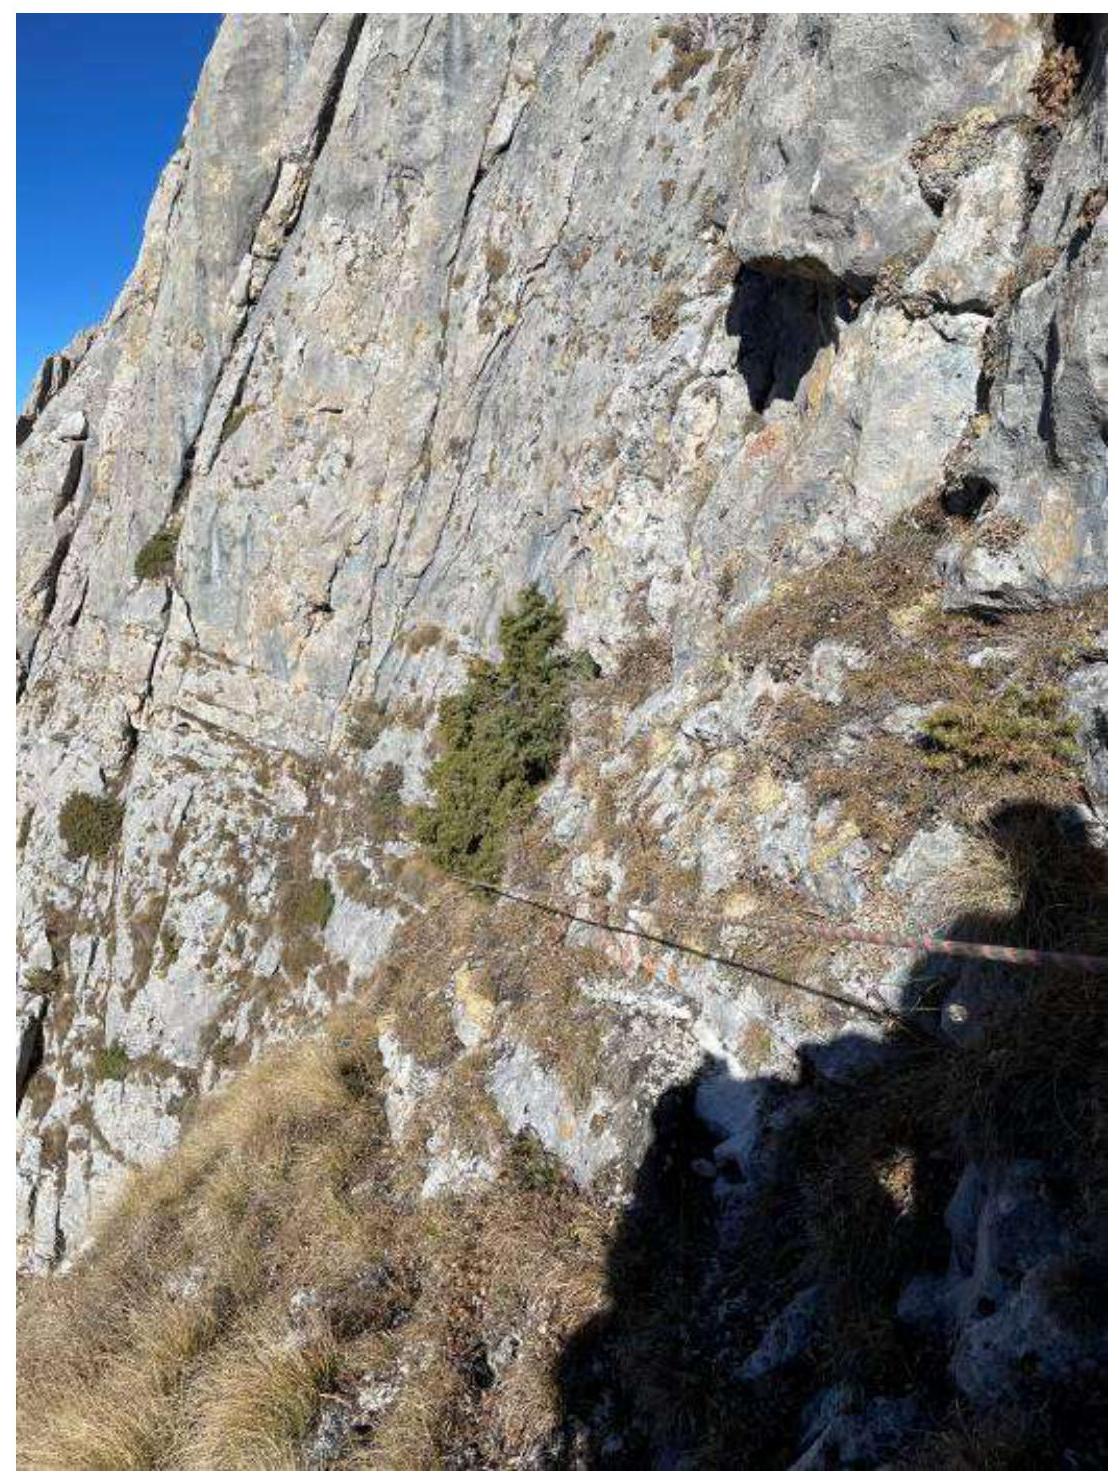
R5–R6:
- From the station, move upwards 50 m along rocks (1–4). Protection on friends and anchor hooks.
- Station on a large stone.
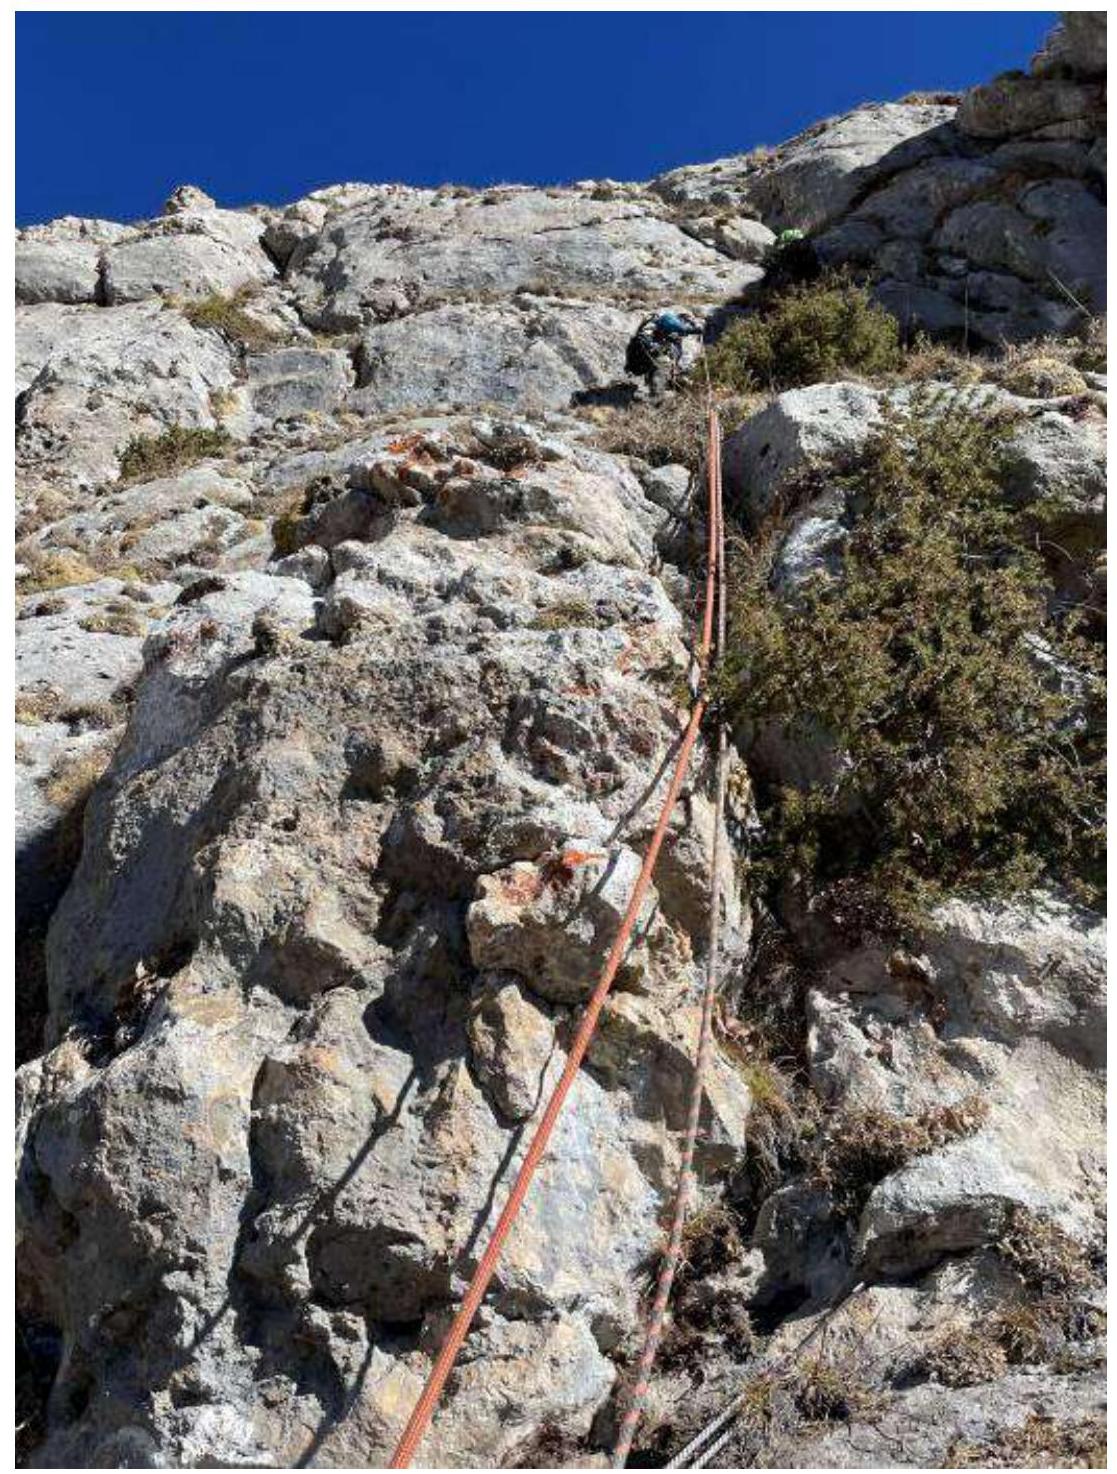
R6–R7:
- Move upwards along a rocky-grassy slope 40 m (2, 3). Climbing is straightforward; loose rocks are present.
- Further, 10 m along a grassy ledge towards a large stone.
- Station on the stone.
R7–R8:
- From the station, move 50 m to the left, exit onto the ridge above the grotto.
- Then along the slope, following the ridge upwards along a system of grassy ledges and rocks (1). Approach the ridge.
- Station on a ledge, on a stone.
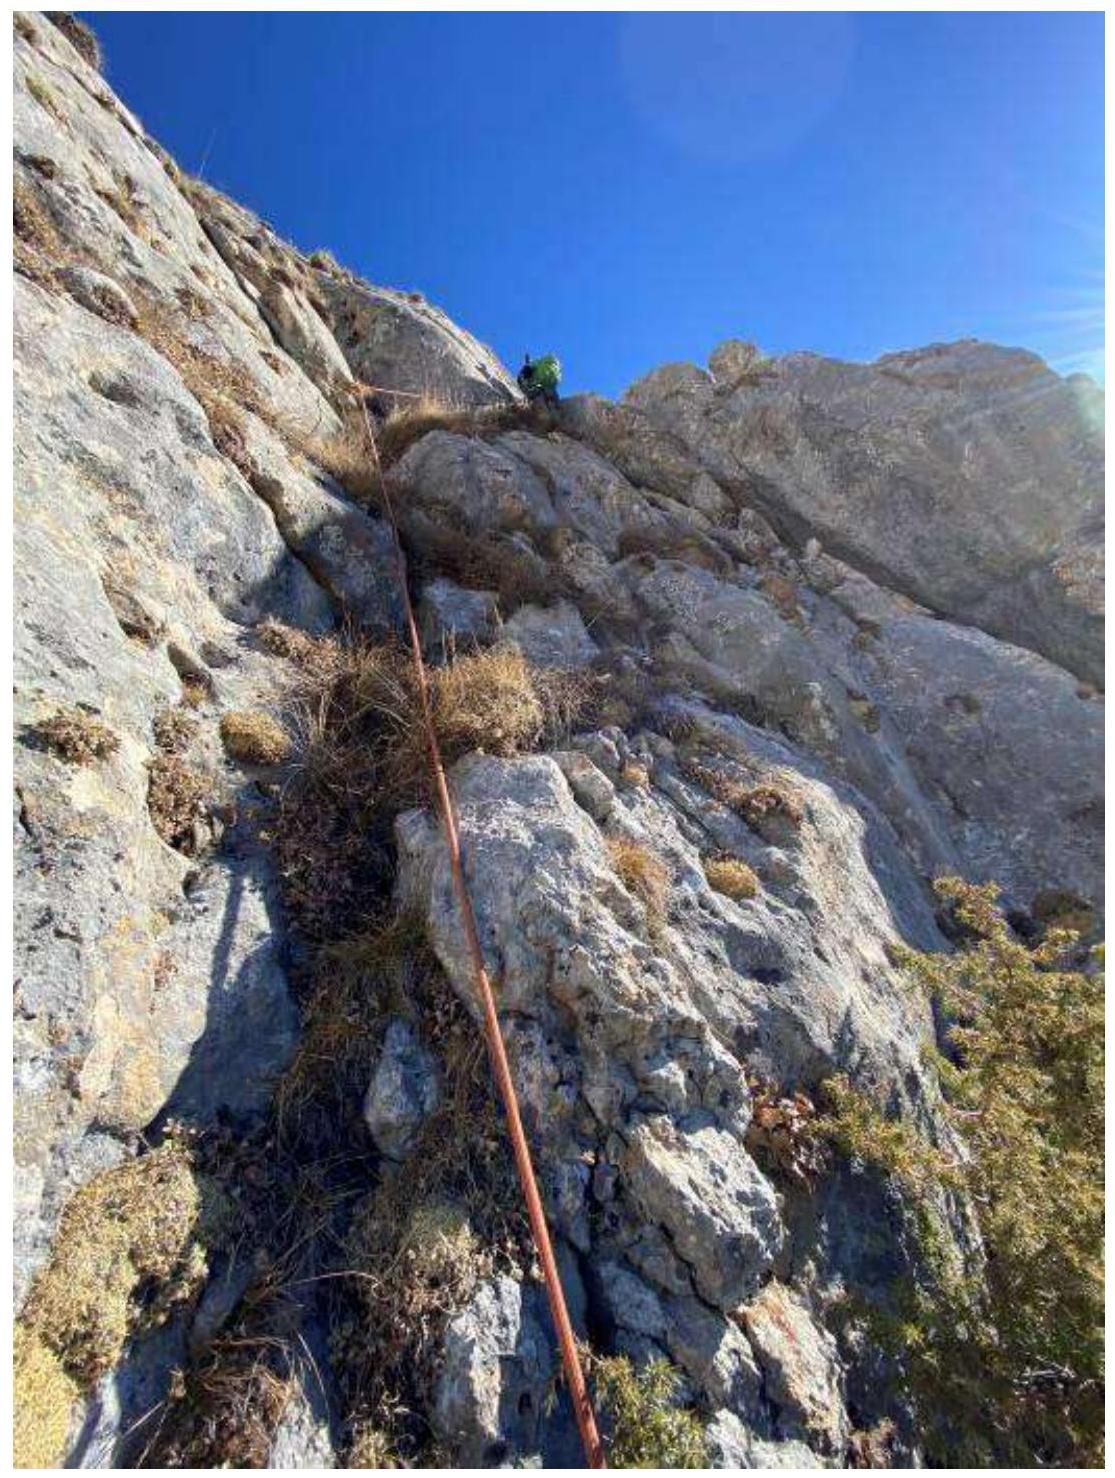
R8–R9:
- Move upwards 20 m along rocks (2).
- Then traverse 5 m to the right (1) and 5 m upwards (3) along a cleft, 10 m upwards (1).
- Loose rocks are present. Protection on friends.
- Station on self-placed points.
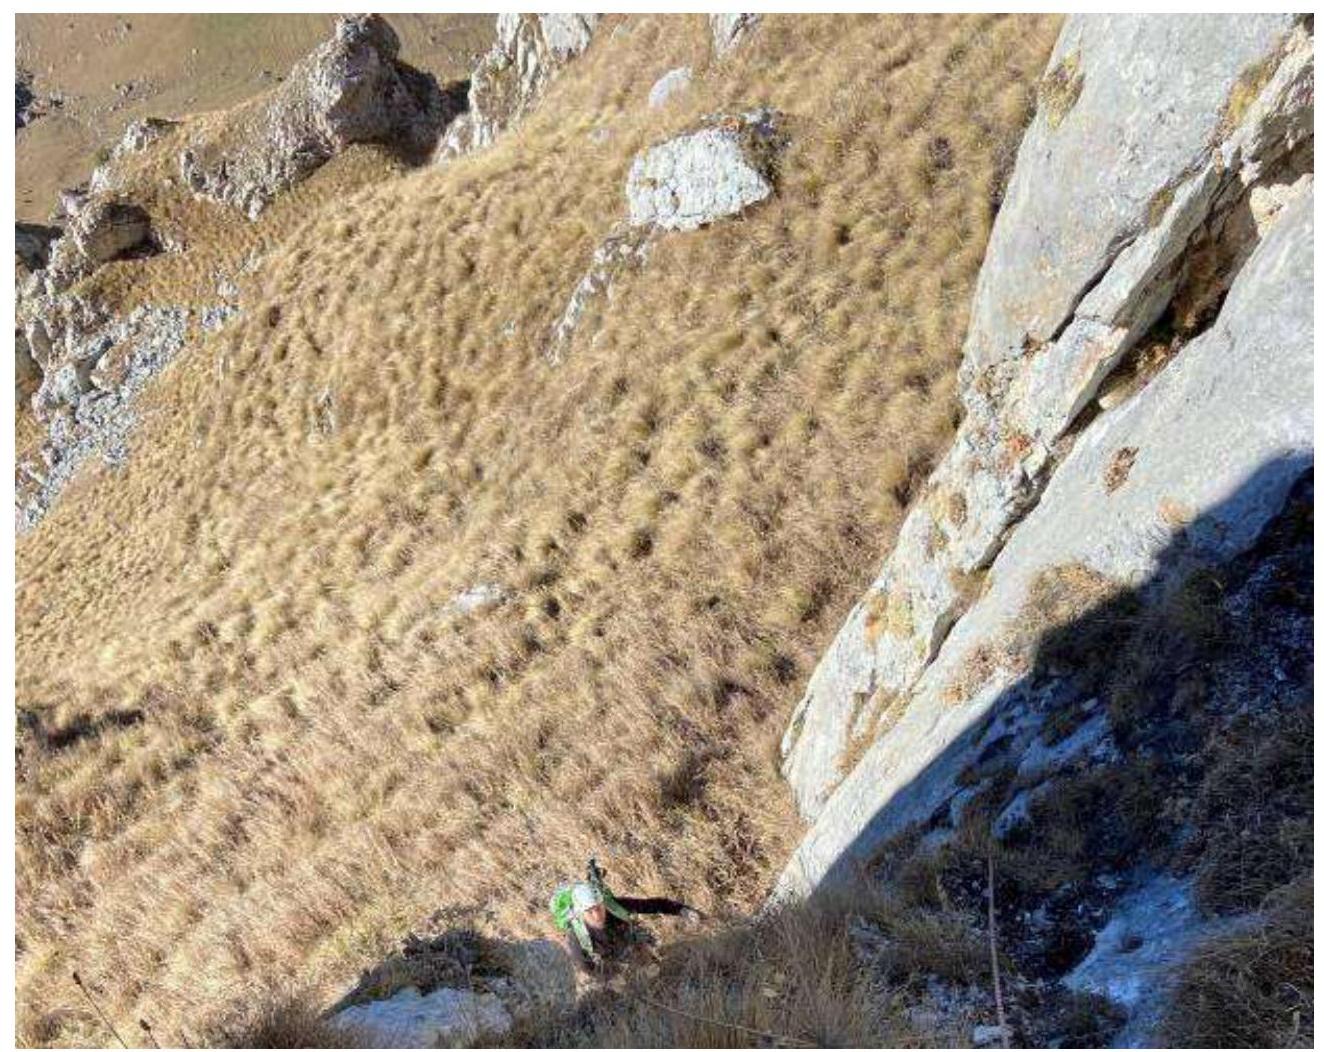
R9–R10:
- From the station, move 70 m to the right to the next ridge along grassy ledges.
- From here, 30 m along scree.
- Further, 50 m upwards along a system of ledges and rock walls (2) to exit to the ridge top.
- Protection is natural.
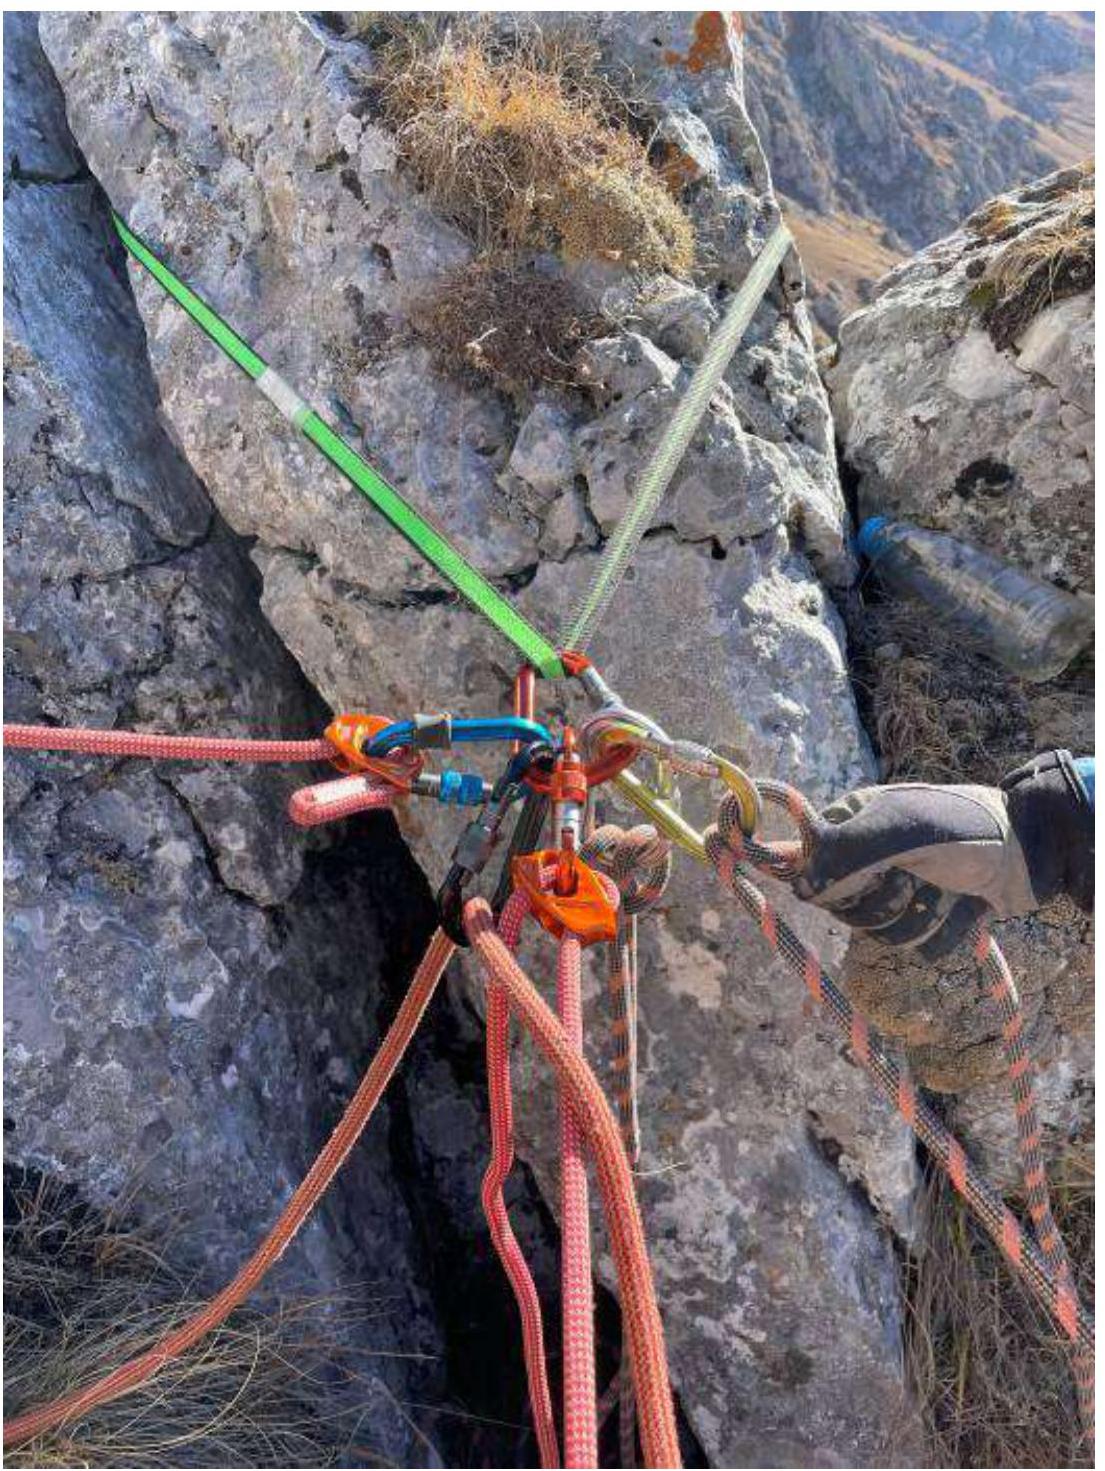
- Station on a stone.
R10–R11:
- Exit onto the ridge 10 m upwards (2). Caution! The exit to the ridge is damaged; rockfall hazard.
- Then move 20 m along a grassy ridge towards the summit tower.
- Station on a stone.
Descent via a 1B category route.
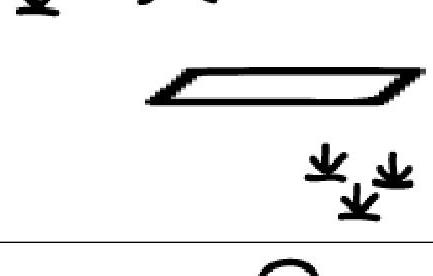
UIAA symbol route diagram
2B

 | R11 – ascend to the ridge through an internal corner and along a grassy ridge to reach the summit |
|---|---|
 | R10 – move along grassy ledges to the ridge. Then along scree, upwards along a system of ledges and rock walls to the next ridge. Station on a stone |
 | R9 – move upwards along rocks. Station on self-placed points. |
 | R8 – move upwards to the ridge above the grotto. Then along the slope along a system of grassy ledges to the ridge. Station on a ledge on a stone |
 | R7 – move upwards along a rocky-grassy slope, then along a grassy ledge. Station on a large stone |
| R6 – move upwards along the wall, station on a large stone | |
| R5 – the key section of the route. Upwards along the wall, then along a grassy ledge to a chimney. Exit onto the ridge via the chimney. Station on the "hourglass" and an anchor | |
| R4 – grassy ledge to a wall with a small cleft. Station in the cleft on self-placed points | |
| R3 – grassy ledge. Station on a large stone | |
 | R2 – scree, grassy slope. Station on a large stone |
 | R1 – a large wedged stone between the ridges |
 | R0 – start of the route along grassy ledges |
Section movement diagram
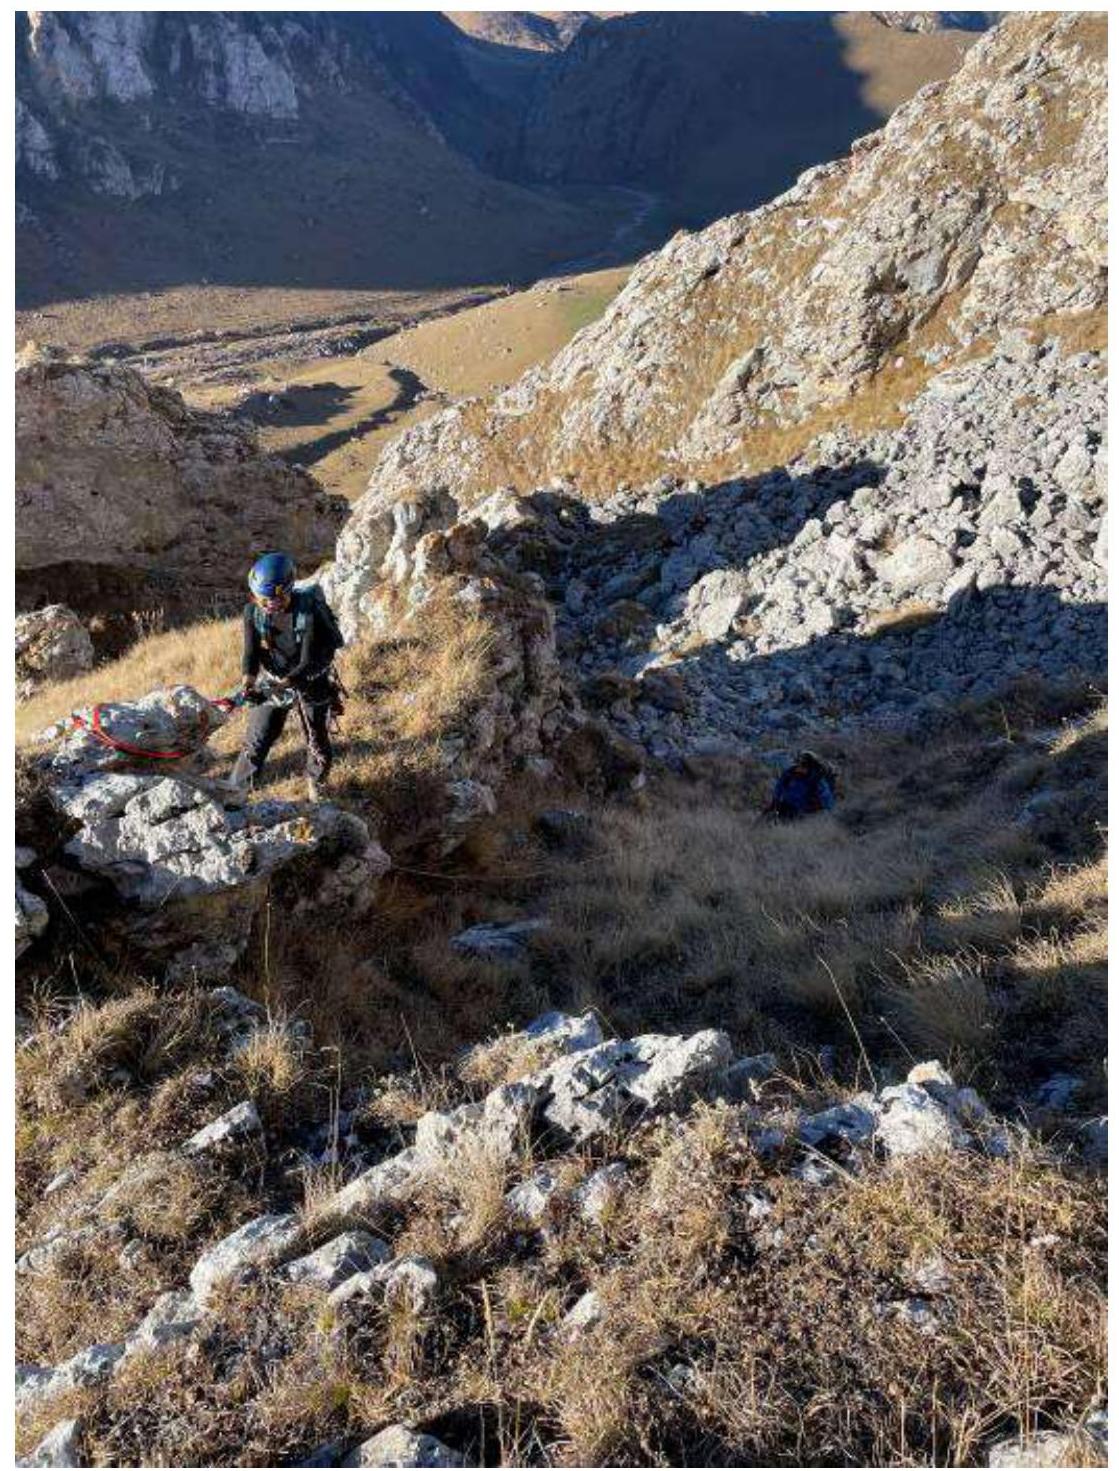
R0–R1 Start of the route
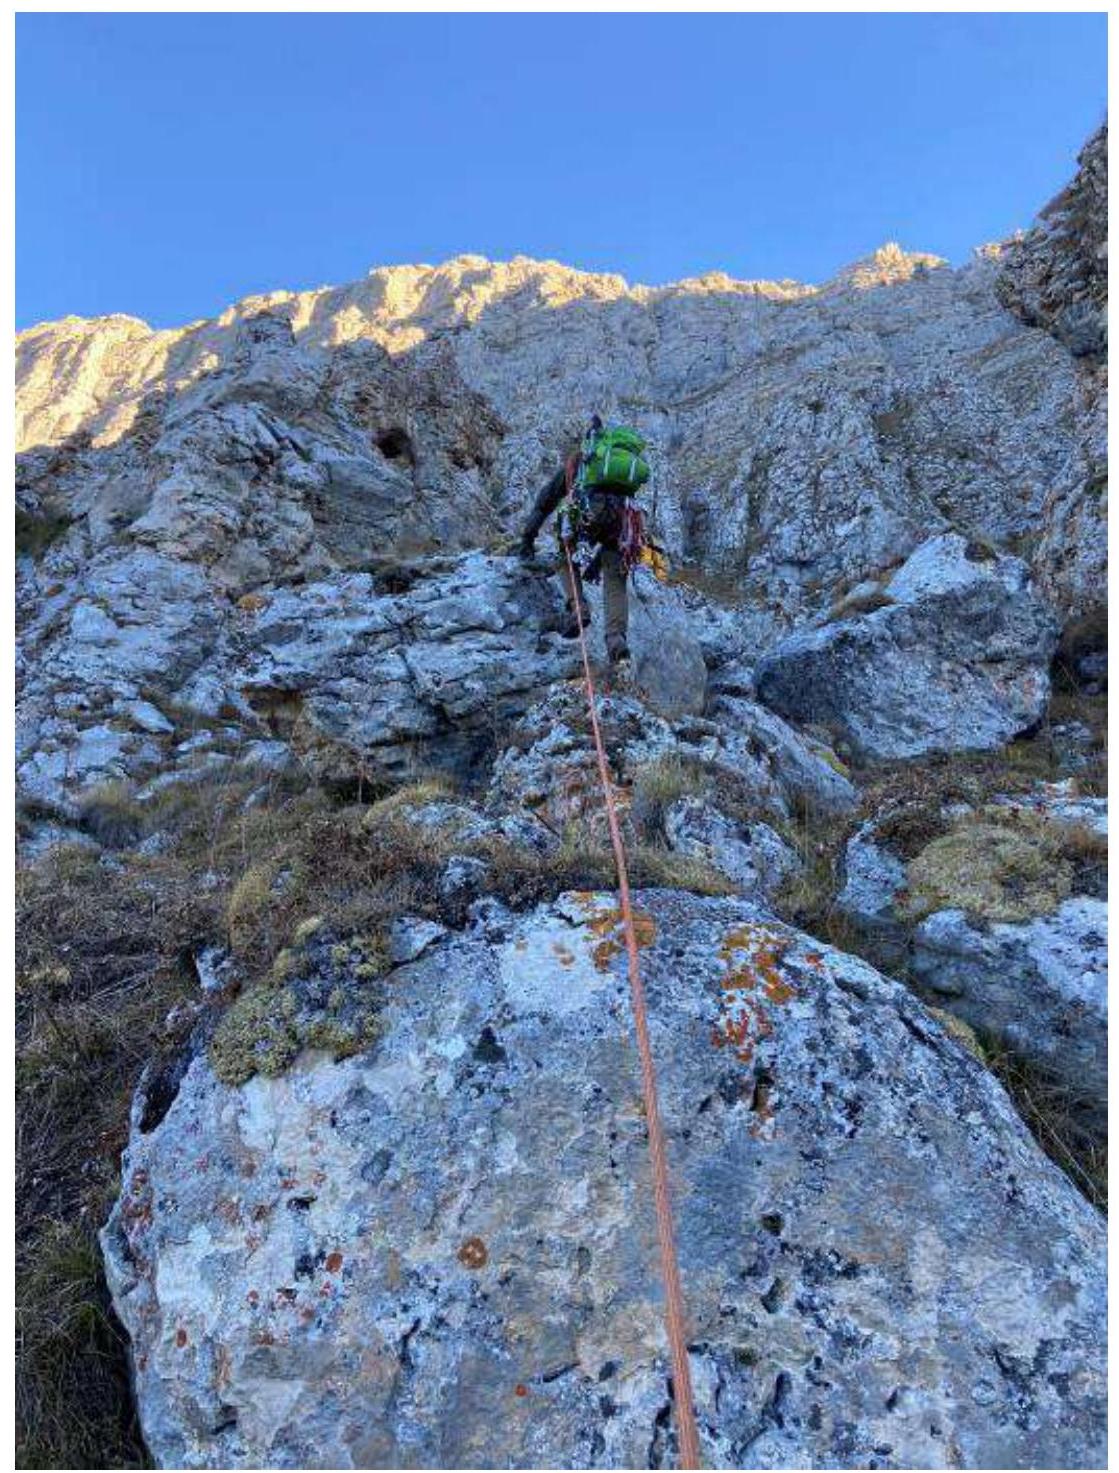
R0–R1
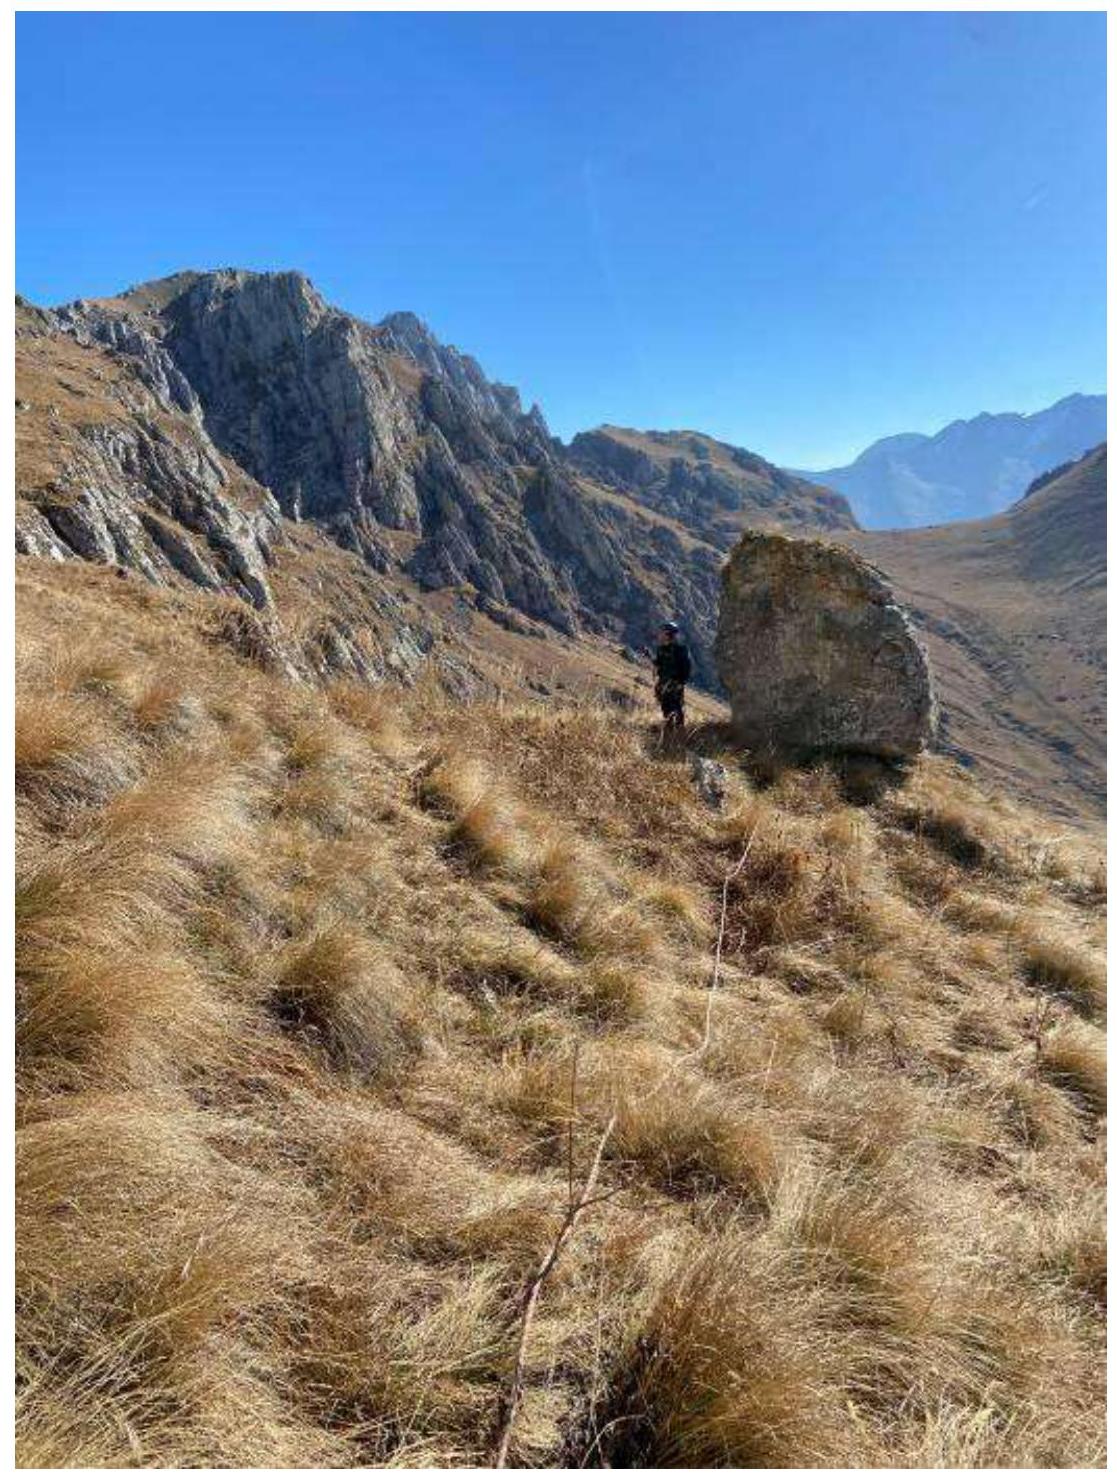
R1–R2 Approach to the wedged stone
R1–R2 Bypassing the wedged stone
R2 Station
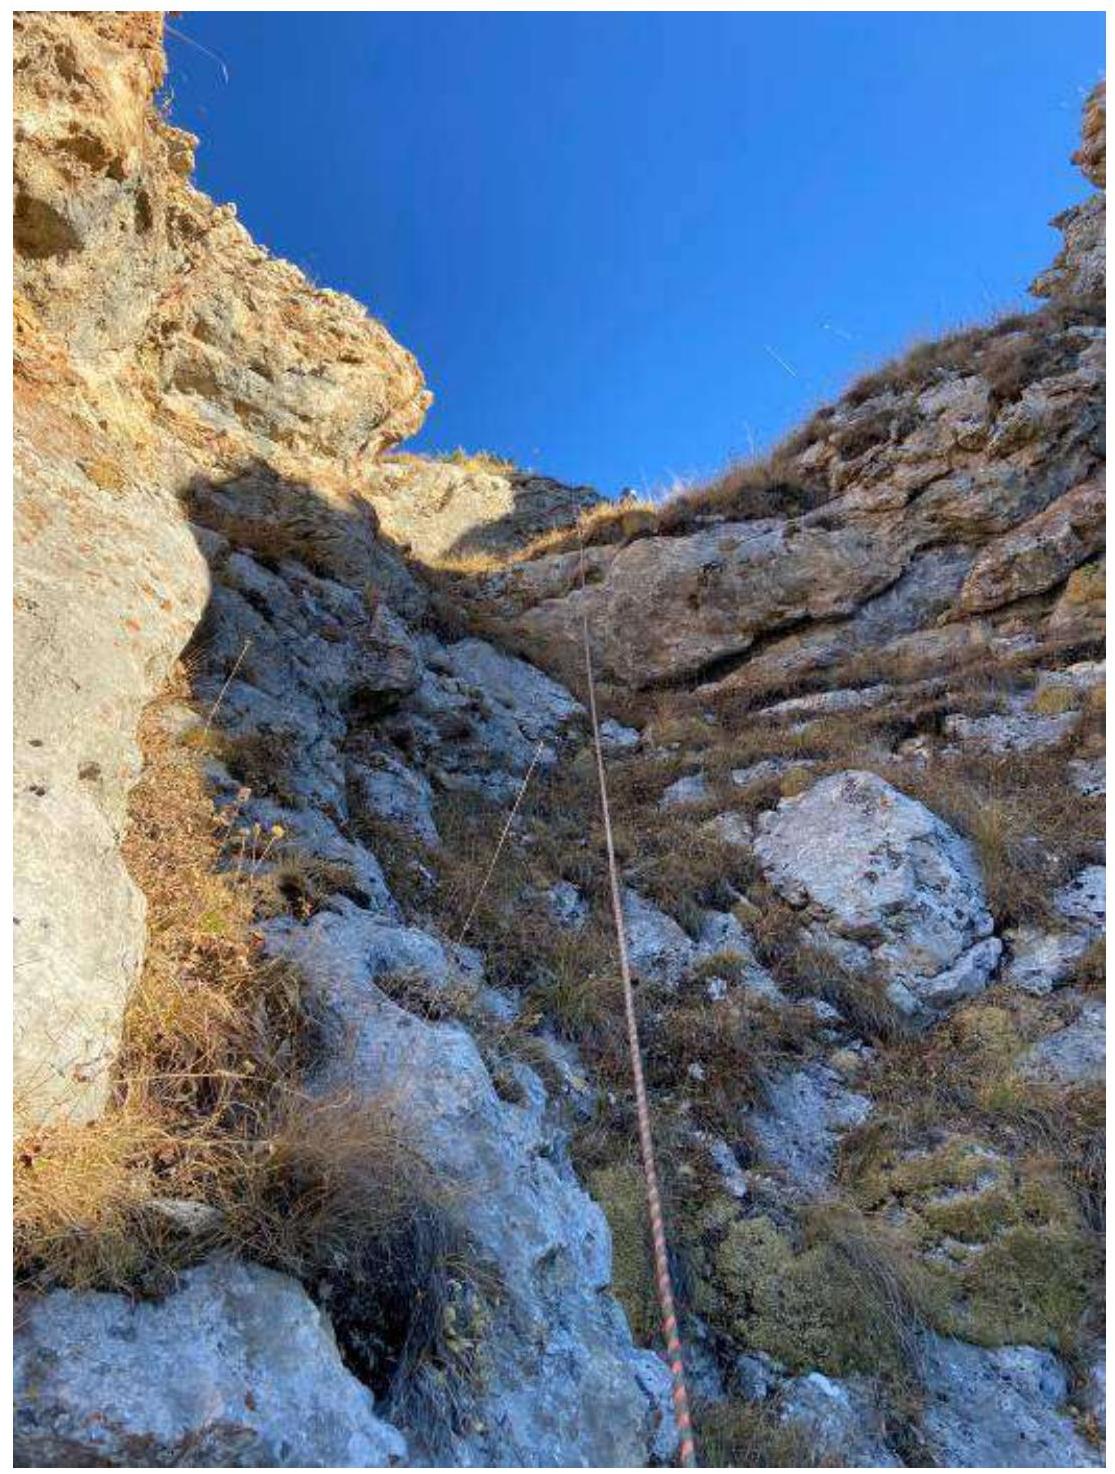
R2–R3
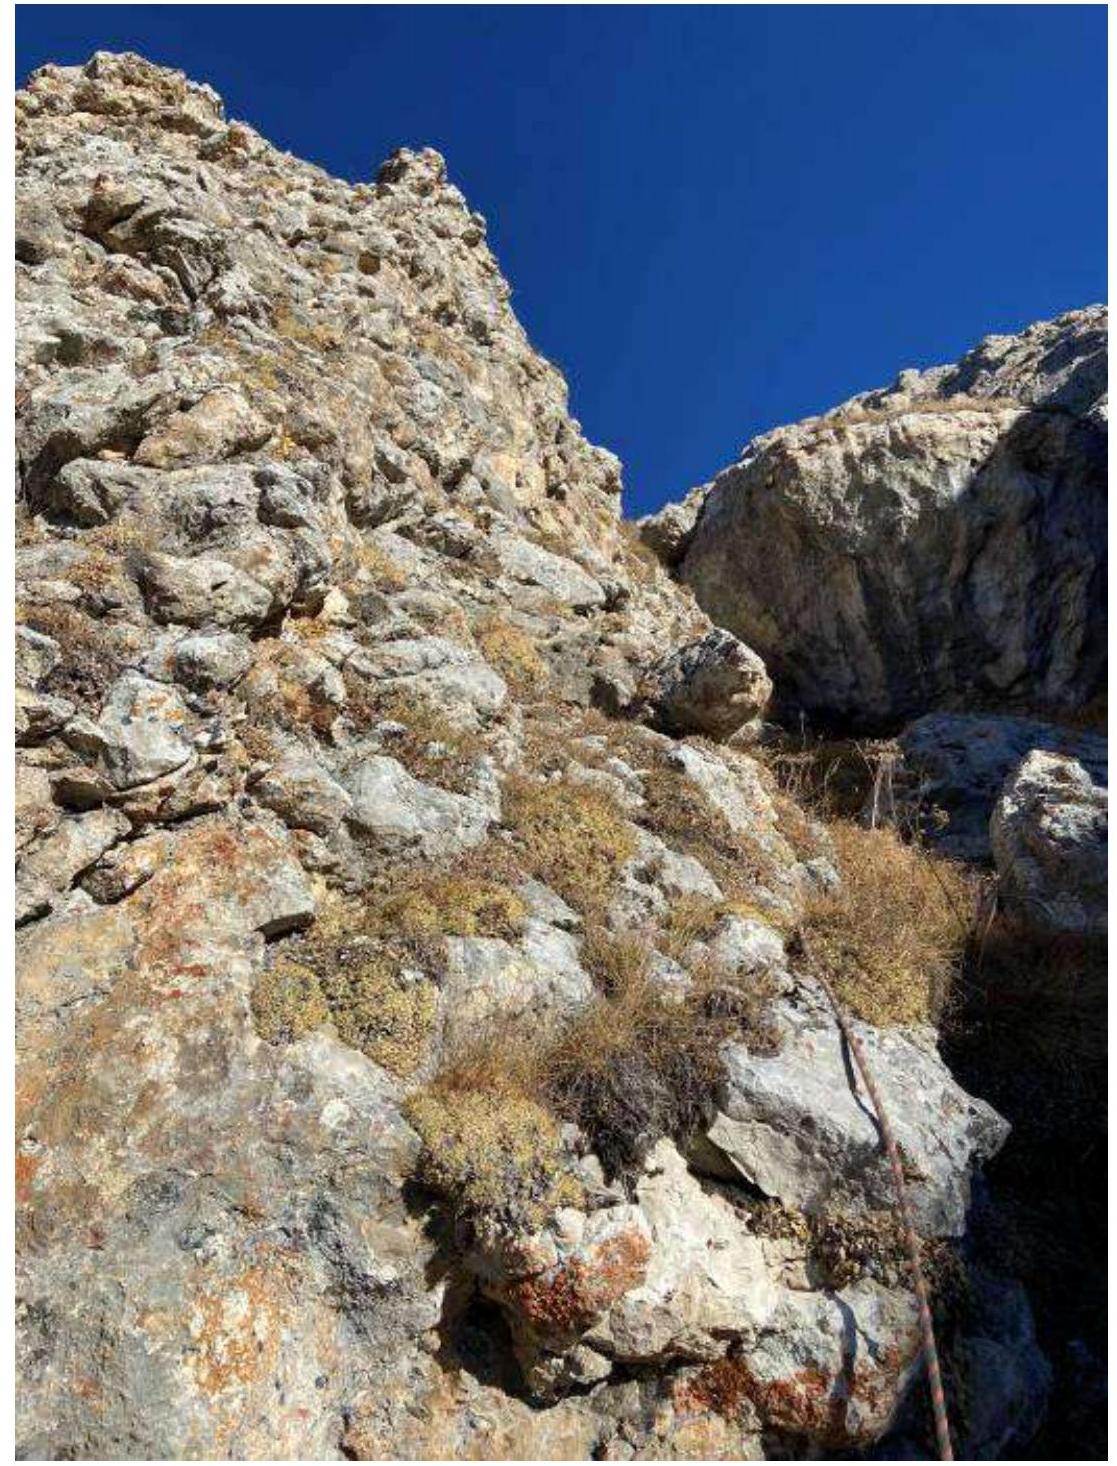
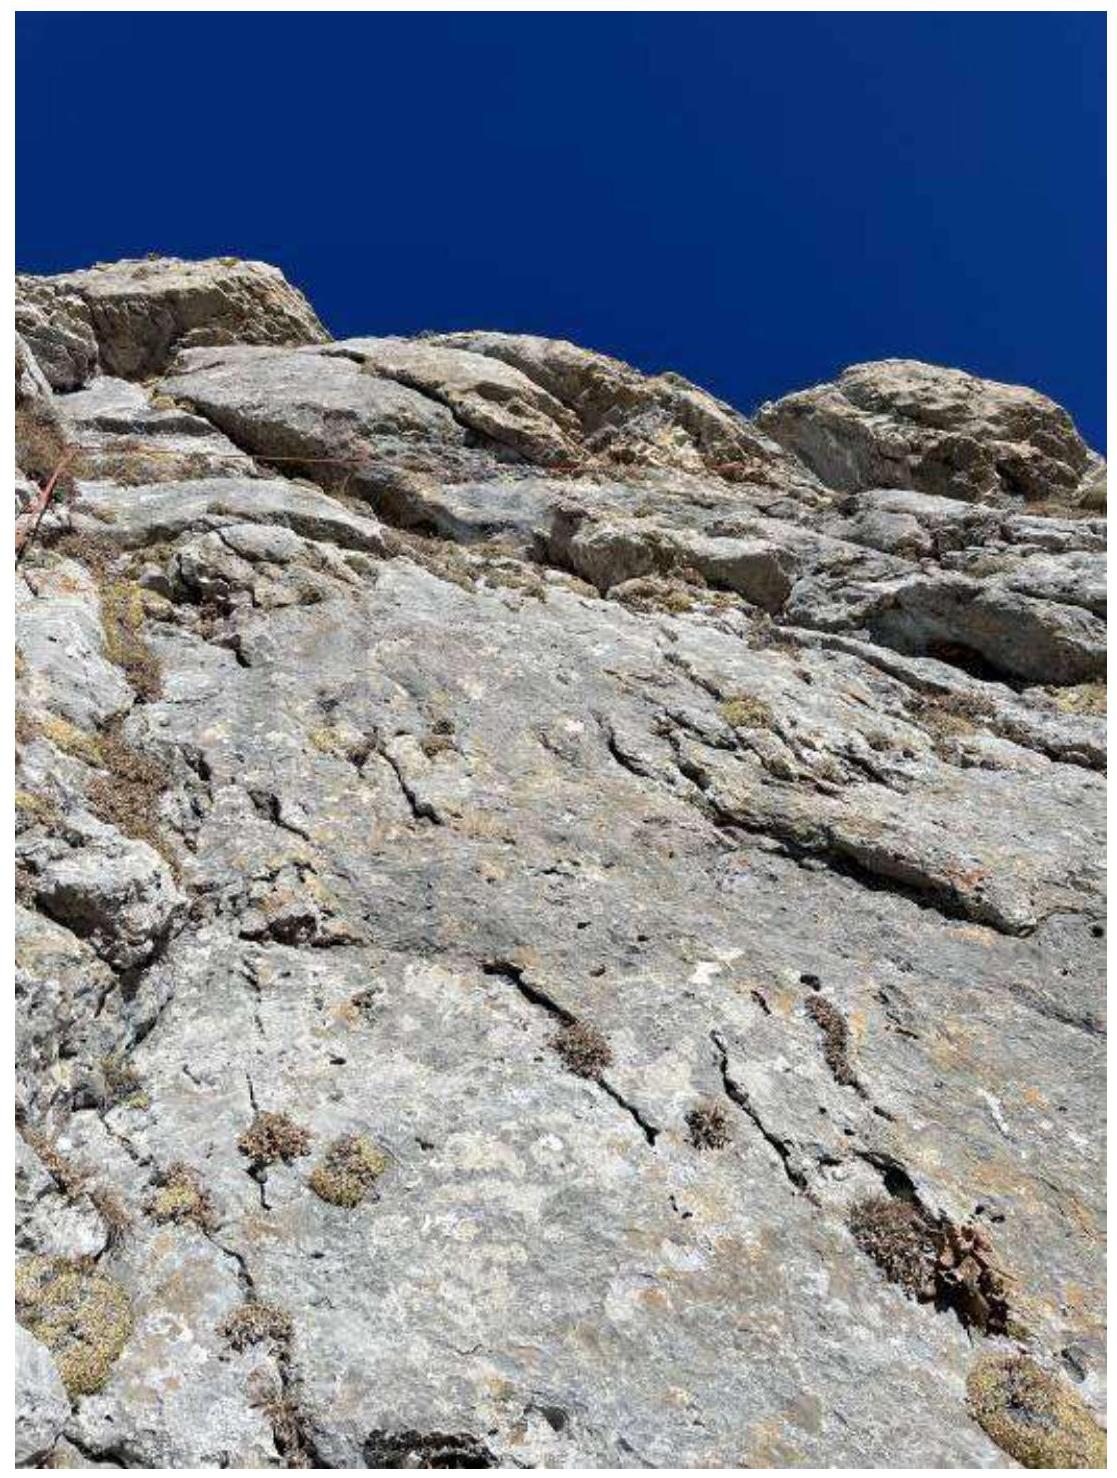
R3–R4 System of ledges
R3–R4 Rocks
R3–R4 Traversing along a grassy ledge
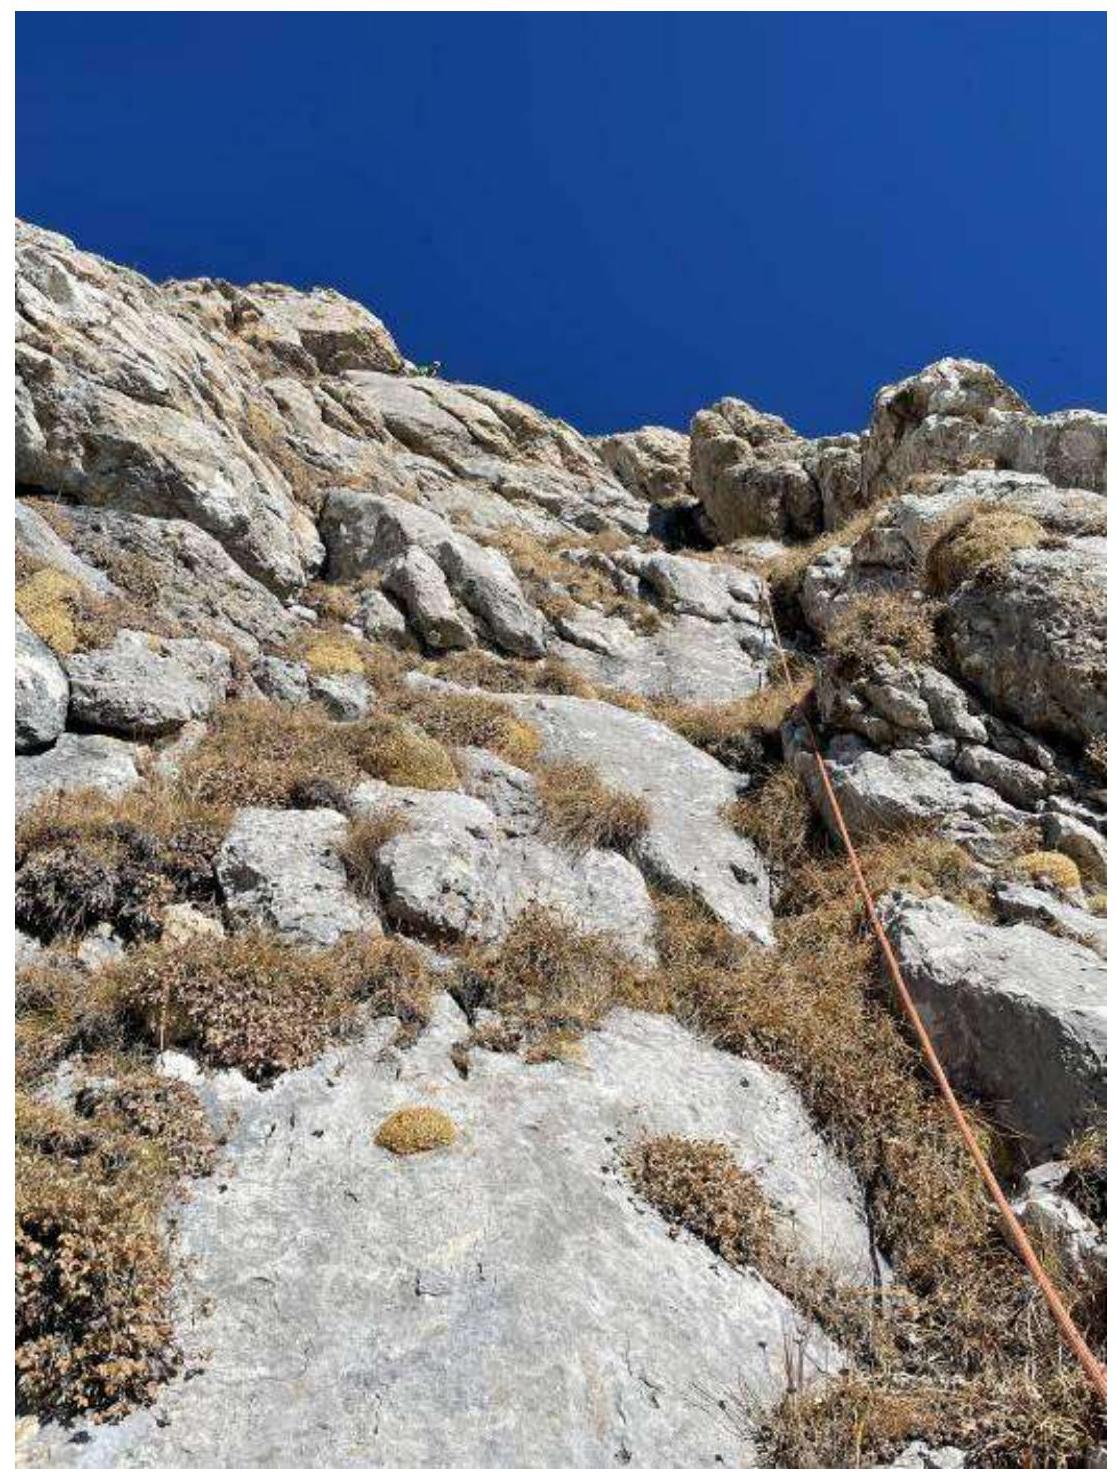
R4–R5 Wall. Key section of the route
R4–R5 Key section of the route. Small chimney.
R4–R5 Traversing along a grassy ledge
R5 Station
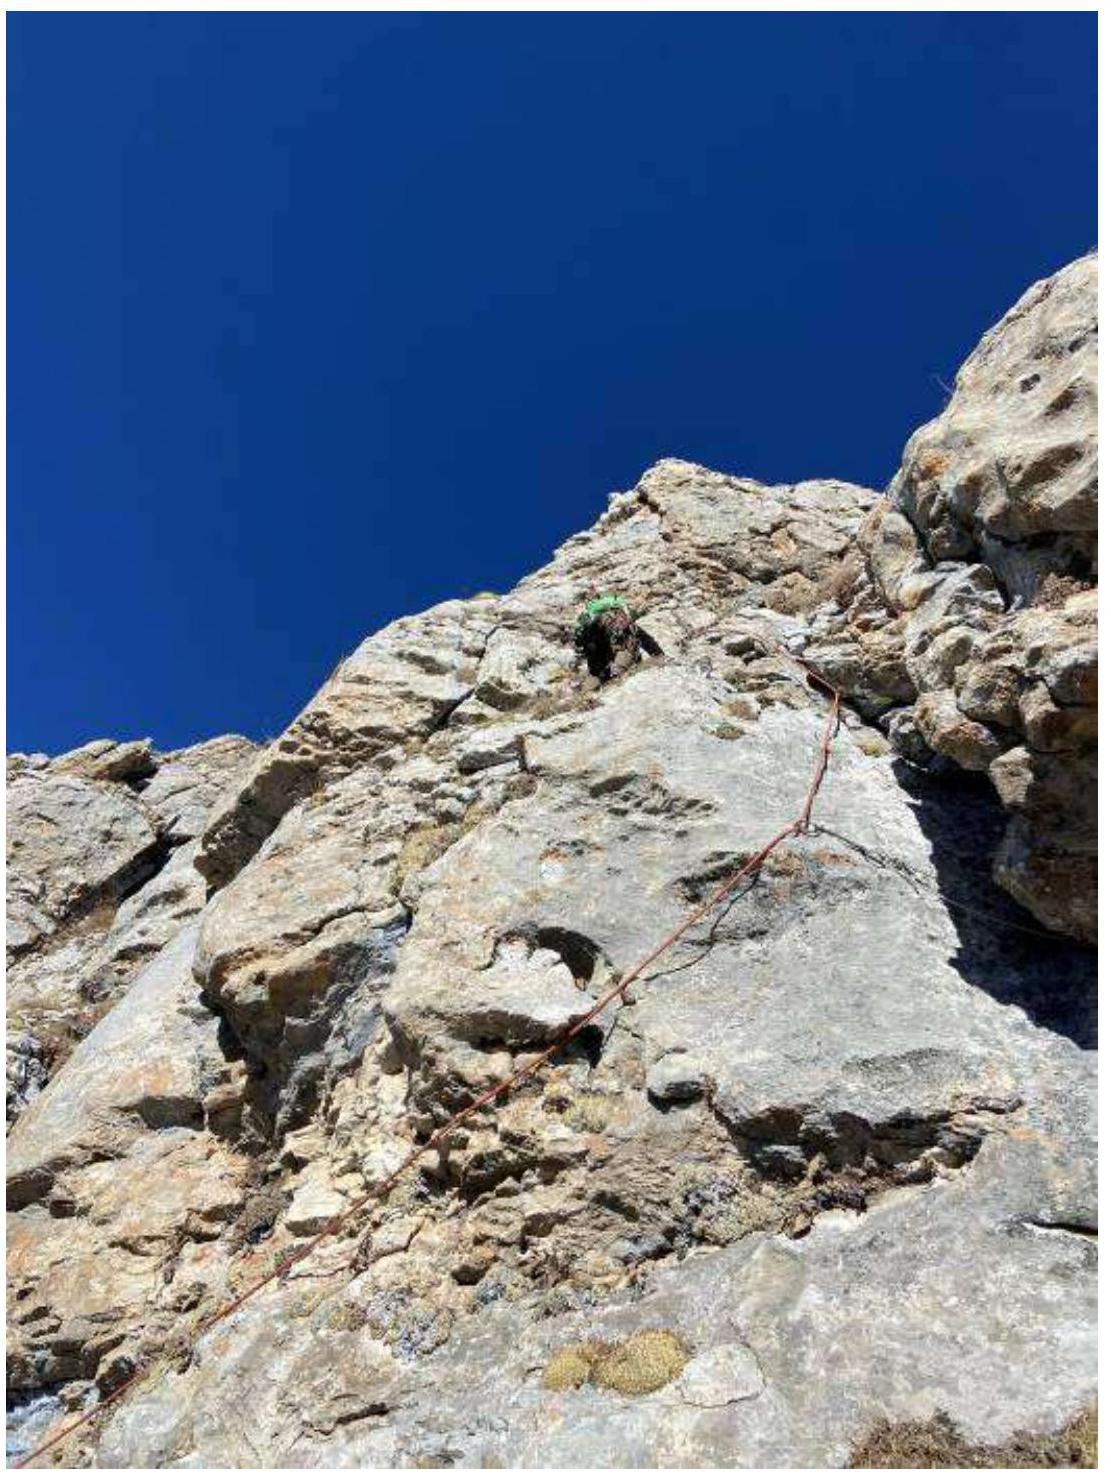
R5–R6 Rocks to the juniper
R5–R6
R6 Station
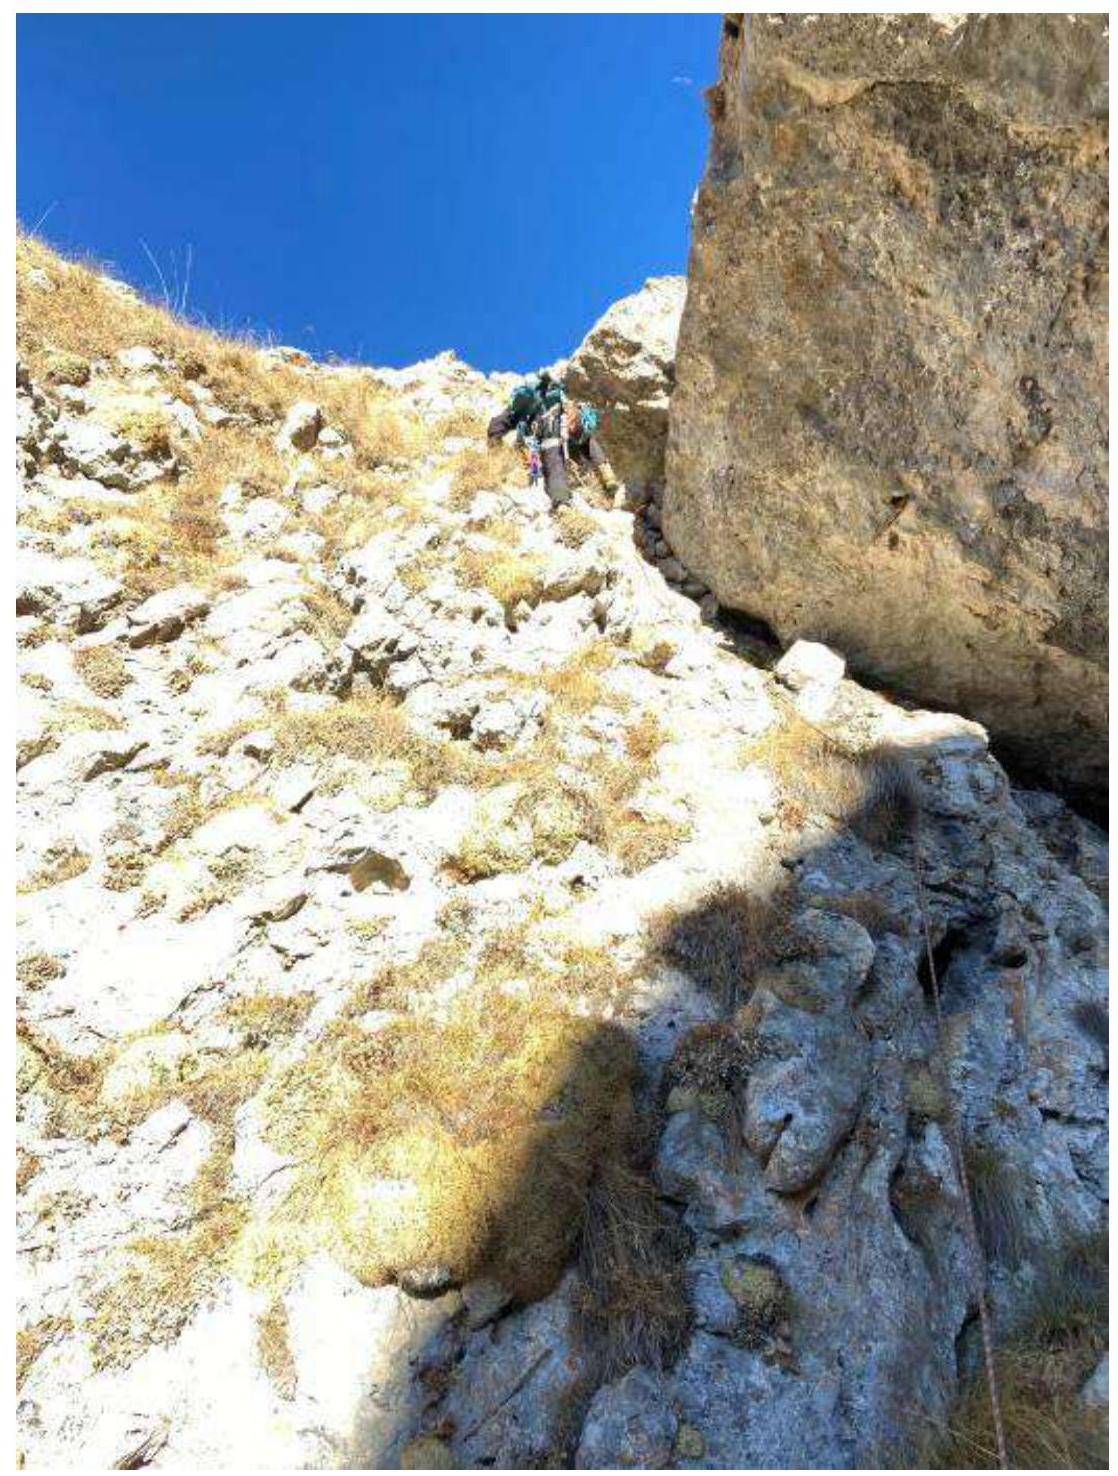
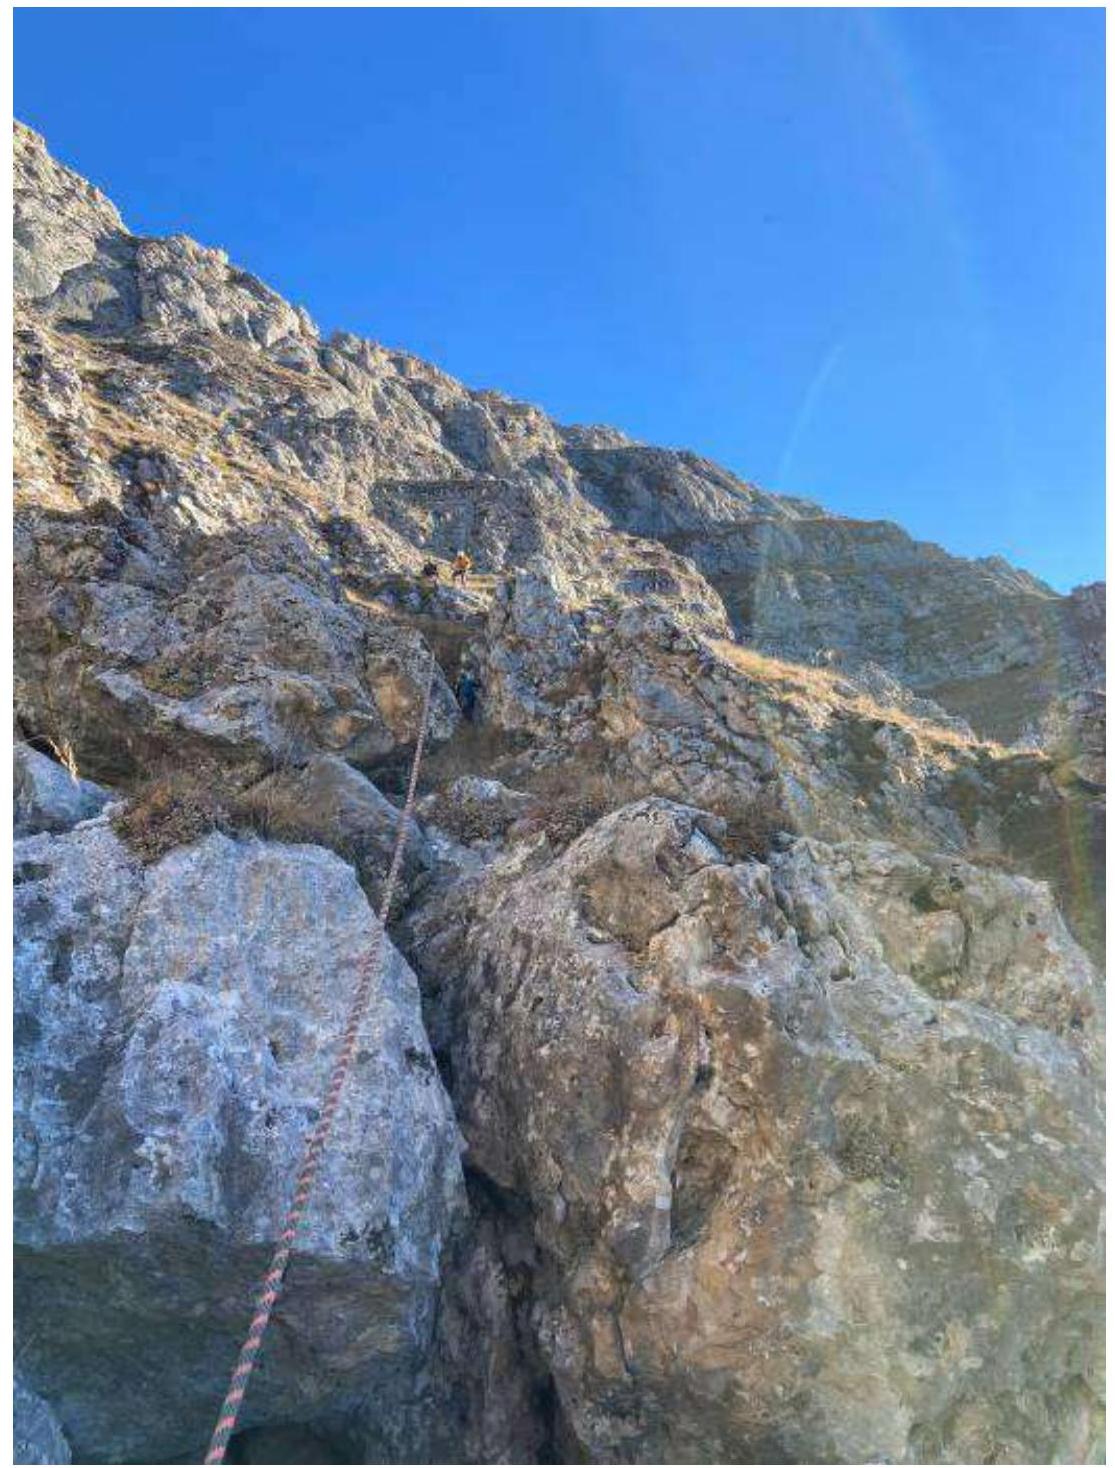
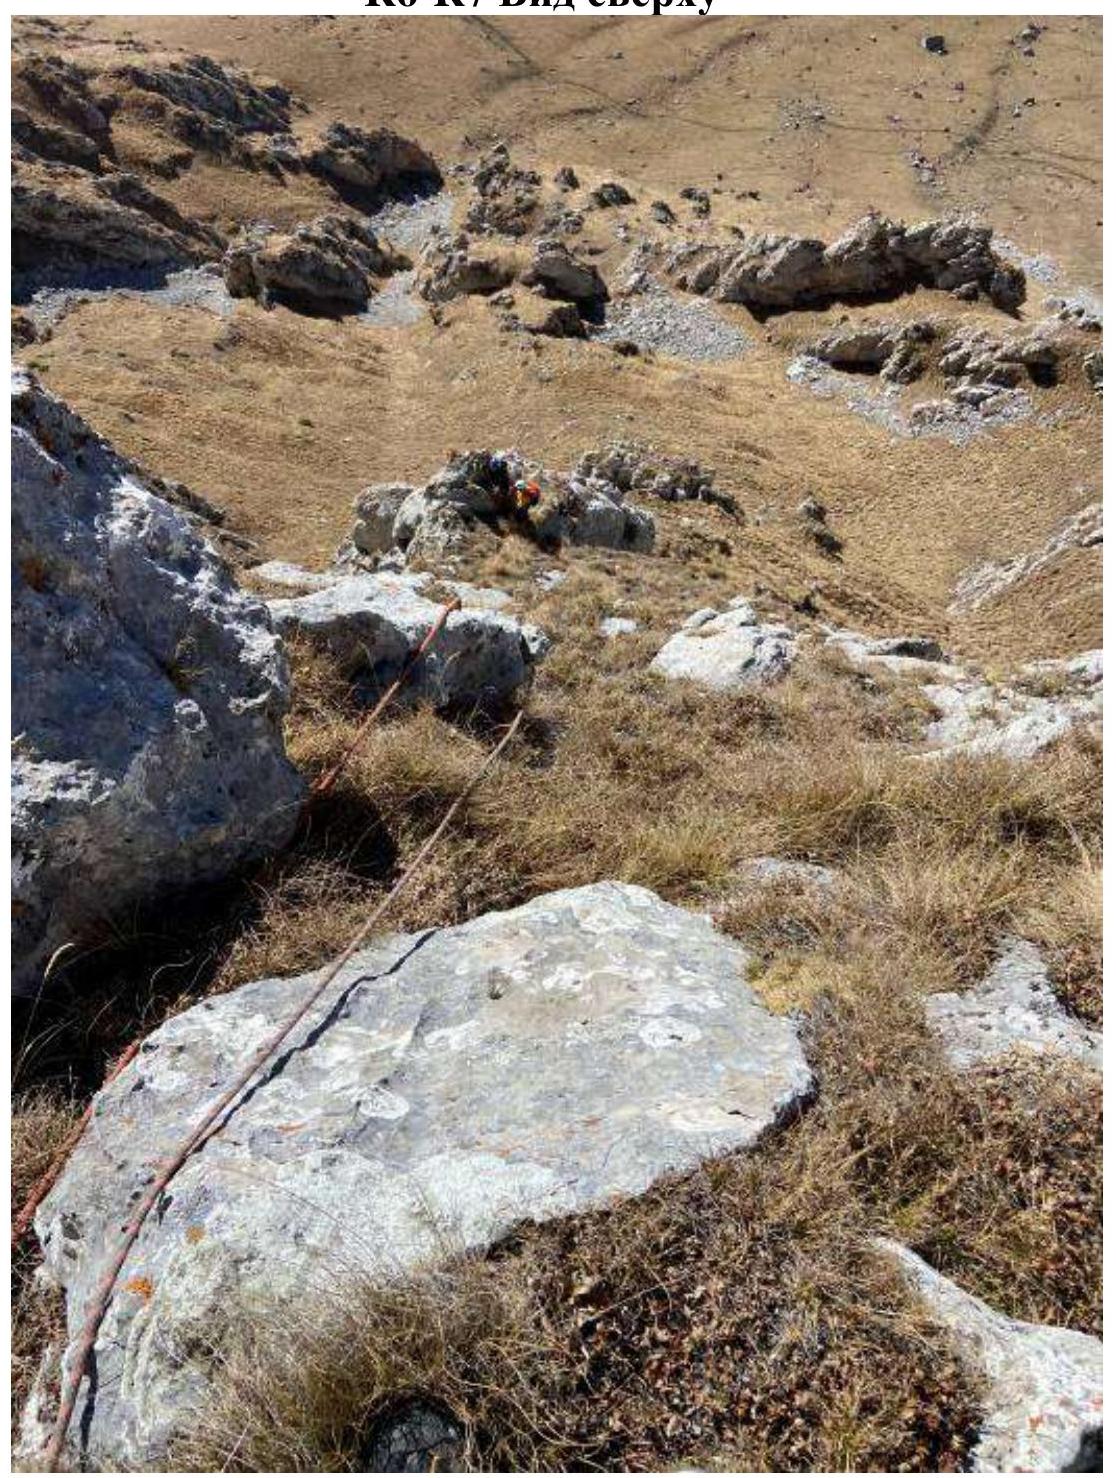
R6–R7 View from above
R6–R7 Grassy ledge
R7–R8 Exit to a ledge above the grotto
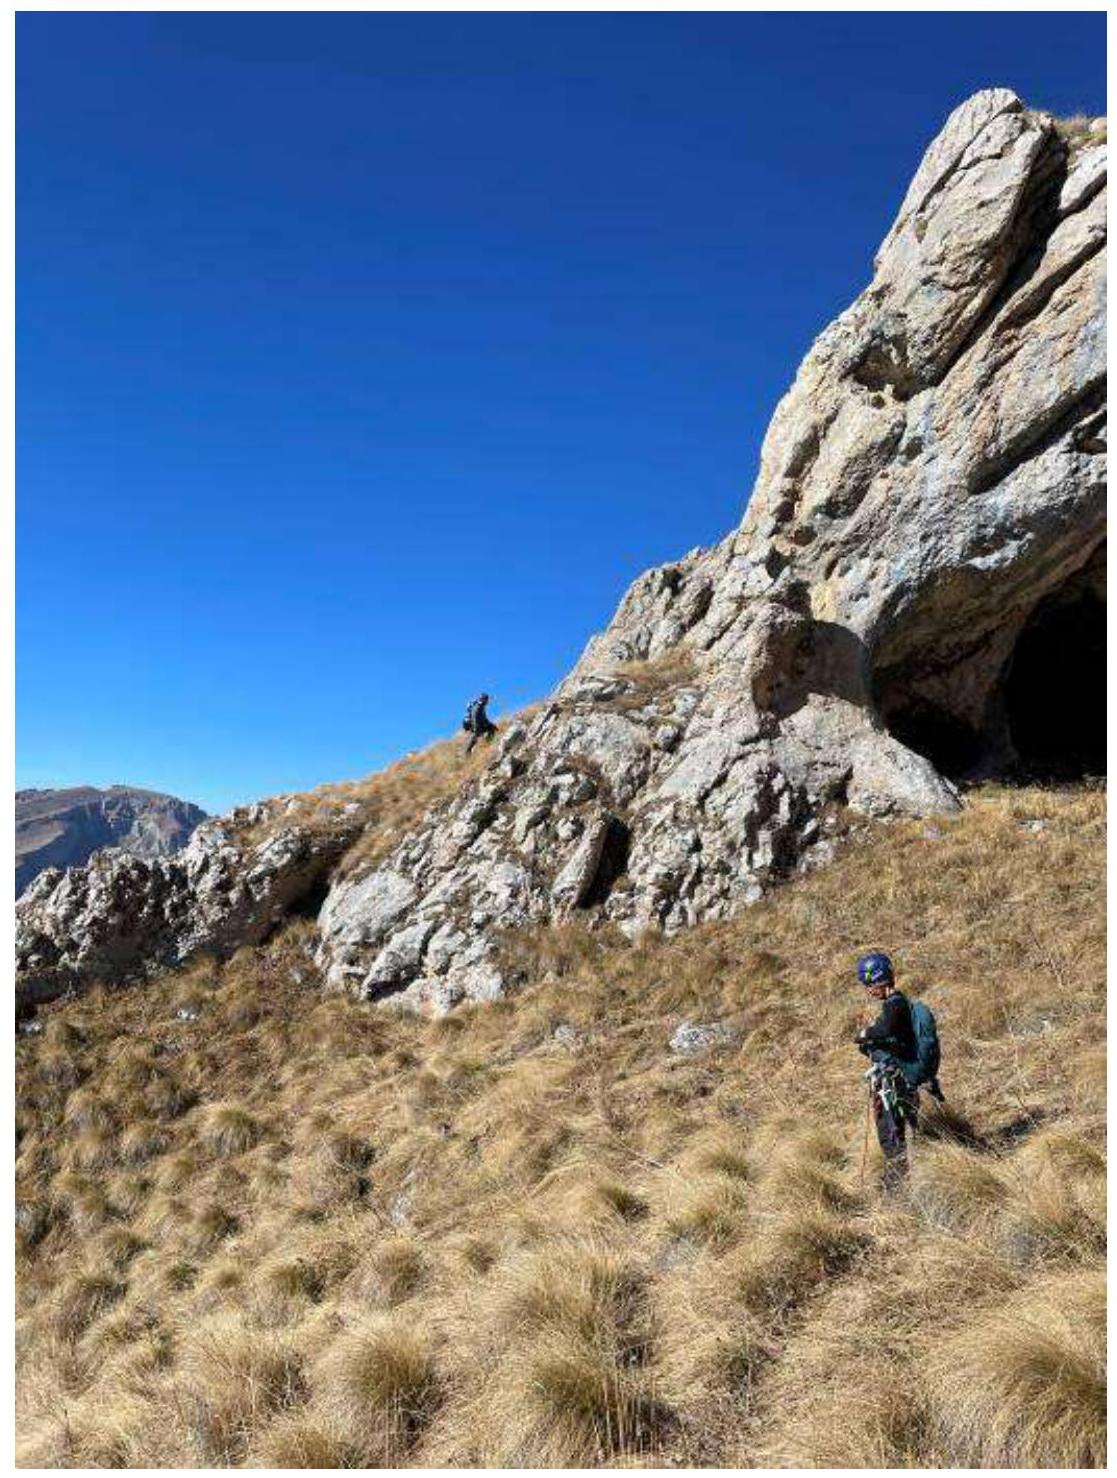
R7–R8 Ledge above the grotto
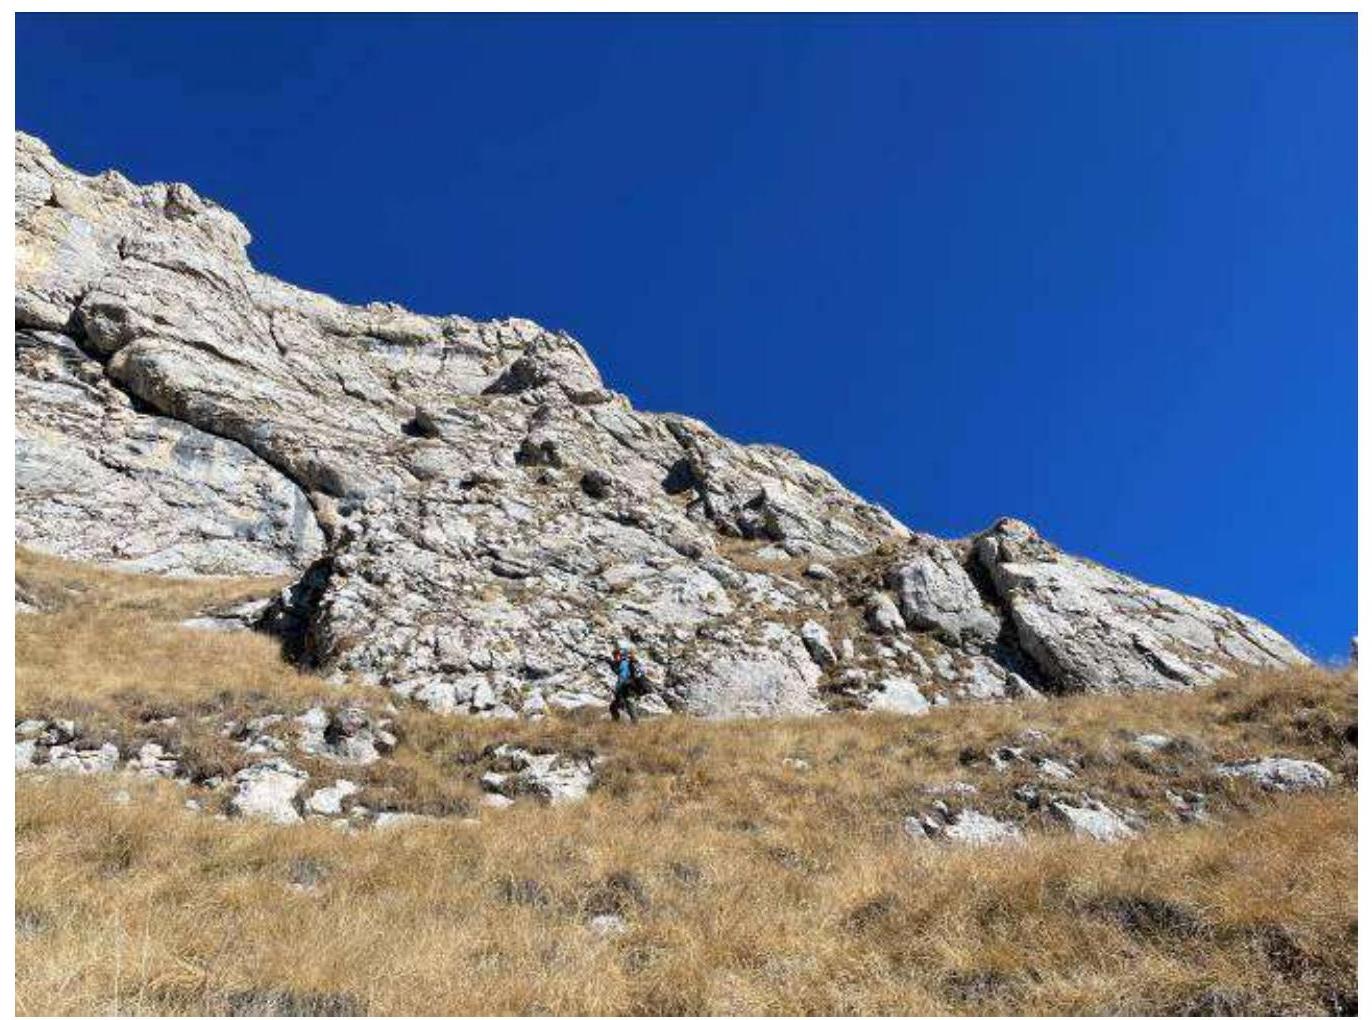
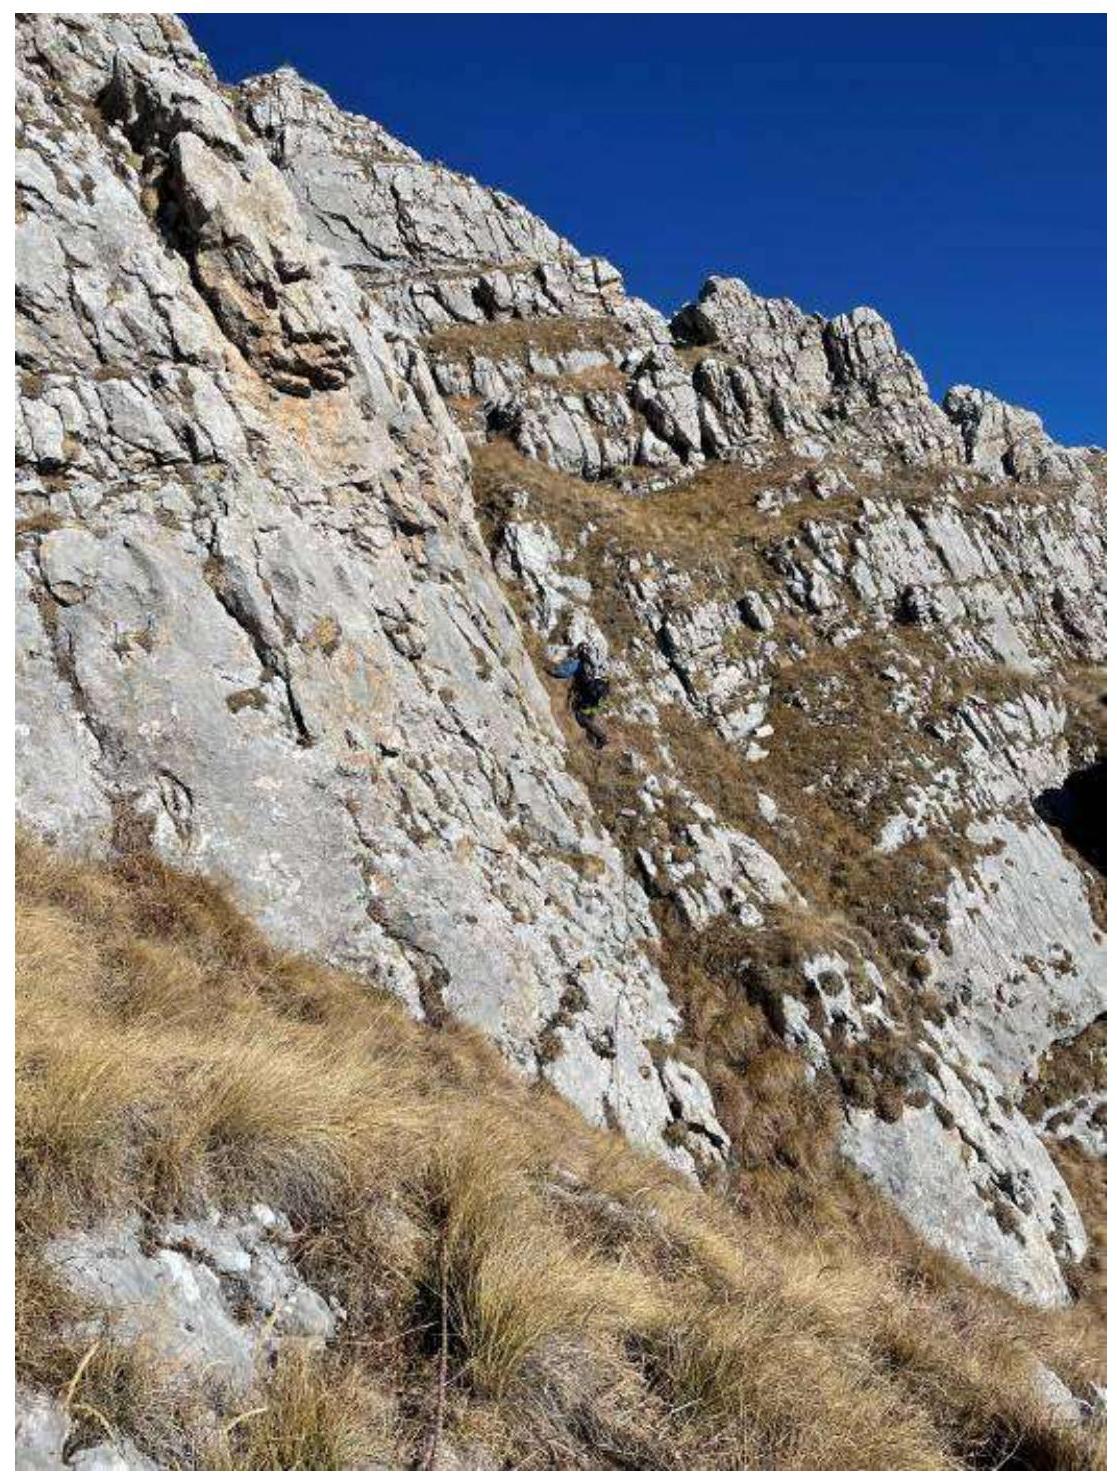
R8–R9 Rocks
R8–R9 Traverse
R8–R9 Wall
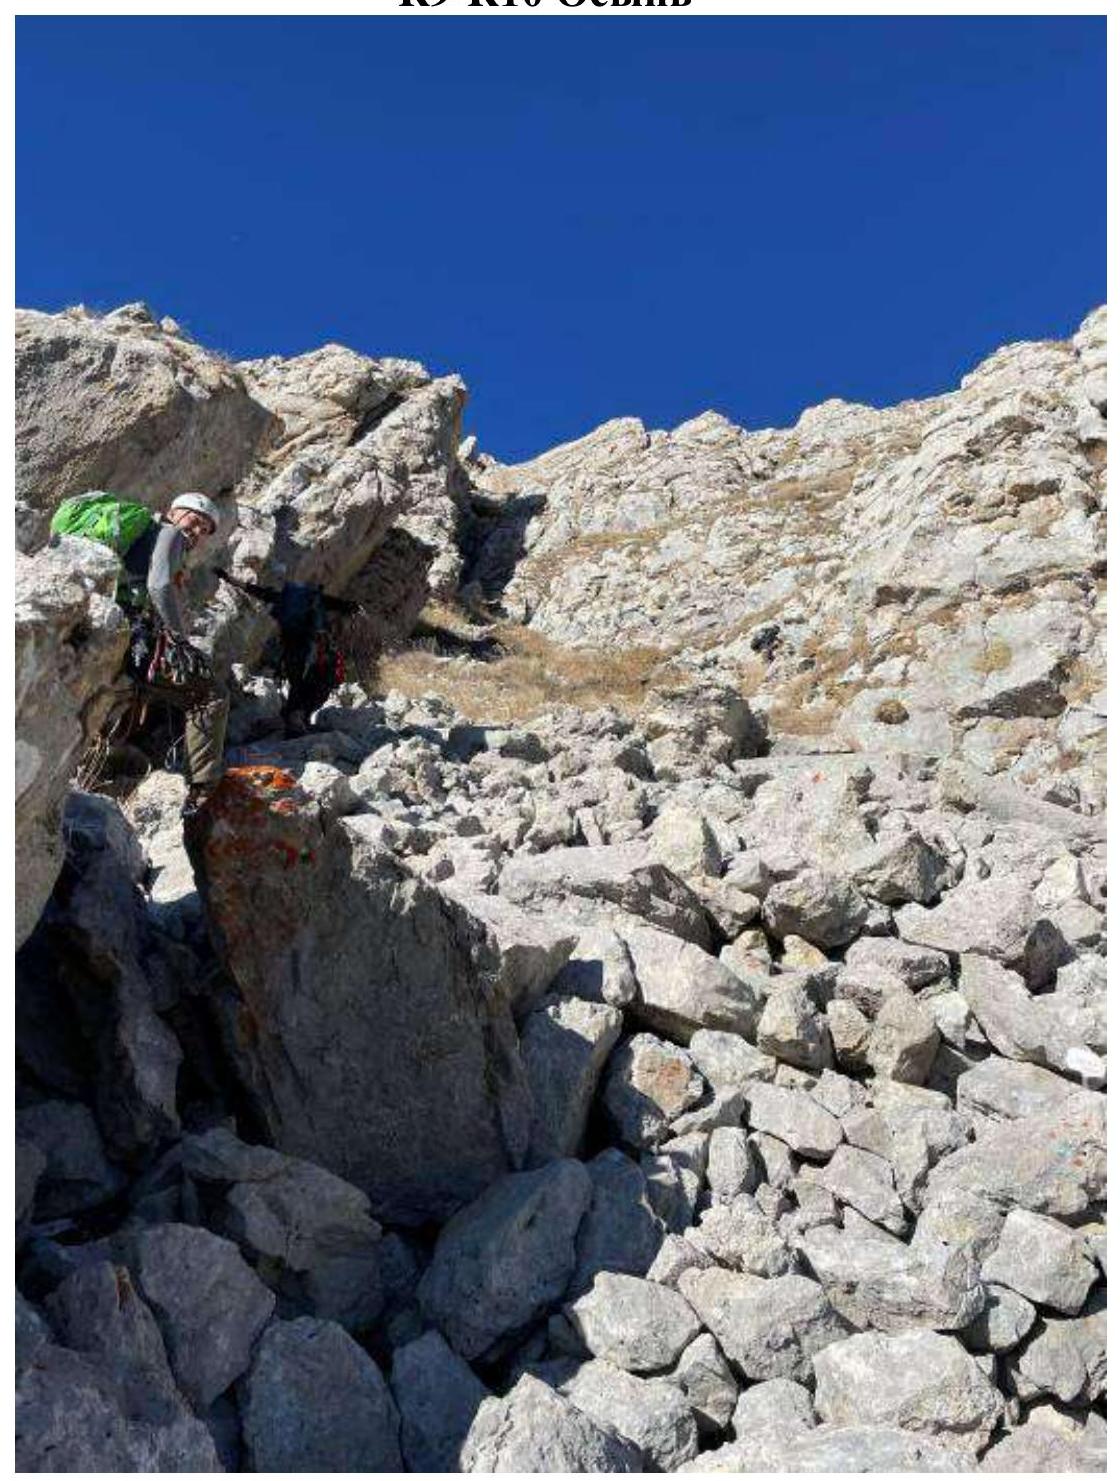
R9 Station
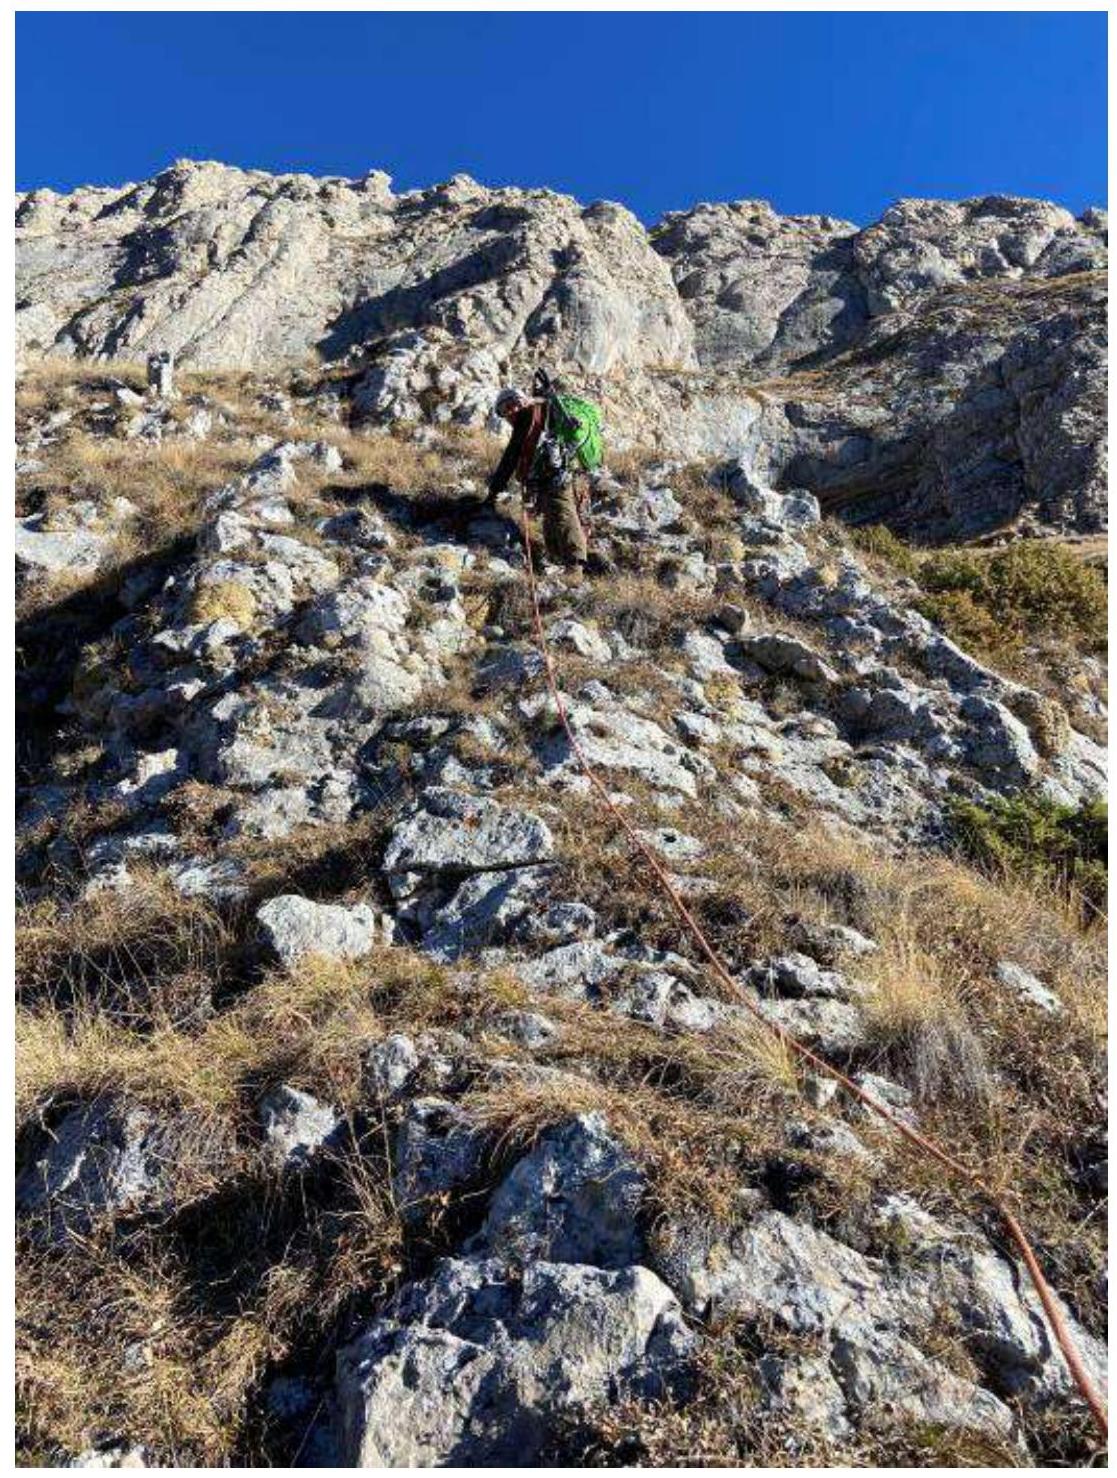
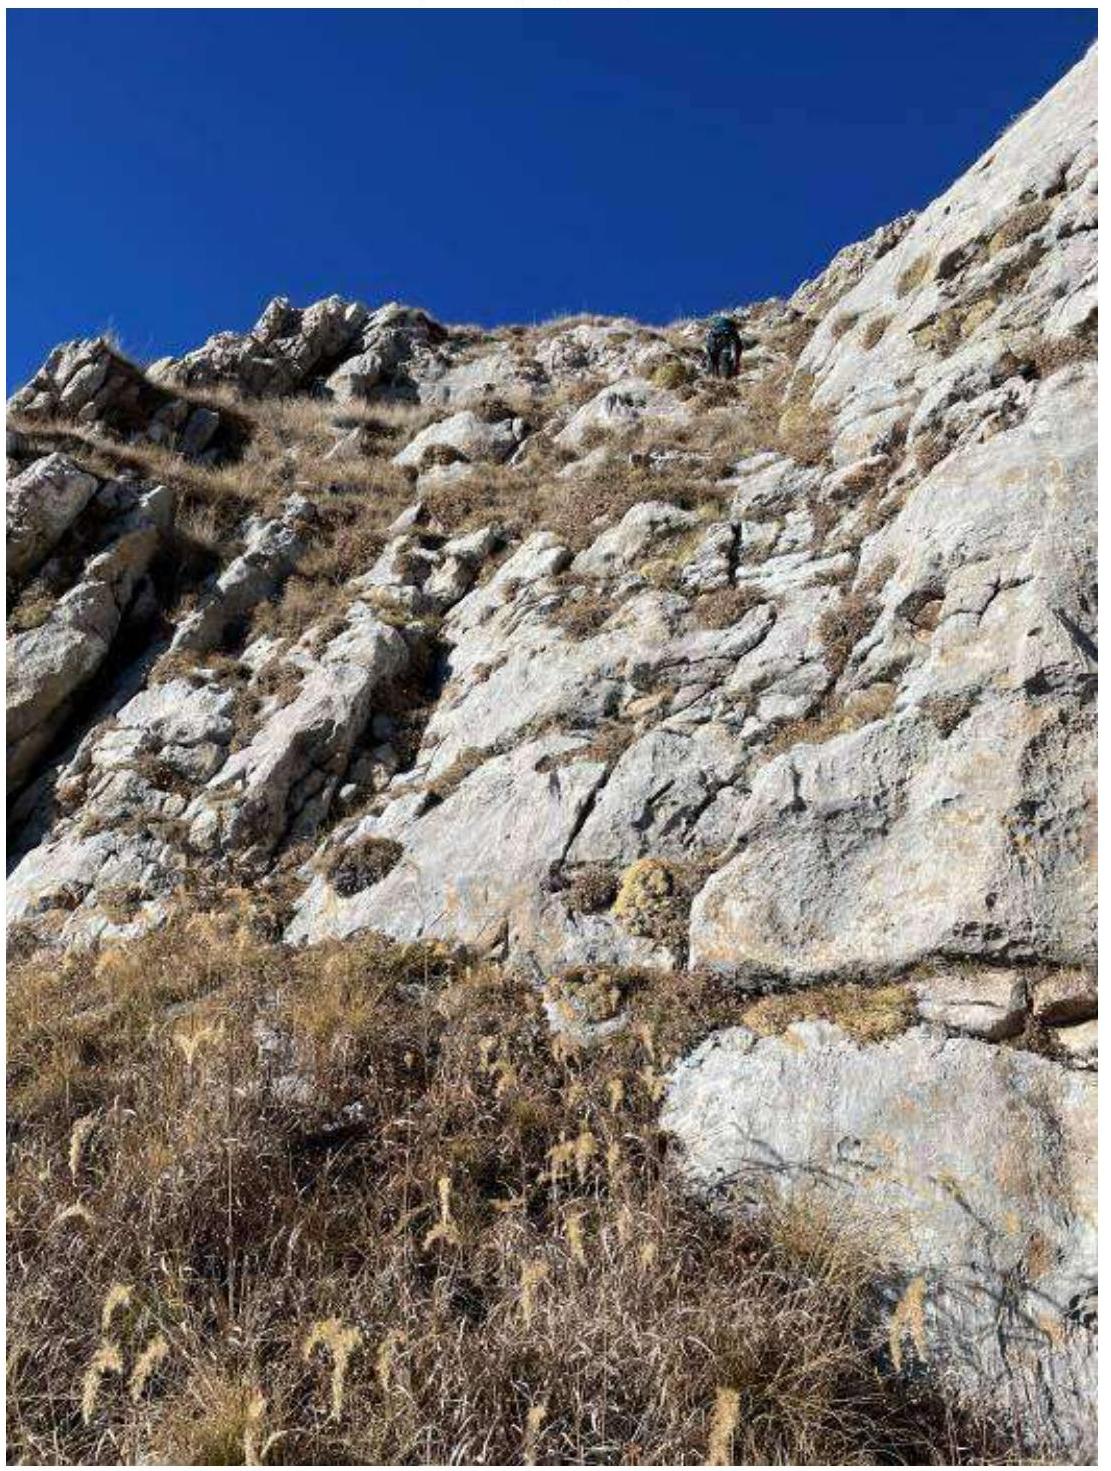
R9–R10 System of ledges
R9–R10 Ascending a grassy ledge

R9–R10 Scree
R9–R10 Rocks
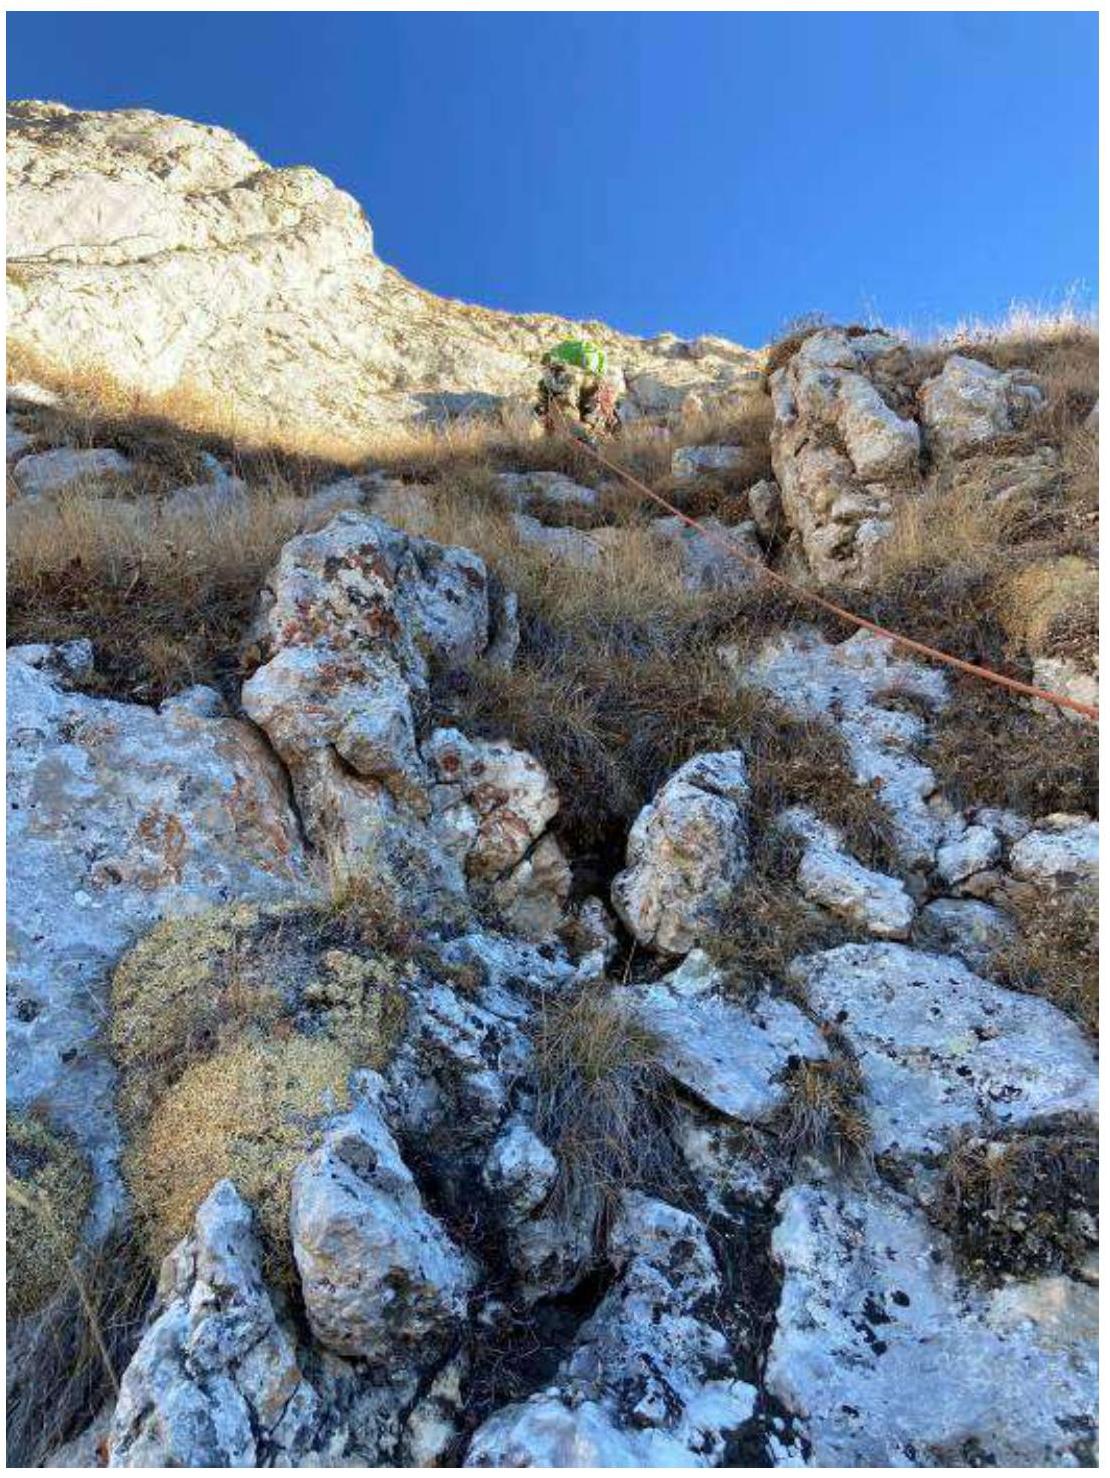
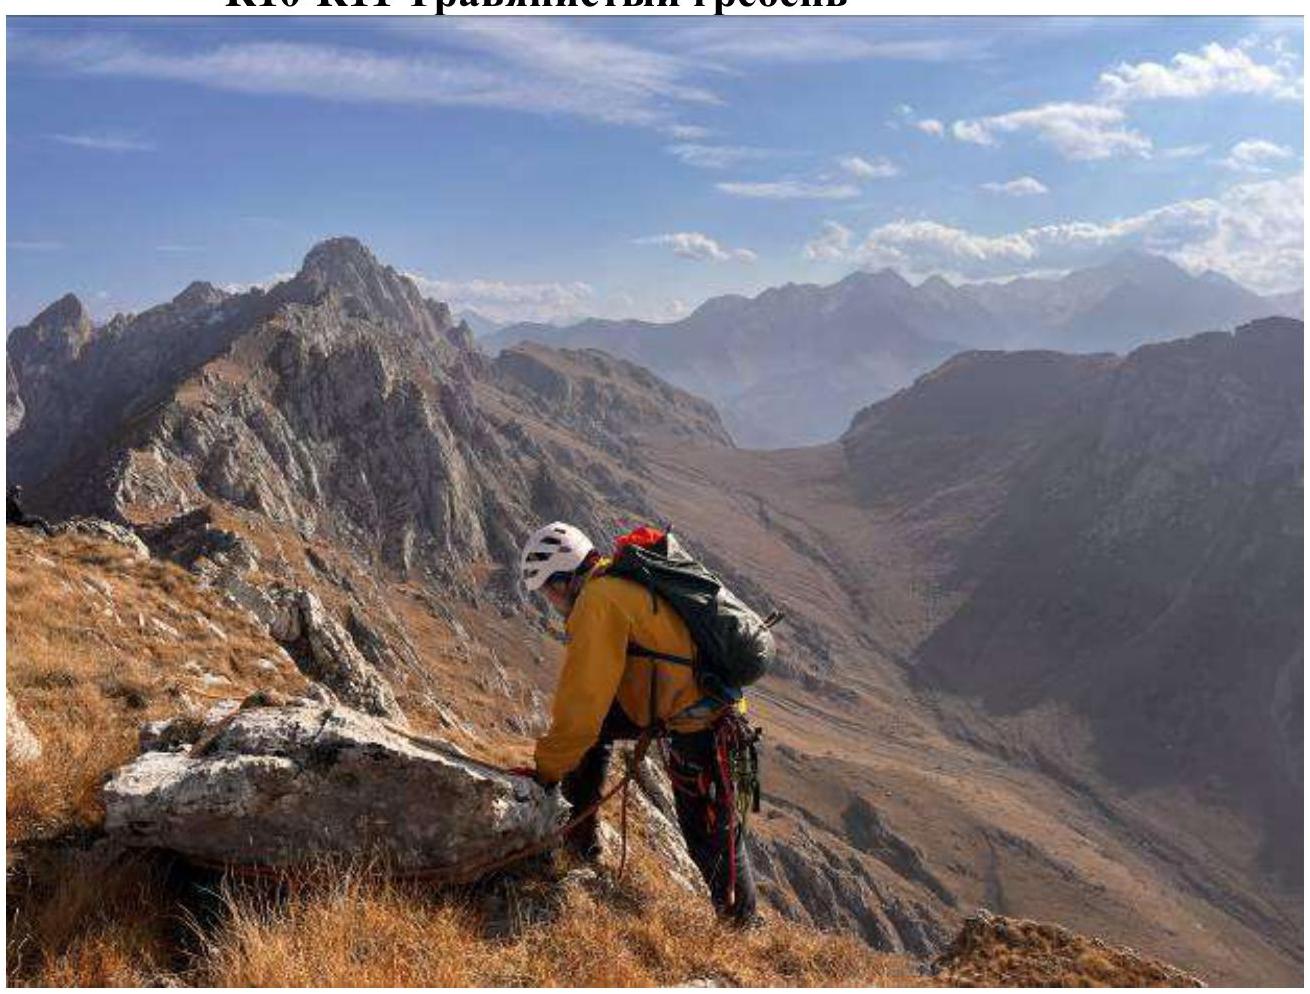
R10–R11 Exiting to the ridge

R10–R11 Grassy ridge
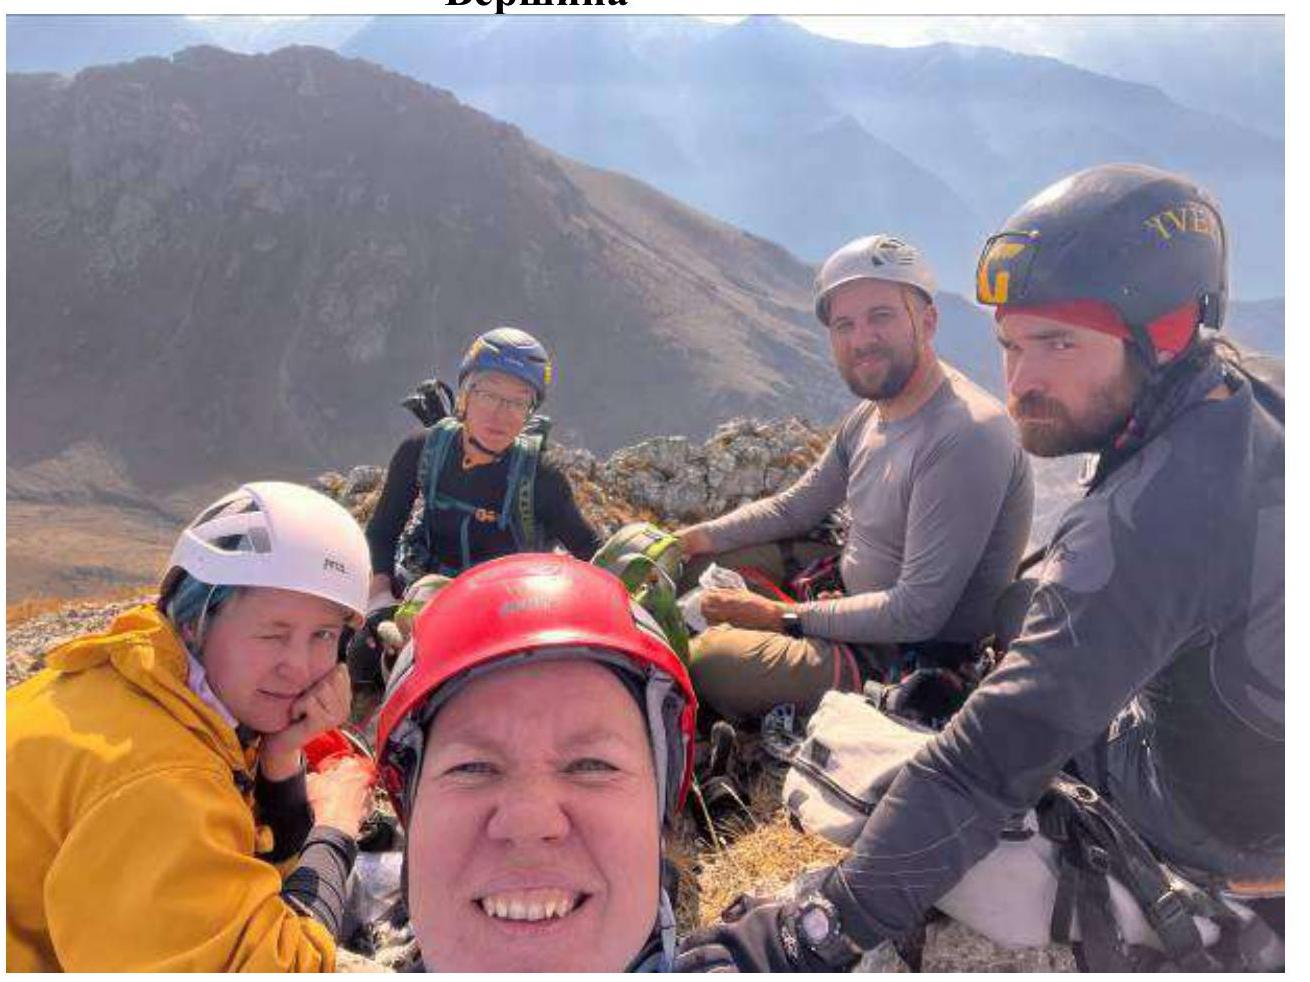
Summit
Comments
Sign in to leave a comment