
Report on the First Ascent
Jharlam
Via the right buttress and shelves of the Southeast wall
Bogdanov A.V. Estimated difficulty: 2A 2023
ASCENT PASSPORT
| 1. General Information | ||
|---|---|---|
| 1.1 | Full name, sports category of the leader | Bogdanov Alexey Vladimirovich, CMS |
| 1.2 | Full name, sports category of participants | Gogolev Stepan Vladimirovich, Kupaltseva Evgeniya Vladimirovna ( alpine badge ), Kovaleva Natalia Evgenievna ( alpine badge ) |
| 1.3 | Organization | OFSO "Federation of Alpinism of Nizhny Novgorod Region" |
| 2. Characteristics of the Ascent Object | ||
| 2.1 | Region | Caucasus |
| 2.2 | Valley | Dzheyrakhsky district |
| 2.4 | Name and height of the summit | Jharlam (2867) |
| 2.5 | Geographical coordinates of the summit (latitude/longitude), GPS coordinates | N 42°51′38.71″ E 44°47′41.26″ |
| 3. Route Characteristics | ||
| 3.1 | Nature of the route terrain | Rocky |
| 3.2 | Difficulty category | 2A |
| 3.3 | Name, year of the first ascent | Via the right buttress and shelves of the Southeast wall, 2023 |
| 3.2 | Elevation gain of the route (altimeter or GPS data, m) | 540 |
| 3.3 | Route length (in meters) | 985 |
| 3.4 | Descent from the summit | Descent via the 1B category route |
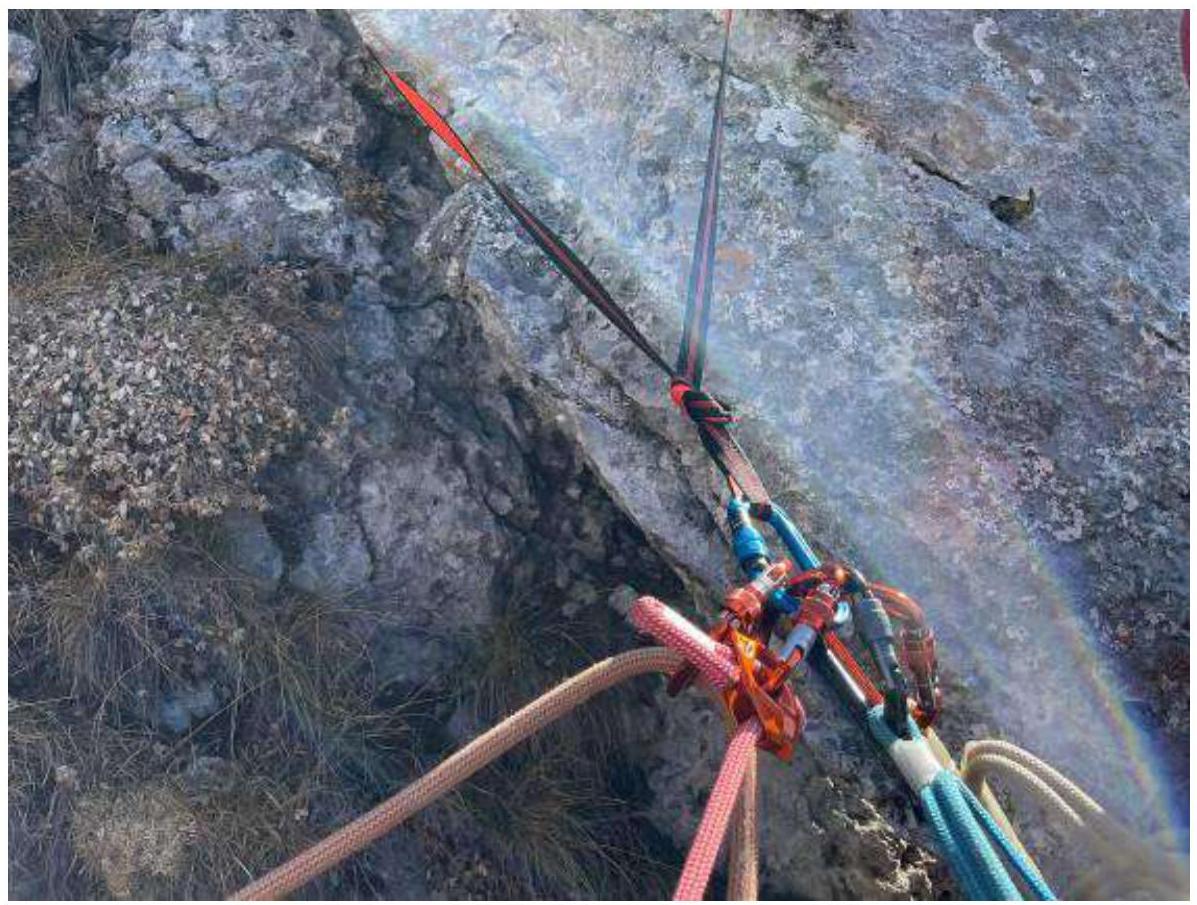
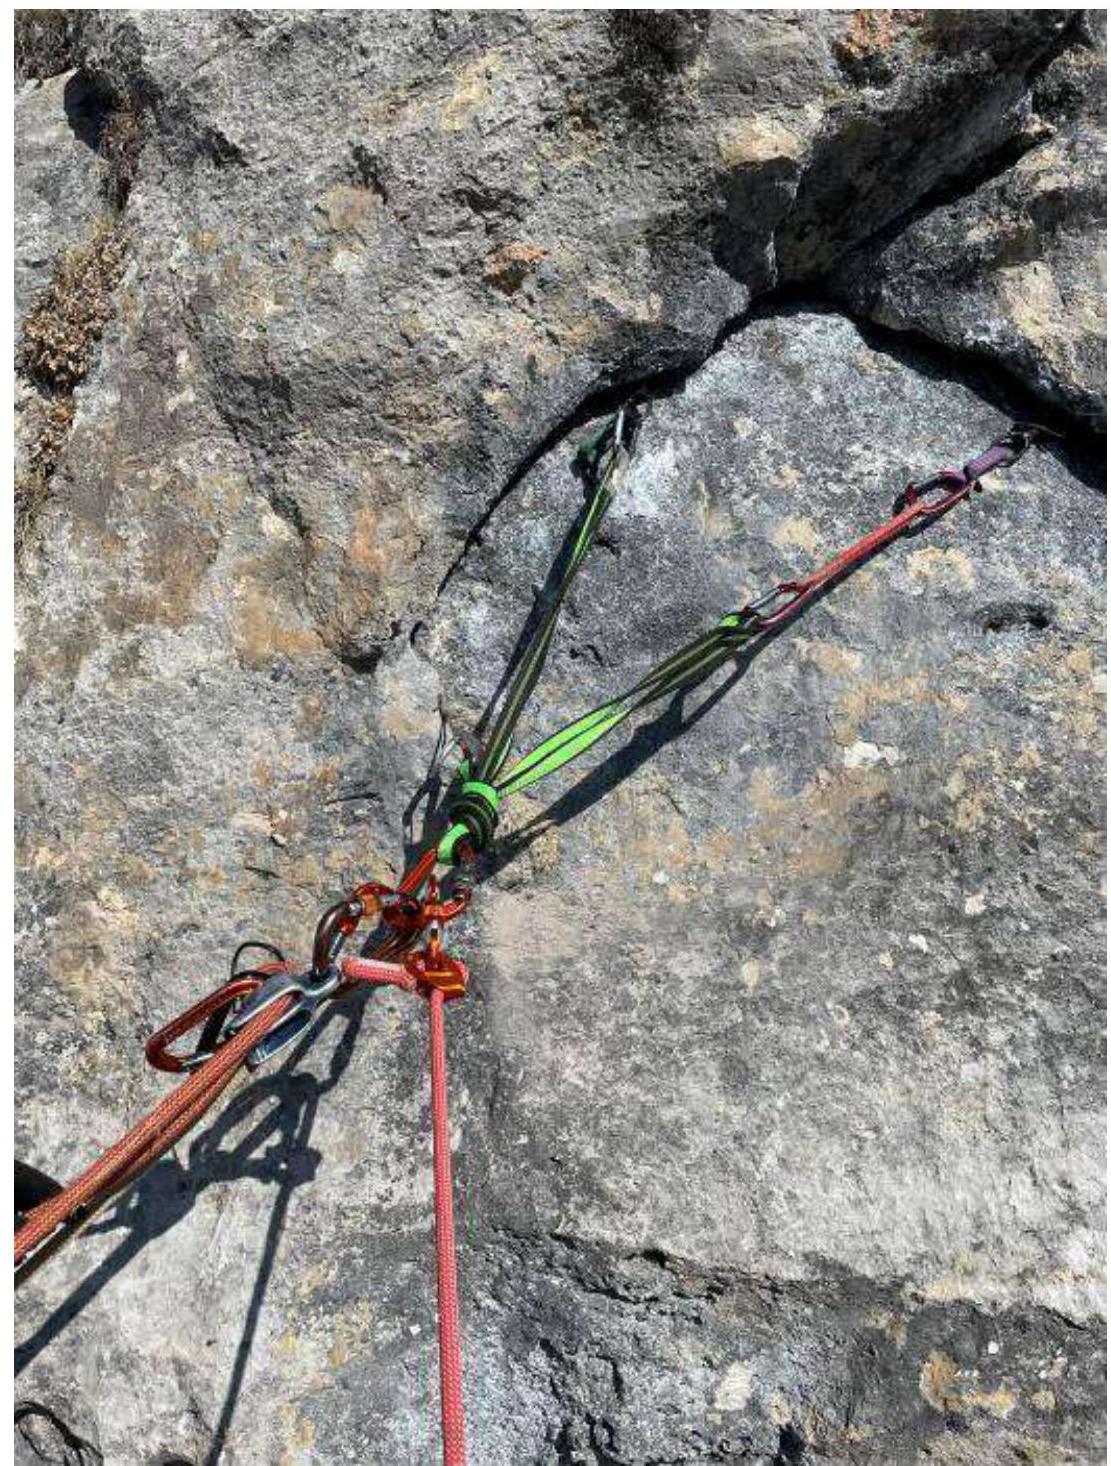
| 3.5 | Additional route characteristics | Use anchors, friends, and nuts as belay points. |
| 4. Characteristics of Team Actions | ||
| 4.1 | Time on the route (team's moving hours), time to the summit, total time including descent, time from bivouac to bivouac | 5 h 00 min, 6 h 30 min, 8 h 30 min |
| 4.3 | Time at control points | Departure from bivouac on Jharlam pass – 06:00 (01.11.2023) Started the route – 07:00 Reached the summit – 12:00 Returned to bivouac – 14:30 (01.11.2023) |
| 5. Weather Conditions | ||
| 5 | November 1, 2023 – clear | |
| 6. Person responsible for the report | ||
| 6.1 | Full name, e-mail | Bogdanov Alexey Vladimirovich, 2965056@gmail.com, 8 (987) 537-55-93 |
Section lengths: easy terrain — 360 m, category 1 — 270 m, category 2 — 290 m, category 3 — 65 m. Maximum steepness of the wall section — 70°; Average steepness of the wall section — 55°; Average steepness of the entire route — 45°.
Belay points used:
- anchor hooks – 5
- protection elements – 18
Belay points left on the route: Total — 0
Movement table by sections.
| Section | Length | Steepness | Terrain characteristics | Difficulty category | Number of belay points |
|---|---|---|---|---|---|
| R0–R1 | 100 | 45 | Grass | easy | 0 |
| 50 | 20 | Grass, rocks | 1 | 0 | |
| R1–R2 | 50 | 45 | Rocky | 2 | 2 |
| R2–R3 | 40 | 30 | Grass, rocks | easy | 0 |
| R3–R4 | 30 | 70 | Rocky | 3+ | 4 |
| 20 | 30 | Grass, rocks | 2 | 2 | |
| R4–R5 | 50 | 20 | Grass | easy | 0 |
| 50 | 45 | Rocky | 2 | 4 | |
| R5–R6 | 15 | 65 | Rocky | 3 | 2 |
| 30 | 30 | Grass, rocks | 1 | 0 | |
| R6–R7 | 100 | 20 | Grass | easy | 0 |
| R7–R8 | 40 | 60 | Rocky | 2 | 5 |
| R8–R9 | 50 | 20 | Grass, rocks | 1 | 0 |
| 50 | 45 | Rocky | 2 | 6 | |
| R9–R10 | 50 | 20 | Grass, rocks | 1 | 0 |
| 30 | 45 | Rocky | 2 | 0 | |
| R10–R11 | 70 | 30 | Grass | easy | 0 |
| 30 | 30 | Scree | 1 | 0 | |
| 50 | 45 | Rocks, grass | 2 | 2 | |
| 10 | 45 | Rocks | 1 | 1 | |
| R11–R12 | 20 | 70 | Rocky | 3 | 2 |
| 50 | 10 | Grass, rocks | 1 | 0 |
Equipment used by the group:
- Anchor hooks – 4 pcs.
- Friends – 8 pcs.
- Nuts set – 10 pcs.
- Ropes: 2 dynamic ropes
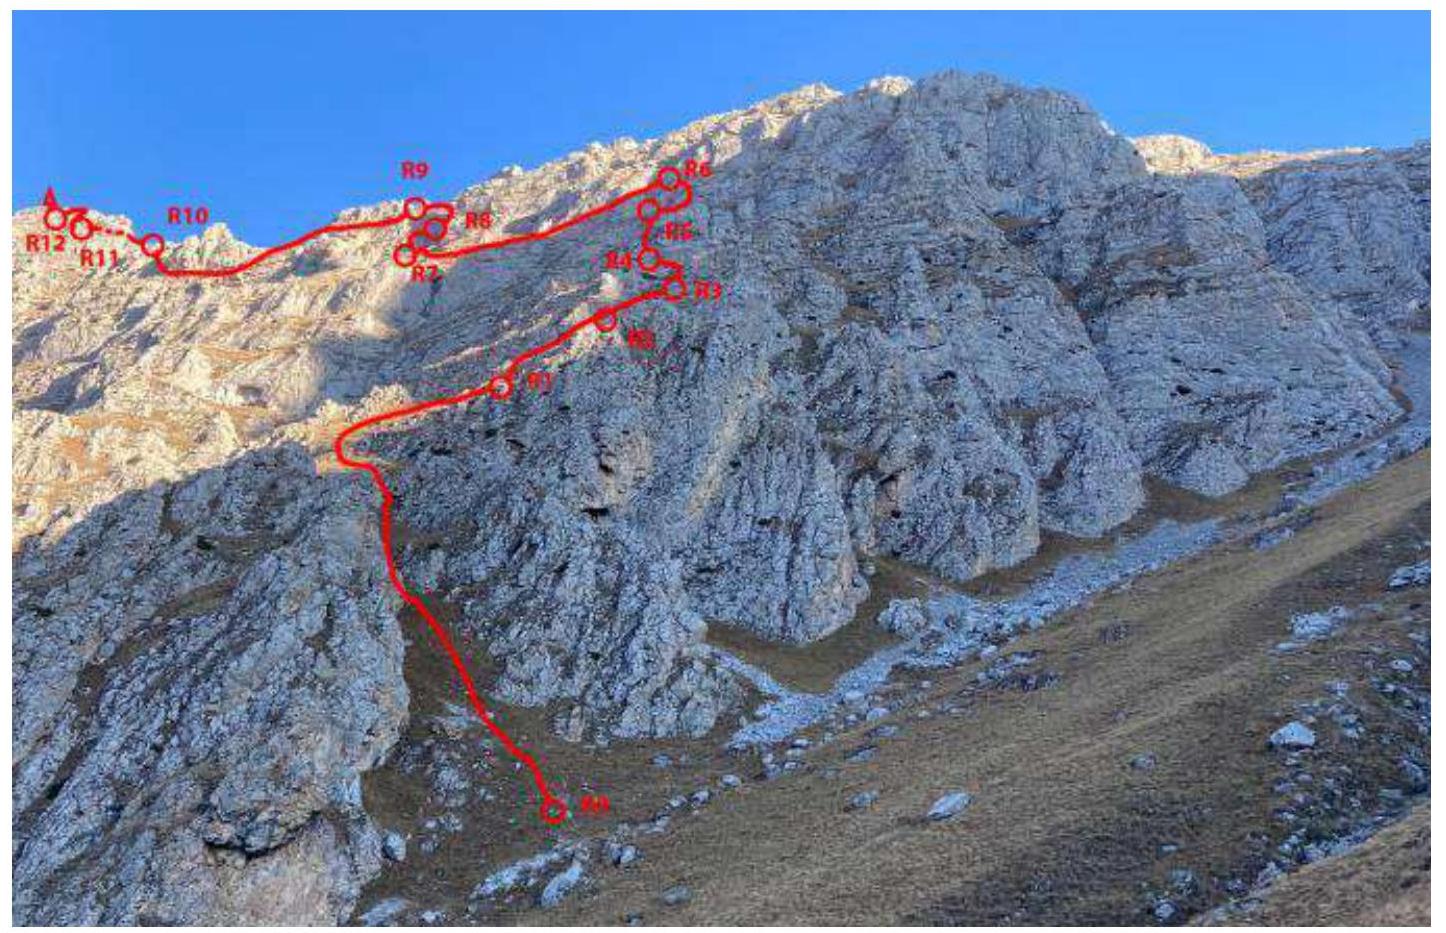
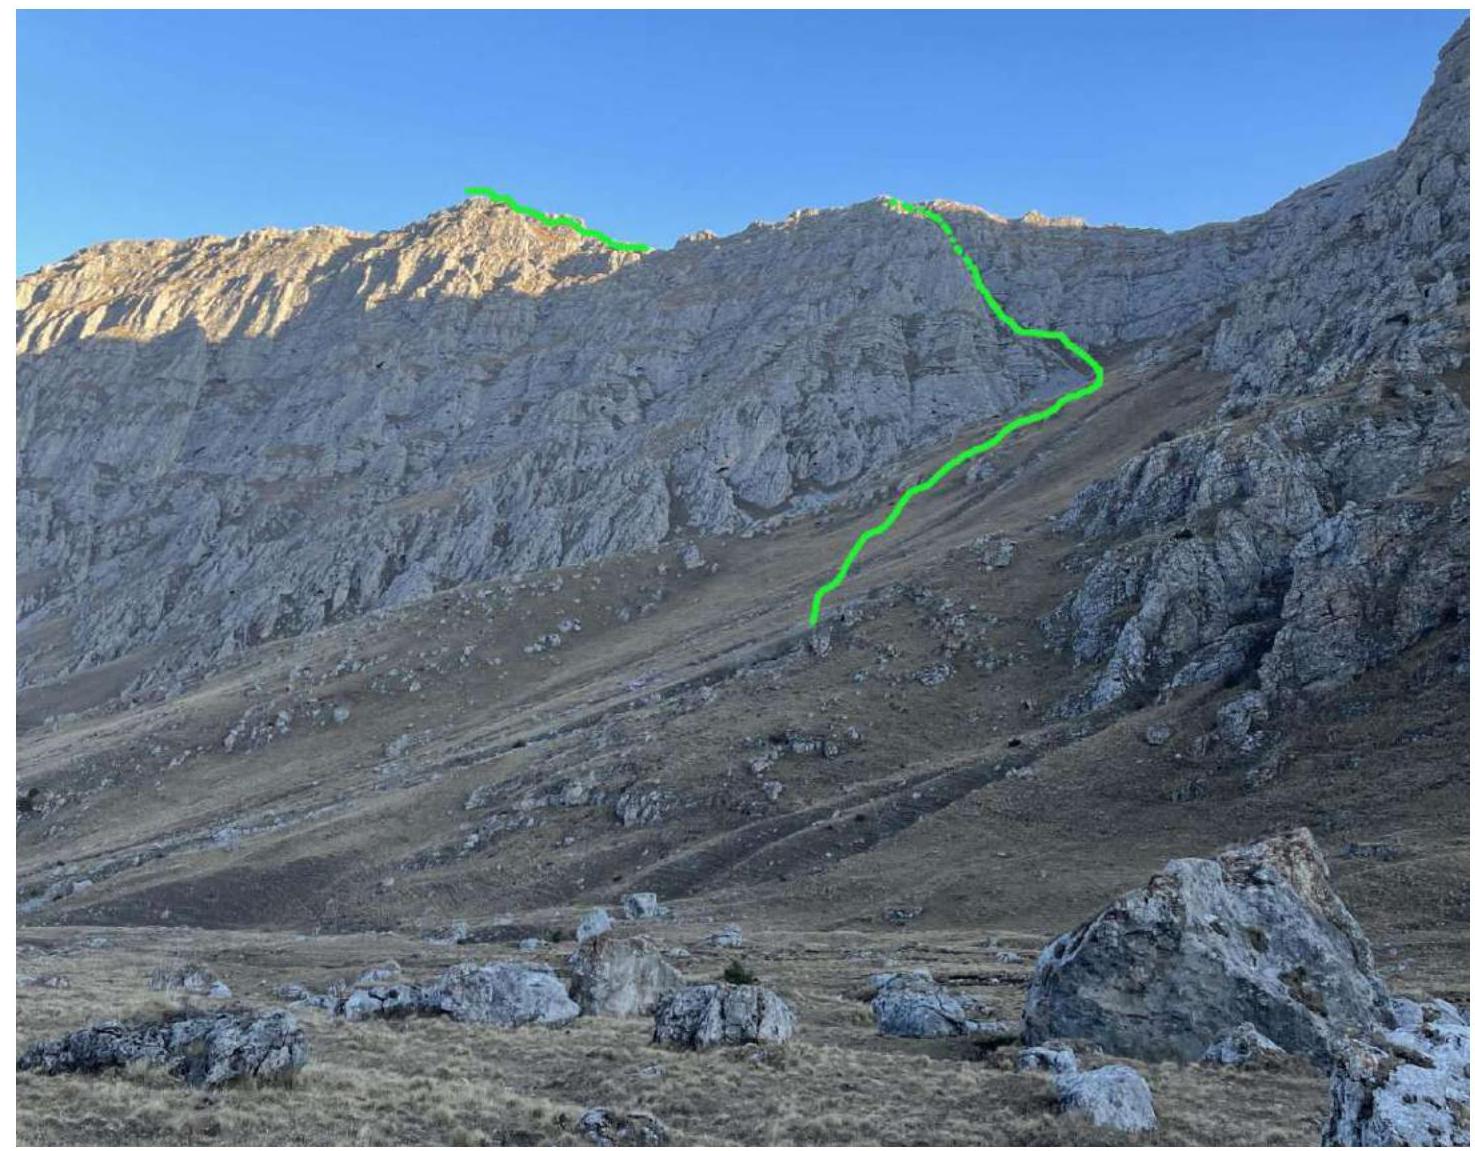
Area map
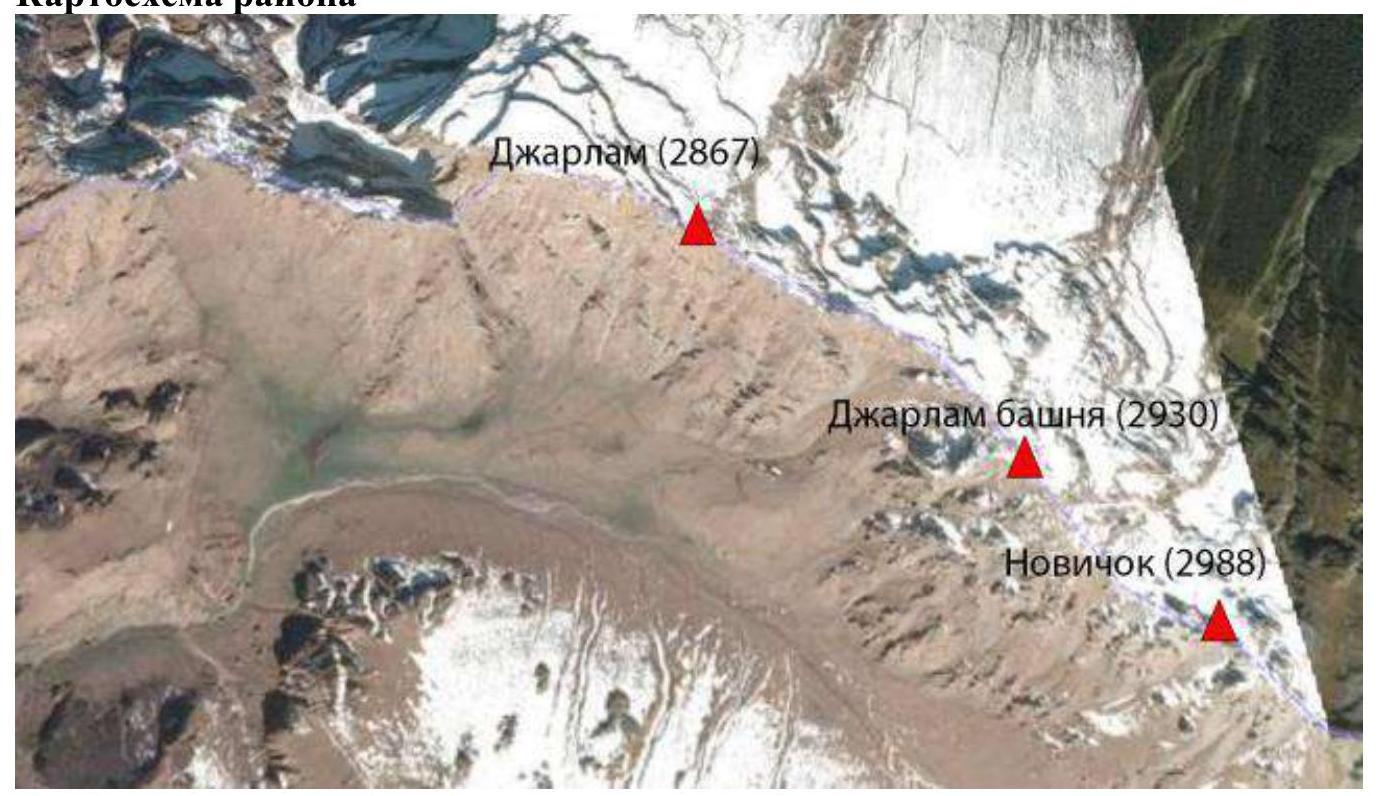
Ascent line
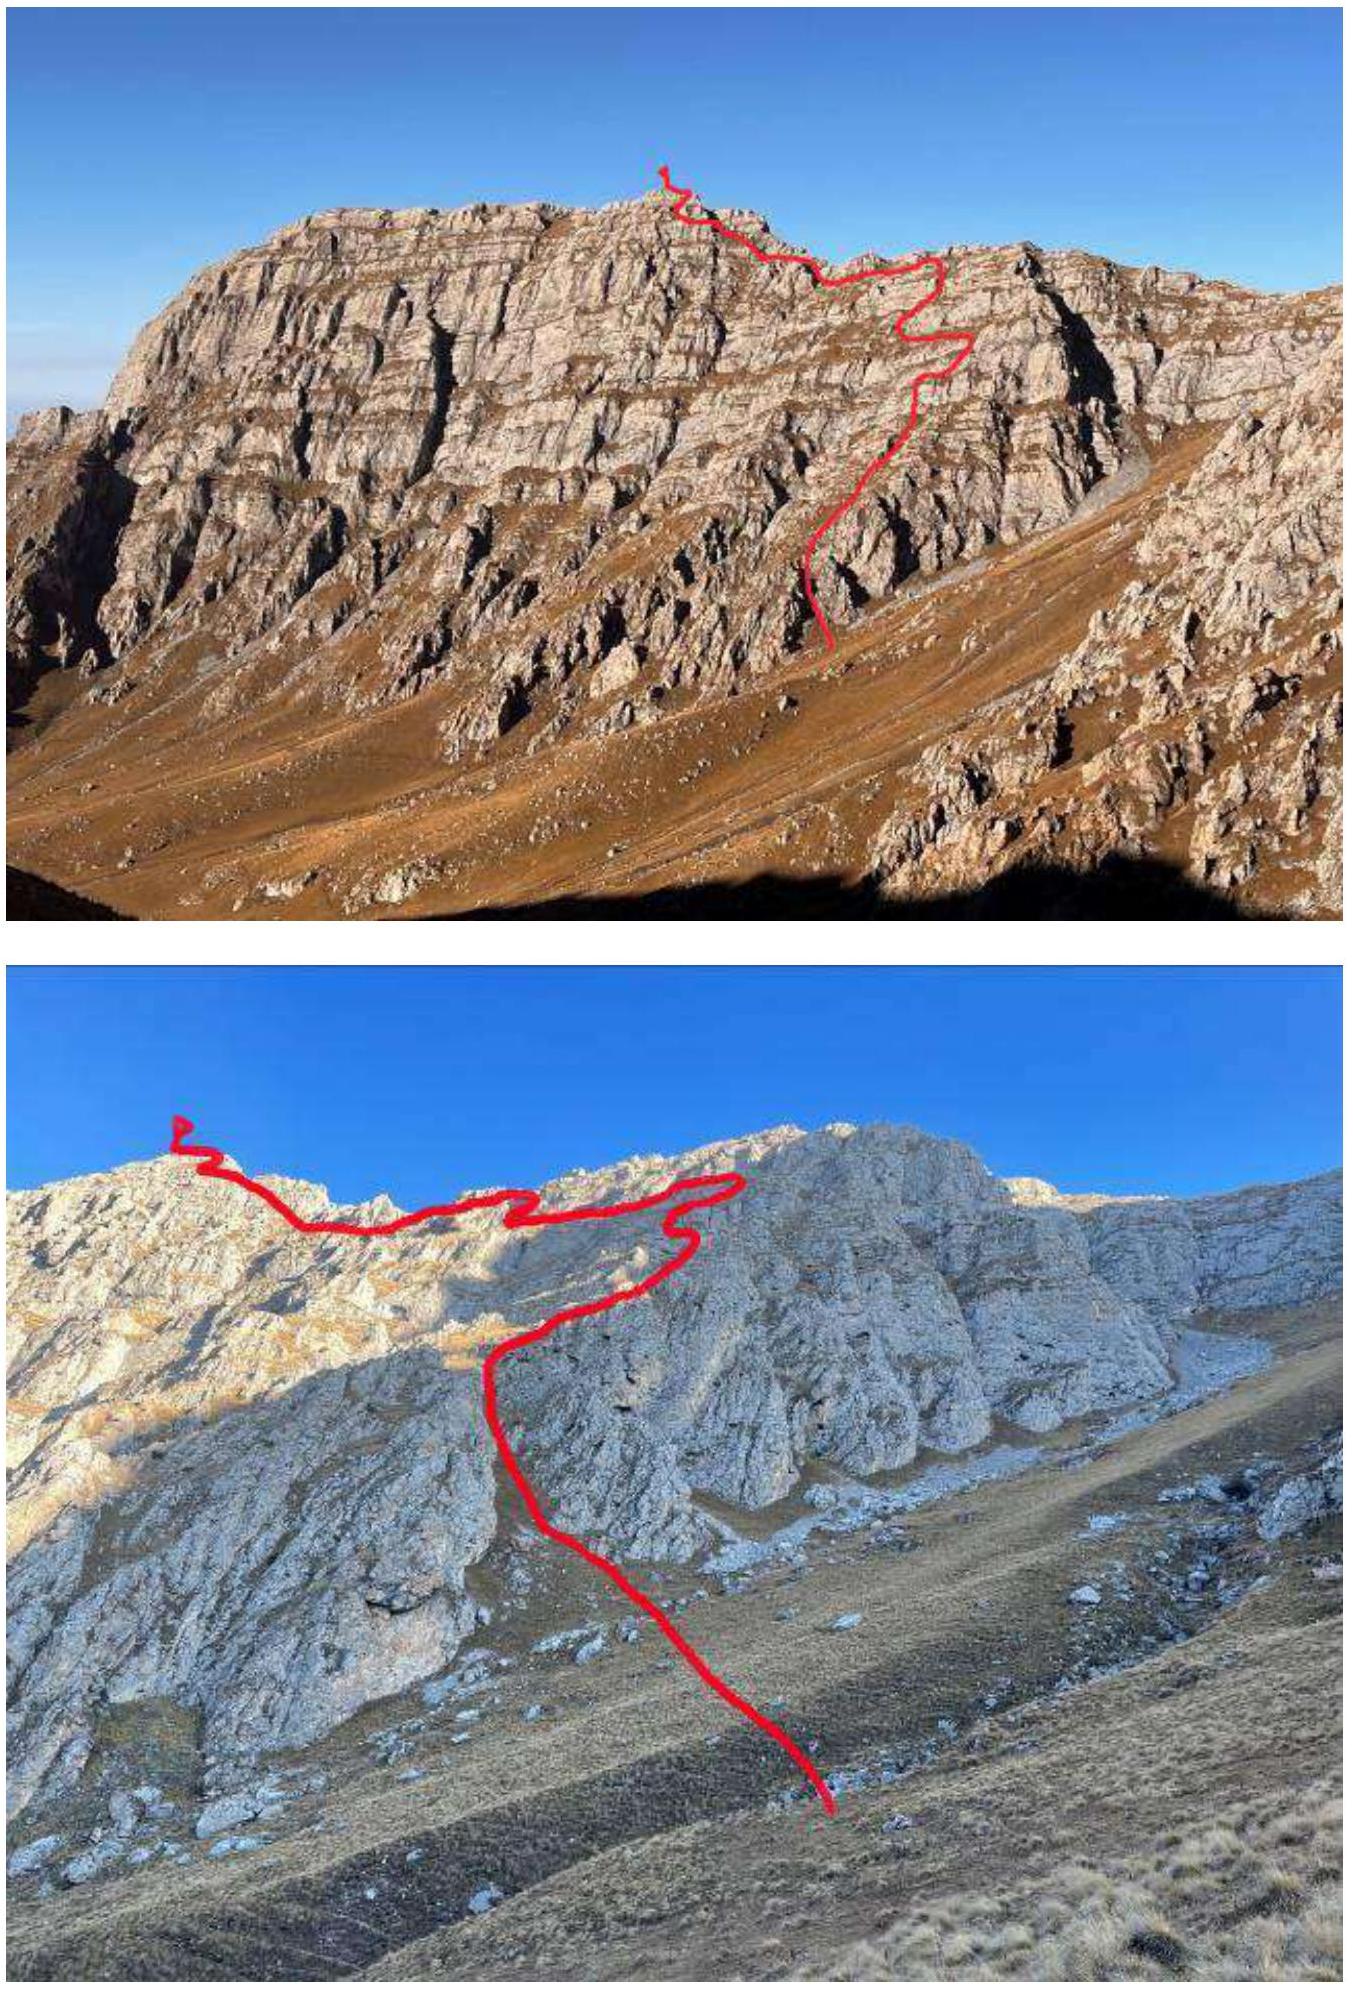
Route Description
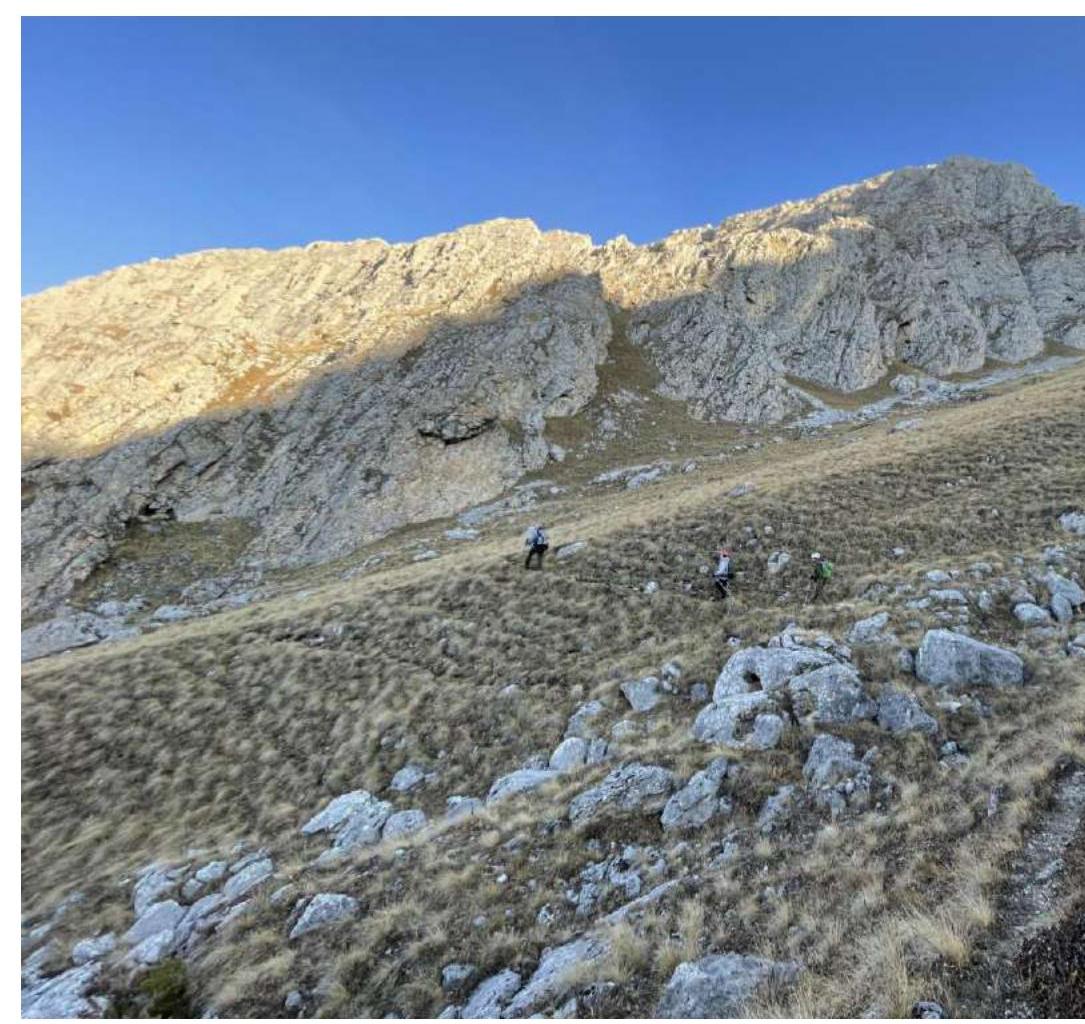
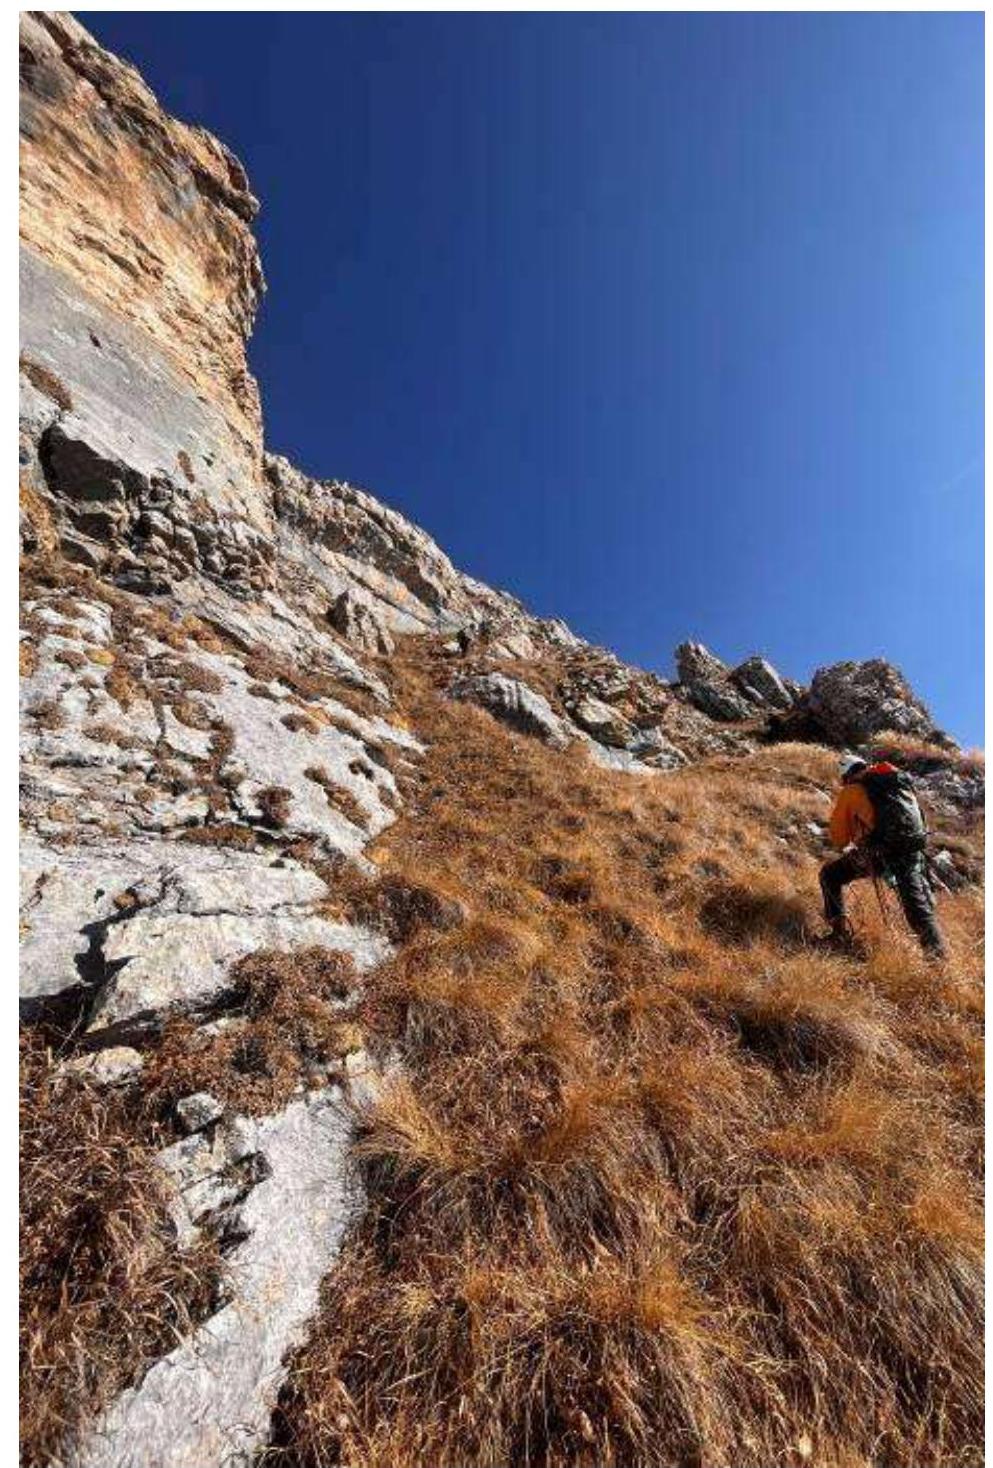
Approach: move along the valley to the first couloir for 30 min. After passing the summit of Jharlam "Tower", turn towards the large couloir.
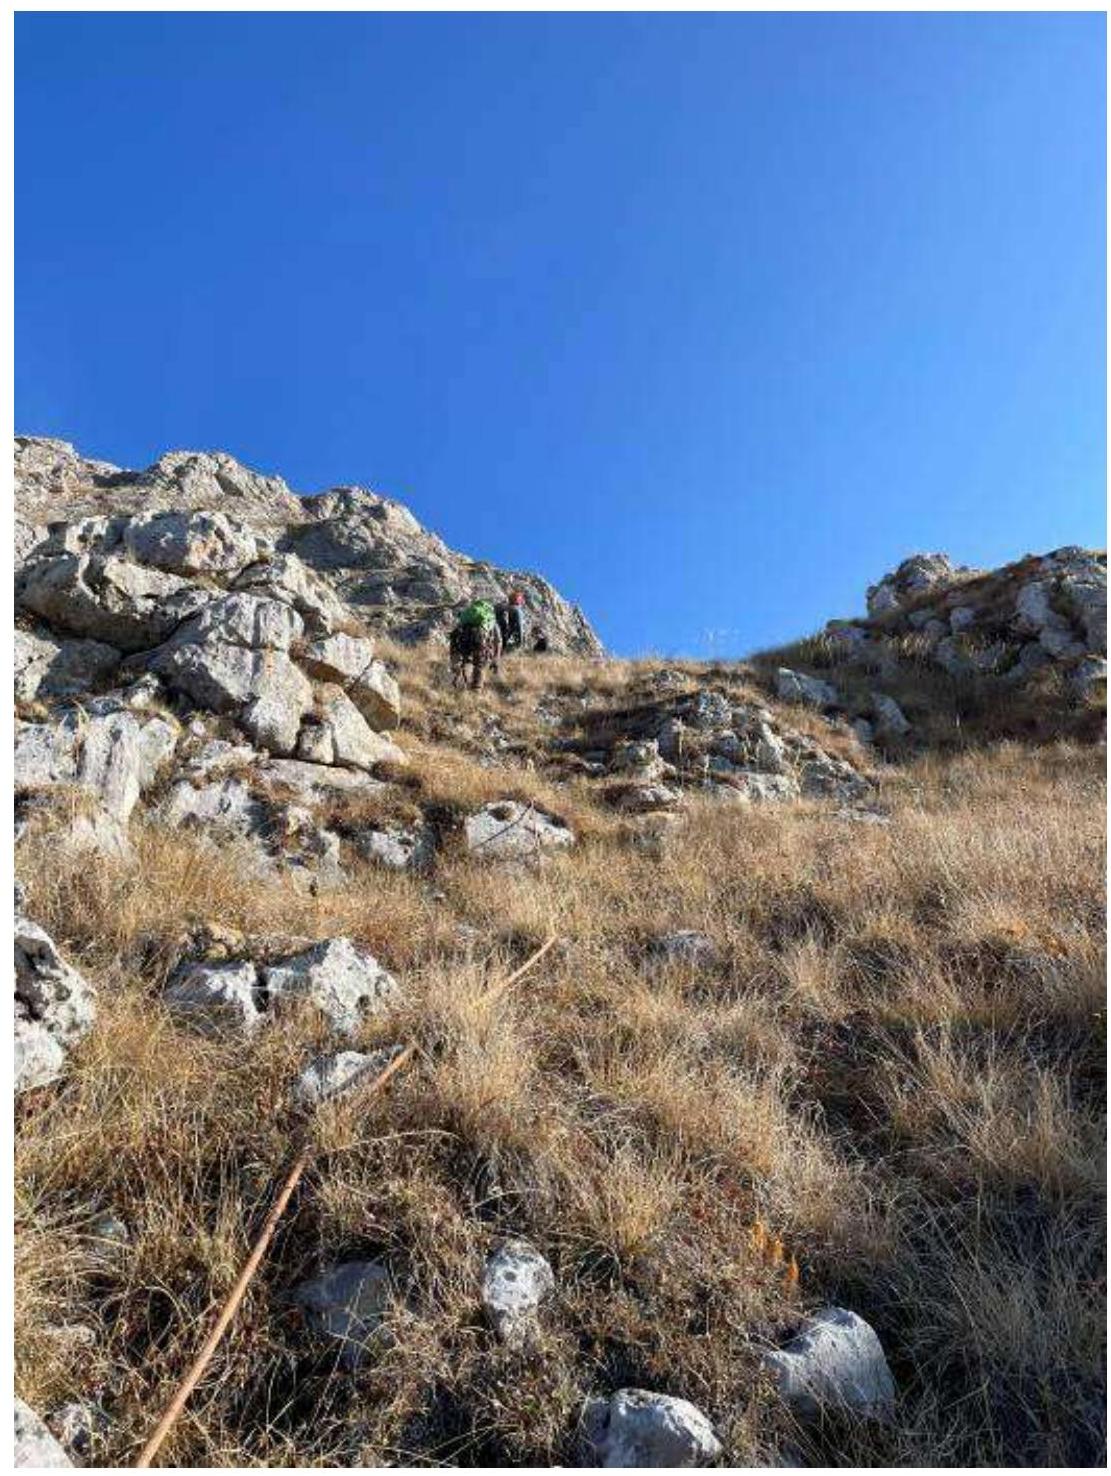
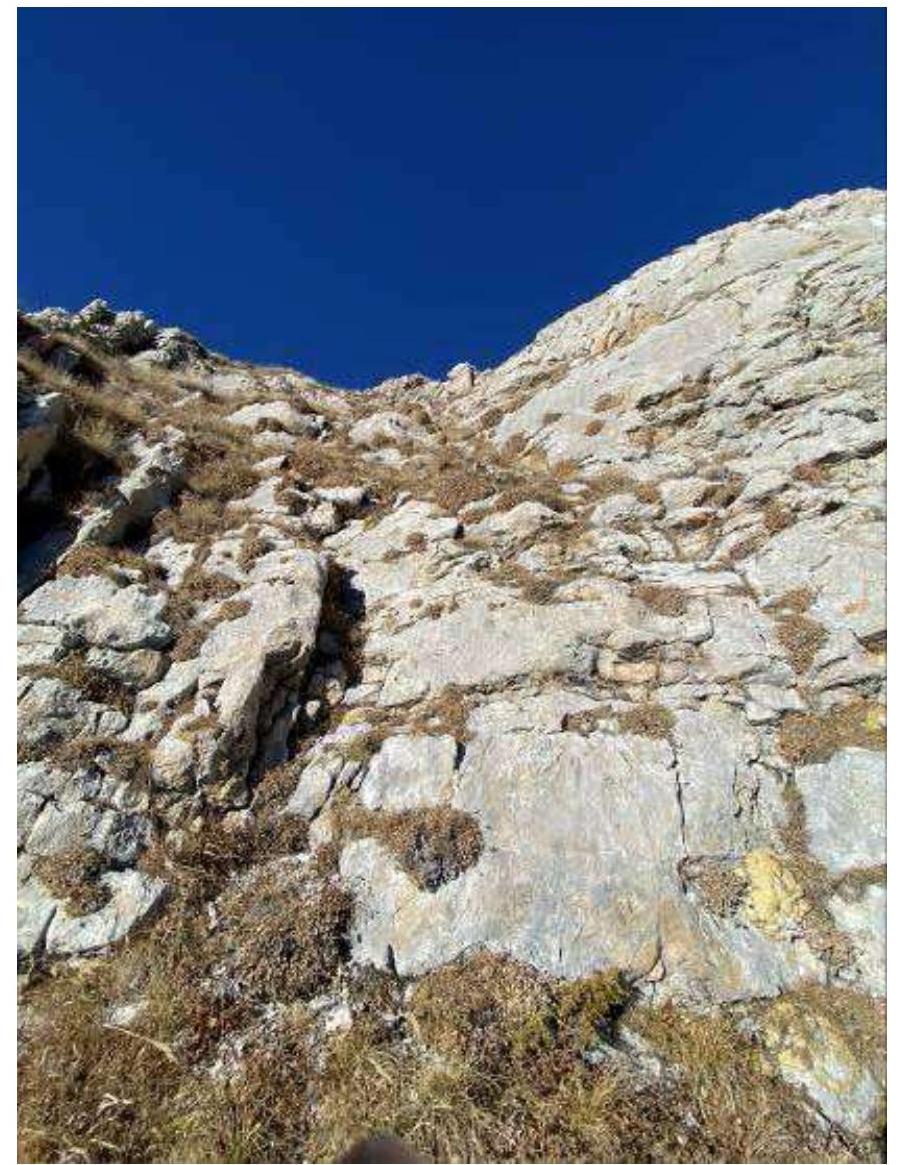
R0–R1: move along the southern buttress, ascend via the first grassy slope with a steepness of 45°. Then move up through a system of walls and grassy ledges. Climbing grade 1.
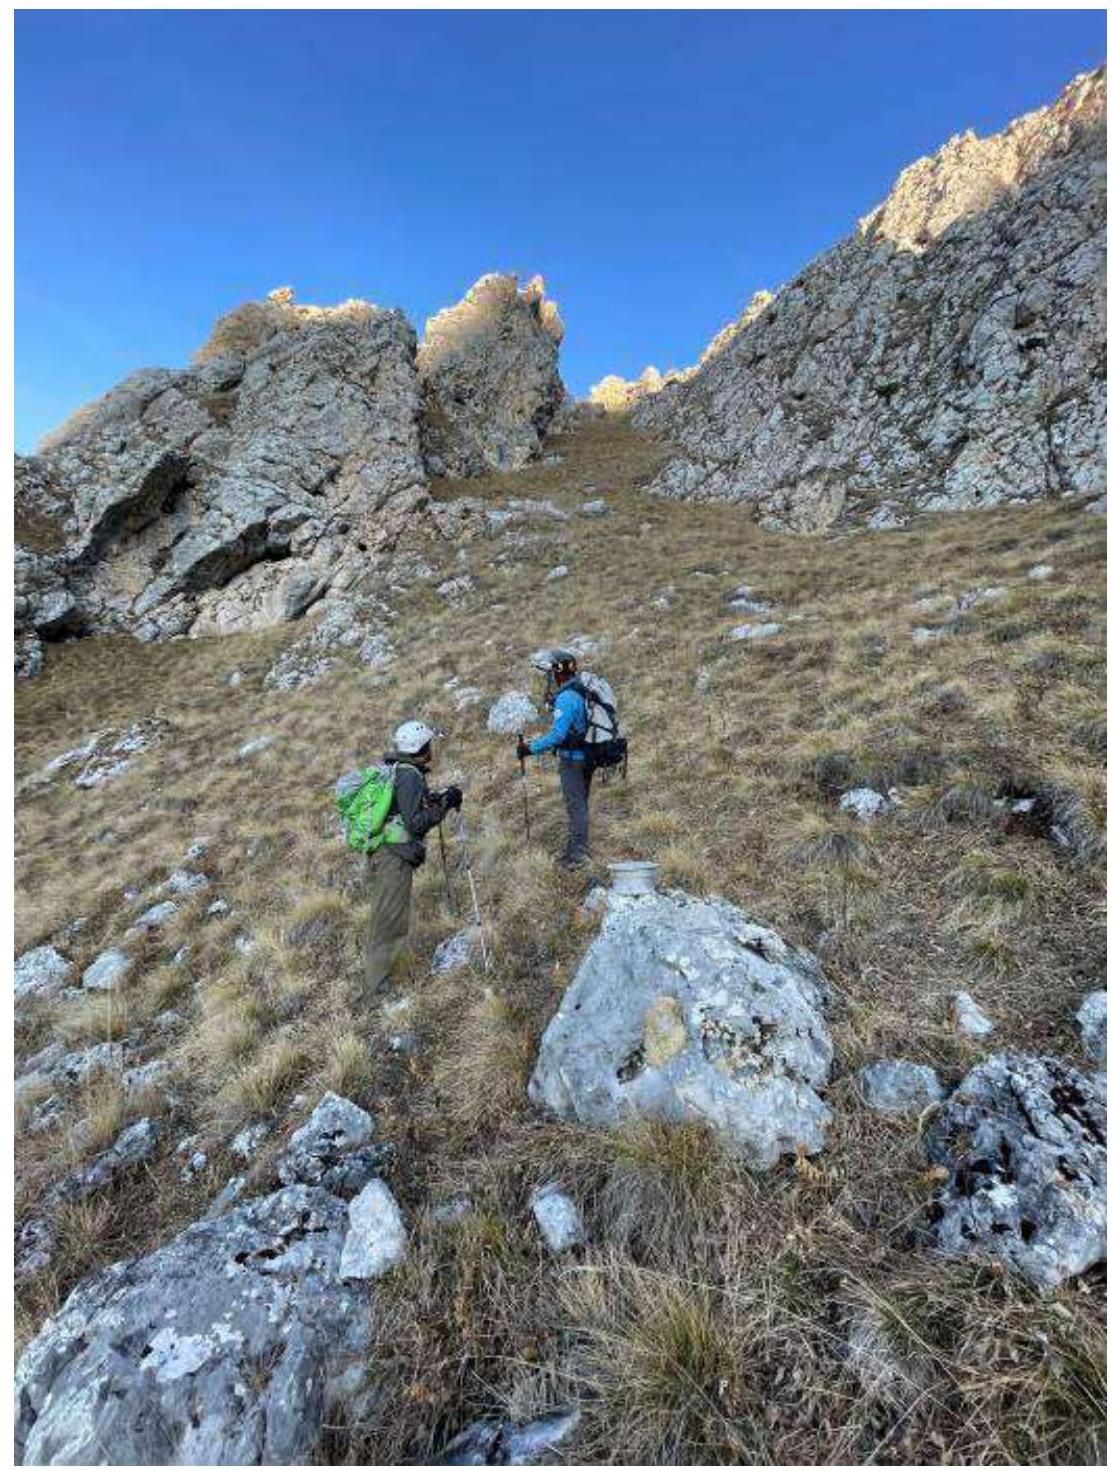
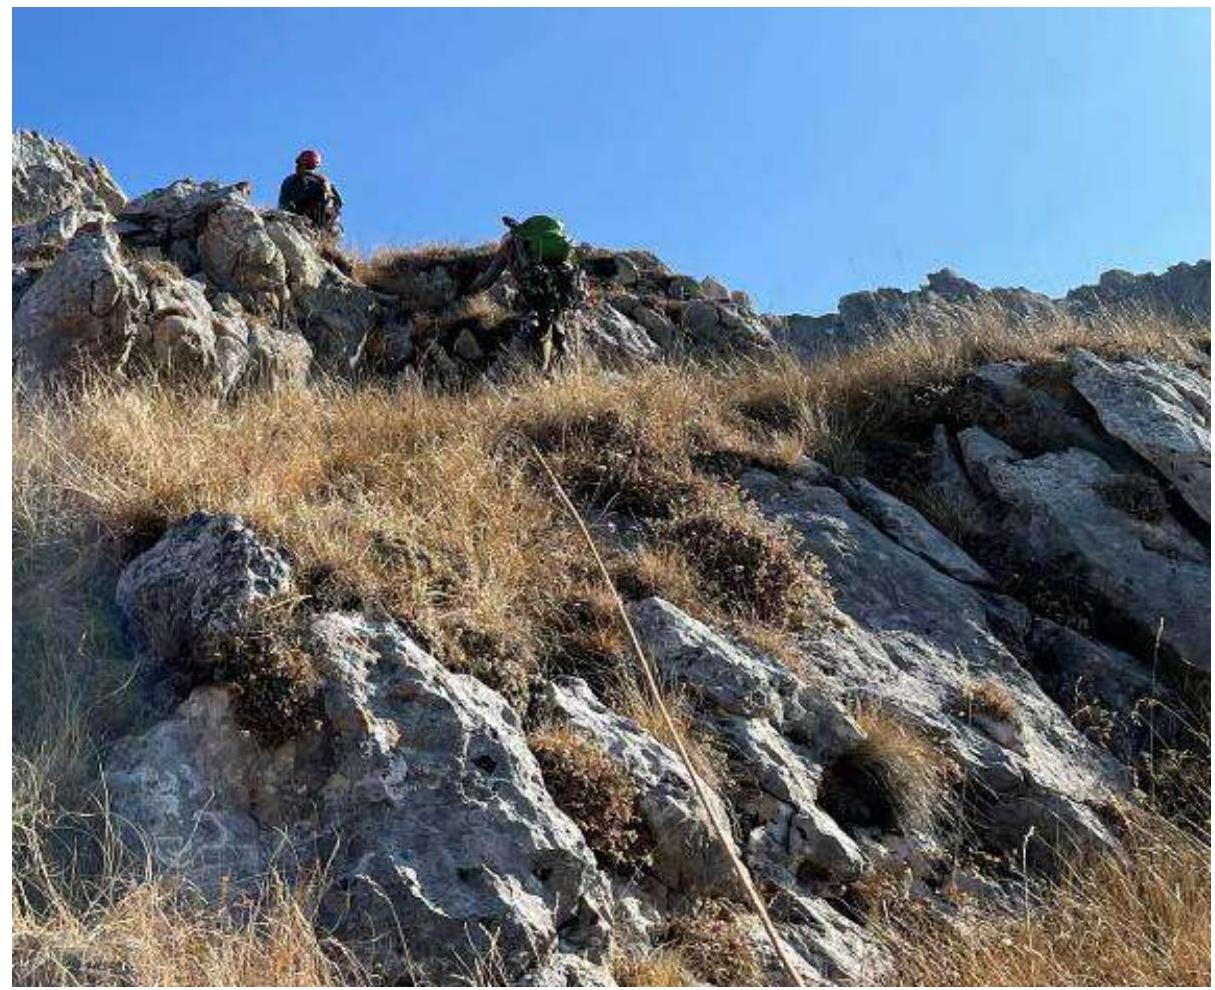
R1–R2: move across rocks (grade 2) for 50 m, reach a large grassy ledge.
R2–R3: move left along the ledge for 40 m. Approach the overhanging rock and organize a belay station.
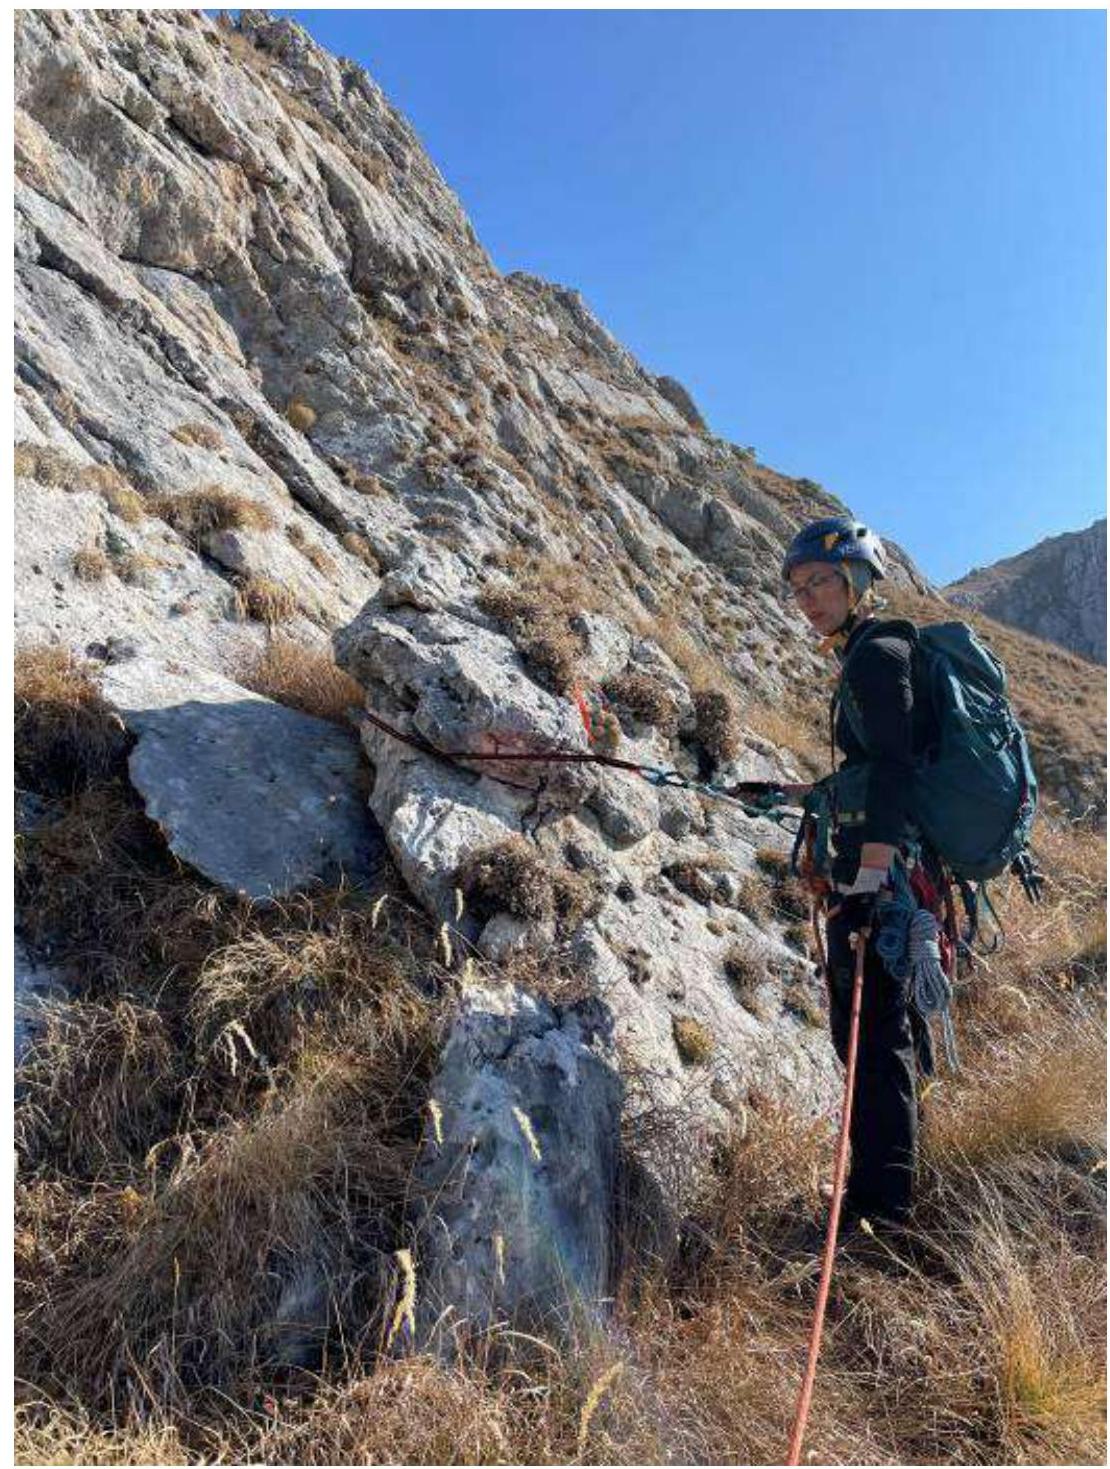
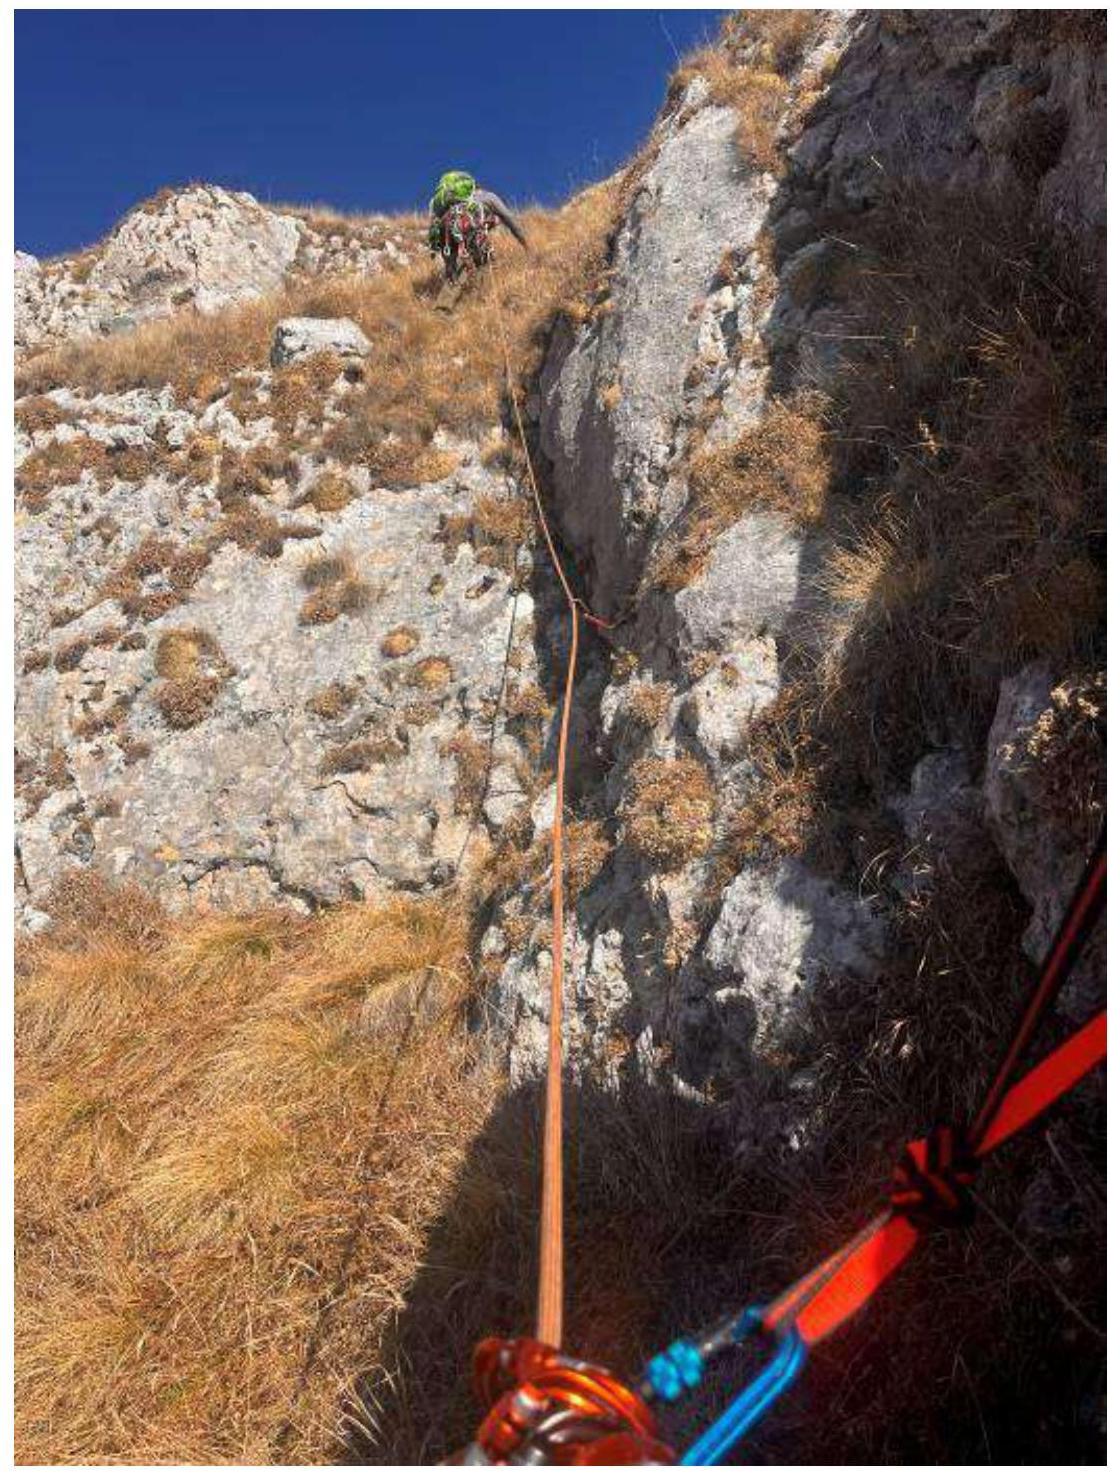
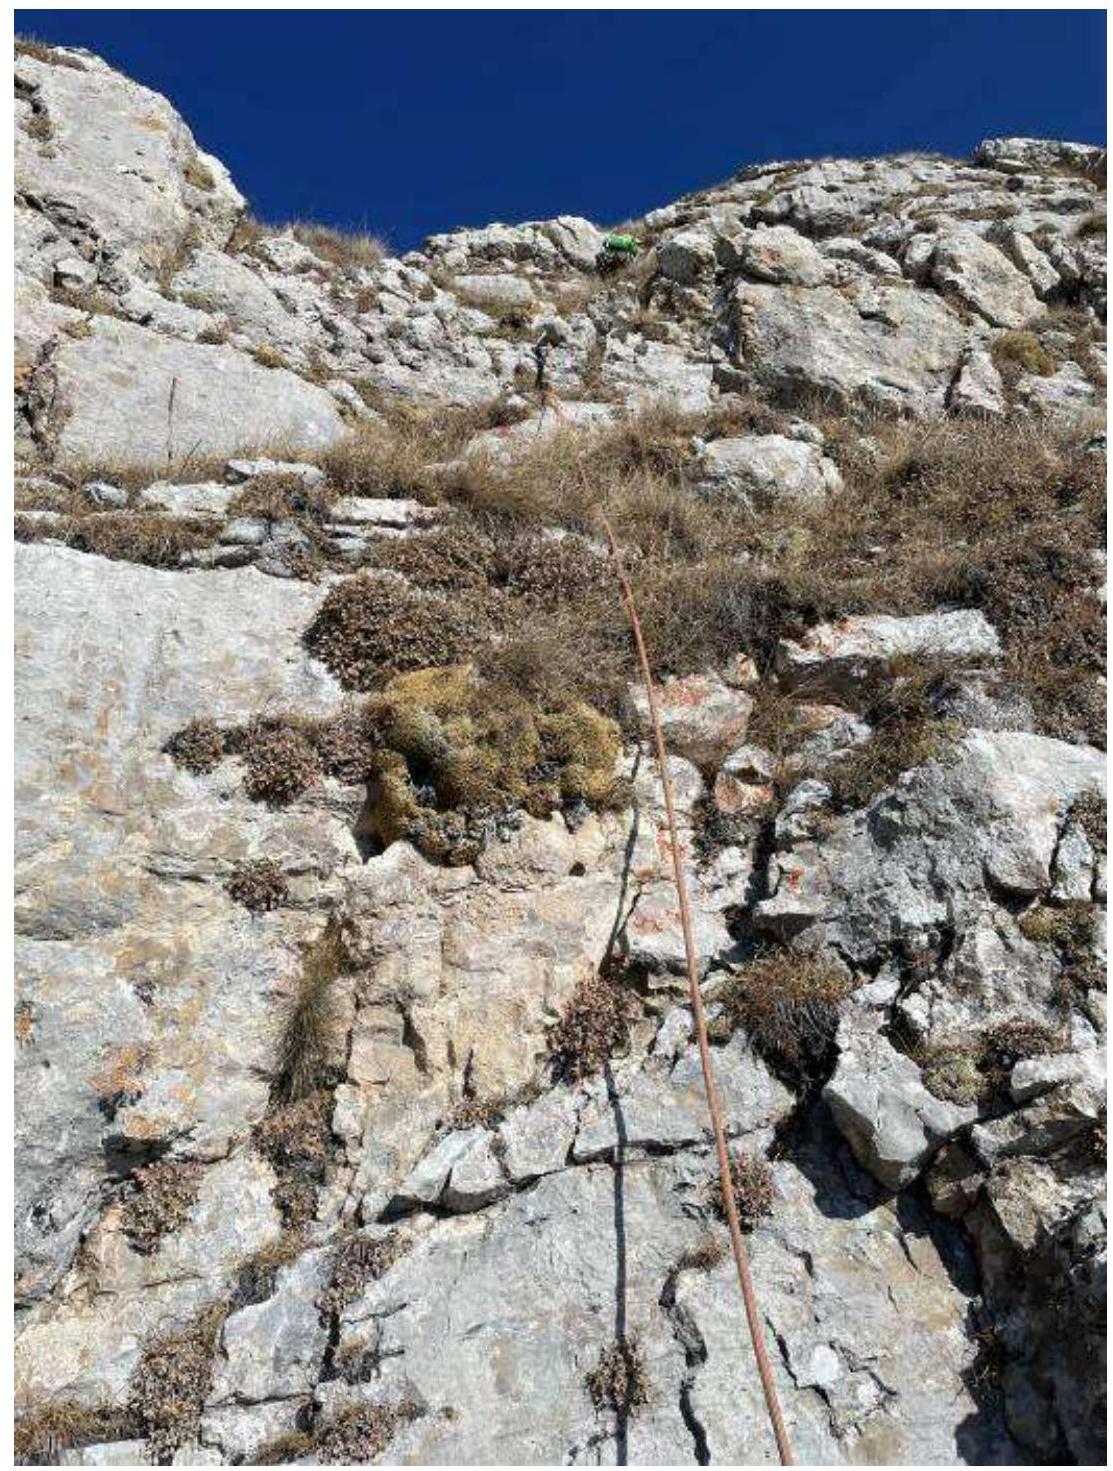
R3–R4: ascend via a crack, bypassing the overhanging wall on the left, for 30 m. Key section of the route. Climbing grade 3+. Then move 20 m across grassy ledges and rocks (grade 2). Organize a belay station on a rock under the wall.
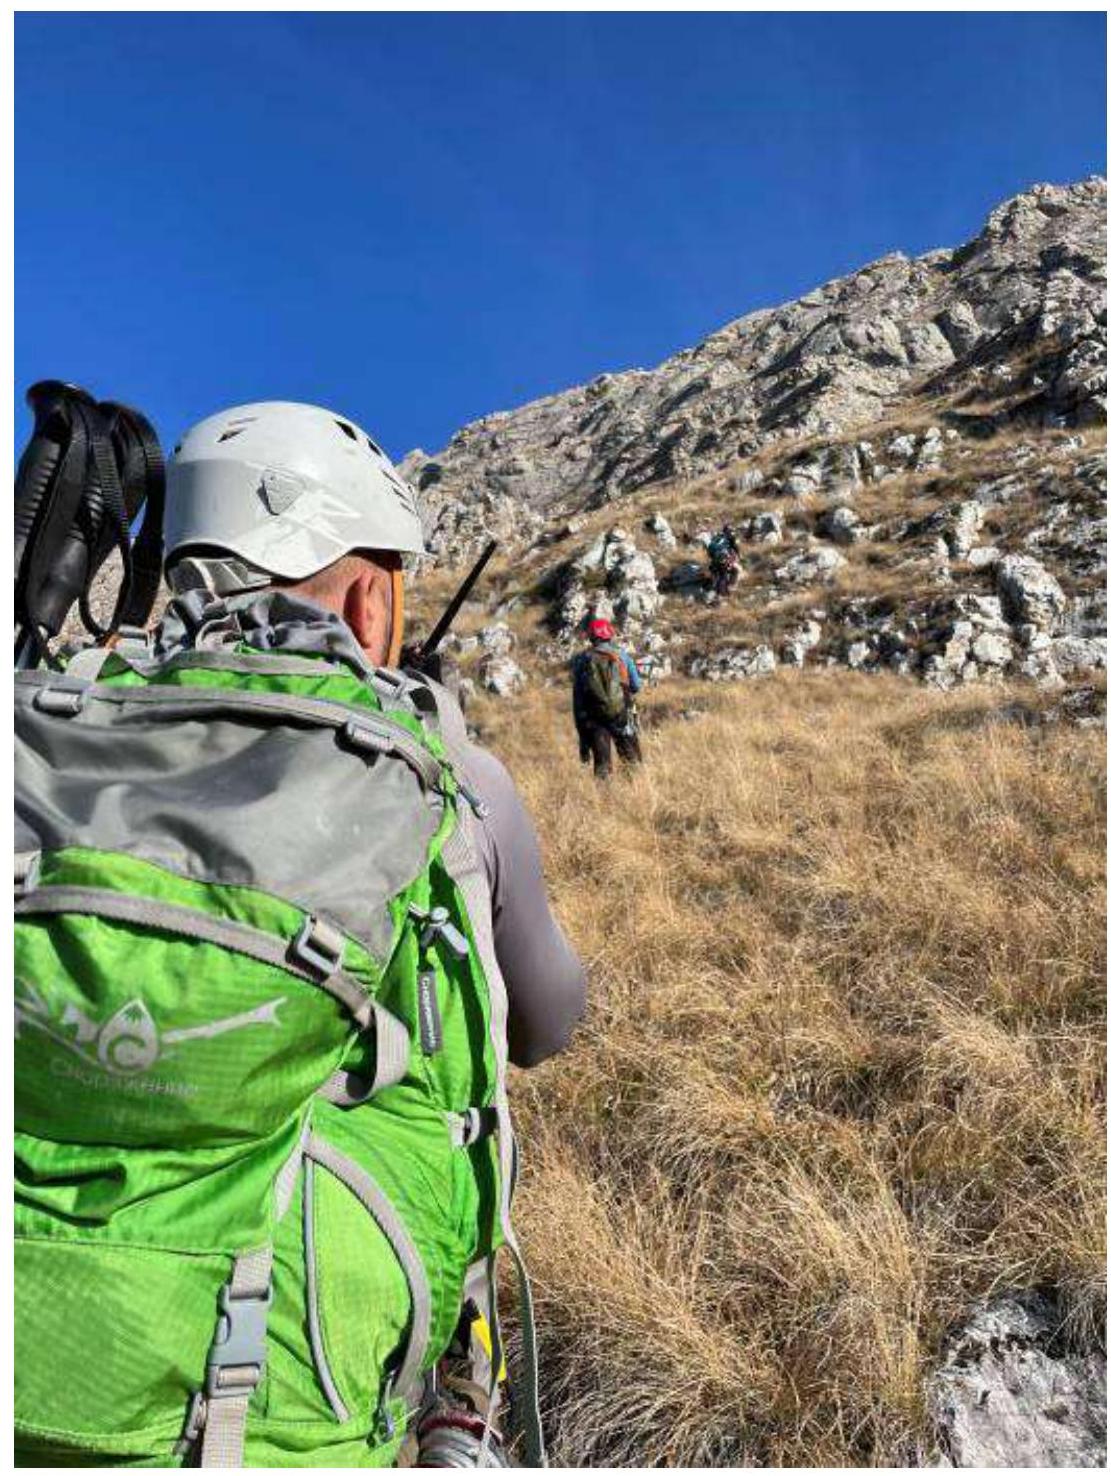
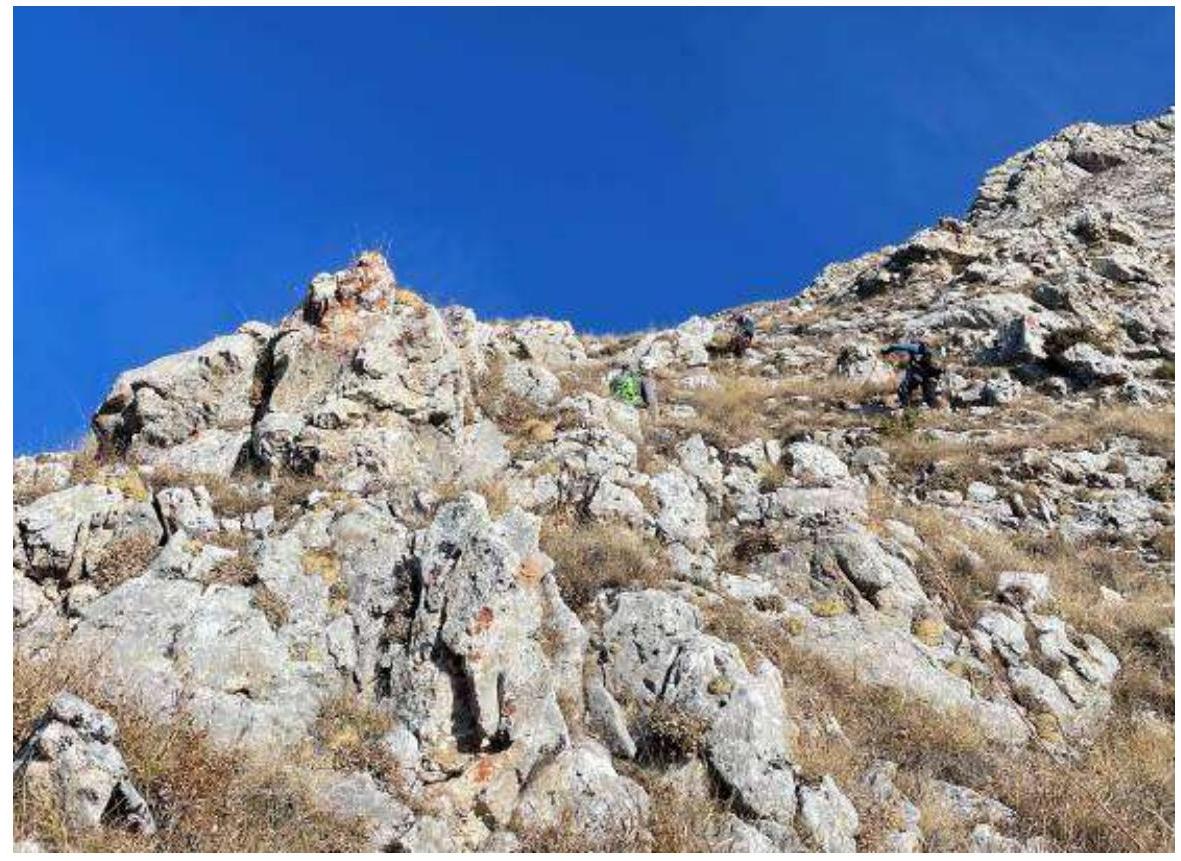
R4–R5: move right and up across grassy ledges for 50 m. Then via a system of walls and ledges for 50 m (grade 2). Belay station on a large leaning rock.
R5–R6: move up 15 m across a wall with protection in a crack using friends. Then across steep grassy ledges reach the central terrace passing through the wall of Jharlam summit.
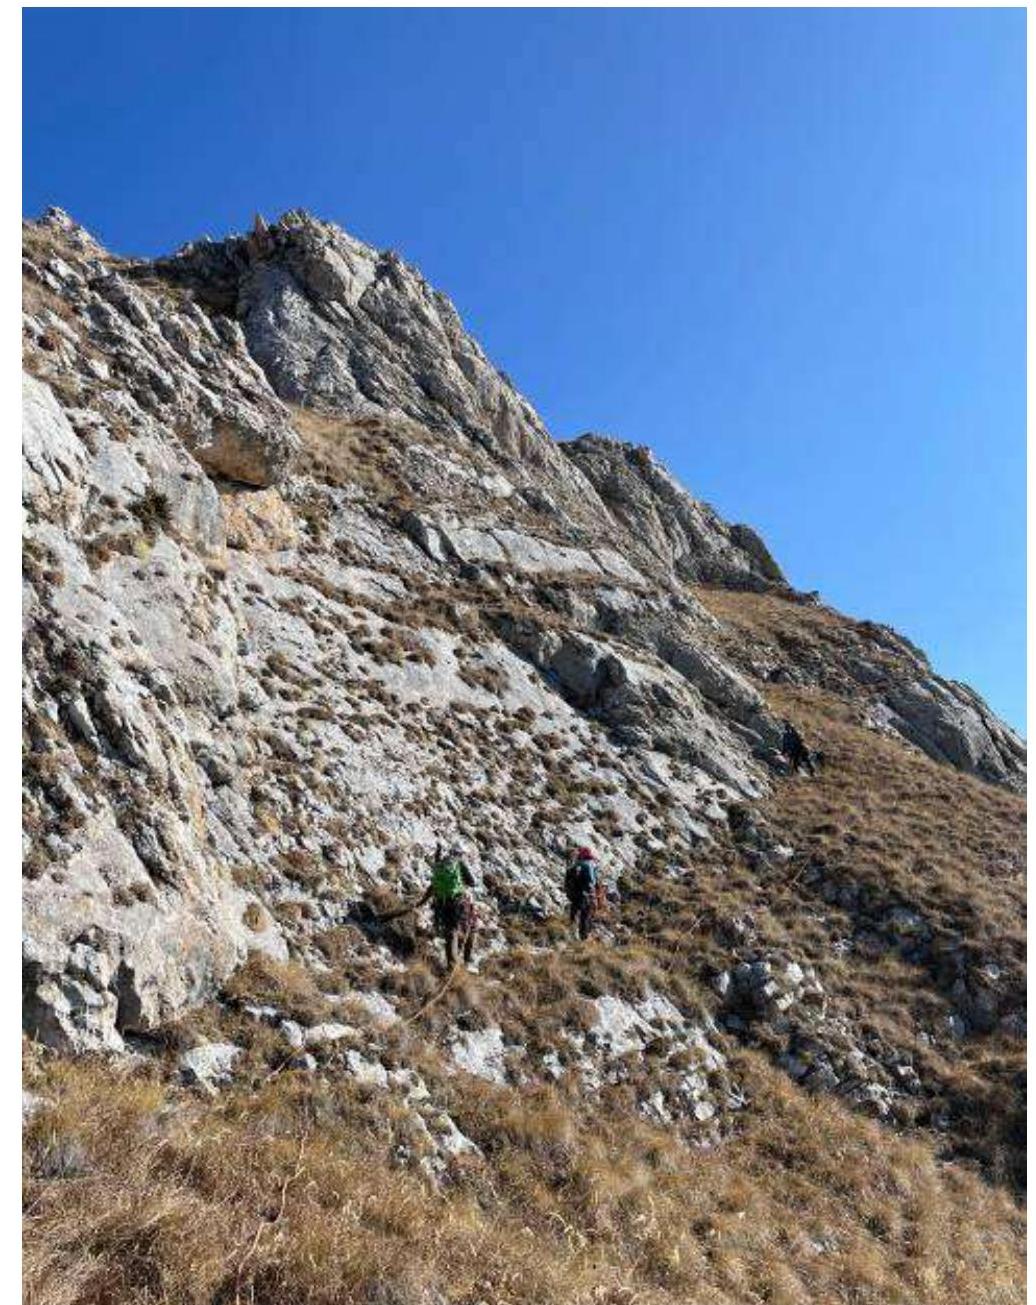
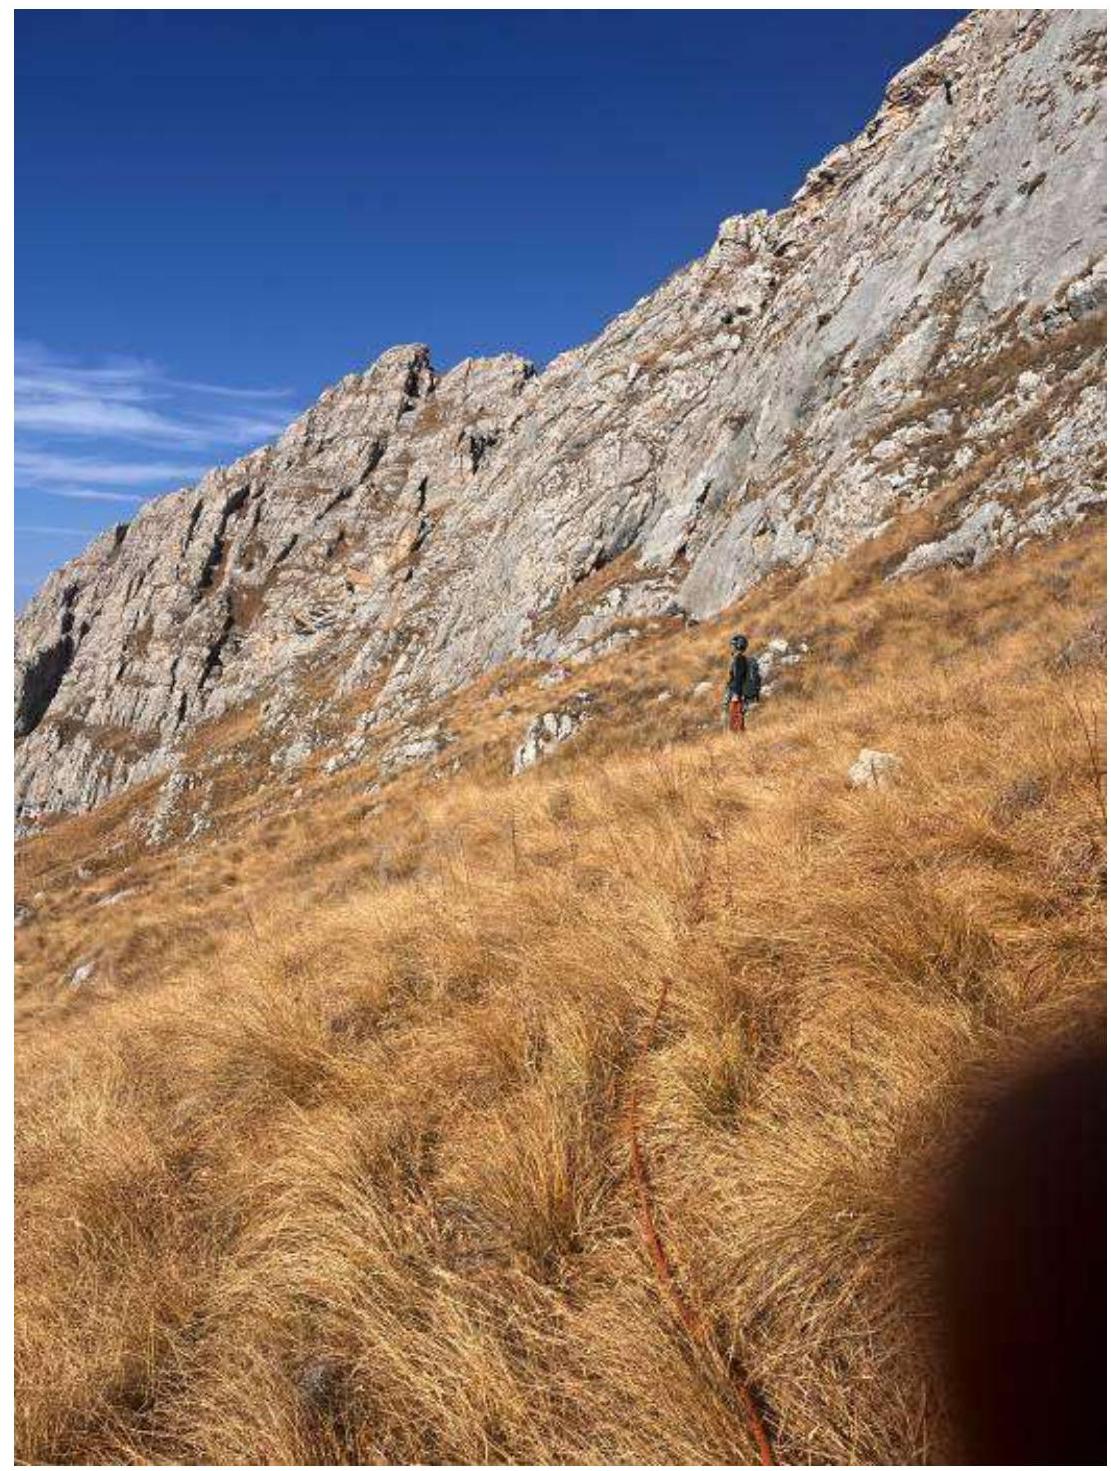
R6–R7: move along the grassy terrace for 100 m. Before reaching the overhanging rocks, a large inclined grassy ledge is visible, starting from a rocky wall on the right.
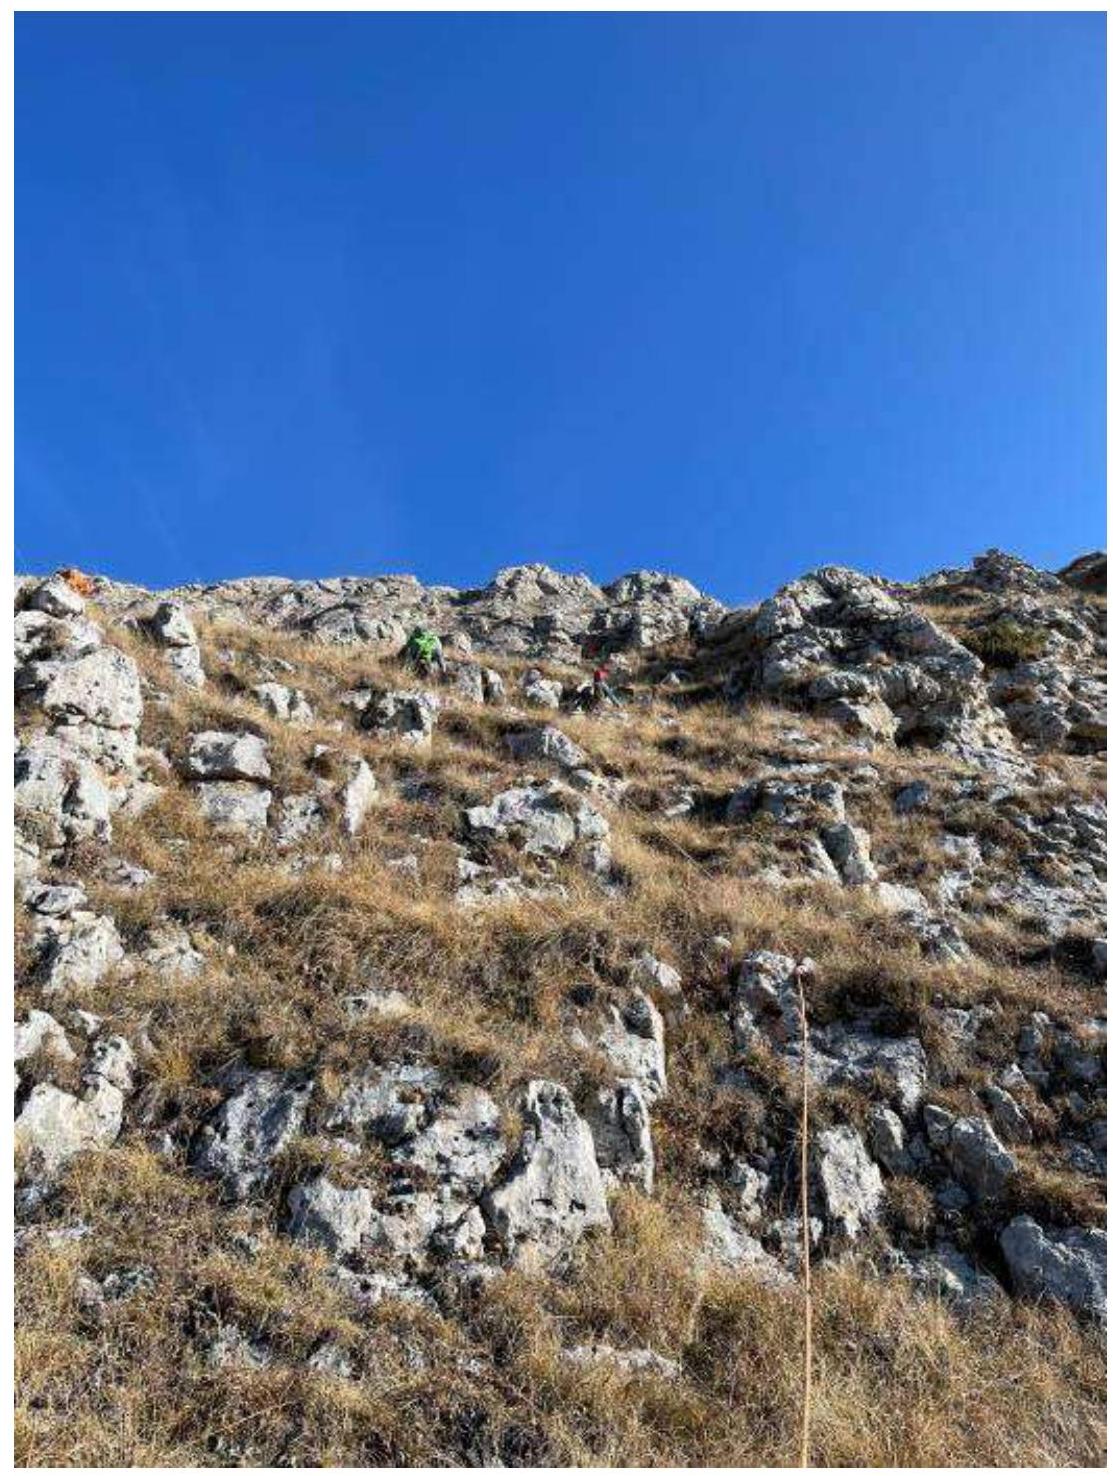
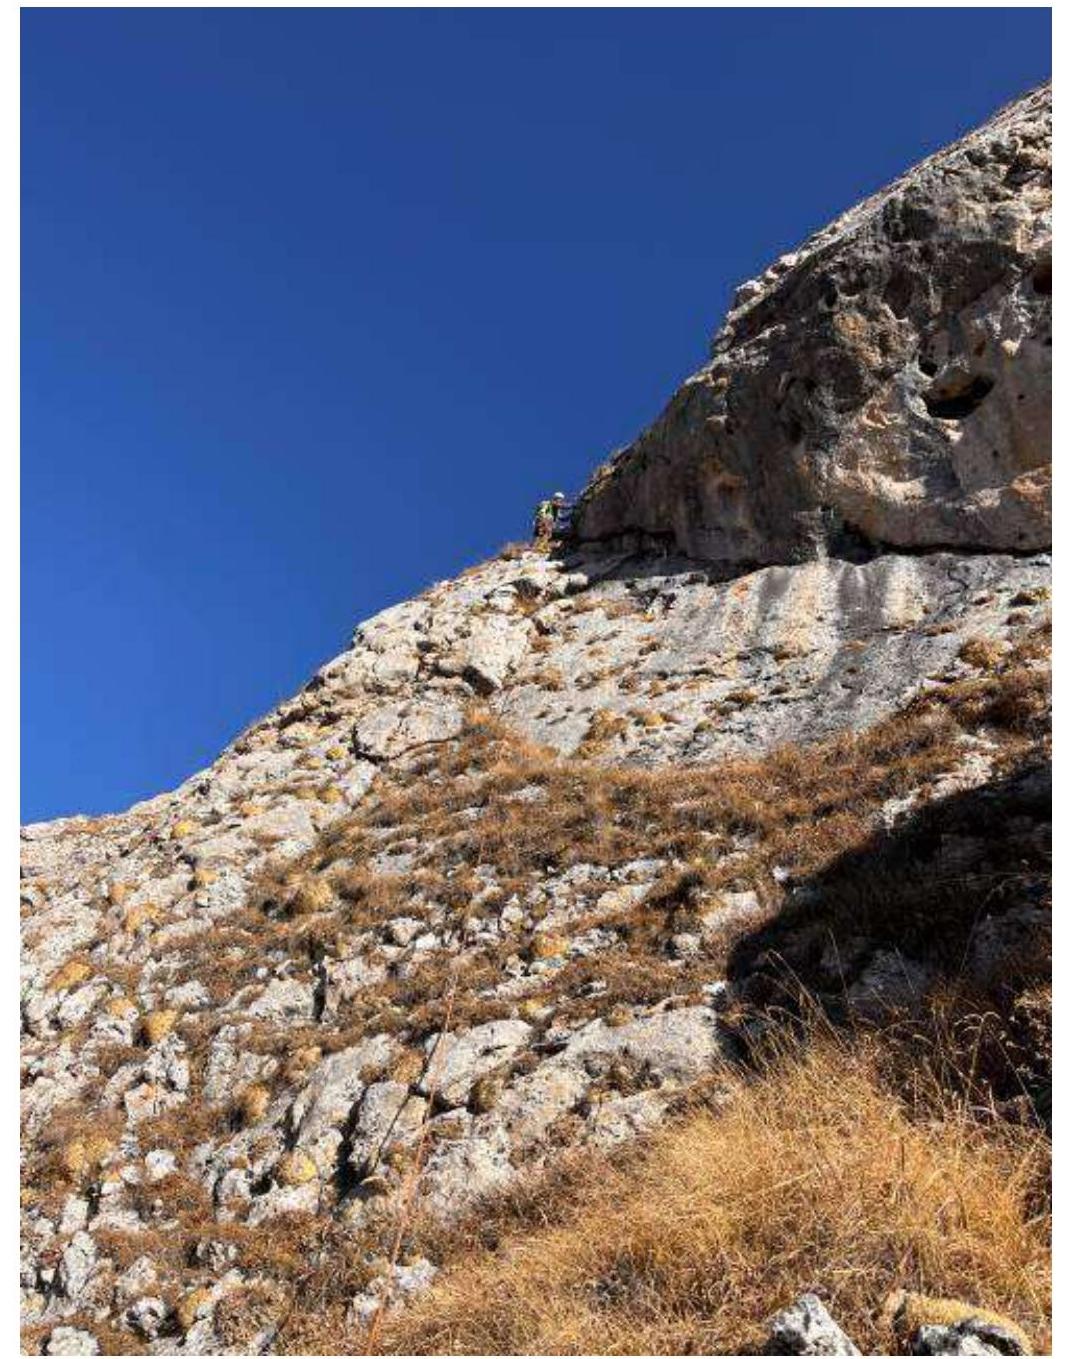
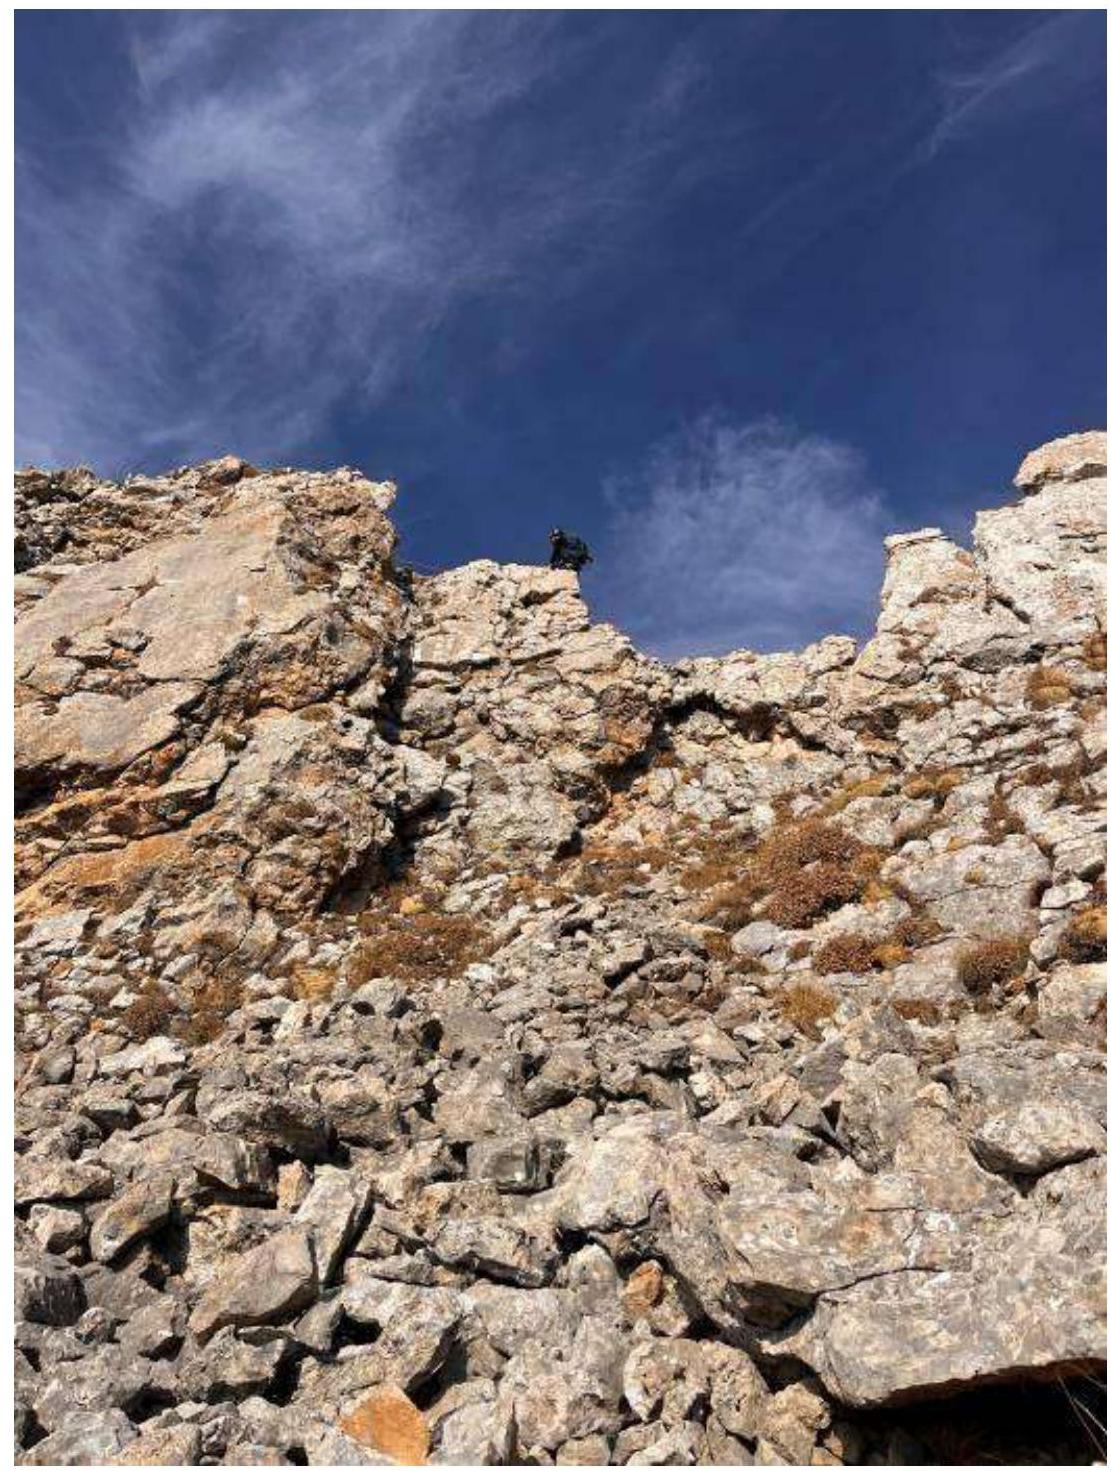
R7–R8: ascend up 40 m via the wall, closer to the left side, with protection on friends (grade 2). Belay station in a crack on self-placed points.
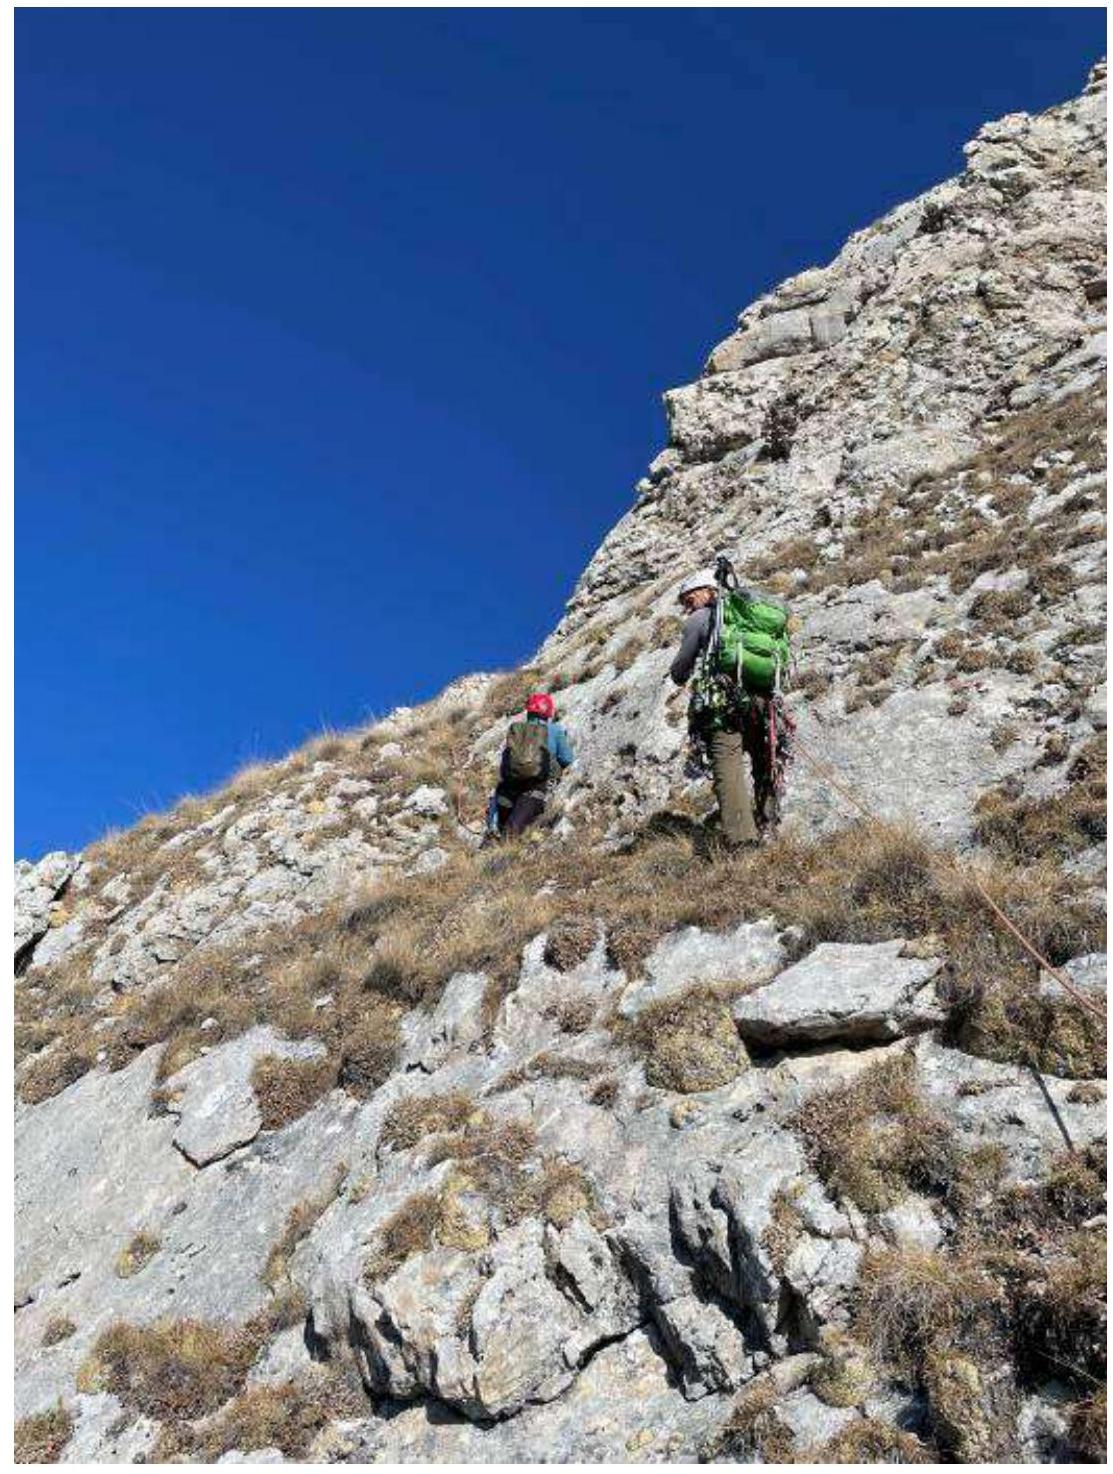
R8–R9: ascend right and up 50 m across an inclined grassy ledge. Then across rocks (grade 2) reach the ridge.
The route merges with the 1B route
R9–R10: move along the southern side, reach the lowering in the ridge for 50 m. Start ascending up across rocky blocks and boulders for 30 m (grade 2), and then along the ridge on the southern side towards the visible summit tower.
R10–R11: before the summit tower, bypass the overhanging rust-colored rocks on the left from the southern side across grassy terraces and in one place across rocks (grade 1).
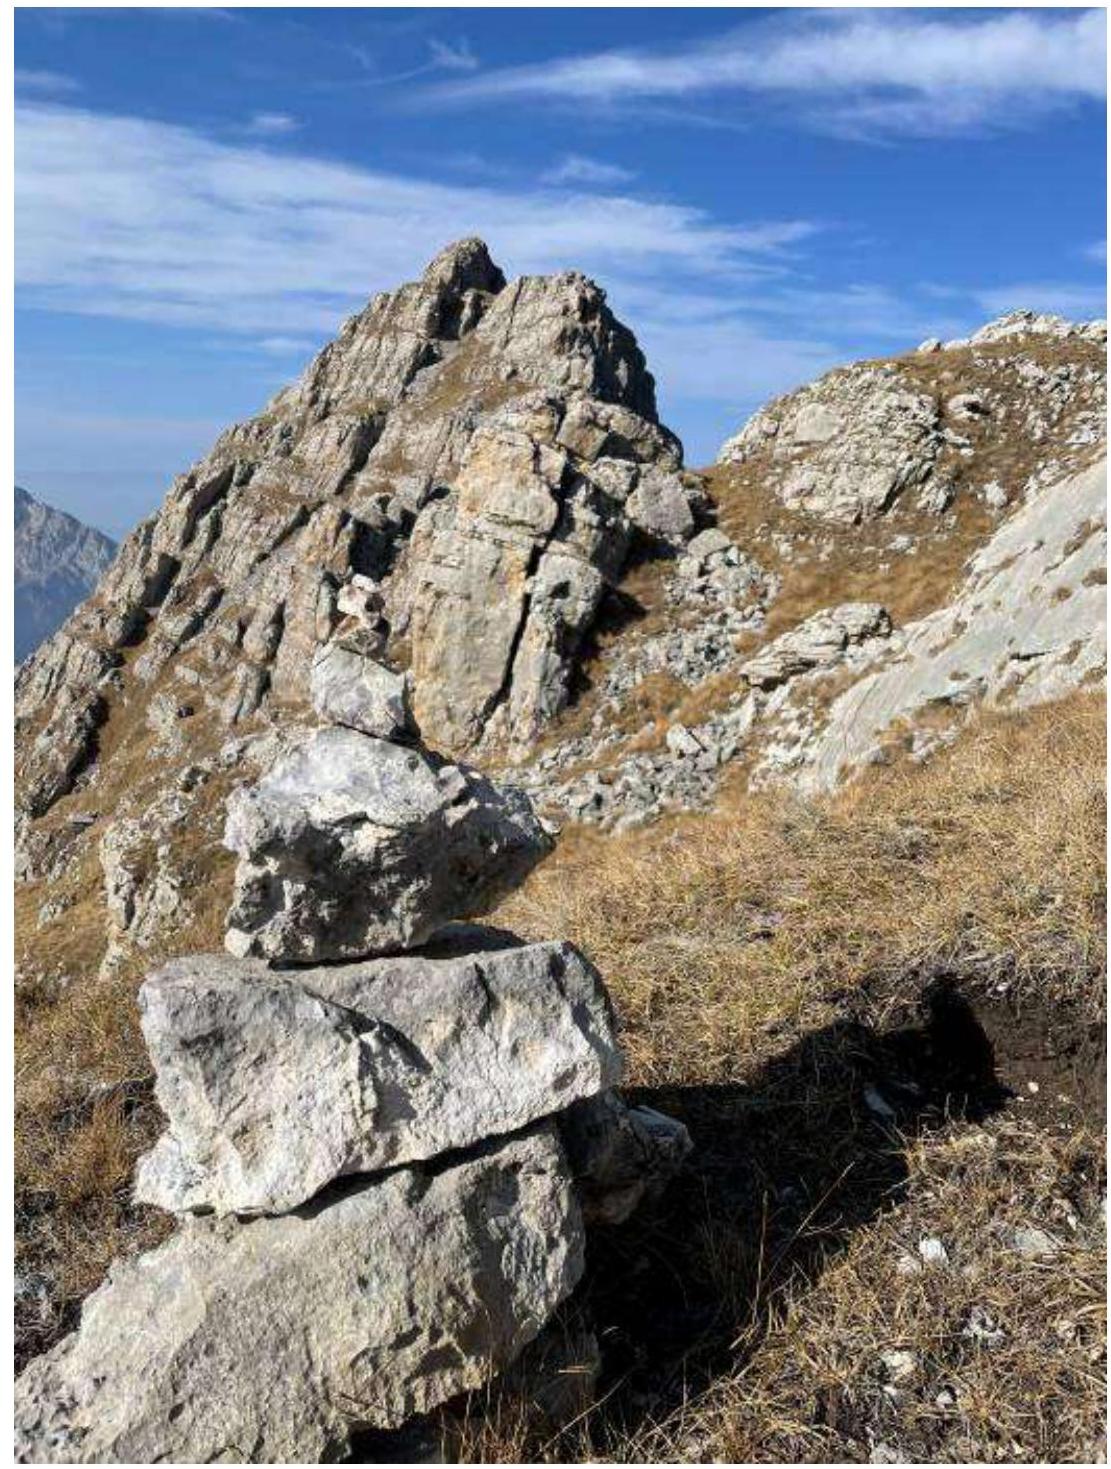
R11–R12: turn right, approach the internal corner on the ridge, climb through it onto the ridge and left along the ridge. Rocks grade 3, length 20 m. Careful movement is required due to loose rocks. Then, after 50 m, the summit. Descent from the summit via the 1B route.
Route diagram in UIAA symbols
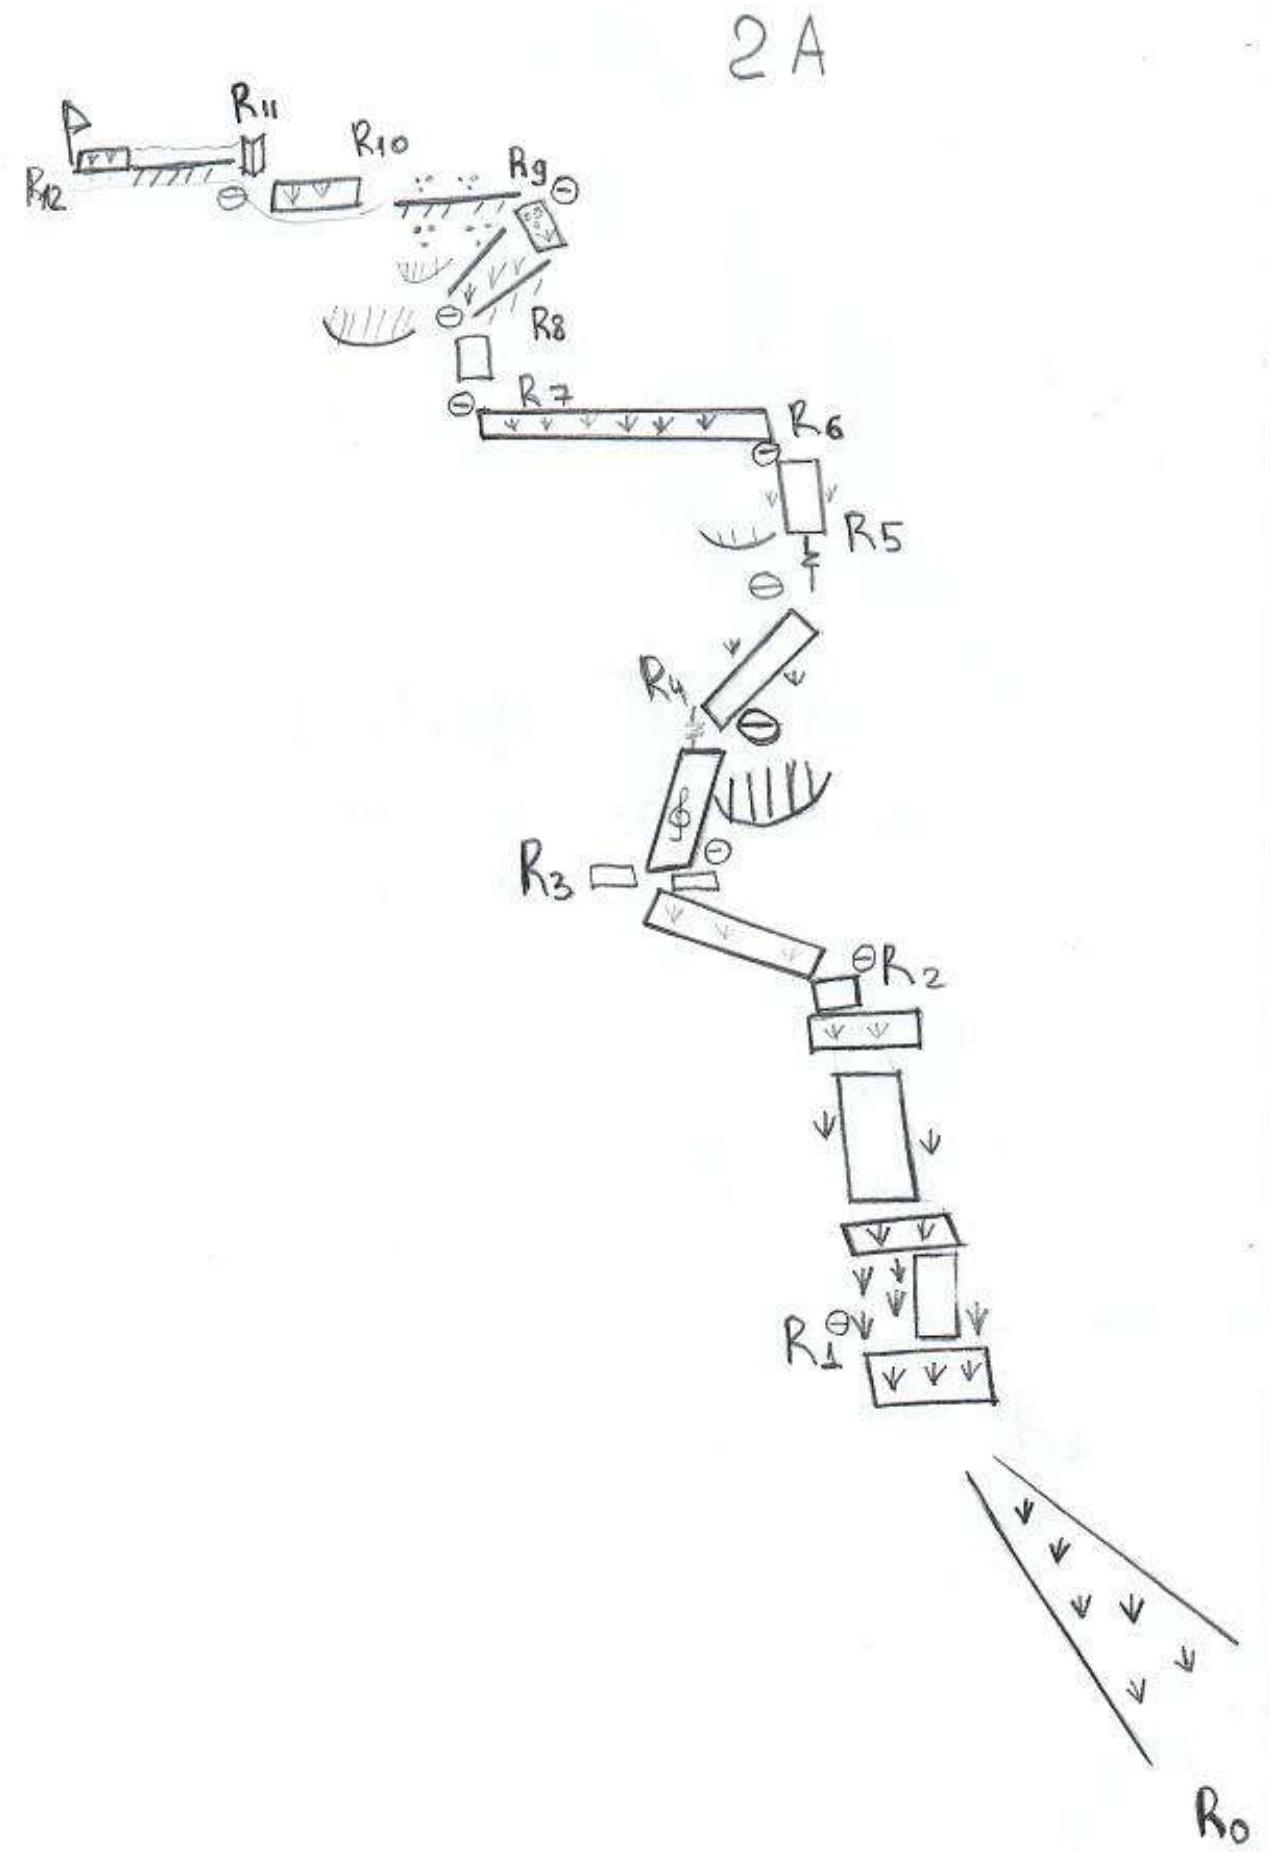
 | R11 — ascend to the ridge via the internal corner and along the grassy ridge, reach the summit |
|---|---|
 | R10 — move along the grassy terrace |
 | R9 — move along the ridge to its lowering, then across large-block scree in the direction of the visible summit tower |
 | R8 — ascend right via an inclined grassy ledge to reach the ridge |
 | R7 — move up via the wall. Belay station on self-placed points. |
 | R6 — move along the grassy terrace to the rocky wall |
 | R5 — move up via the crack. Then across steep grassy ledges to the terrace. |
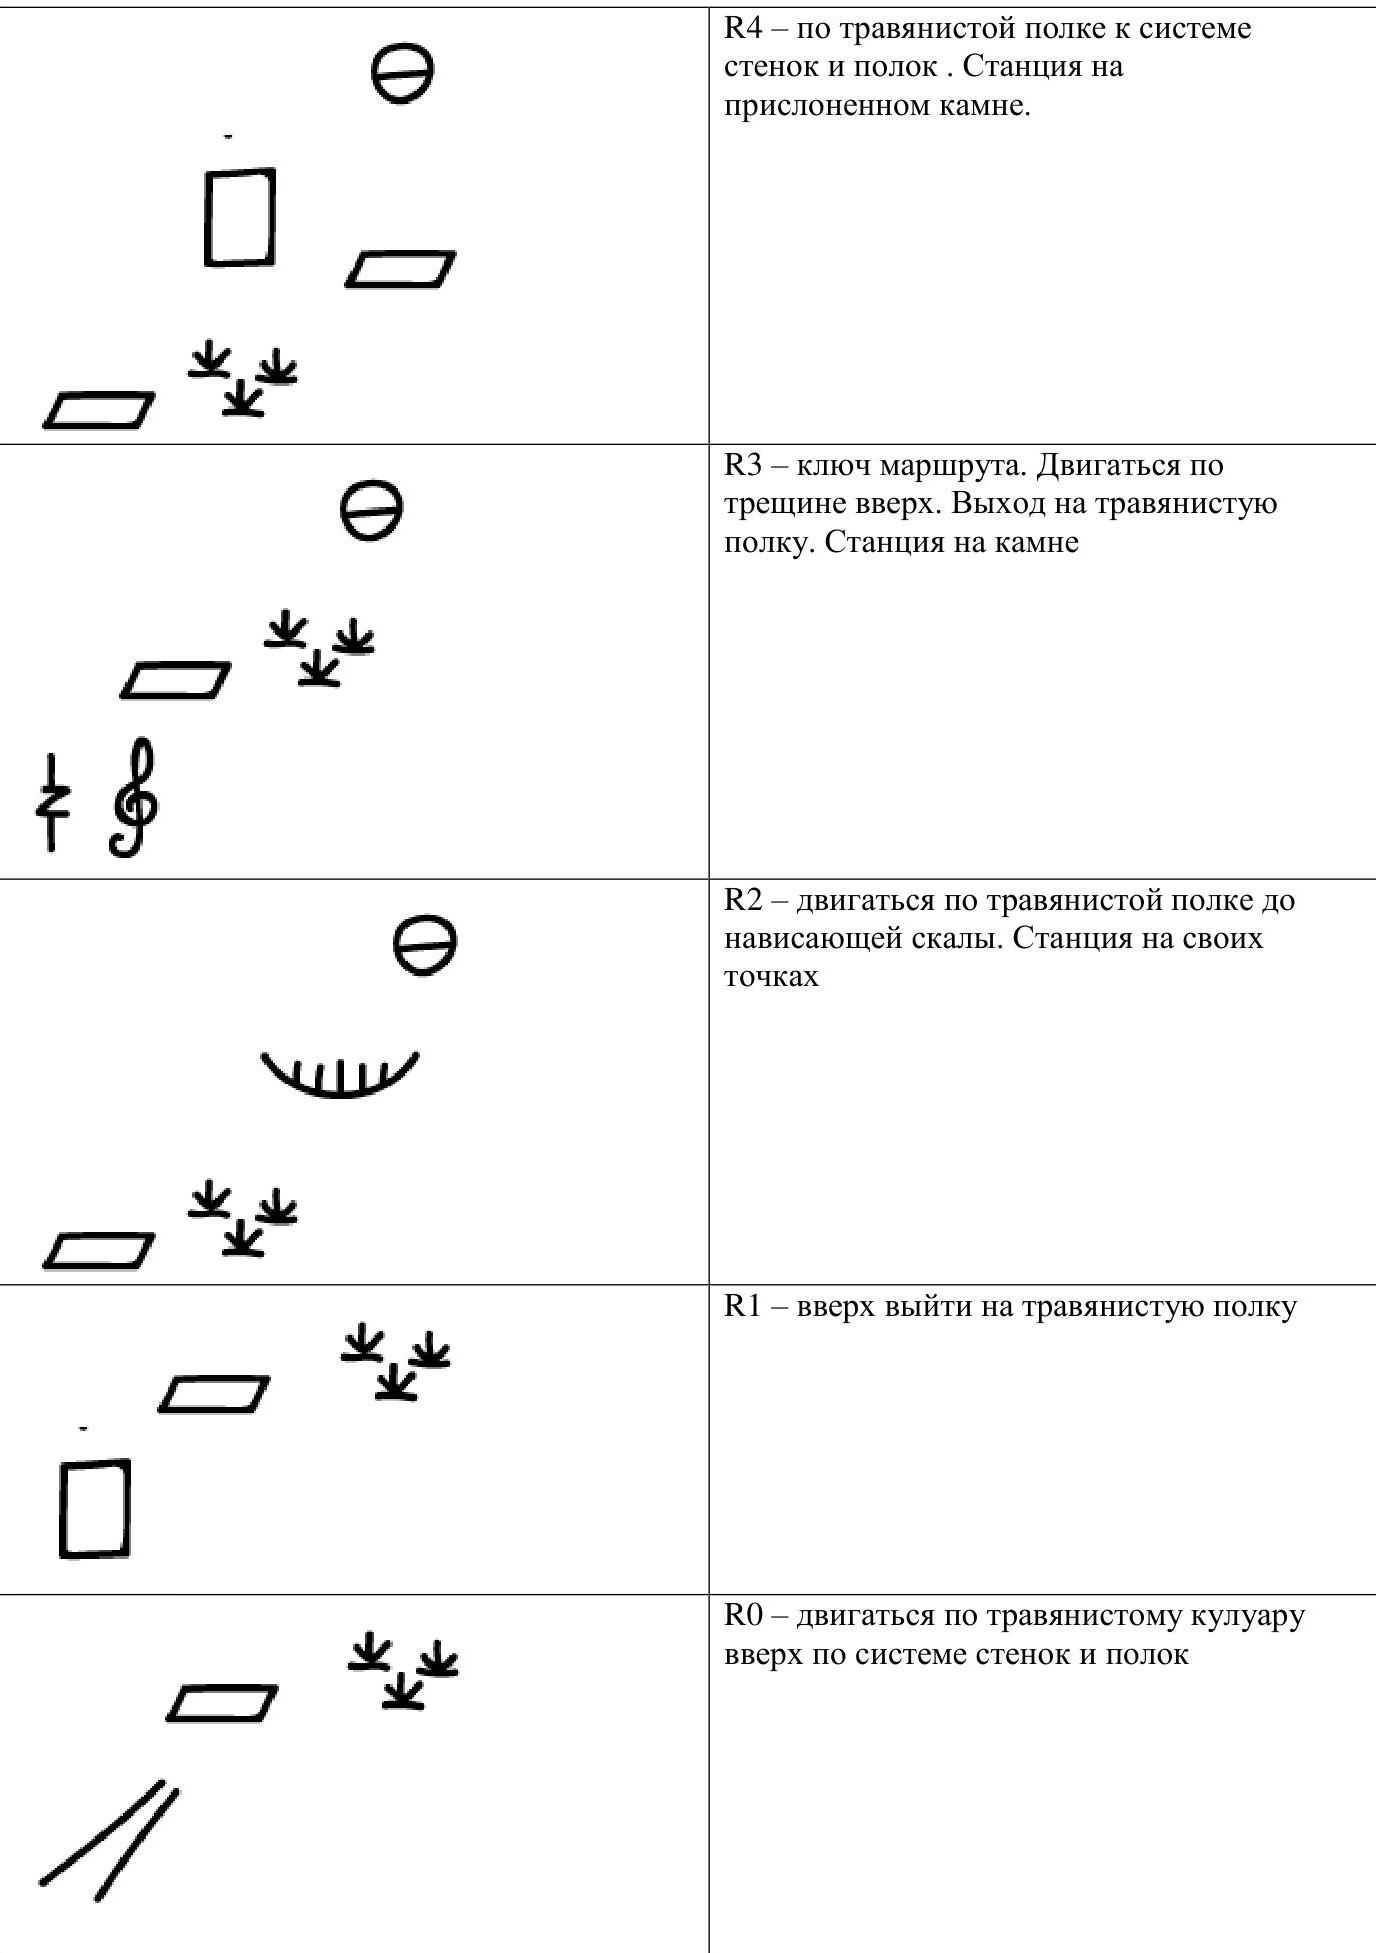 | R4 — across a grassy ledge to a system of walls and ledges. Belay station on a leaning rock. R3 — key section of the route. Move up via the crack. Reach a grassy ledge. Belay station on a rock. R2 — move along a grassy ledge to an overhanging rock. Belay station on self-placed points R1 — ascend to a grassy ledge R0 — move up a grassy couloir via a system of walls and ledges |
Diagram of movement by sections
Approach to the route
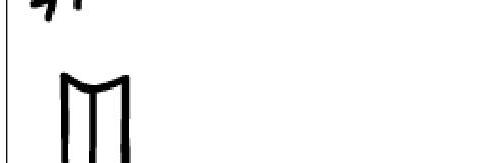
Section R0–R1: ascent via the couloir
Section R0–R1: grassy ledges
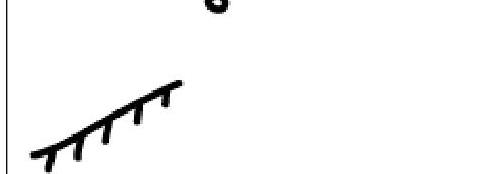
Section R1–R2
Section R2–R3: grassy ledges
Section R2–R3: system of ledges
Section R2–R3: rocks
Section R3–R4: key section
Belay Station R4
Section R4–R5: grassy ledge
Section R4–R5: rocks
Belay Station R5
Section R5–R6
Section R6–R7
Section R7–R8

Belay Station R8
Section R8–R9: grassy ledge
Section R8–R9: rocks
Section R9–R10
Section R10–R11
Section R11–R12: ascent to the ridge
Section R11–R12: grassy ridge

Summit

Descent
Conclusions
The route is recommended for training groups, but is also suitable for acclimatization. The route's thread is logical, and during the ascent, it's possible to practice movement across different types of mountain terrain:
- Grassy slopes;
- Large and small scree;
- Climbing across rocky walls and ridges, ledges overgrown with grass.
In the off-season, there may be snow in the couloir and on the ridge. During our ascent, the weather was sunny, with positive temperatures and no precipitation.
We recommend ascending with an overnight stay on the Jharlam pass (there is a source on the ascent to the pass, and water is available on the pass only in spring). On the way to the start of the route, water drips in the grotto on the right.
Descent from the route along the ridge and couloir (via the 1B route) is recommended to be done in a tight group to avoid dislodging rocks onto participants below.